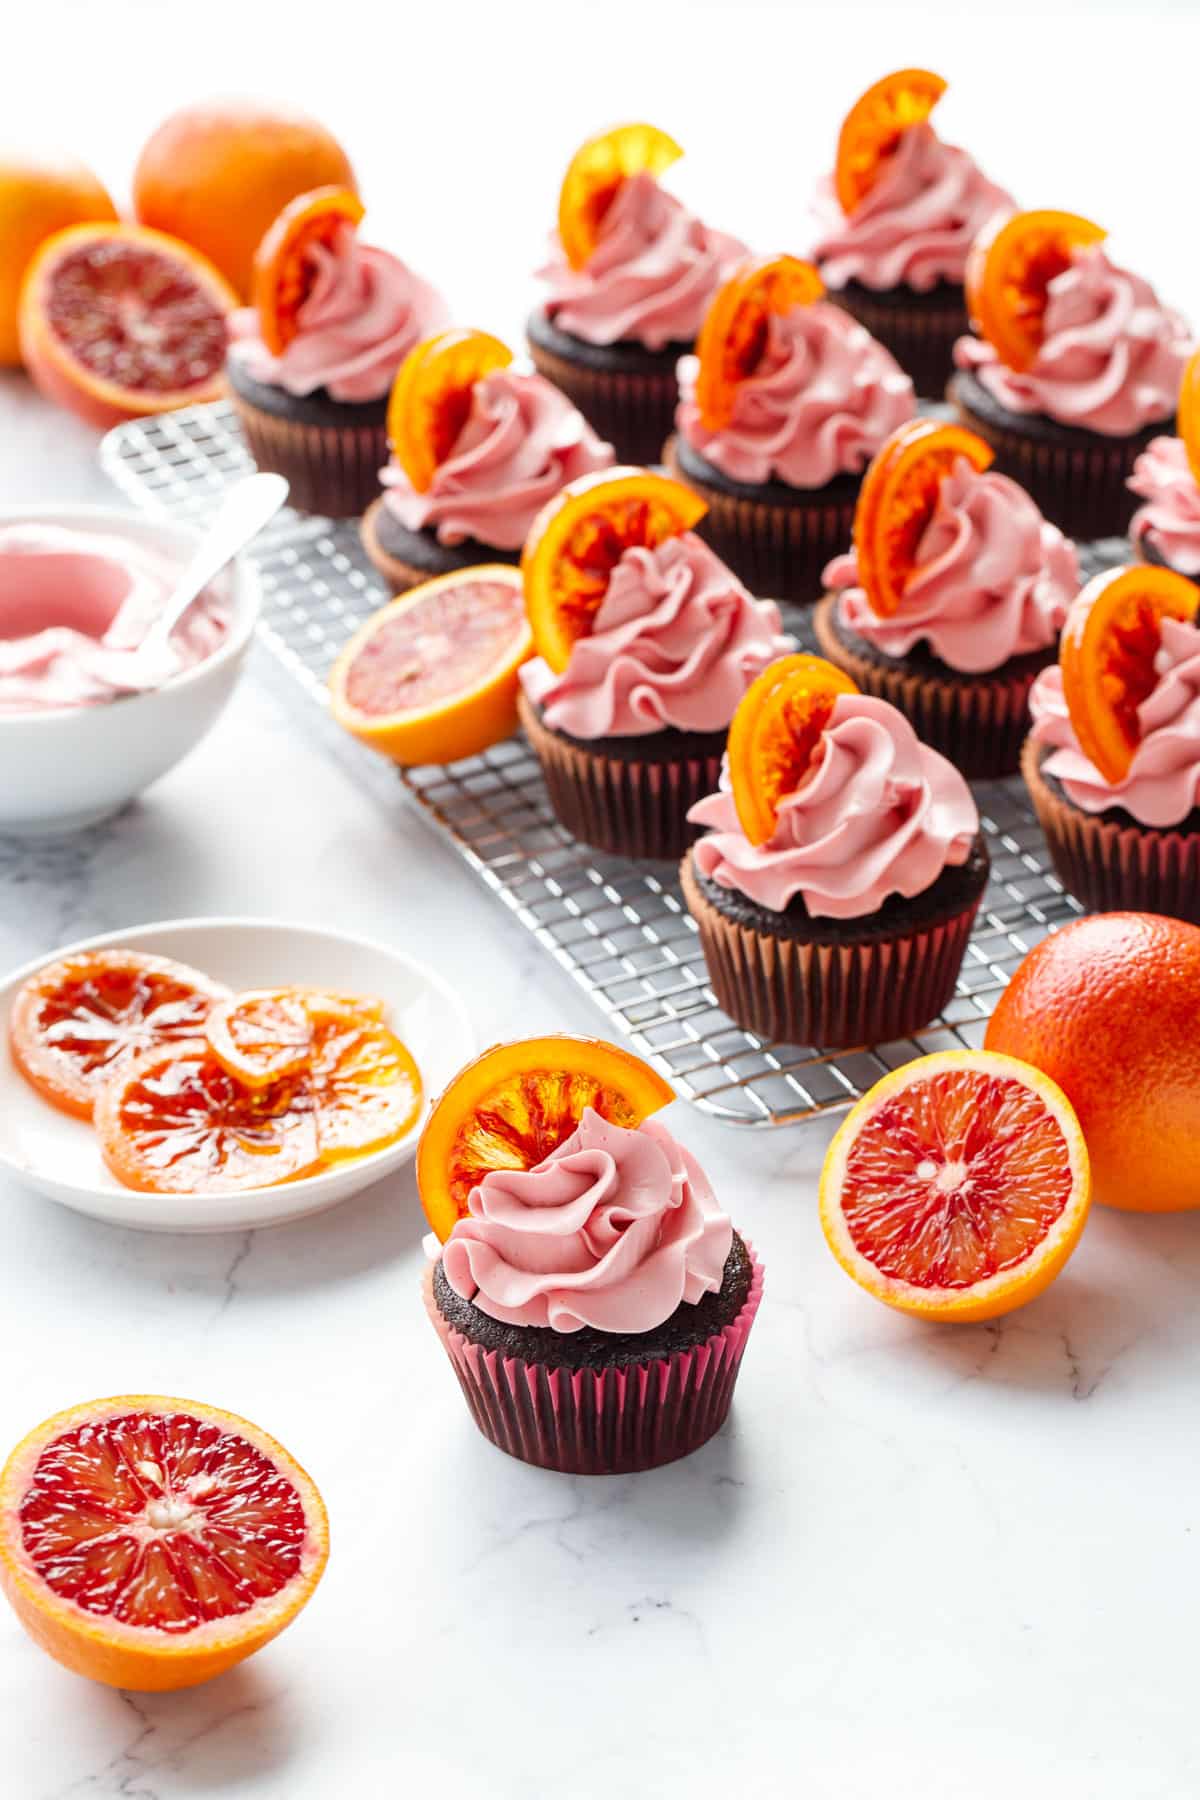
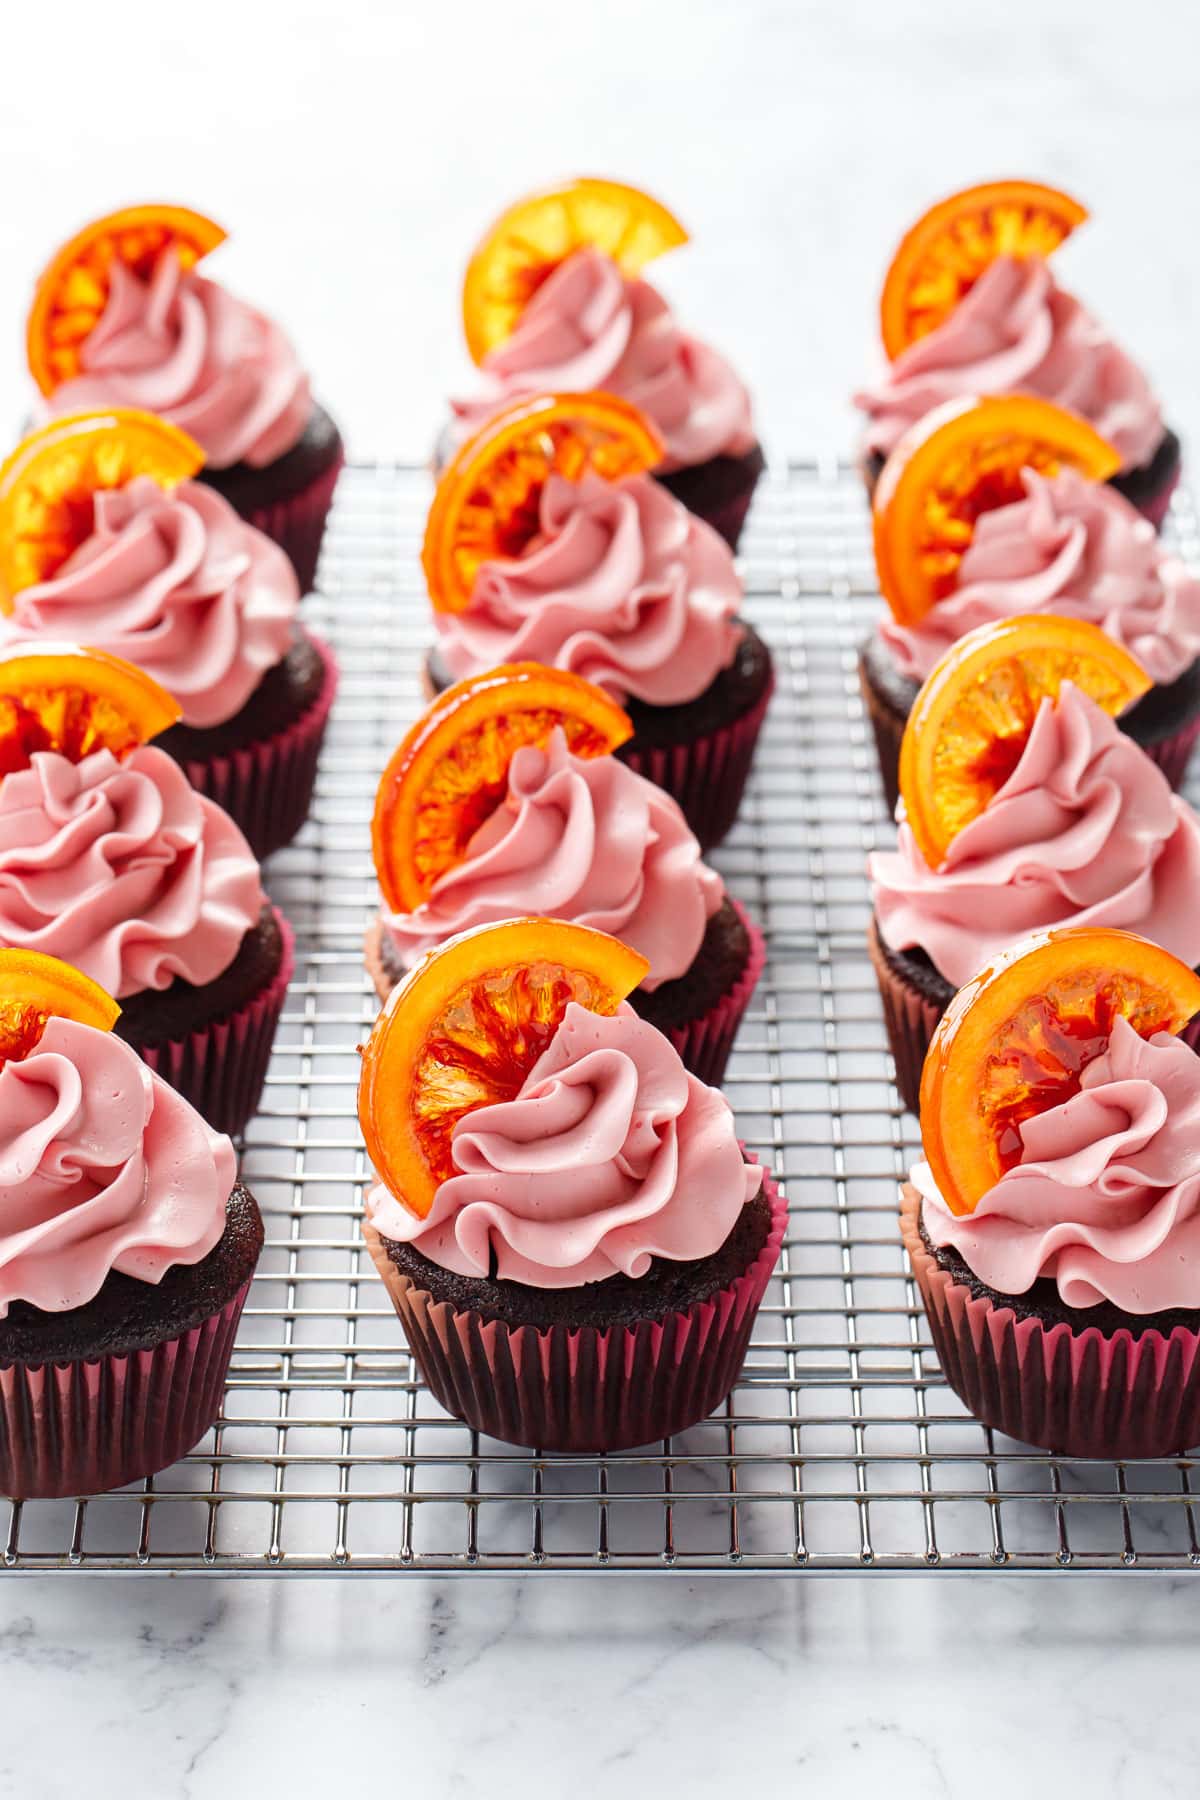
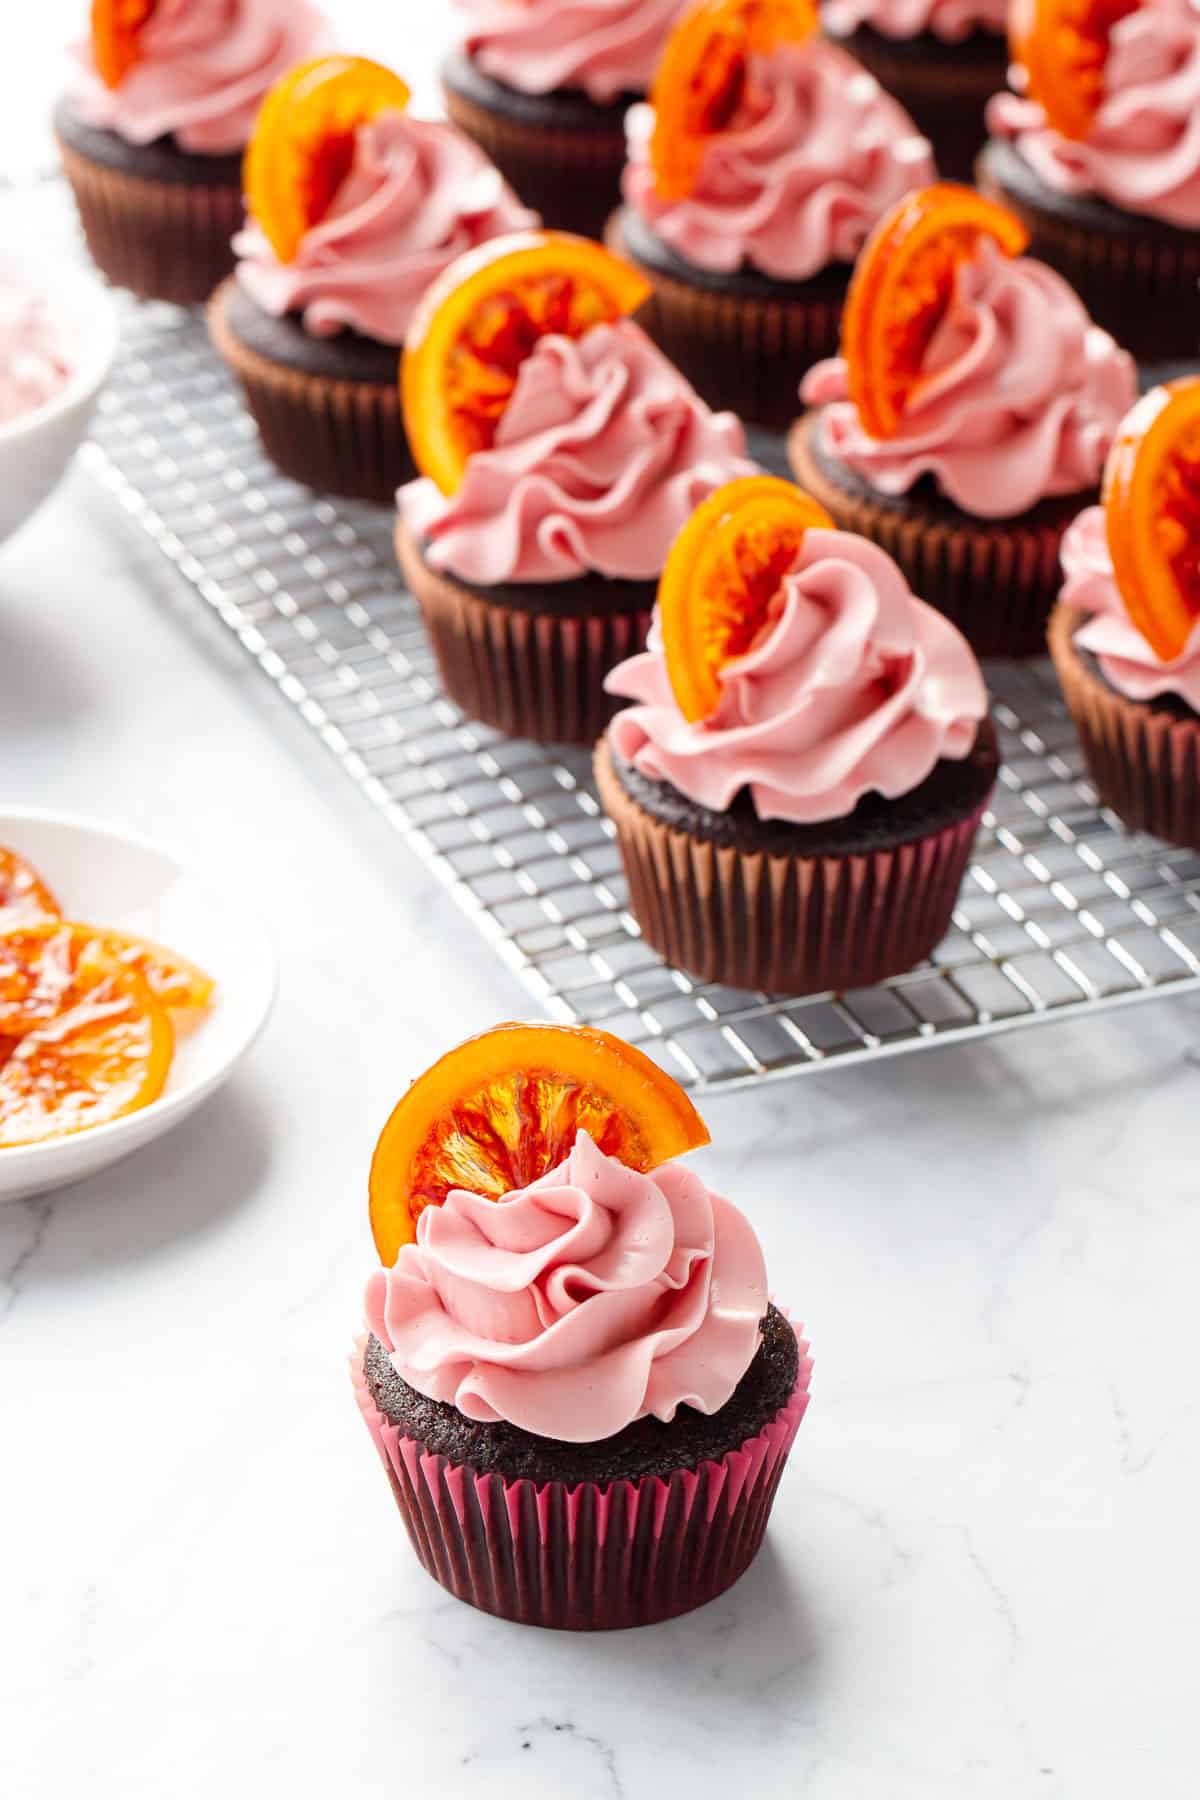
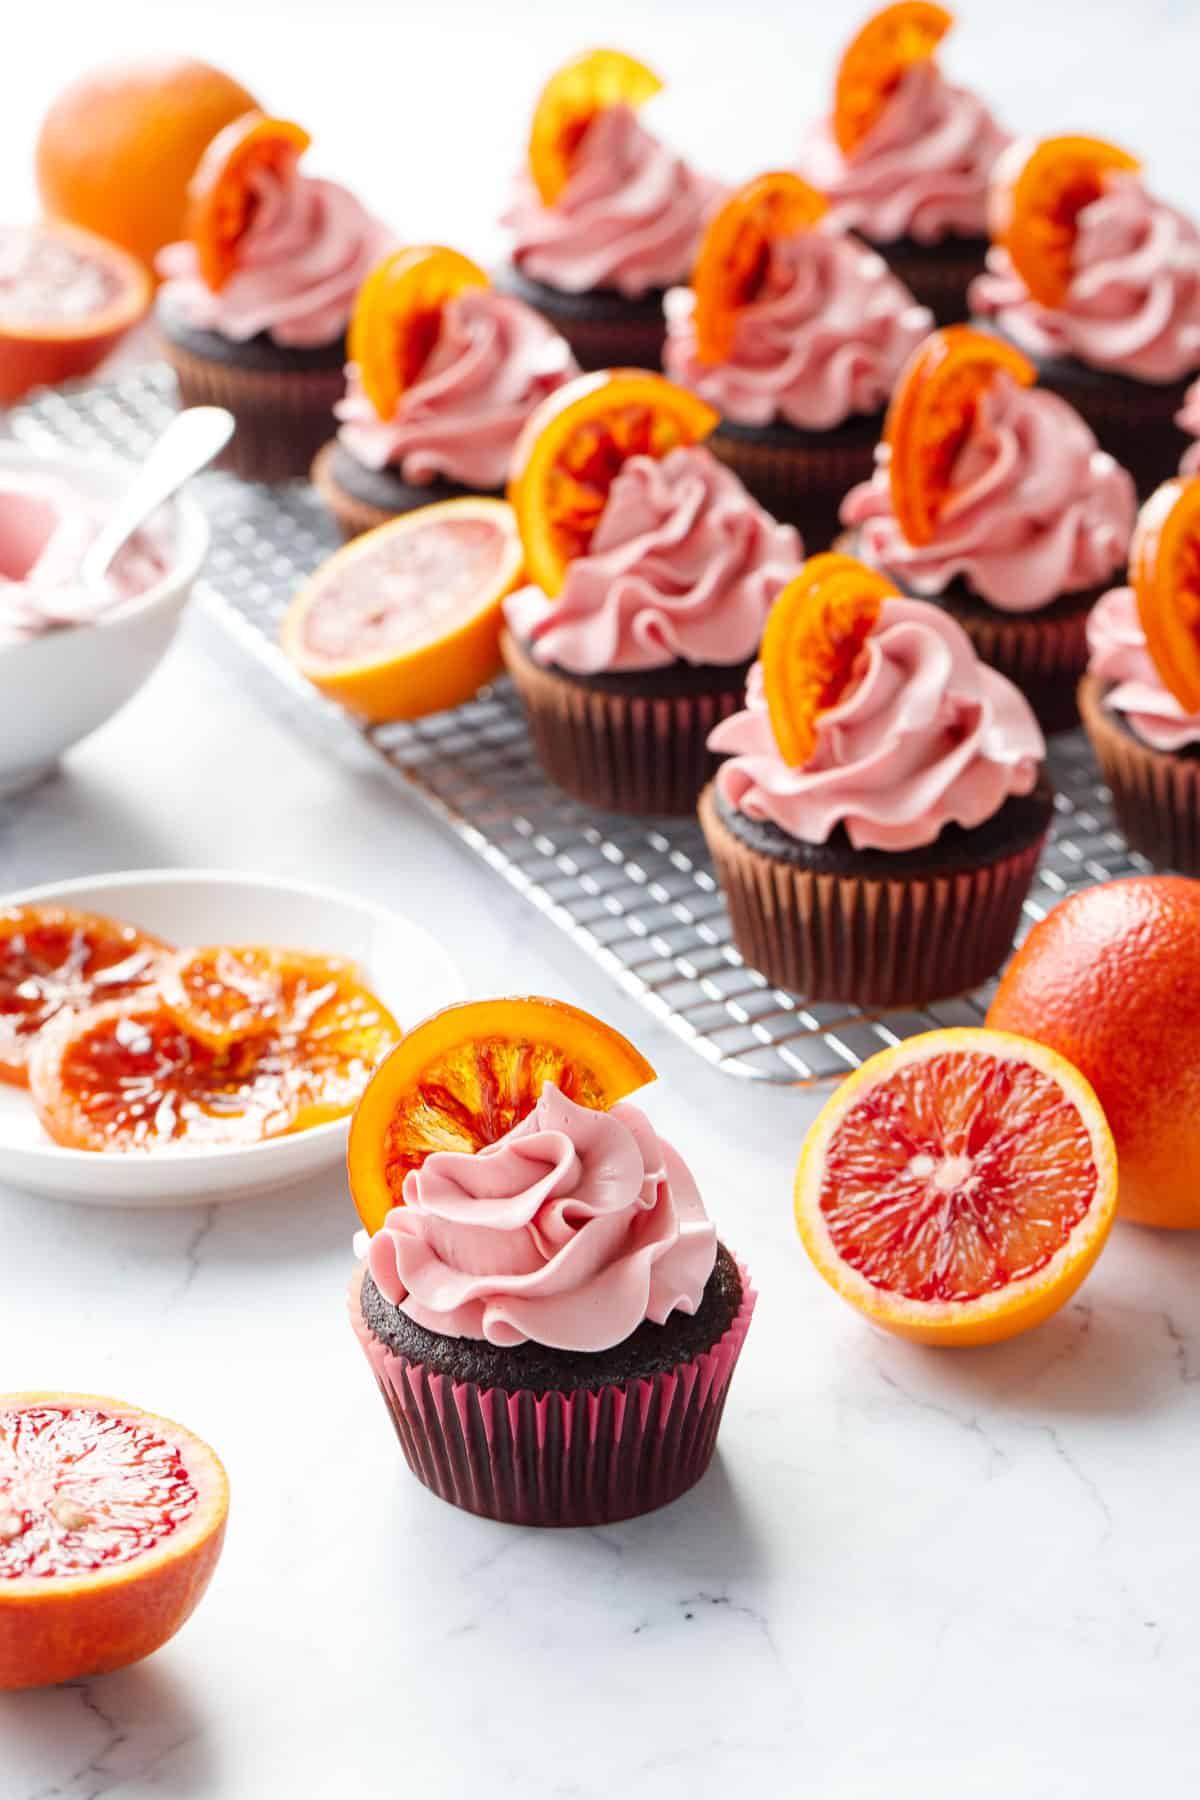
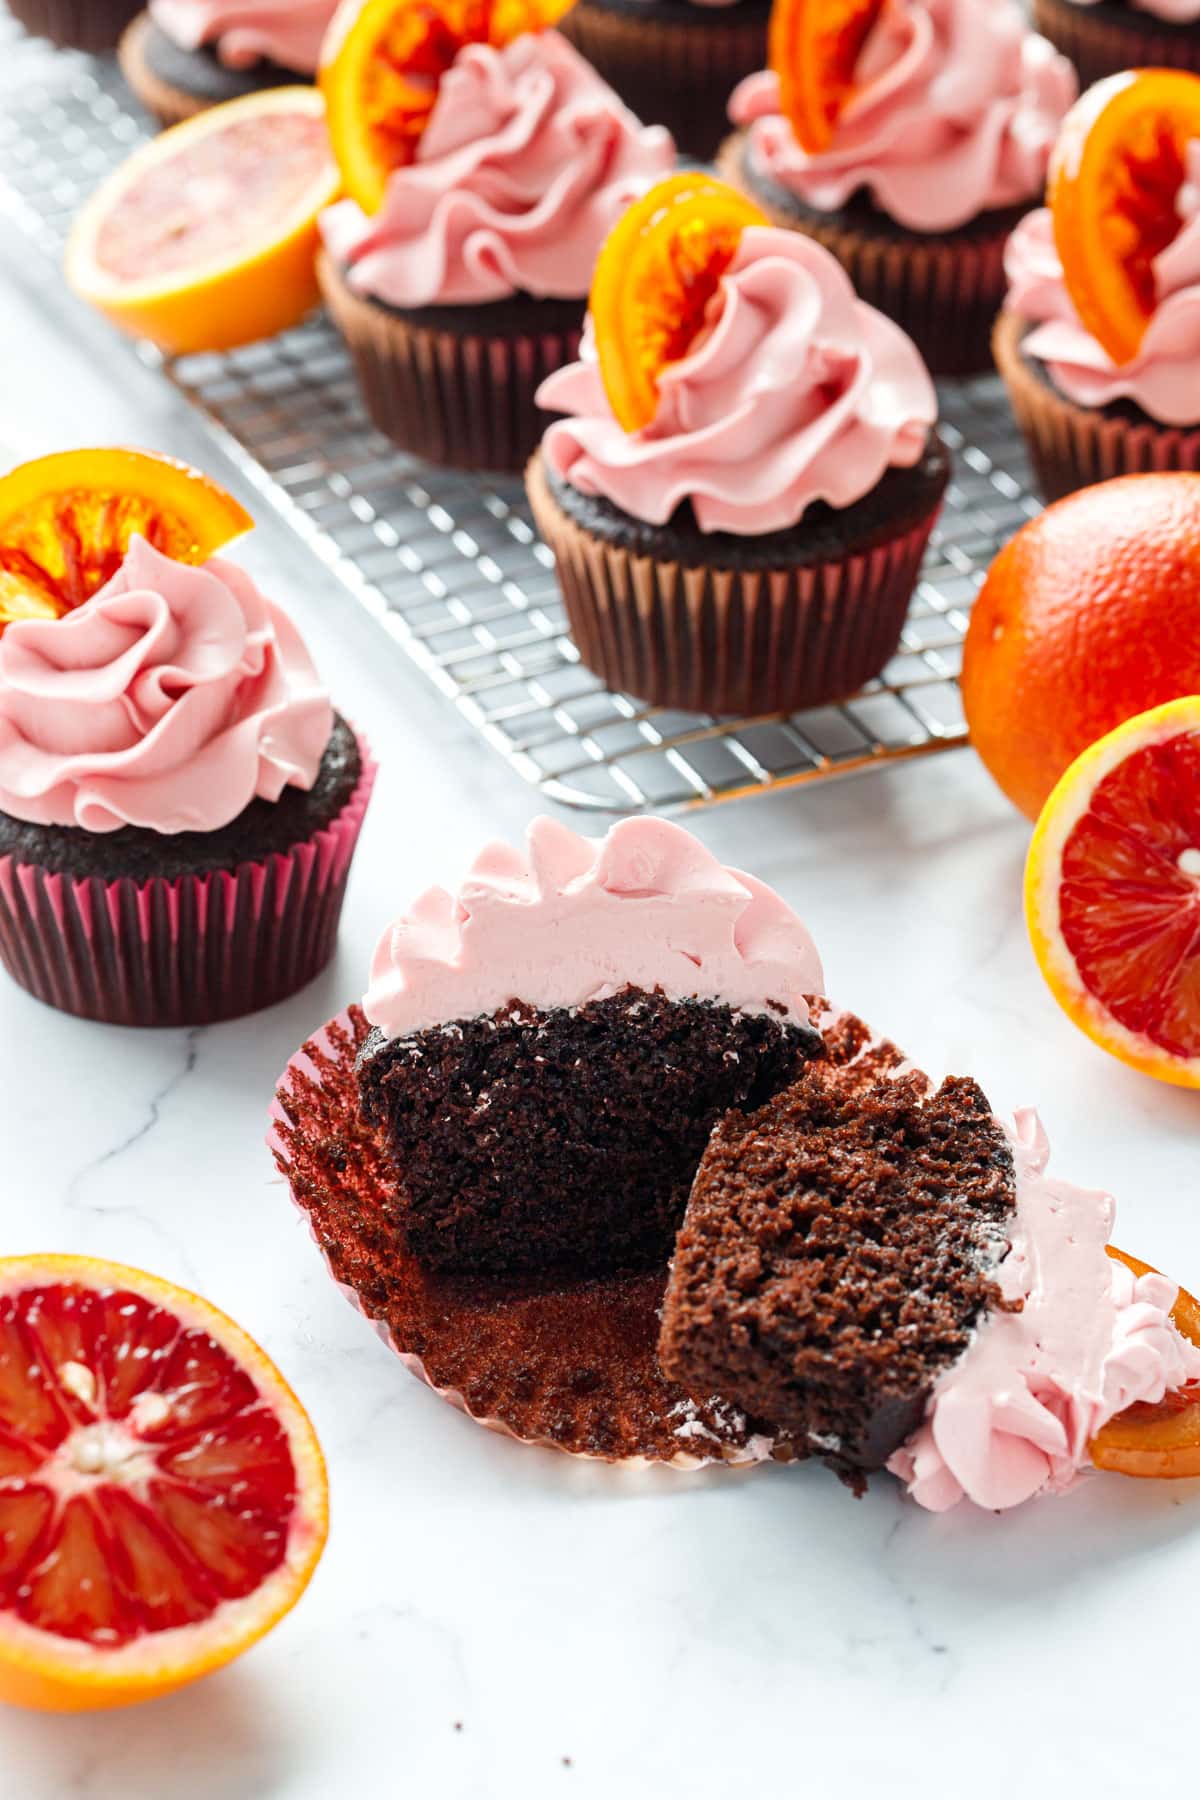
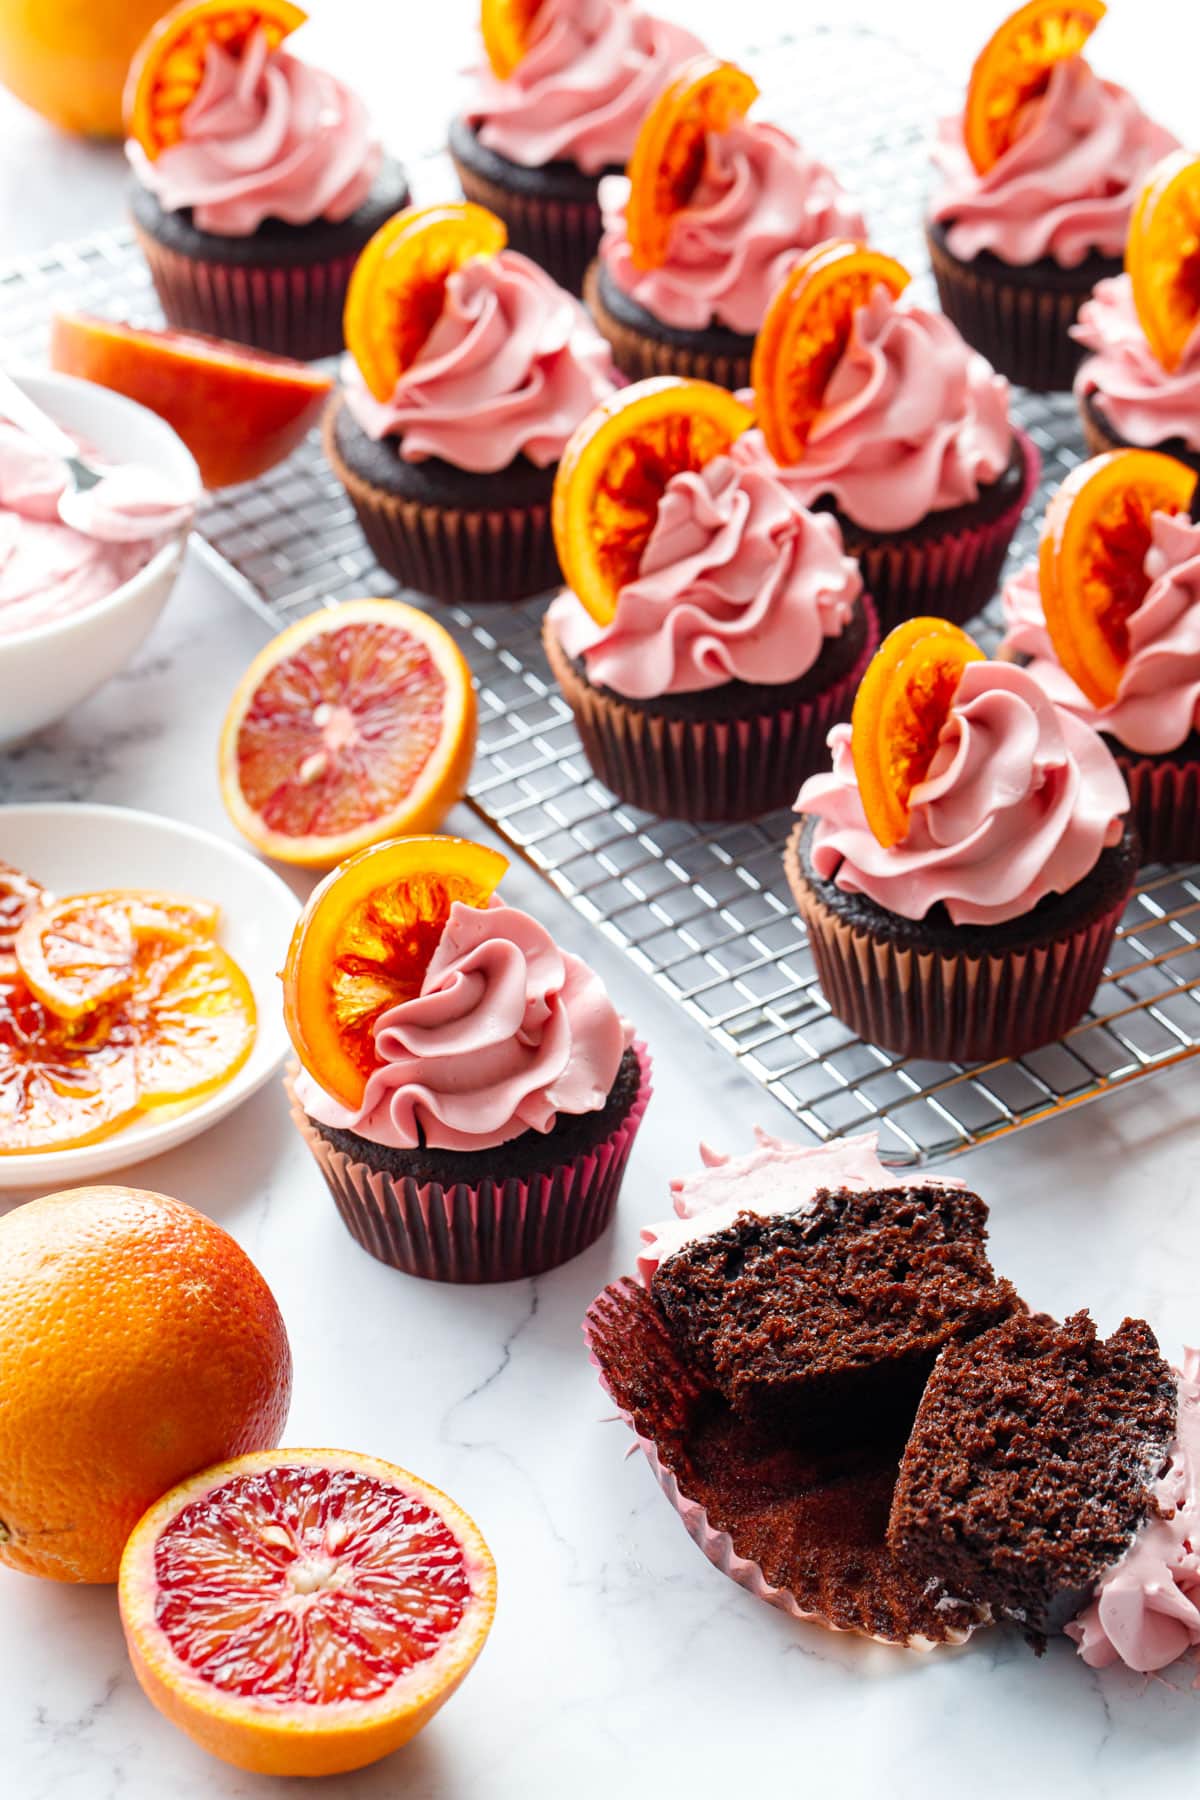
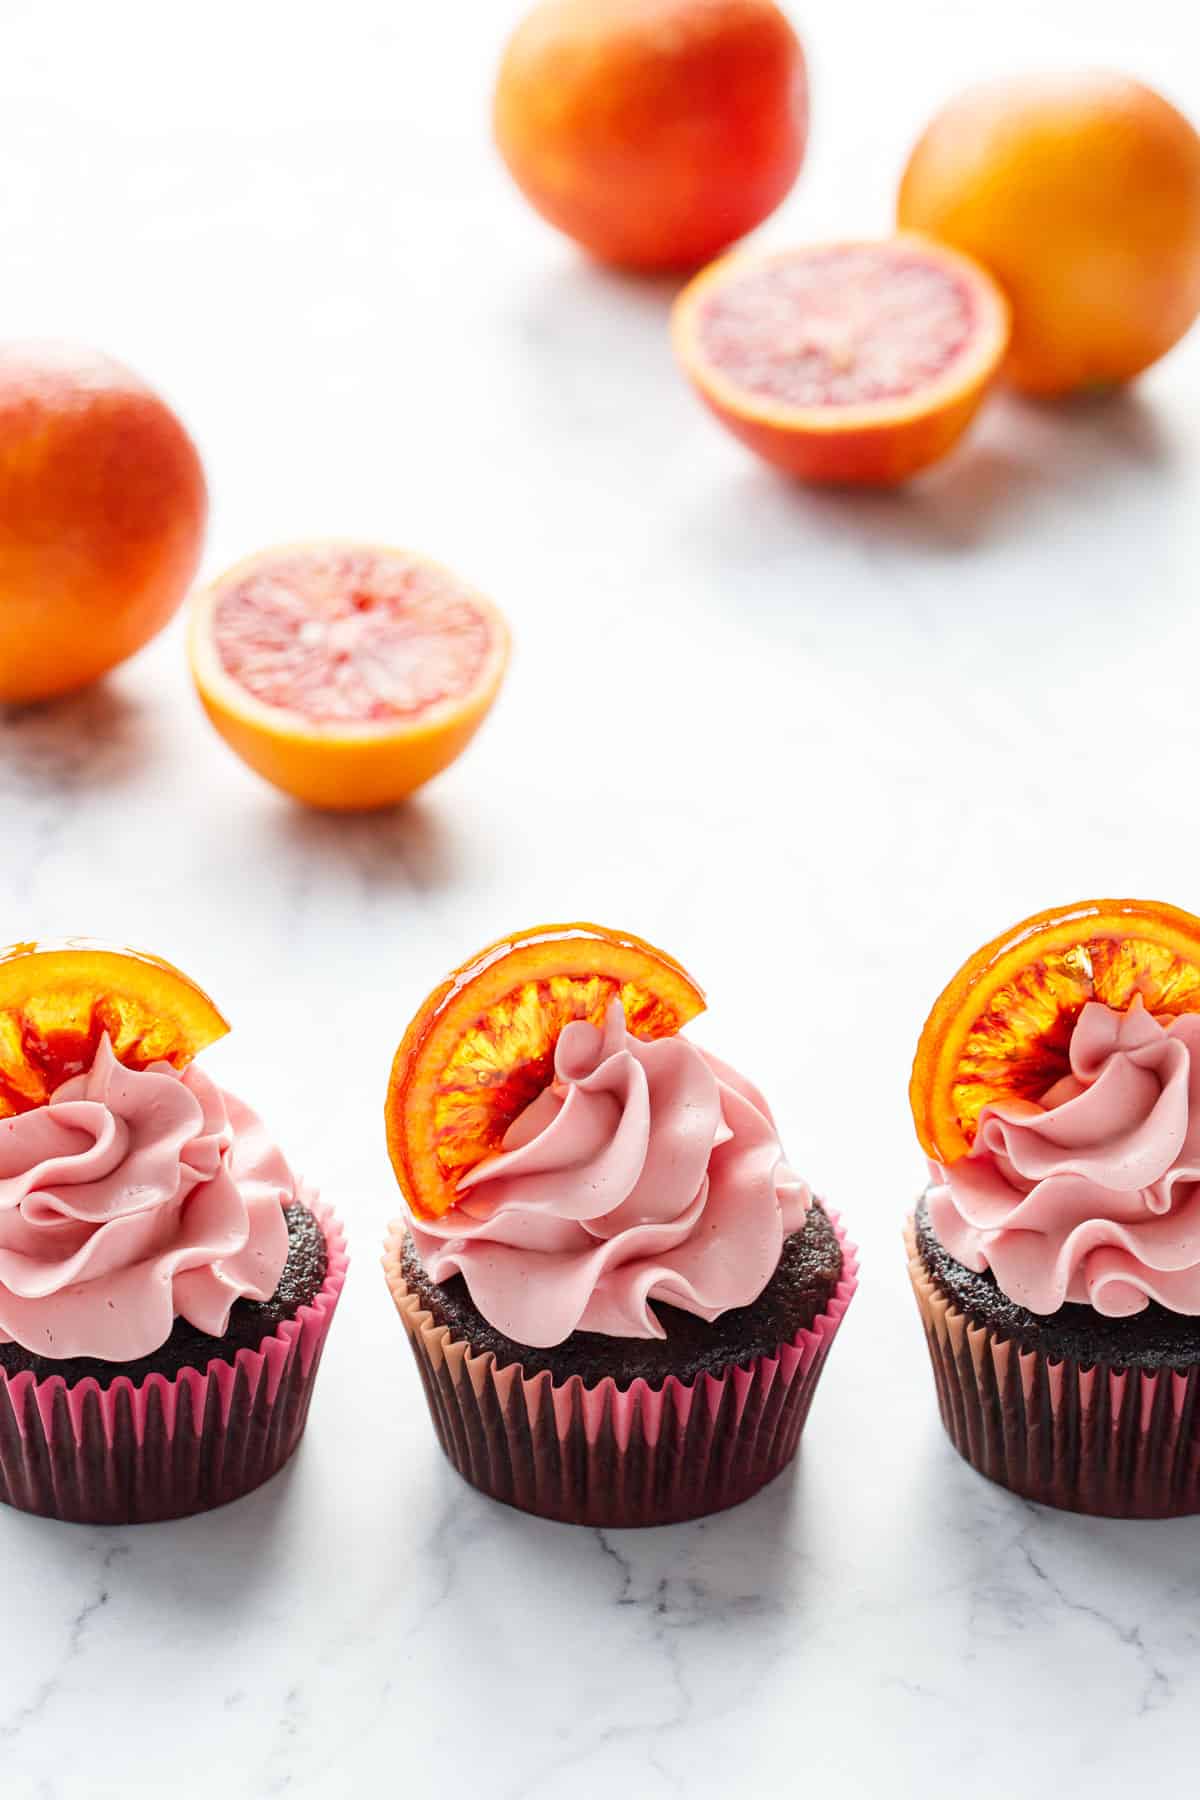
These tender, deeply chocolate cupcakes are made with extra virgin olive oil and freshly squeezed blood orange juice, topped with a swirl of flavorful blood orange buttercream and crowned with a jewel-like candied blood orange slice.
The blood orange buttercream is the star of the show: with a punchy orange flavor and gorgeous pale pink hue. The unique eggless mock meringue method produces a frosting that’s much creamier and less sweet than traditional American buttercreams.
This recipe was created in partnership with Amoretti (use coupon code LOVEANDOLIVEOILFREESHIP for free shipping on your order!) All opinions expressed here are my own.
Happy blood orange season to all who celebrate!
I am a big fan of blood oranges, more than any other kind of citrus. While you’ll rarely, if ever, see me sit down and eat a regular orange, I will devour a blood orange and even choose it as an afternoon snack over chips or chocolate (gasp! I know!) I just love the bright flavor, which is like a sweeter version of a classic orange, both sweet and tart at the same time, with underlying notes of red berries. Not to mention the vibrant red color makes me ever so happy.
Needless to say, you can be sure that when blood oranges appear for a few short weeks in the middle of winter, I’ll be there, eating my fill before they disappear for another year. You can also assume I’ll be cooking, baking, or canning something with blood oranges this time of year (assuming I have some left over after stuffing my face, that is). And sure enough, I’ve put out one new blood orange recipe pretty consistently every year (there’s also a Strawberry Blood Orange marmalade recipe you’ll only find in my book, trust me when I say it’s not to be missed).
This year, I decided to revisit an old favorite and re-make my favorite chocolate blood orange cupcakes. The sunset-hued buttercream and the moist chocolate cake spiked with blood orange flavor are, simply put, stunning in both taste and appearance. Add in some fruity extra virgin olive oil in place of the usual vegetable oil in the cupcake, and you have yourself one delicious treat.
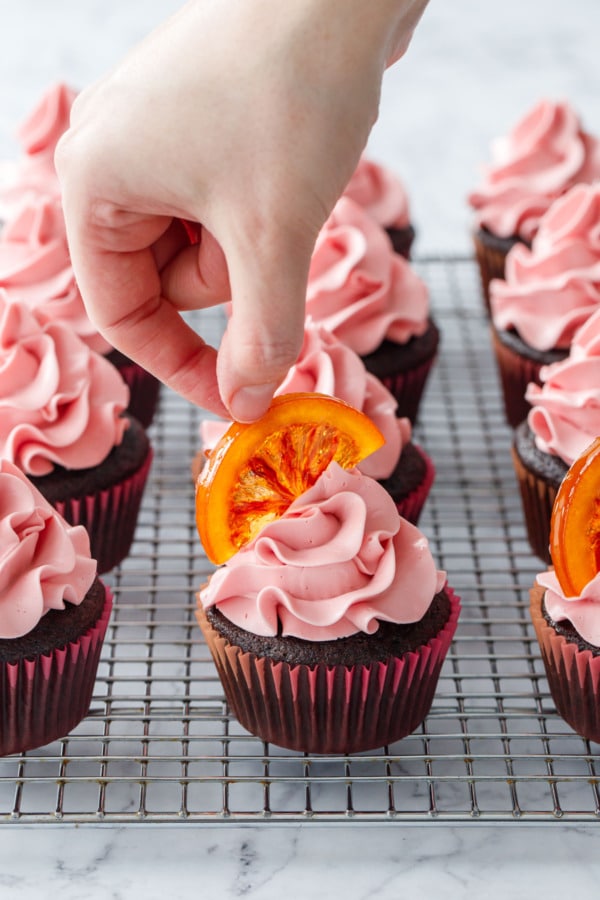
This time around I topped my cupcakes with jewel-like slices of candied blood orange, which are as gorgeous as they are delicious, and add the perfect finishing touch to the swirl of pink buttercream frosting.
Getting a strong blood orange flavor in something like a buttercream is no easy task, as you can only add so much liquid before the frosting collapses; and orange zest only goes so far, especially if you don’t want to mar the silky smooth texture with stringy bits of orange.
That’s where this Amoretti Natural Blood Orange Artisan Flavor comes in, and let me tell you, it is stunning. I’ve been working with Amoretti a lot in the past year (featuring flavors from lemon to coconut to peppermint and more) and this might just be my new favorite product of theirs.
When I’ve made orange buttercreams before, I’ve used a few tablespoons of fresh orange juice along with some zest and food coloring to make a mildly orange flavored buttercream. And it is fine, but you really can’t add much liquid juice to a buttercream without affecting the structure. So the orange flavor was definitely subtle.
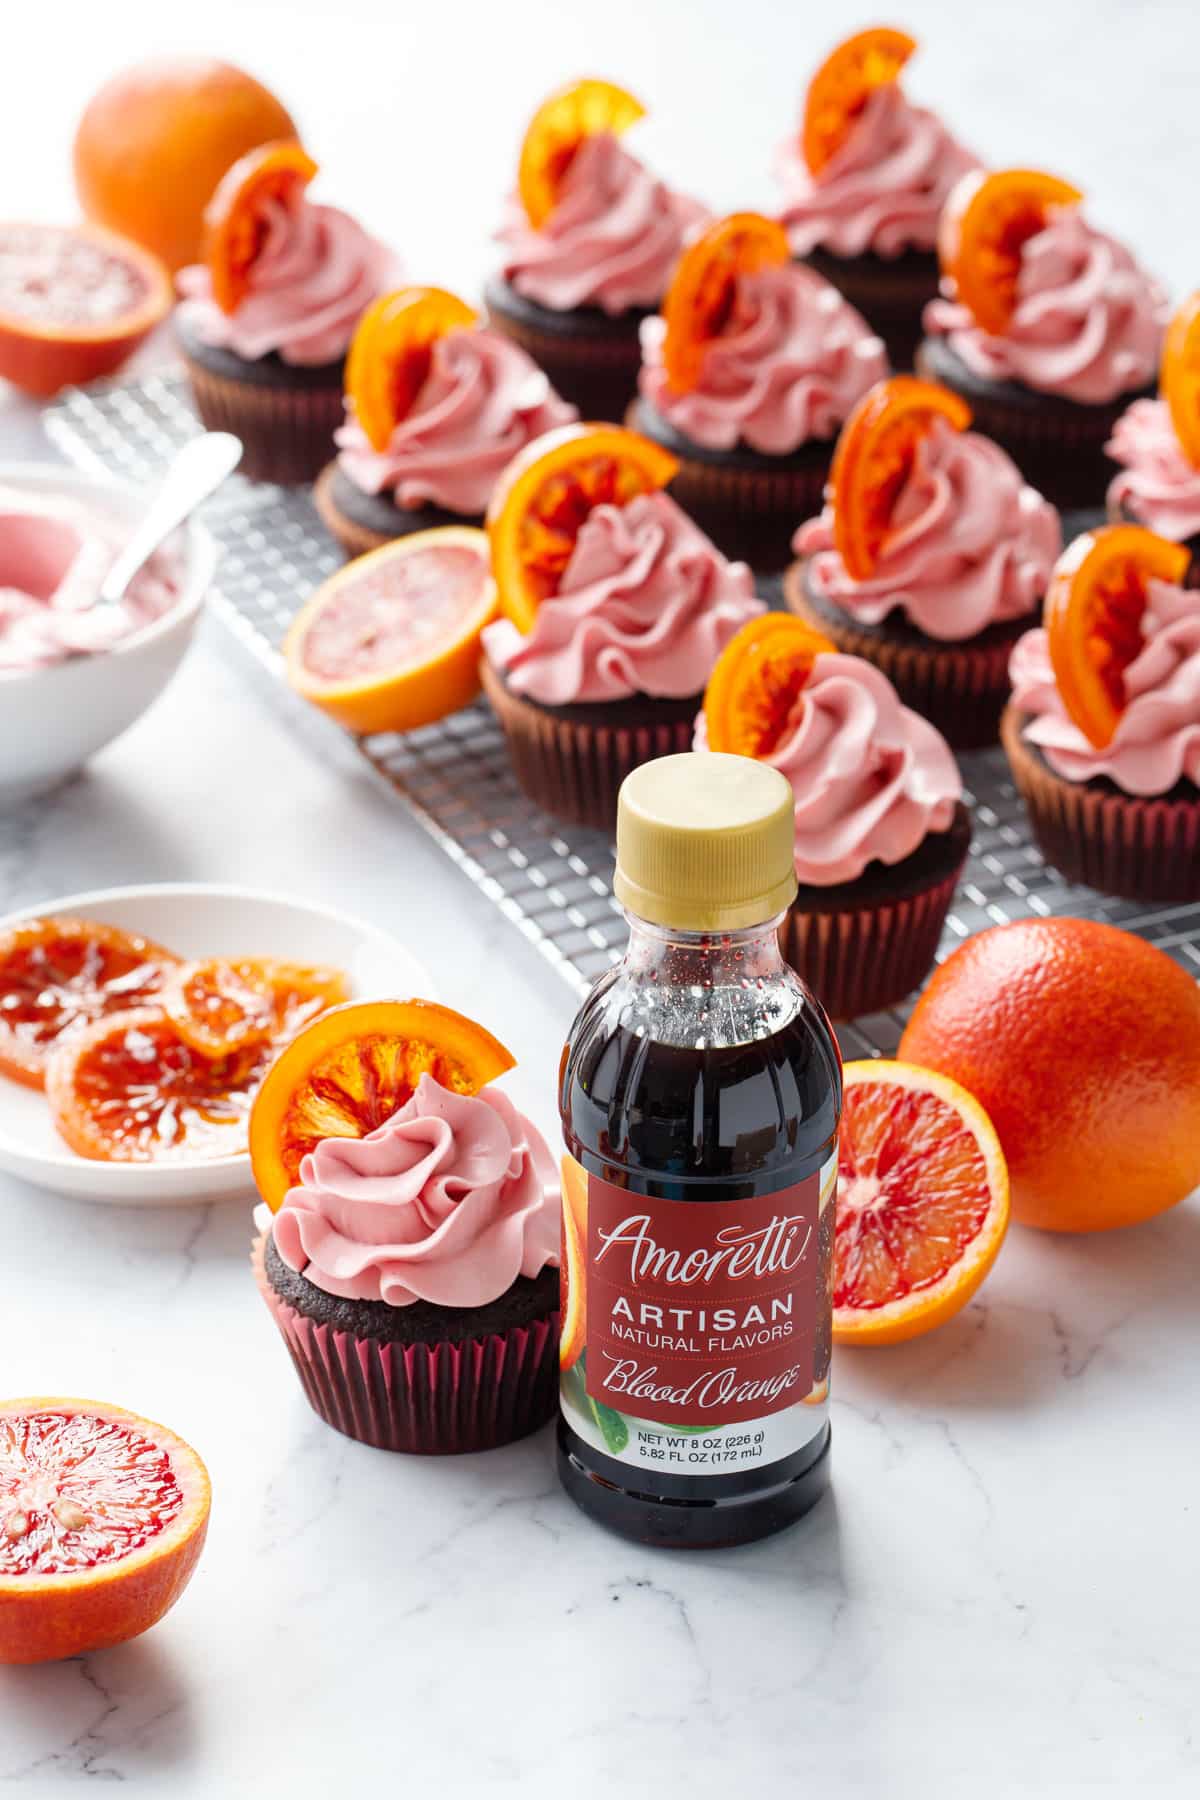
Adding just a teaspoon of the Amoretti Natural Blood Orange Artisan Flavor in the frosting brings out the blood orange flavor in earnest, not to mention gives the frosting a gorgeous pale pink hue. The flavor is a bright and tangy, with an almost candy-like orange flavor, and subtle undertones of red berries. It’s like biting into a slice of fresh blood orange, but somehow even better and brighter than the real thing.
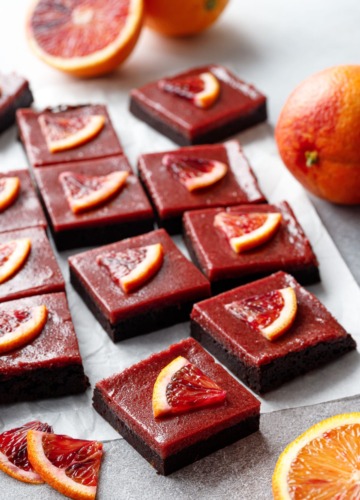
I really wish I knew about this product this time last year when I was obsessively trying to make a blood orange curd that was as tart and punchy as lemon curd. After numerous tests, I ended up using a blood orange reduction for a stronger flavor and color, but this Amoretti Artisan flavoring would have made things so much easier. (If you attempt the blood orange brownies, which you should because they are delicious, feel free to skip the reduction step and add a teaspoon or two of the Artisan flavoring to 1/2 cup freshly squeezed blood orange juice and save yourself some time).

This is an update of a cupcake recipe I originally posted way back in 2010, when I was still firmly in my fancy cupcake era.
I originally developed this recipe for a cupcake recipe contest where the theme was olive oil. I figured it would be absolutely ridiculous if I didn’t enter, you know, seeing as this blog’s name is practically an ode to the stuff. And honestly, it’s been 14 years and I can’t remember if I won or even placed in the contest, but I have never forgotten these cupcakes.
Swapping vegetable oil for olive oil in baked goods is one of my favorite things to do. Though I haven’t directly compared a cupcake made with olive oil to one made with canola, I like to think it adds a certain complementary fruitiness to these cupcakes. Both chocolate and orange are very strong flavors, so you can’t really taste much of the olive oil in the final cupcake (unlike my Lemon Olive Oil Sugar Cookies which have a prominent olive oil flavor). If the challenge had been to create a cupcake that highlighted the flavor of olive oil, I clearly failed; however, if the goal was merely to use olive oil in a divine cupcake concoction, well, then I have done my job.
I initially wanted to use light olive oil (as I’ve heard it makes a good substitute for canola), but it’s surprisingly hard to find. In the hierarchy of olive oils, there is extra virgin, which has the strongest flavor, followed by pure, and then light.
I ultimately used a mid-shelf extra virgin olive oil, one with nice fruity notes rather than spicy/grassy/peppery ones. Don’t waste your super expensive stuff here especially considering you need 1/3 cup of it. You can also use pure or light olive oil or any other neutral oil like canola, avocado, or grapeseed oil.
Another bonus to an olive oil-based cupcake recipe (compared to a butter-based one)? You can mix it all by hand, no electric mixer required.


Eggcellent (or not)
My original cupcake recipe was eggless, as many of my early cupcake recipes were (in addition to my cupcake era, I was also going through a vegan cupcake phase, although the fact I still used real butter in the frosting has me scratching my head). When revisiting the recipe, I ultimately added the egg back as I found it to produce a more stable cupcake with a nicely shaped dome that is less prone to sinking.
That said, if you’re looking for an eggless cupcake like the original, simply omit the egg in the recipe and you’ll be fine (the cupcakes will bake up flatter with less of a peak, but they’ll still be perfectly delicious).
And if you’re looking for a vegan/dairy free option, replace the milk in the cupcake with your favorite alternative milk (the original recipe called for coconut milk). You can also use a vegan butter in the frosting too.
Mock-Meringue Buttercream
I used an interesting method for the frosting that involves making a sugar syrup from powdered sugar and blood orange juice, and then adding that to the whipped and aerated butter. I wasn’t convinced it would work, but what’d’ya you know, it was absolutely lovely!
You know that slightly ‘gritty’ texture you get in American buttercream? That’s actually because there isn’t not enough water present in the butter to dissolve the powdered sugar (remember that sugar dissolves in water but not fat), so the grains of sugar just sit there suspended within the butter rather than dissolving into it like they do in, say, a Swiss meringue frosting, where the sugar is dissolved into a syrup.
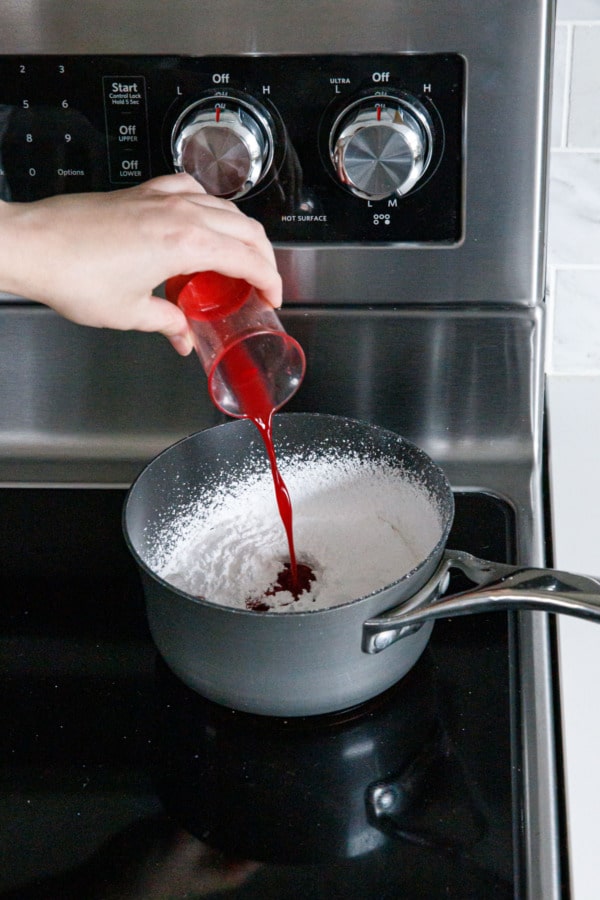
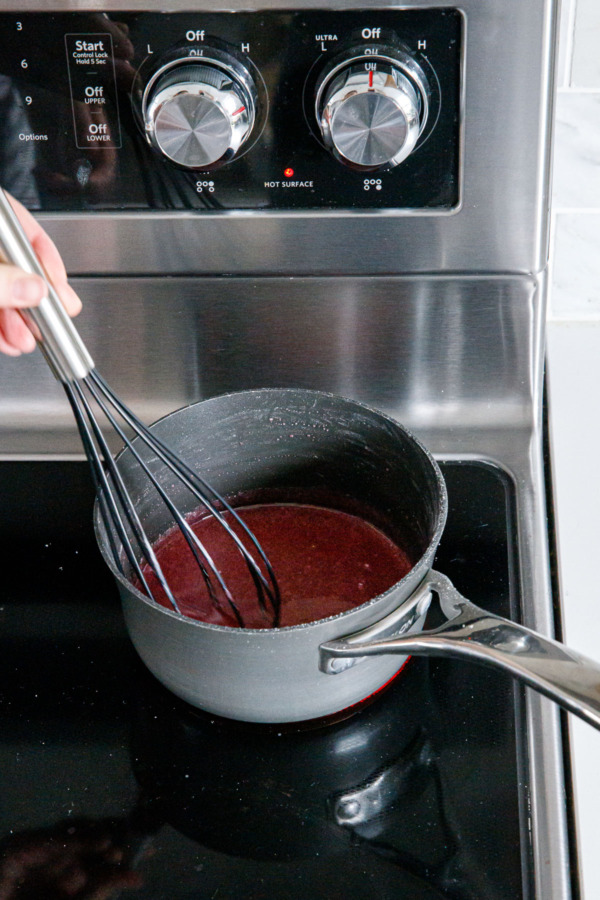
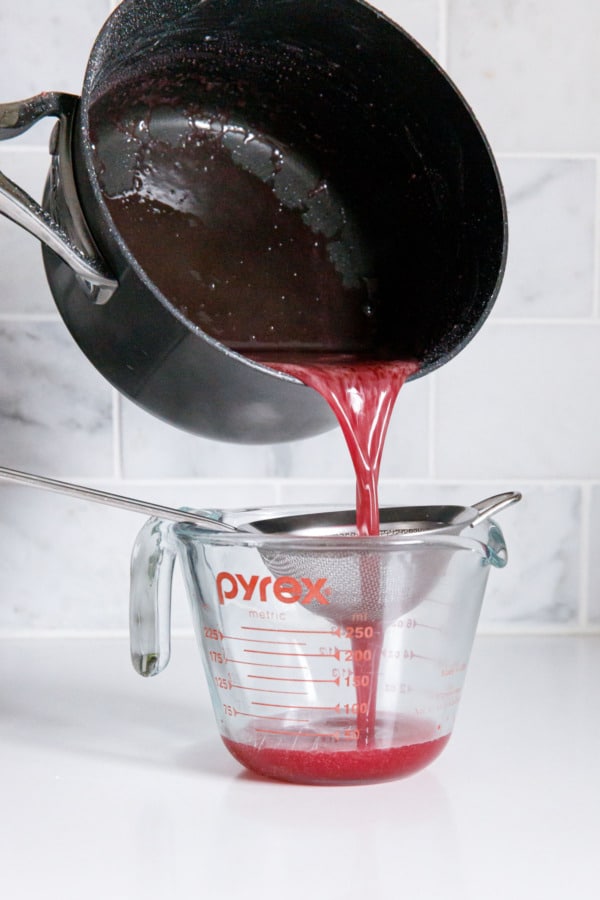
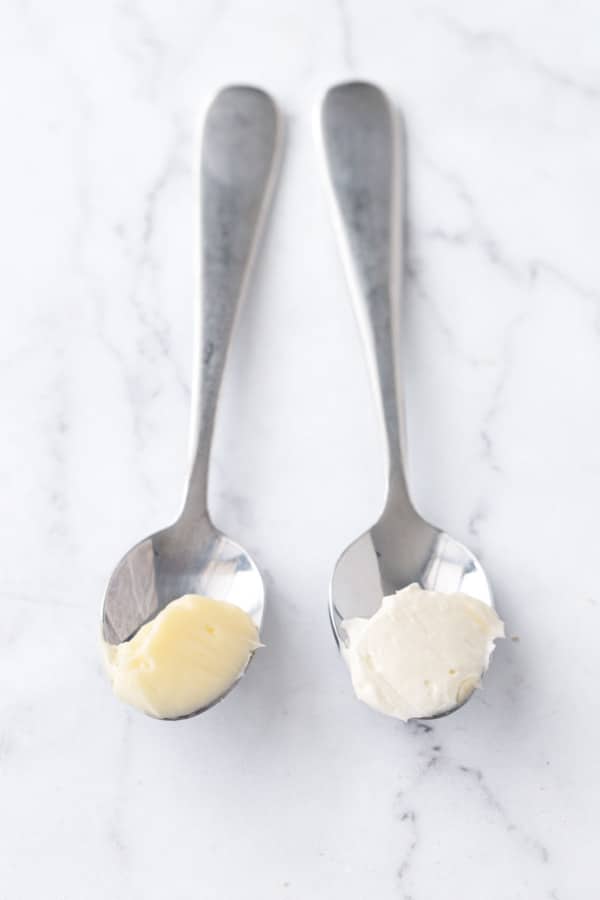
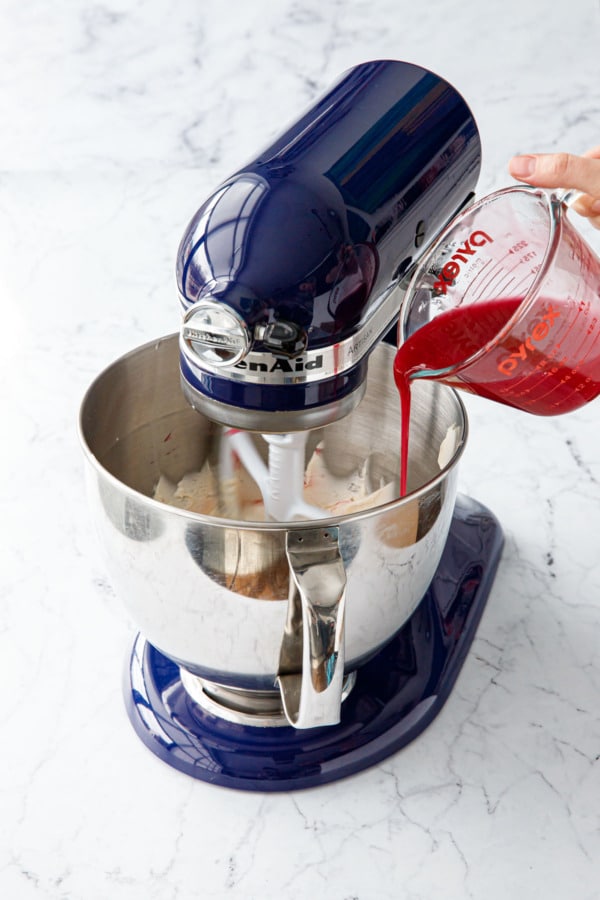
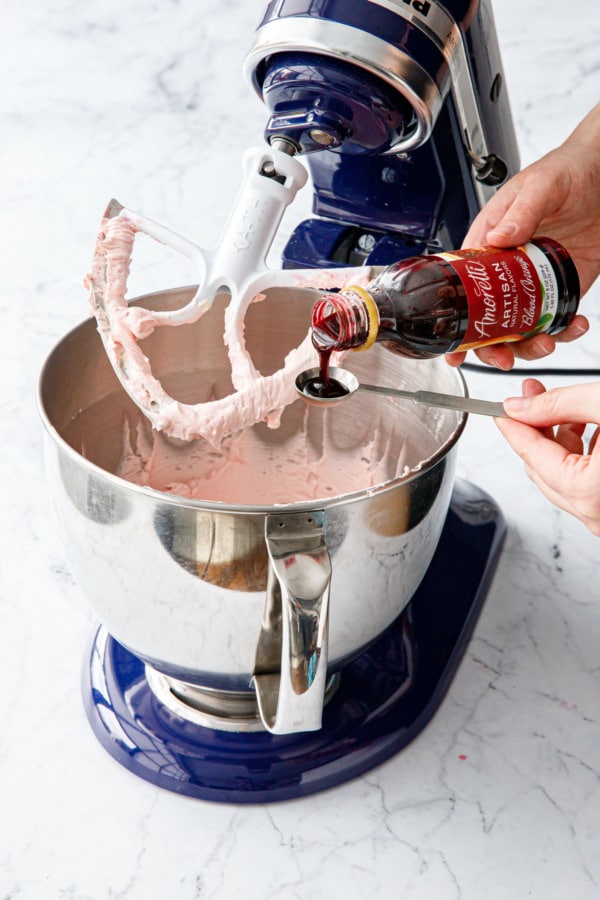
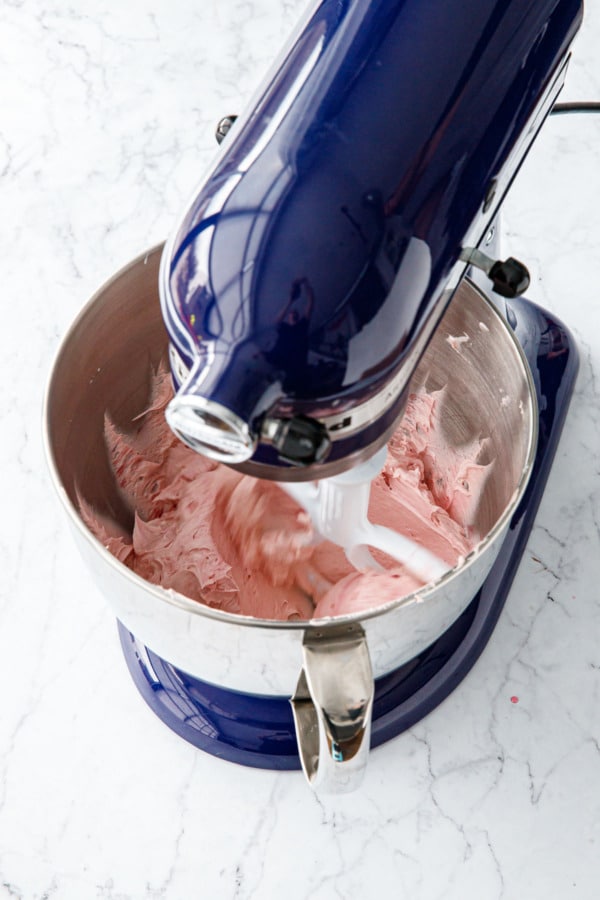
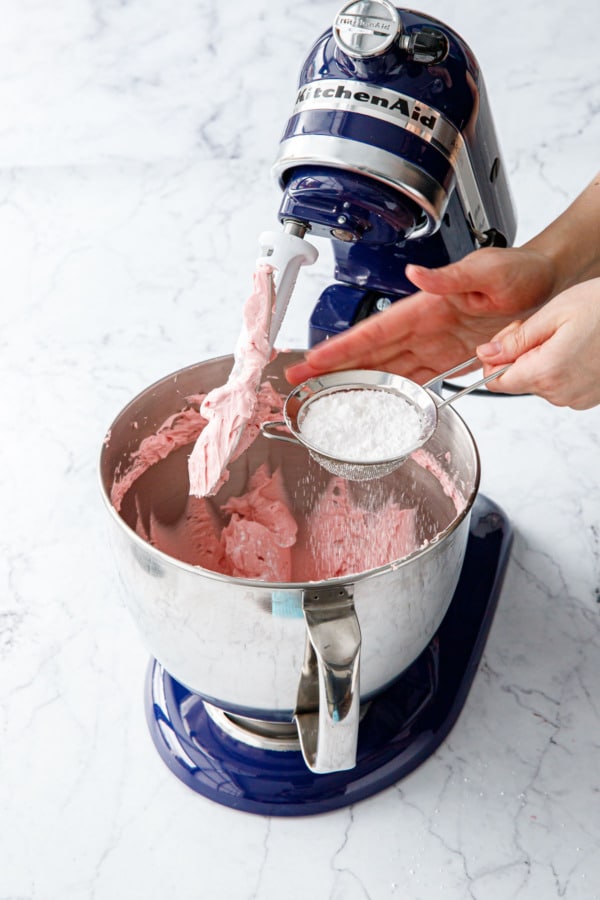
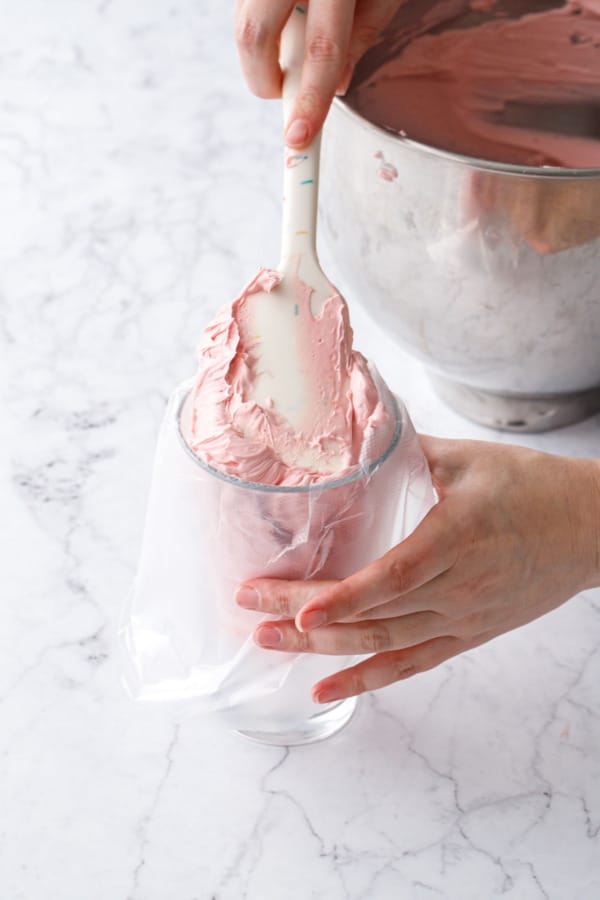
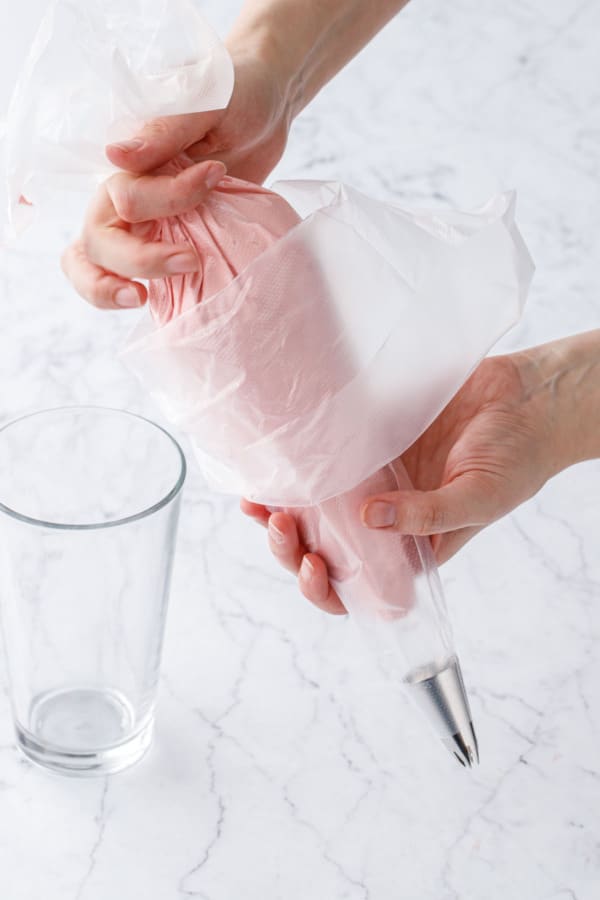

By making a syrup with the powdered sugar and water (or in this case, orange juice), the sugar dissolves completely and forms a smooth emulsion with the butter, making for a silky smooth buttercream. I’ve seen frosting recipes that use corn syrup in a similar way, to allow the sugar and butter to dissolve and form an emulsion. Instead of corn syrup though, we’re using a pre-dissolved syrup of powdered sugar and orange juice (you could also use milk or water or coffee or any other water-like liquid).
I originally saw this buttercream method on Facebook (though it used water where I opted for orange juice). I can’t for the life of me find the original reel or recipe, even after excessive searching. I’m a bad food blogger for not properly crediting, I know, but I promise I tried to find that original baker that inspired this technique, because it’s truly a brilliant buttercream method that’s way easier than a meringue but with a smoother, less gritty texture and much less sugar than traditional American buttercream.
Since, as far as I can tell, it doesn’t have an official name or style (like American, Swiss/French/Italian Meringue, etc), I’m just going to call it Mock Meringue since it has a similar consistency to a meringue frosting without any eggs.

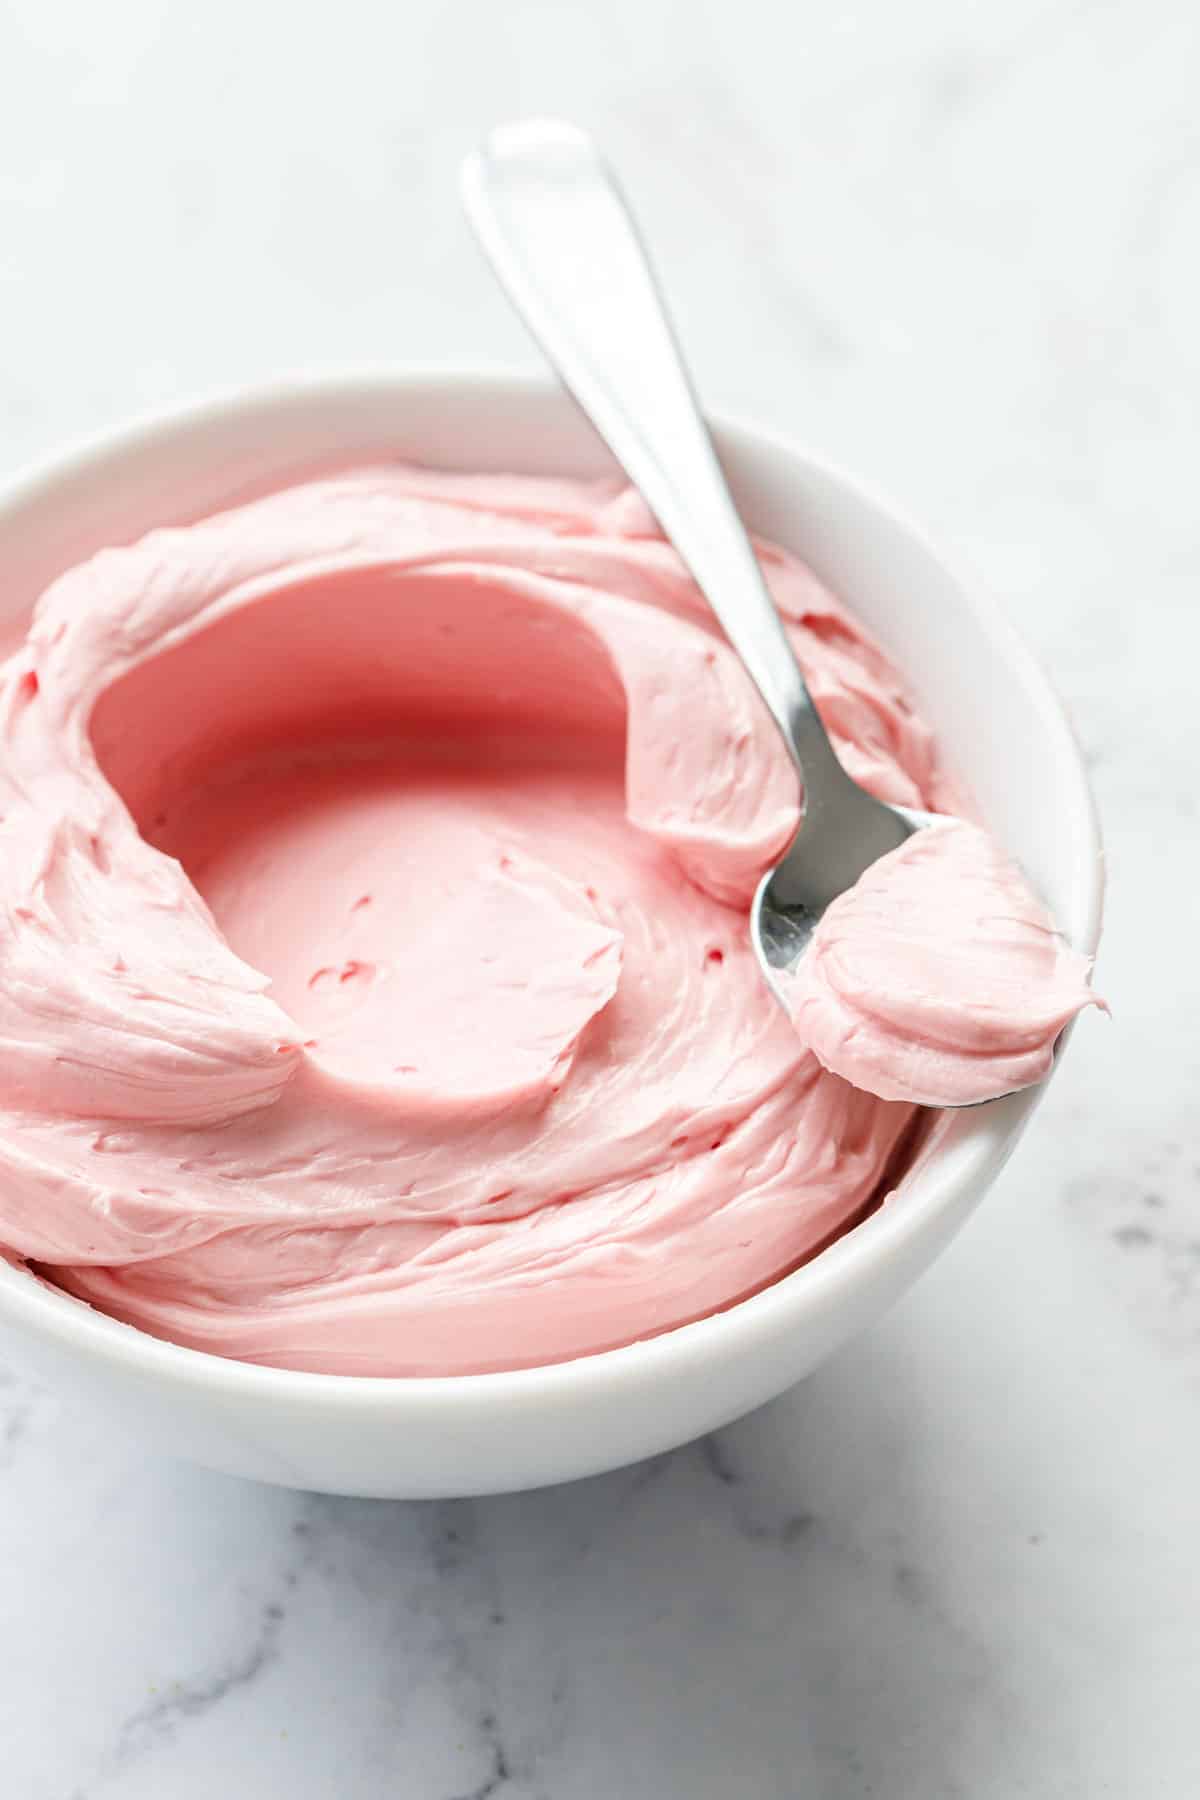
Buttercream Tips
When it comes to making buttercream of any style, temperature is key. Ideally all your ingredients (in this case the butter and the sugar syrup) will be at cool room temperature. For me, my butter was 65 to 70 degrees F and the sugar syrup had cooled completely down to 75 degrees F.
If your butter is too cold or your syrup is too warm, they will not properly emulsify and you’ll likely end up with a broken buttercream.
Remember to only soften your butter to cool room temperature, and be sure the sugar syrup is completely cooled before slowly incorporating it into the butter a little at a time. Seriously, use a probe thermometer and poke it right into a stick of butter; also measure the temperature of your syrup to be sure it is completely cooled. Conversely, if the syrup is too cool (if you refrigerated it overnight, for example), you’ll want to let it sit and come back to cool room temperature (70-75 degrees F) before incorporating it into your whipped.
I will note that I made this frosting in the wintertime in a cool kitchen (we keep our thermostat at 65 degrees). In the summer when things are warmer, don’t let the butter sit out too long as having overly-soft butter can cause just as much trouble as cold butter.
Be sure to fully whip your butter! Way more than you would do for cake or cookies. That means a solid 8 to 10 minutes on medium-high/high speed in a stand mixer. You can see in the process photos above that the fully whipped butter is very light and fluffy and almost white in color. Under-whipped butter will not properly emulsify with the sugar syrup.
If your buttercream goes soupy on you, your syrup was probably too warm. Simply pop the whole bowl in the fridge for 20 or 30 minutes to cool and then keep beating it on high for 5 to 10 minutes or more.
Conversely, if things are too cold, and the buttercream still feels too buttery/greasy, the easiest way to bring it up to temperature is to melt a few tablespoons in the microwave, then slowly drizzle it back into the rest of the frosting with the mixer running. Keep beating on high until everything comes together into a light and fluffy frosting. (This is also the best way to re-fluff a buttercream that’s been refrigerated; let it come up to cool room temperature, put it back in the mixing bowl, and then drizzle in some melted buttercream as you mix it).

Serving & Storage
The frosted cupcakes are the best the day they are made, served at cool room temperature (the cupcakes are totally fine sitting out for a few hours as long as it’s not too warm out.)
If you have to refrigerate them, the buttercream won’t be as light and fluffy (since butterfat sets up firmly when chilled). I prefer to frost my cupcakes the day of for this reason. But this is the case with pretty much all styles of buttercream; I’ve yet to find one that stays soft and fluffy after chilling (although this mock-meringue frosting won’t develop a ‘crust’ like American buttercream).
For those curious, I used these ombre cupcake wrappers in this recipe. While they aren’t the highest quality and definitely not greaseproof, I loved how the exposed ridges around the edge reflected the gorgeous colors of the blood orange.
You can make the cupcakes ahead of time and freeze them in an airtight container for up to a month; let them come to room temperature for an hour or so before frosting. I don’t recommend freezing frosted cupcakes as the texture of the buttercream just isn’t as enjoyable as freshly mixed.

Ingredient Notes & Substitutions
Amoretti Natural Blood Orange Artisan Flavor: This is a very unique product and this recipe, the frosting in particular, was written specifically for it. While omitting the flavoring won’t affect the technical outcome of the recipe, you’re simply not going to get the same intense blood orange flavor without it. You could try reducing about 1/2 cup of blood orange juice down to the 1/4 cup called for in the frosting, then add the powdered sugar to make the syrup as instructed. This should help intensify the flavor a little. Optionally, add a teaspoon or two of blood orange zest to the final frosting (this will change the consistency though), and a few drops of red or pink food coloring to enhance the color.
Use coupon code LOVEANDOLIVEOILFREESHIP at Amoretti.com for free shipping on your order!
Amoretti Natural Vanilla Bean Artisan Flavor Paste: Vanilla and orange (and chocolate) go together so beautifully, even if the vanilla flavor isn’t immediately obvious, it complements the others nonetheless. You can use regular vanilla paste or extract in the same quantities as listed.
Cocoa Powder: Dutch process cocoa powder gives these cupcakes a darker brown color and richer flavor than natural cocoa powder. Cacao Barry and Valrhona are my favorite brands. That said, you can substitute the same amount of natural cocoa… if you do, replace the 1/2 teaspoon of baking powder with an additional 1/4 teaspoon of baking soda (so 3/4 teaspoon total) to account for the additional acidity.
Blood Oranges: I used fresh blood oranges, both the zest and juice, in the cupcakes and the frosting. You’ll need 2-4 oranges in total for this recipe depending on the size, enough to give you about 1/2 cup of juice. You can use navel or any other type of oranges instead. If you opt to leave the orange juice out of the cupcake base, replace with an equal amount of additional milk or water. The orange juice in the frosting can also be replaced with water, milk, coffee, or any other water-based liquid.
Extra Virgin Olive Oil: The fruity olive oil beautifully compliments the bitter dark chocolate and sweet-tart blood orange in these cupcakes. I recommend a mid-shelf olive oil with bright, fruity flavor notes. That said, you can use any neutral-flavored oil in its place, such as vegetable or grapeseed oil.
Egg: The original cupcake recipe I shared was an eggless cupcake, so you are fine leaving the egg out of this without any substitutions. Just know your cupcakes will be a bit more delicate and won’t rise as much as a result, but they’ll still taste great. With the eggless mock-meringue frosting this would be a great option for anyone who doesn’t eat eggs!
Milk: I used whole milk, but you can use any kind of milk in this recipe including non-dairy milks like coconut or soy.
This recipe was originally published in January 2010 and has been updated as of February 2024. The new version adds an egg to the cupcake base, and features a different frosting that’s much smoother, less sweet, and more flavorful than the original.
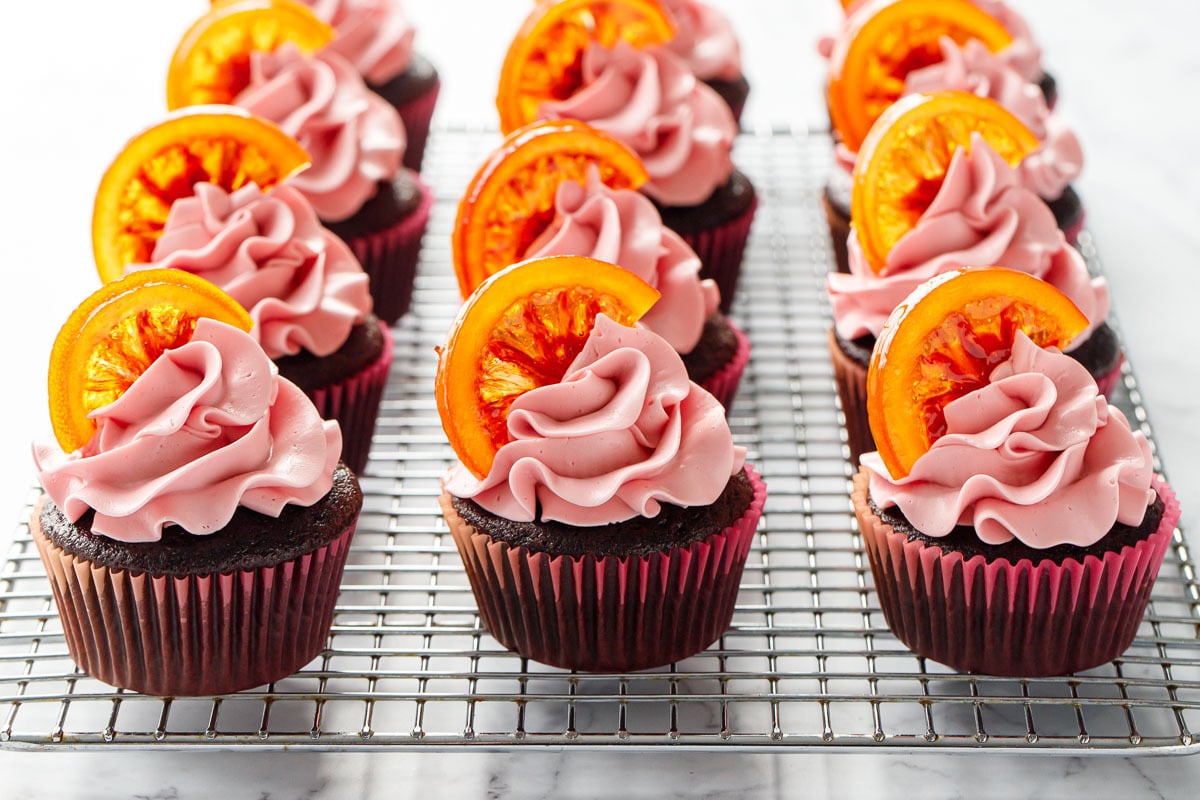
Chocolate Olive Oil & Blood Orange Cupcakes
Ingredients
For Cupcakes:
- 1 cup / 130 g all-purpose flour
- ⅓ cup / 30 g Dutch process cocoa powder, sifted
- ⅓ cup / 70 g extra virgin olive oil
- ½ teaspoon baking powder
- ½ teaspoon baking soda
- ½ teaspoon fine sea salt
- ¾ cup / 150 g sugar
- 1 teaspoon orange zest, from 1 medium orange
- ¾ cup / 177 g whole milk
- 1 large egg
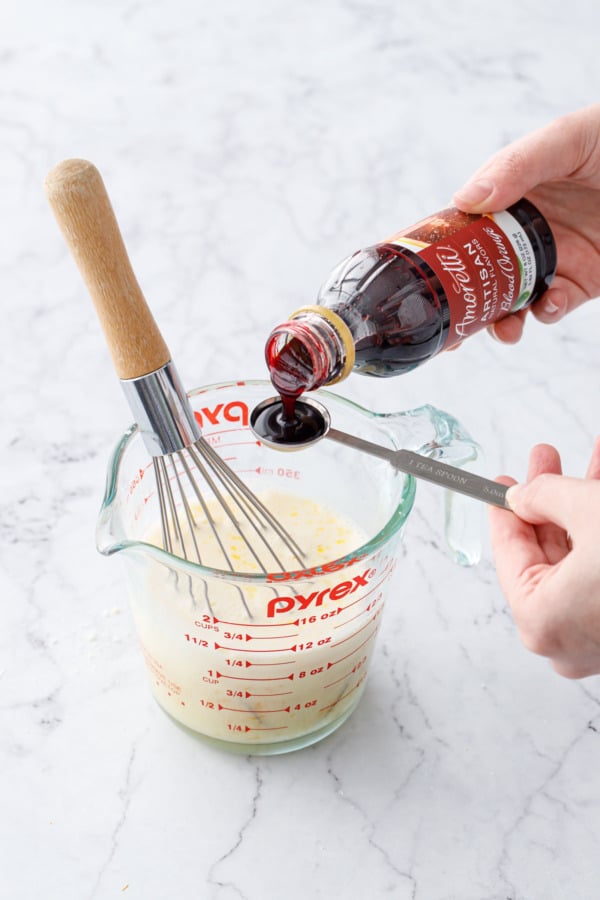
- 1 teaspoon Amoretti Natural Blood Orange Artisan Flavor
- 1 teaspoon Amoretti Natural Vanilla Bean Artisan Flavor Paste
- ¼ cup / 60 g blood orange juice, from 1 medium or 2 small oranges
For Frosting:
- 1 cup / 120 g powdered sugar, sifted
- ¼ cup / 60 g blood orange juice, from 1 medium or 2 small oranges
- 3 tablespoons / 63 g light corn syrup
- pinch fine sea salt
- 1 cup / 226 g unsalted butter, at room temperature
- 1-2 teaspoons Amoretti Natural Blood Orange Artisan Flavor, more or less to taste
- 2-4 tablespoons powdered sugar, or more as needed
- candied orange slices, optional, for garnish
Instructions
- Preheat oven to 350 degrees F. Line muffin pan with paper liners (I recommend dividing the cupcakes evenly into two pans of 8 and 7, rather than 12 and 3, to ensure more even baking; if you don't have two pans you can bake two batches one after the other).
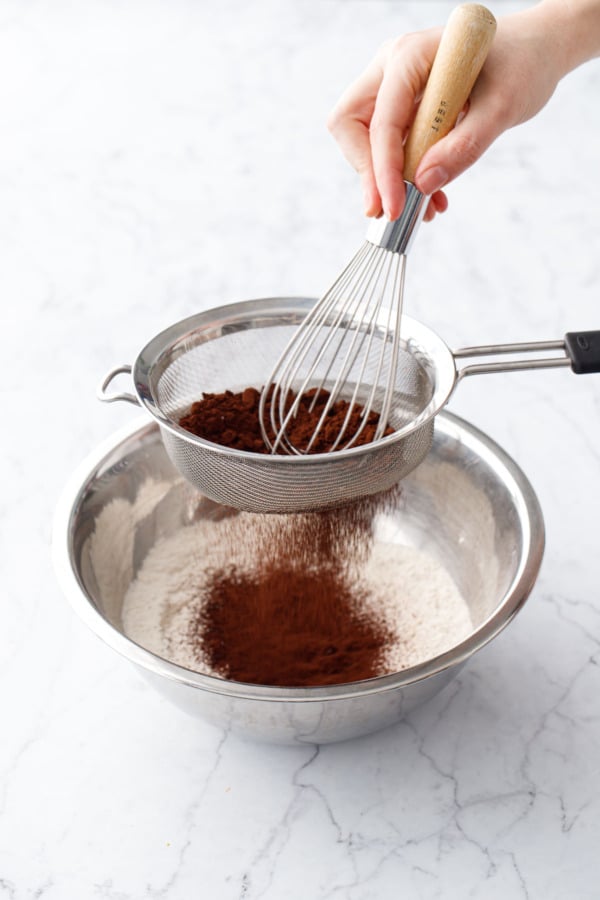
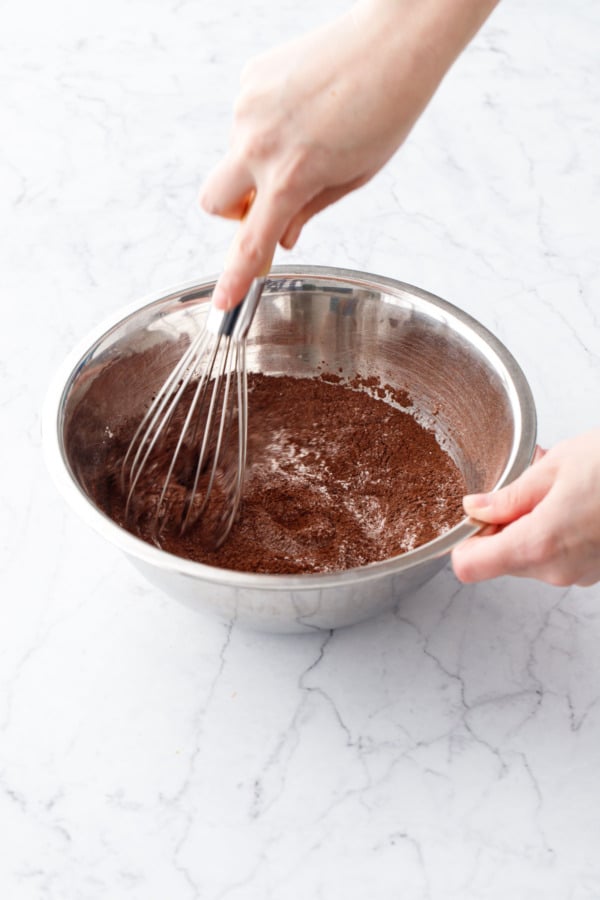
- In a mixing bowl, sift together the flour, cocoa powder, baking soda, baking powder, and salt and set aside.
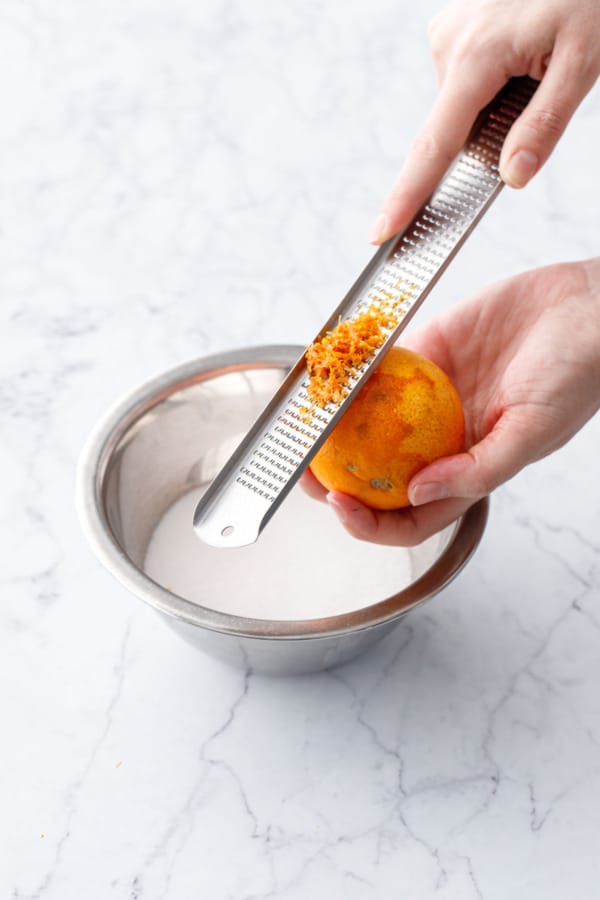
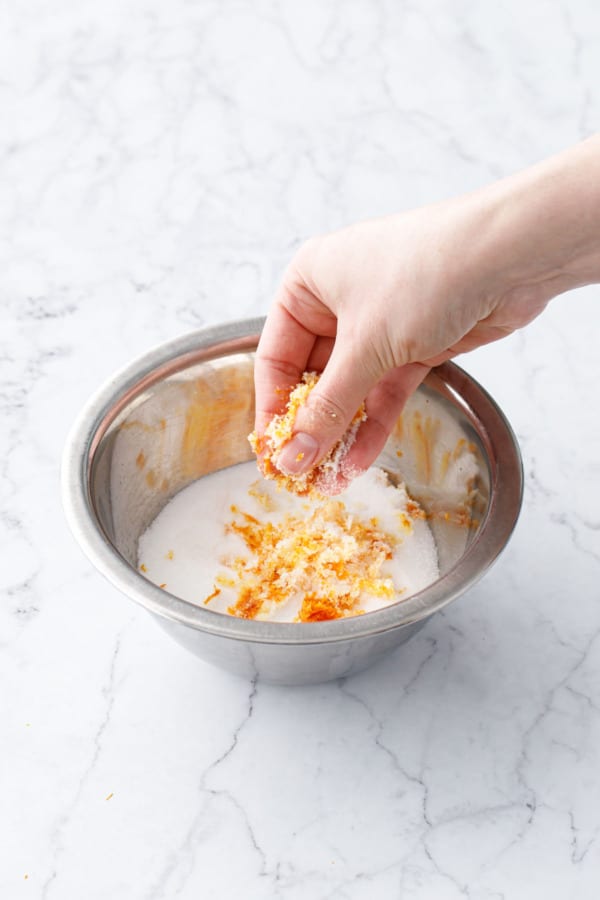
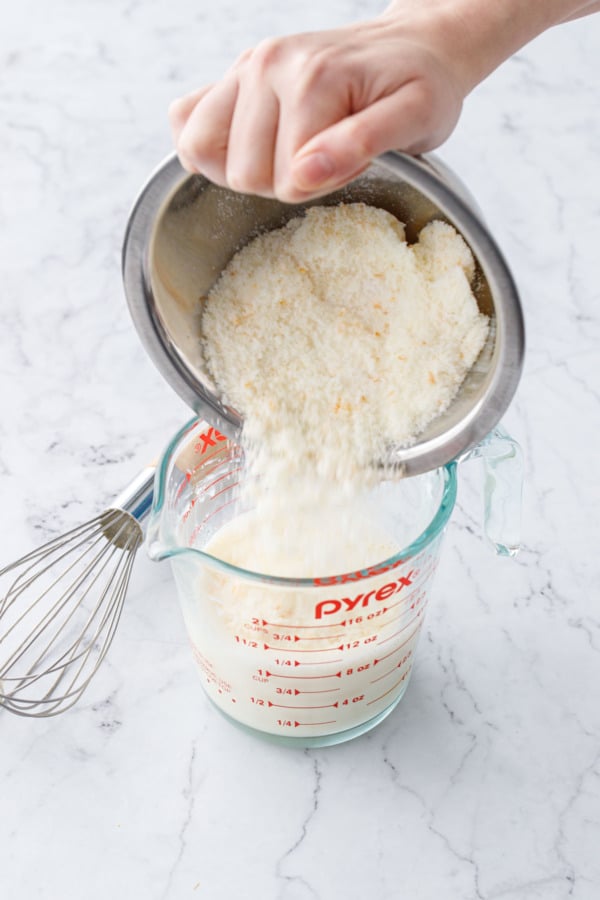
- In a small bowl, rub orange zest into the sugar until very fragrant and evenly distributed.
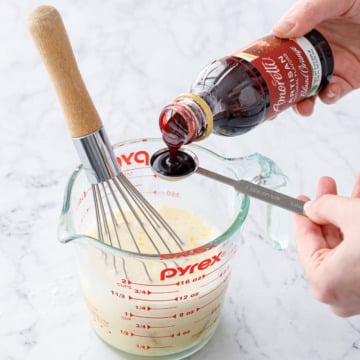
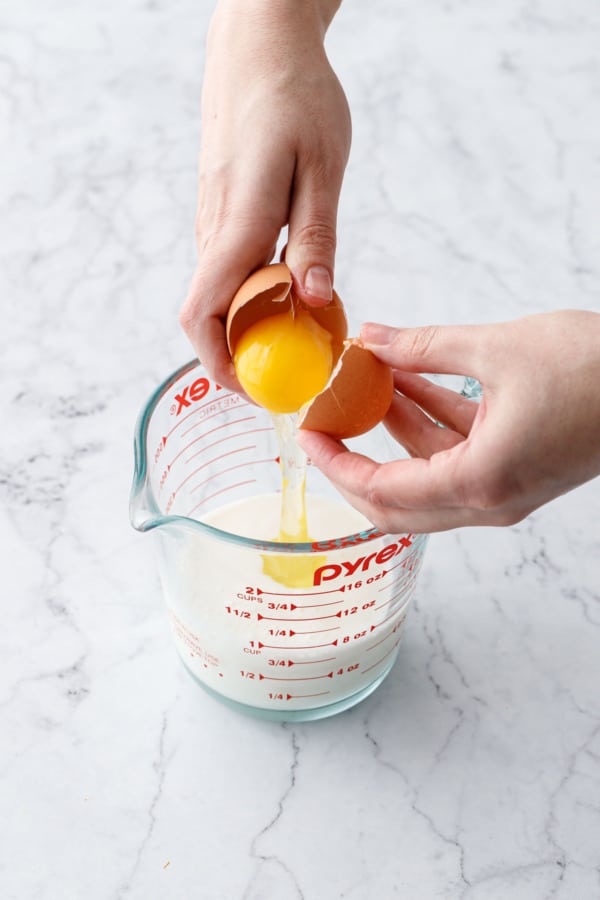
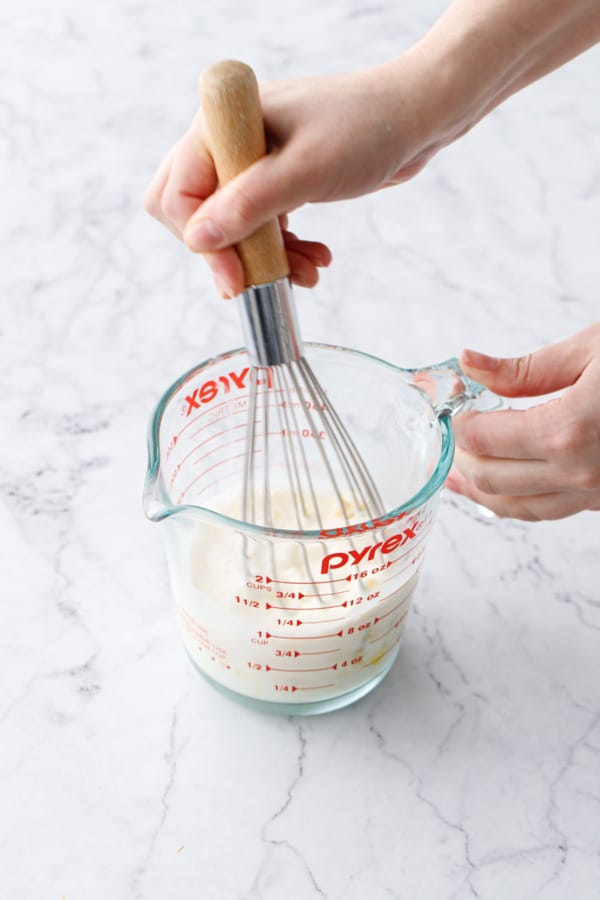
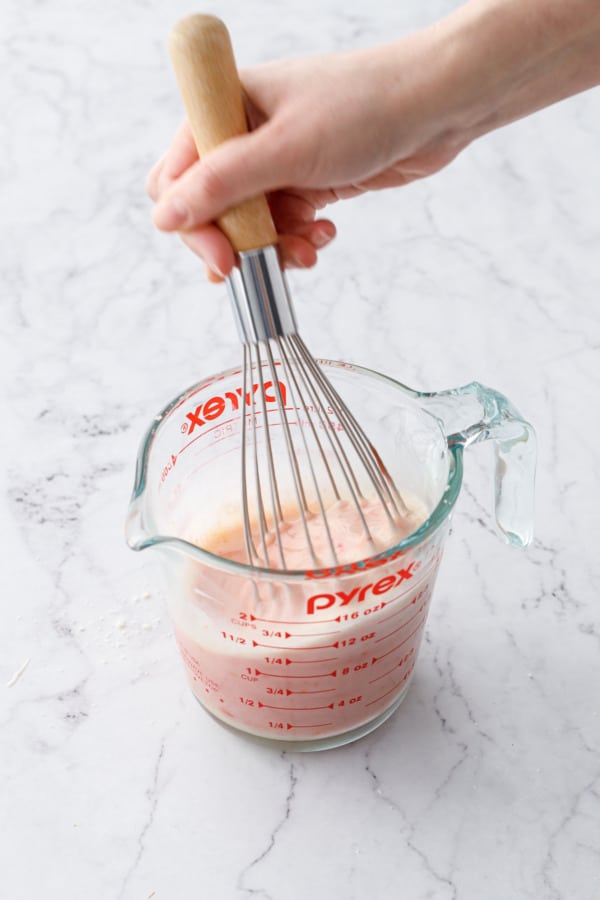
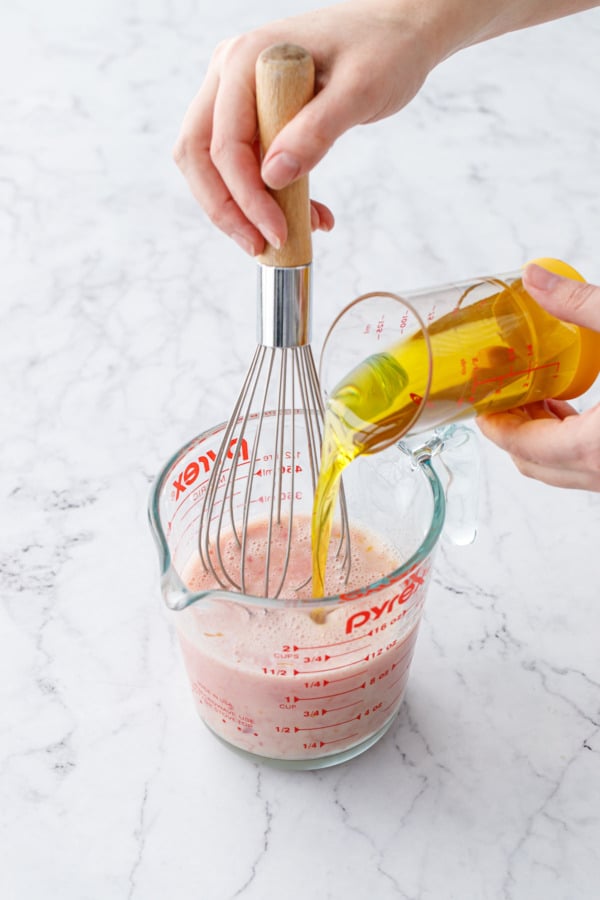
- In another small bowl or 2 or 4 cup capacity measuring cup, whisk together the milk and egg, followed by orange sugar. Add Amoretti Natural Blood Orange Artisan Flavor and Amoretti Natural Vanilla Bean Artisan Flavor Paste. Add oil and whisk until incorporated.
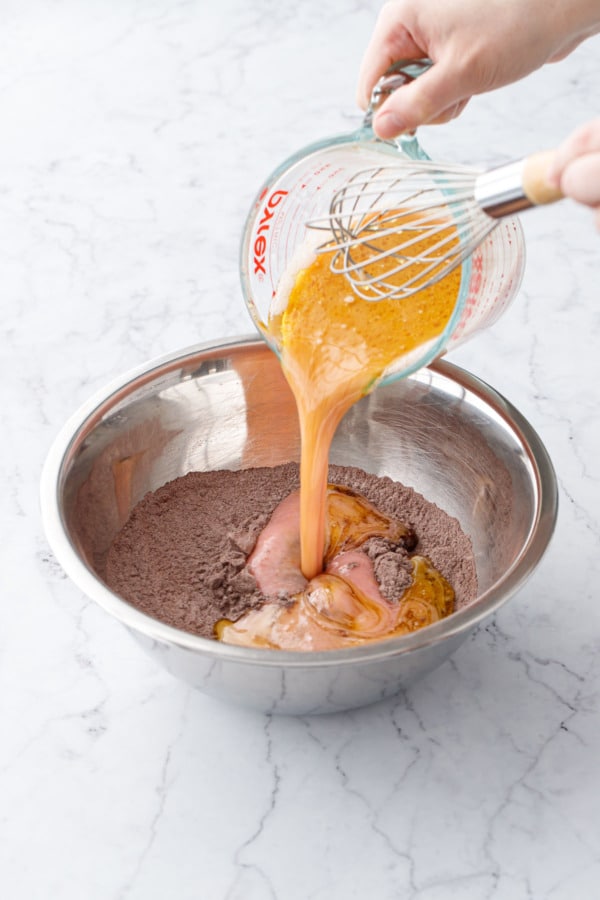
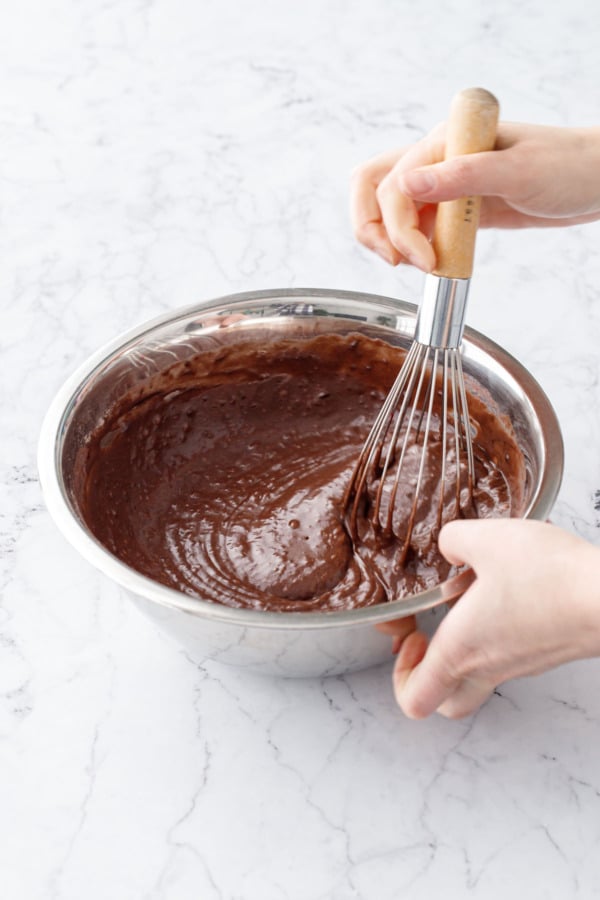
- Make a well in the center of dry ingredients and pour in milk mixture. Whisk until almost fully incorporated, then add orange juice and continue to whisk until mostly smooth (there will still be a few small lumps, but no large lumps or streaks of dry flour).
- Pour into liners, filling each with about 3 tablespoons of batter (cups should be no more than 2/3 full). Bake 15 to 17 minutes or until a toothpick inserted into the center comes out clean. Transfer to a cooling rack and let cool completely.
For Frosting:
- Sift powdered sugar into a small saucepan. Add orange juice, corn syrup, and salt and whisk to combine. Place over medium heat and whisk until syrup is just barely simmering and sugar is completely dissolved. Remove from heat and strain into a heat-proof container, then refrigerate and let cool to about 75 degrees F (about 30 to 45 minutes). If your syrup chills longer and gets colder than this, let it come back to cool room temperature before proceeding.
- Cream butter with an electric mixer on high speed until very light and fluffy and nearly white in color, 7 to 10 minutes (seriously, I mean it when I say 10 minutes!)
- With the mixer running on low, slowly drizzle in room temperature syrup, a few tablespoons at a time, incorporating each addition completely before adding more. This should take a few minutes in total.
- When syrup is fully incorporated, add Amoretti Natural Blood Orange Artisan Flavor and mix until combined. I used about 1 1/2 teaspoons, but you can use slightly more or less if you want a stronger flavor or color.
- Sift in 3-4 tablespoons of powdered sugar, then continue beating until light and fluffy, about 3 to 5 minutes more.
- If your frosting seems a bit too dense and greasy, it's likely too cold. In which case, spoon a few tablespoons of frosting into a small bowl, and microwave for 10 to 15 seconds on 50% power until mostly melted. With the mixer running on low, drizzle in the melted frosting, then increase the mixer speed and beat for a few more minutes until fluffy. (This is also the best way to re-fluff buttercream that's been refrigerated).
- Conversely, if your frosting seems soupy or thin, pop the entire bowl in the fridge for 15 to 30 minutes to chill down a bit, then put it back on the mixer and continue beating. You can also add a bit more sifted powdered sugar to achieve the proper consistency.
- Spread or pipe onto cooled cupcakes and top with a candied orange slice if desired.
Did you make this recipe?
Let us know what you think! Leave a Review below or share a photo and tag me on Instagram with the hashtag #loveandoliveoil.Disclosure: This post was created in partnership with Amoretti. As always, all opinions written are purely our own. We’re incredibly grateful for opportunities like these that allow us to continue sharing delicious recipes with you, so thank you for supporting us and the brands we love.
