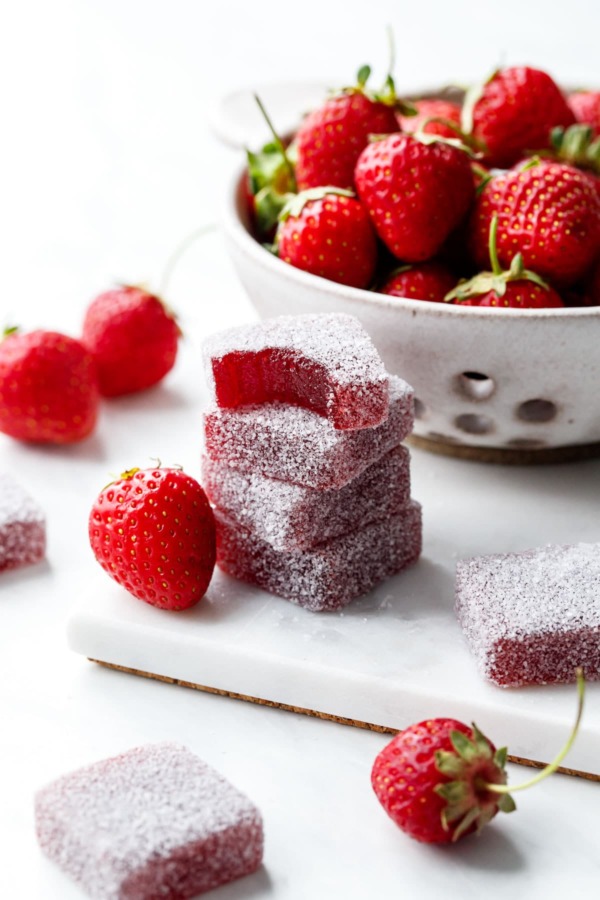
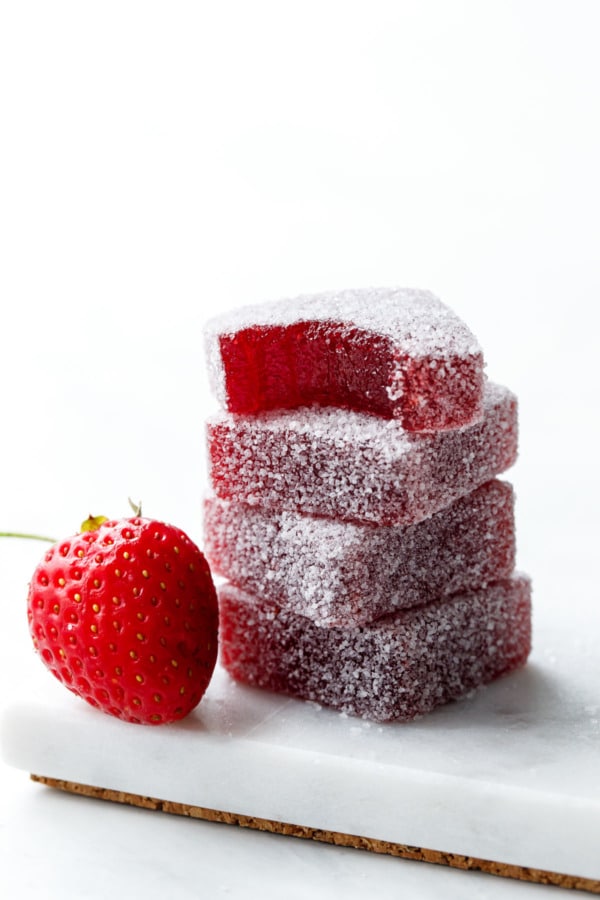
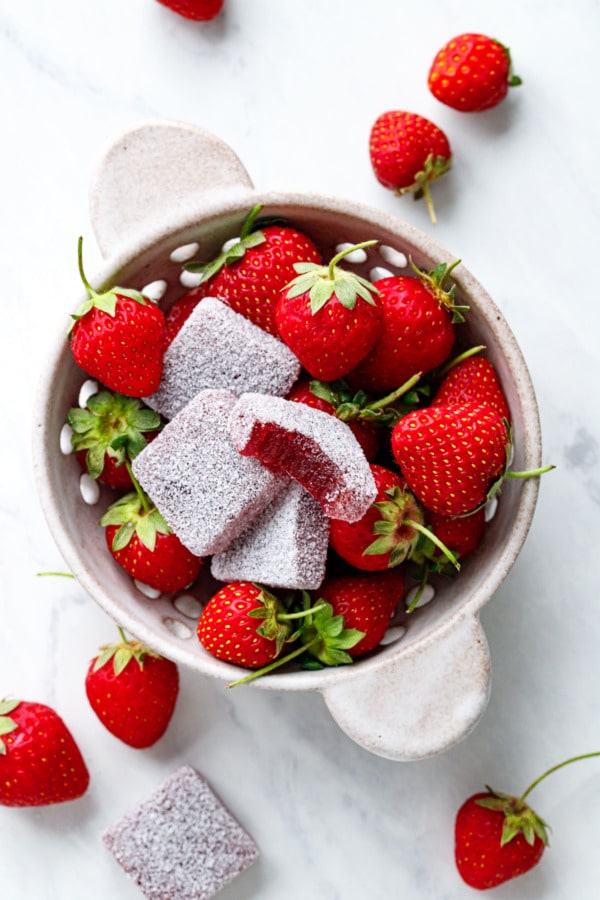
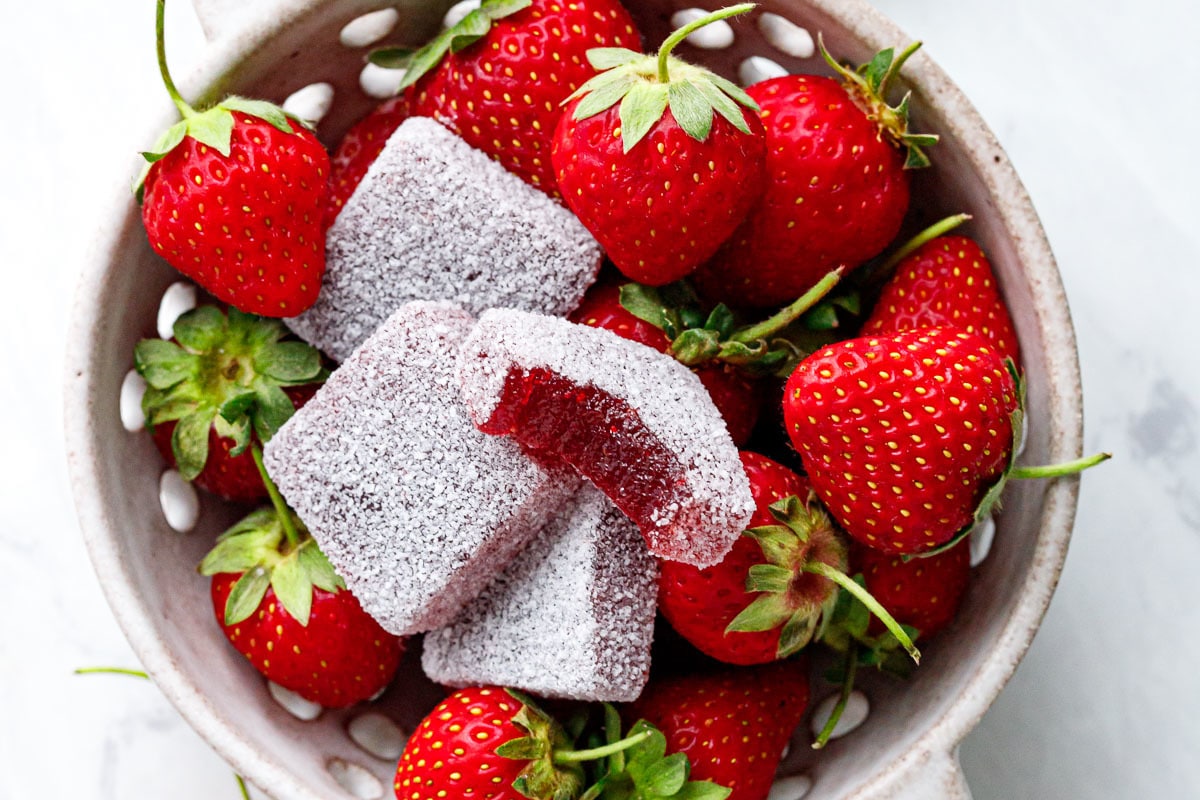
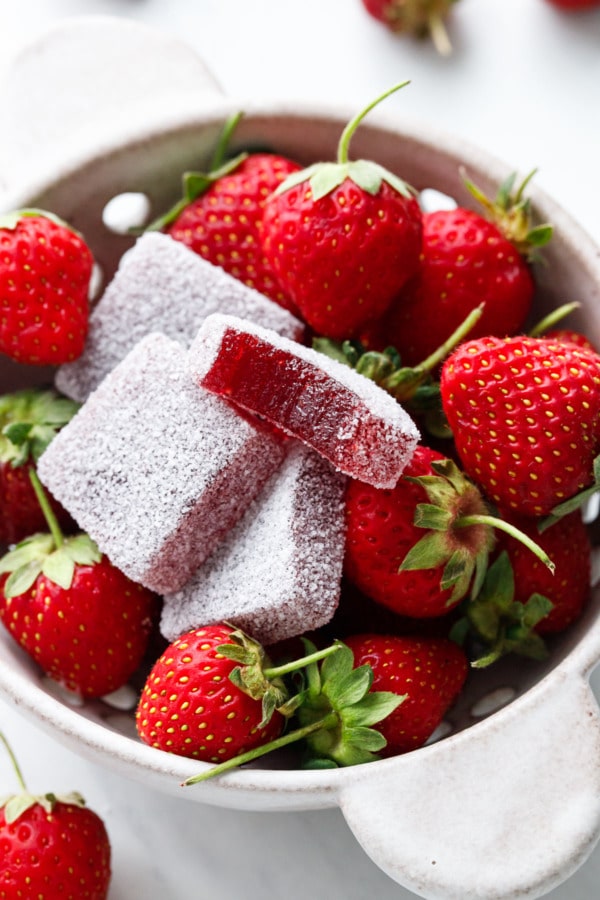
These homemade sour gummies are bursting with strawberry flavor from real fruit, coated with citric acid and sugar for a spectacularly sour finish.
Making your own gummy candies is not for the feint of heart, but the results are well worth the effort. These pectin-based gummies are sweet and sour with a delightful jelly-like texture that you’ll adore.
Before we start, let me just say: these aren’t those kinds of gummies. Don’t get me wrong, they are plenty fun, but just not that kind of fun, if you know what I mean. I have no experience with such confections (we live in the wrong state for that), and thus I cannot advise as to how you might convert this recipe into that kind of recipe, so please don’t ask. Sorry!
Now that that is cleared up, let me tell you a bit about these delightful (and family friendly!) sour strawberry gummy candies.
There is a lot of info in this post, including plenty of sugar science, that I encourage you to read through before attempting this recipe.
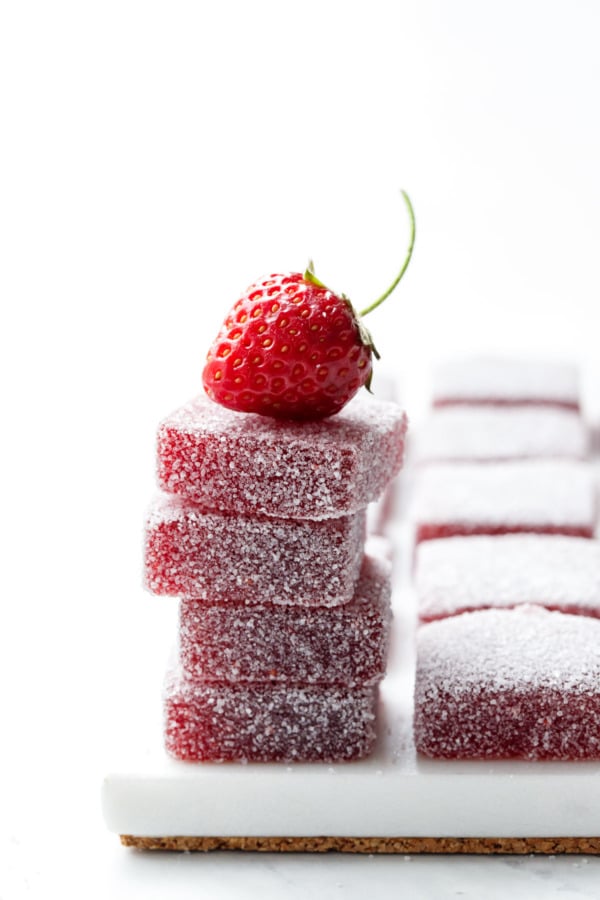
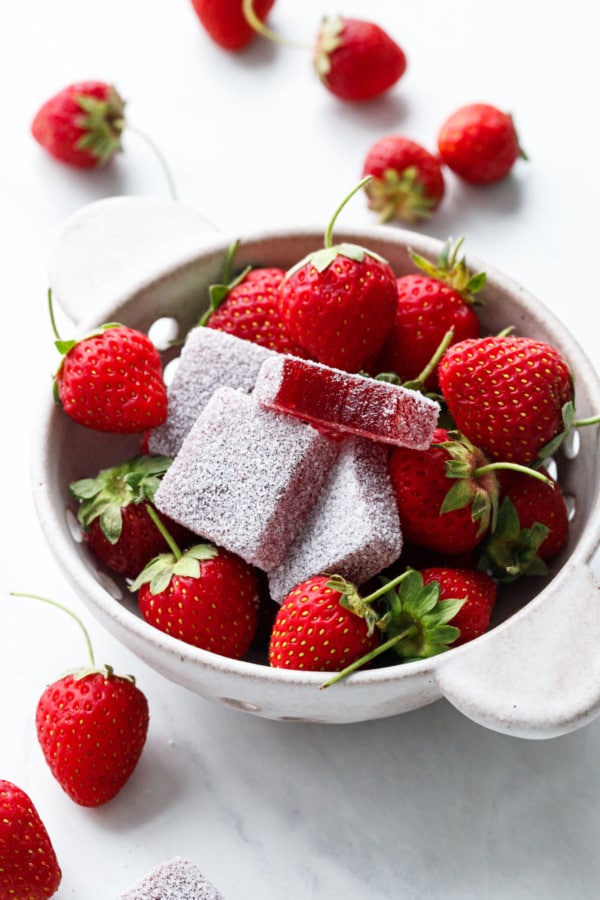
Made using real fruit (versus fruit extract or flavoring concentrates like many gummy recipe), these homemade gummies taste like a perfectly ripe spring strawberry, only more intense. Both the sugar and the citric acid serve to amp up the strawberry flavor even more.
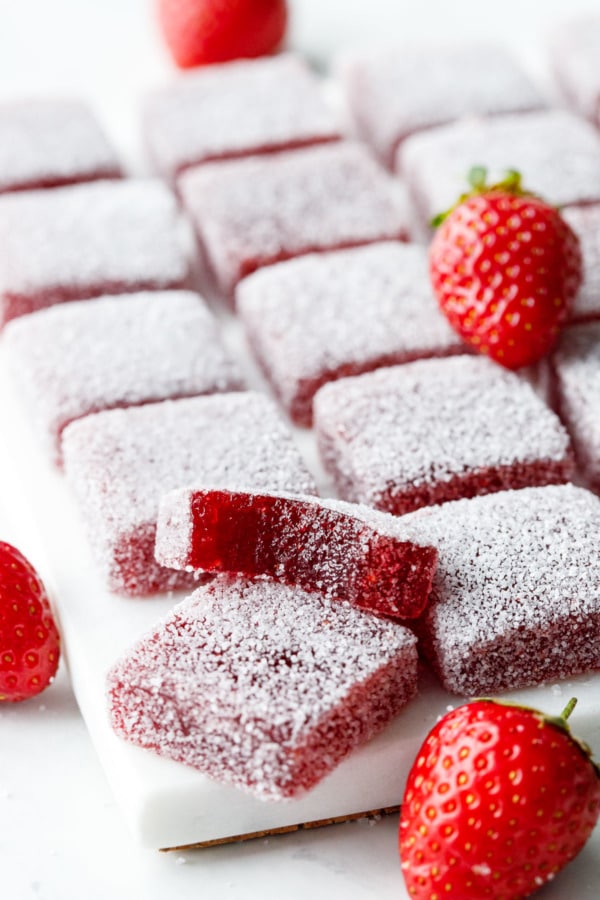
The gummy itself is not overly sour; rather, the tart kick comes from a coating of sugar mixed with citric acid. You can certainly opt to use just sugar if you wanted a sweeter gummy (though don’t leave out the citric acid in the candy base itself as that is necessary for a proper set). You can also increase the citric acid in the coating for a truly mouth-puckering result.
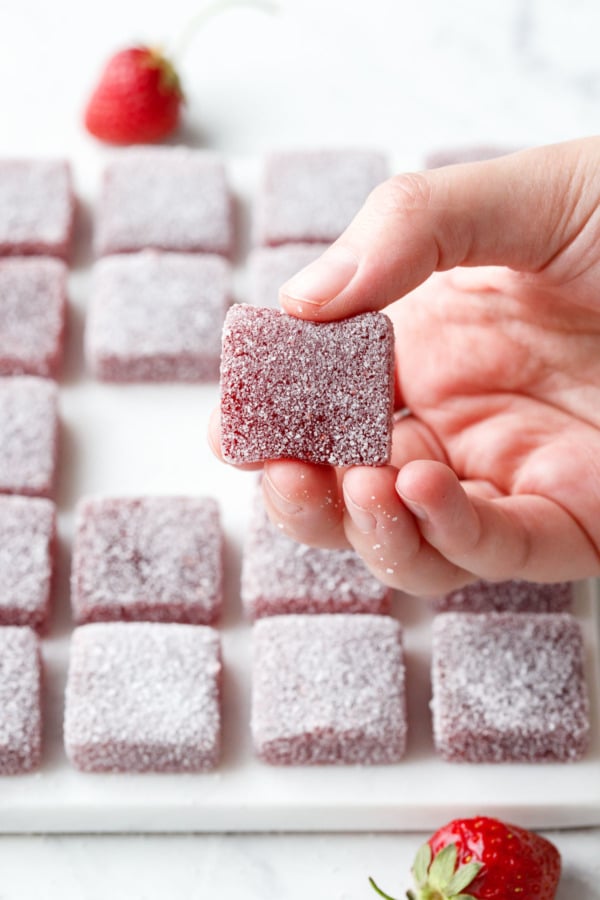
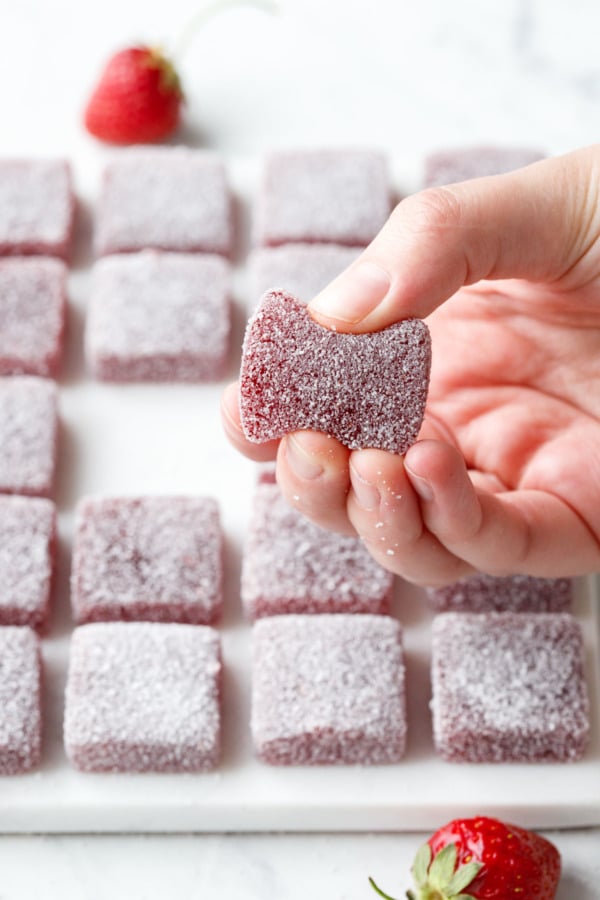
It’s actually really hard to capture the dynamic texture of the gummy, static photos simply can’t capture kinetic attributes like bounce and squish. You’ll just have to trust me on this one.
If you’re looking for a textural comparison, think more along the lines of a gumdrop or the inside of a jelly bean, tender and jelly-like, as opposed to the chewy, more elastic characteristics of a gummy bear (which are usually gelatin-based).
You’re essentially making a really firm jam, or a pâte de fruit, which achieves its unique texture through the combination of sugar, pectin, and acid. The difference between this recipe and a jam is the quantity of pectin and the temperature to which it is cooked. I took it a bit higher than a typical pâte de fruit, since I wanted a firmer texture. Technically you could even take the temperature a few degrees higher still, although you do risk burning the fruit if you do.
The recipe is based off of one in a Time Life candy-making book I’ve had for ages. I vividly recall working my way through this book when I was a tween (what, your 11-year-old self didn’t spend their weekends making homemade lollipops?) While the fruit gummy recipe in the book is mainly water, pectin and sugar with extract for flavor, I adapted it to use fresh strawberry puree instead (frozen fruit also works here).
Different kinds of fruit also have varying amounts of natural pectin, so if you tried to swap the strawberries for something else here you may end up with something slightly softer or firmer (most berries are fairly low pectin, for example, compared to say, plums or cranberries which are naturally high in pectin).
Because this recipe uses pectin, not gelatin, the resulting gummies are 100% vegetarian and, assuming you buy vegan sugar, also 100% vegan without making any substitutions.
The Science of Sugar
Let me just say it up front since it bears repeating: DO NOT reduce the sugar in this recipe. I know you’re tempted, since it seems like a lot of sugar, but that sugar is necessary for this recipe to work. It’s candy. Sugary, delicious, candy. It’s not a low sugar recipe by design, and cannot be converted into one. If you’re looking for a low sugar gummy recipe, this is not it; please look elsewhere.
Backing up a bit, candy isn’t like cakes or cookies where reducing the sugar maybe makes the final product less moist or tender or spread less, but still comes out looking like a cake or a cookie regardless. Candy making is entirely based in science, and involves very specific sugar concentrations and temperatures. You can’t just go around messing with it.
As with traditional jam recipes, the ‘gel’ or set is achieved by a specific concentration of sugar, acid, and pectin. As the sugar solution is cooked and the excess water boils away, the sugar concentration increases and the temperature rises with it. Cooking sugar to higher temperatures noticeably changes the properties of that sugar (the difference between chewy caramel and crunchy brittle, for example, is entirely dependent on the temperature to which it is cooked).
In the case of this recipe, cooking it to 230°F gives us an 80% sugar solution. How do we know that? Well, as the water cooks out of the solution, the concentration of sugar increases, thus increasing the boiling point of the solution itself. So it follows that measuring the temperature also indirectly measures the concentration of sugar (isn’t science cool?)
All that is to say… since the concentration of sugar is directly tied to the temperature, it is not going to change whether you add more or less sugar. All that will change is the length of time it takes you to reach that concentration/temperature (more time=more water evaporates=higher sugar concentration).
So if you try and reduce the sugar here (despite my multiple pleas not to), what will actually happen is you’ll just end up cooking the mixture longer to bring it up to the same temperature. Ultimately, the final product won’t taste any less sweet or have a lower concentration of sugar, you’ll just have to cook it longer to get there (not to mention you risk burning the fruit). It already takes 45 minutes to get up to temperature, do you really want it to take longer than that? Yeah, I didn’t think so.
Game, Set, Match
This recipe uses powdered fruit pectin to achieve the proper set. Pectin reacts with sugar and acid to form a mesh that traps liquid, forming a gel. More pectin equals a firmer set. That, combined with the sugar cooked to the appropriate temperature, results in a tender yet squishy consistency that makes this candy simply delightful.
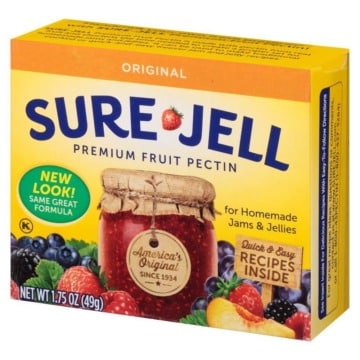
I used Sure Jell Premium Fruit Pectin in the yellow box, but other regular (not low-sugar) pectins should work as well. This kind of pectin is also known as apple pectin or HM pectin (though I have not personally tested it with other brands).
Now there are certainly low-sugar pectins out there (I actually prefer this style of pectin for most of my jam recipes since you can make them with much lower quantities of sugar). This is because this kind of pectin relies on calcium, not sugar, to achieve a proper set.
But low-sugar pectins will not work in this recipe. Trust me, I tested it. All I got was a firm-ish jam that smooshed out of the mold and did not hold its shape. Like, at all. That’s because the gummy texture is a result of both the properties of the pectin AND the cooked sugar. It just doesn’t work the same way without it. And this kind of pectin does not hold up well to high temperatures or longer cook times either; trying to cook it to 230°F would break down the pectin entirely.
Test your Temperature
If you saw my Instagram Stories as I was testing this recipe, you’ll see that digital thermometers are not always accurate. I tested two in the same boiling mixture, and there was always a good 5 to 10 degrees difference between the two.
You can test your thermometer’s accuracy by placing it in plain boiling water, which should read 212°F at sea level. Depending on if your thermometer runs true or not, make the necessary adjustments to the final target temperature.
Can you make this recipe without a thermometer? Technically, I guess, but I really don’t recommend it. Sugar cooked to 230°F is at the soft threads stage (not quite soft ball stage which is something you can test by dropping a spoonful into ice water).
You can somewhat test the set of your gummies by stashing a few spoons in the freezer. Drop a teaspoon or so of the fruit mixture on to the spoon and return it to the freezer for a few minutes, then take it out and see what the consistency is. For jams/marmalades, it should wrinkle a bit as you push against it with your finger. But for gummies, the set is much firmer, you shouldn’t be able to push your finger through it at all.
I tested batches of these at 223, 226, and 230°F, and they all seemed fairly similar right out of the pot, even though the 230°F batch was the firmest once fully set. Which is why I think it’d be very tricky to do without a thermometer.
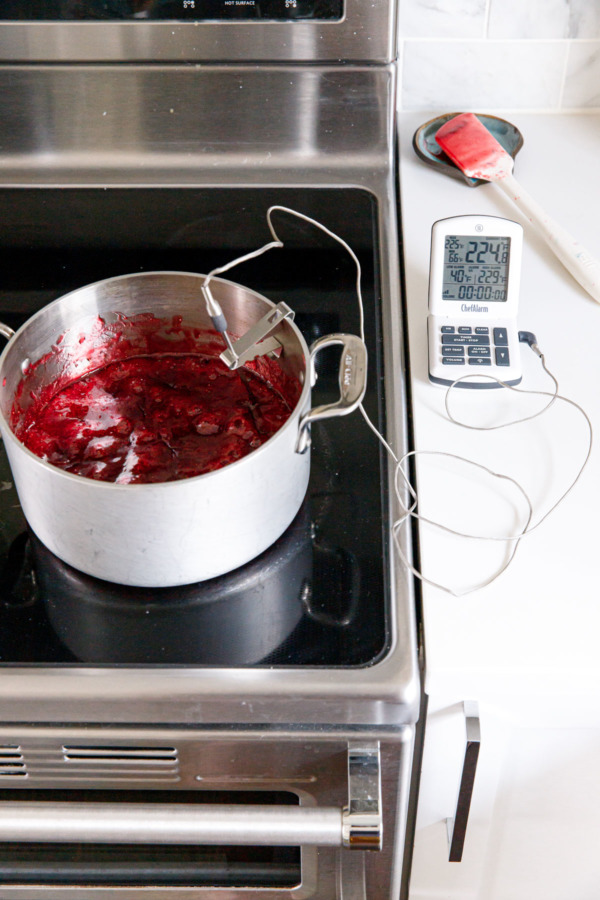
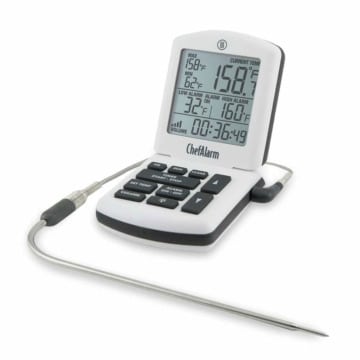
Ideally you’d want to use an instant-read thermometer that can clip to the side of your saucepan, though they make analog candy thermometers with clips as well that are very affordable. The clip allows you to keep a constant eye on your confection as it cooks.
I’m a big fan of Thermoworks thermometers; their Chef Alarm is the one I used for this recipe. I also tested a less expensive Polder one, and found it to be wildly inconsistent compared to the Chef Alarm.
Mountain High
Now, for you folks living at high altitudes, you’ll want to adjust your target temperatures just a bit. The general rule is to subtract 1°F for each 500 feet above sea level (so for a 230°F target temperature, if you live at 5000 feet, you’ll want to shoot for 220°F instead).
I have not tested this personally, so if you find your gummies are too soft for your liking, you’ll just want to cook it to a slightly higher temperature next time.
Shaping & Molding
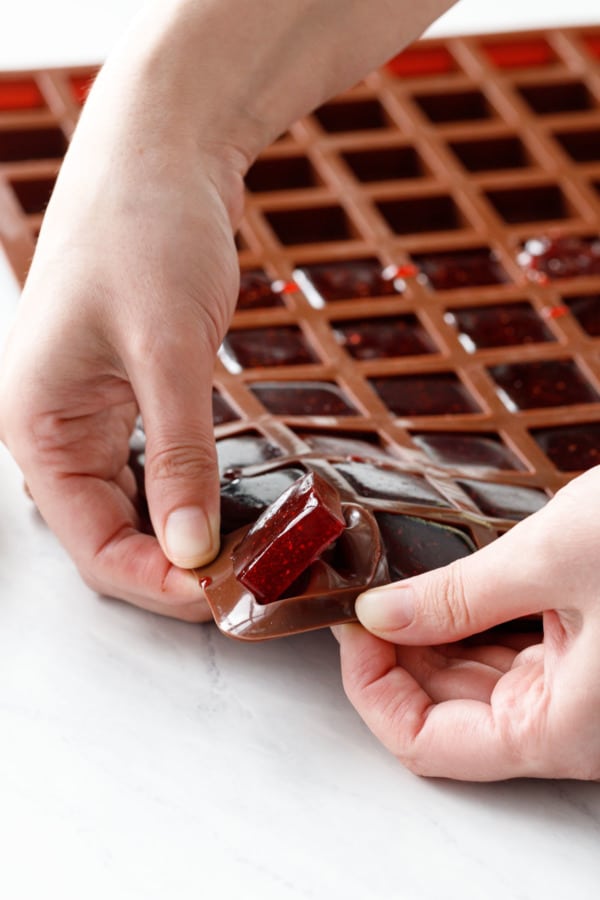
I used this square silicone mold, which made 45 1-inch square candies, but there lots of silicone molds out there these days, from squares and drops to specialty shapes like flowers and bears, and any of them should work for this recipe. The recipe yields about 400mL of liquid candy, if that helps you calculate how many candies you’ll get from this recipe.
You can also pour the entire mixture into a silicone cake pan (a 9×9 would be perfect) and let it set completely, then cut into squares or use a cookie cutter to punch out shapes.
The gummies are very sticky, which is why silicone is the ideal material here. That said, you can use a pan lined with parchment paper as well. Do not use plastic wrap or waxed paper as it will melt when it comes in contact with the hot liquid candy.
Storage
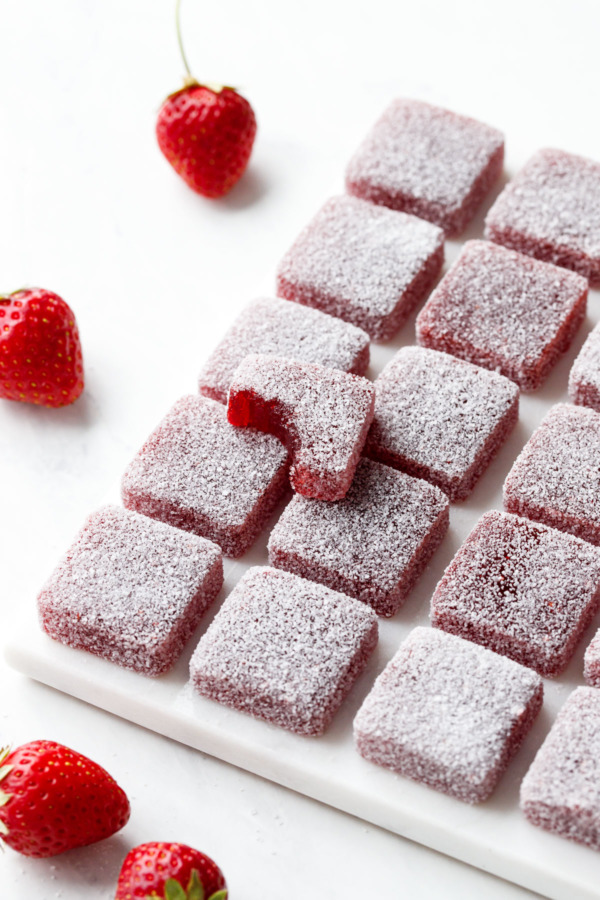
These candies keep remarkably well for a few weeks, at room temperature, chilled, or even frozen. The problem you might run into involves the sour sugar coating. I found that storing the candies in an airtight container caused the candies to sweat ever so slightly, just enough to dissolve the sugary coating (it’s not weepy or gooey, but the sugar doesn’t stay white). A silica desiccant pack helps if you have one hanging around (just be sure it’s food safe and not something that came in with your shoes or something).
Storing the candies uncovered kept the outer coating white and dry (despite high humidity even, this surprised me!) though the candies do get firmer the longer they sit. After 3 weeks they were noticeably more firm than the candies stored in an airtight container. Not so say they were stale, necessarily, just firmer. I would guess this would be even more noticeable in a dryer climate.
But, if you don’t plan to eat the entire batch within a week, I highly recommend freezing them. Unlike gelatin, which breaks down below freezing, pectin-based candies freeze beautifully and retain their jammy texture. And actually, the gummies never freeze completely solid, so they are actually quite splendid straight out of the freezer (no thawing needed).
To freeze, toss the candies in the sour sugar mixture and freeze in a way so they are not touching. I arrange them in a single layer on a baking sheet, freeze until solid, then transfer to an airtight bag or container. You can also freeze them in a container separated by pieces of parchment paper. They’ll keep there for up to 3 months.
Homemade Sour Strawberry Gummies
Ingredients
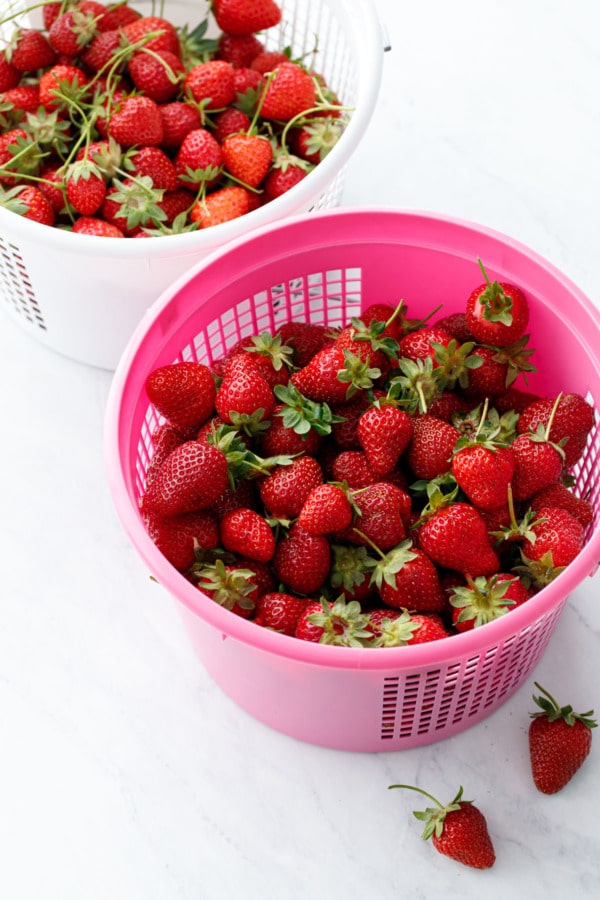
- 12 ounces / 300 g fresh or frozen (and thawed) strawberries, pureed
- 1⅔ cup / 330 g granulated sugar* , (DO NOT reduce this!)
- 2 tablespoons / 44 g corn syrup
- 1 box / 48 g regular fruit pectin, I used Sure Jell Original in the yellow box
- ½ teaspoon baking soda
- ½ cup / 120 g filtered water
- ¼ teaspoon powdered citric acid, dissolved in 1 tablespoon warm water (or use 2 tablespoons lemon juice)
For coating:
- ¼ cup / 50 g granulated sugar
- ½ teaspoon powdered citric acid
Instructions
- Prepare your silicone molds or a silicone cake pan (9x9 ideally) set on a cookie sheet on a heat-proof surface (the candy will be very hot when it goes into the molds, you don't want to melt your countertops). You can also use a regular baking pan lined with parchment paper (NOT waxed paper or plastic wrap) instead.
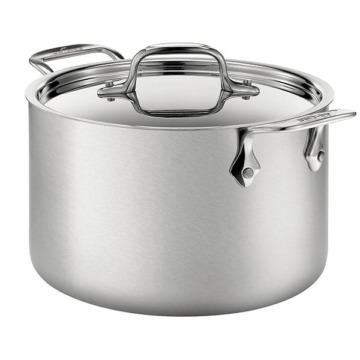
- In a medium (4-5qt) heavy-bottomed saucepan, combine strawberry puree, sugar, and corn syrup. Set over medium to medium-high heat and bring to a boil.
- Meanwhile, in a small saucepan combine pectin, baking soda, and water (it will foam). Bring to a simmer over medium-high heat, stirring occasionally, until foam subsides a bit, then add to saucepan with strawberry mixture.
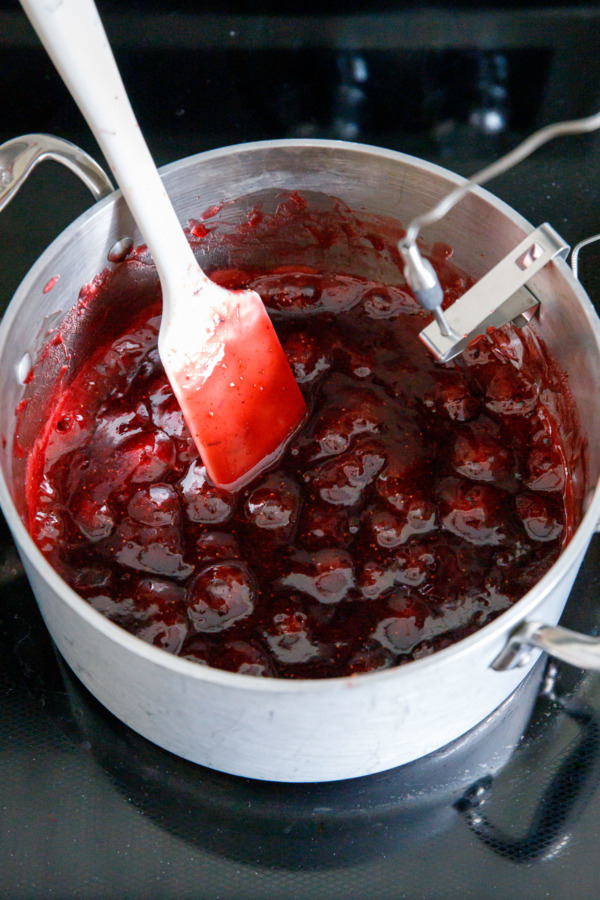
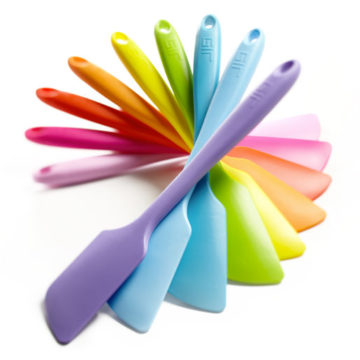
- Attach a candy thermometer to the side of the saucepan. Continue to cook over medium to medium-high heat, stirring occasionally, until the mixture reads 230°F. This will take about 45 minutes. As it gets above 220, start stirring more frequently, scraping the sides and bottom with a heat-proof spoon or spatula to ensure the mixture cooks evenly and doesn't burn.
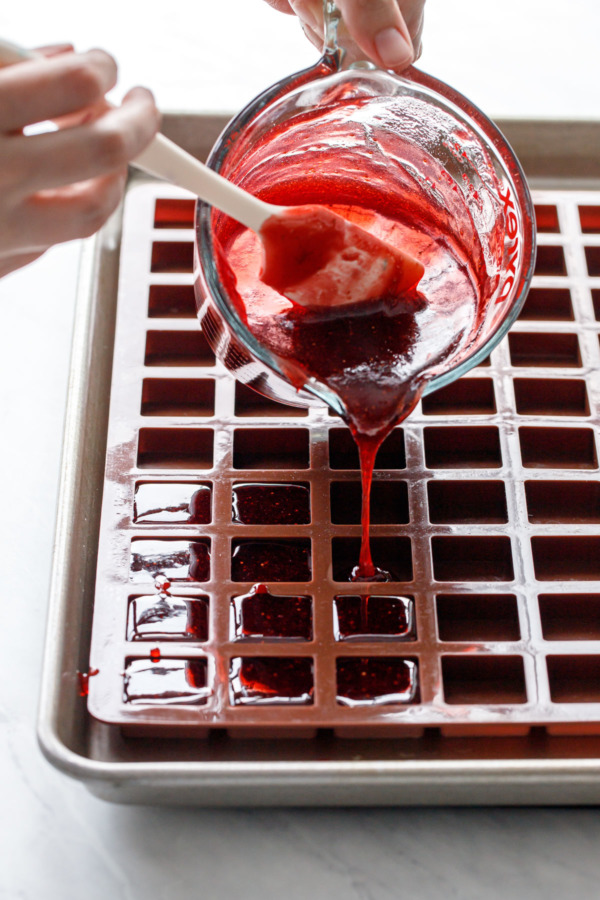
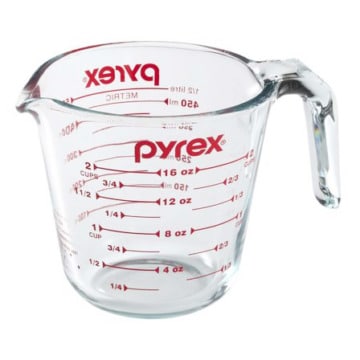
- Once the mixture hits 230°F, remove from heat and quickly mix in citric acid dissolved in water (careful as it will sputter and steam). Immediately pour into prepared molds (I find transferring it to a large spouted measuring cup makes it easier to pour). The mixture will thicken as it cools, so you want to get it into your molds fairly quickly; this is especially important if your molds are very small (since it'll take longer to fill more of them). For reference, this recipe will make about 400 mL/13.5 fl.oz of liquid candy, if you need to calculate how many molds you'll need to fill.
- Set aside and let cool completely to room temperature, at least 2 hours or overnight.
- In a bowl, combine sugar and citric acid and whisk until evenly distributed.
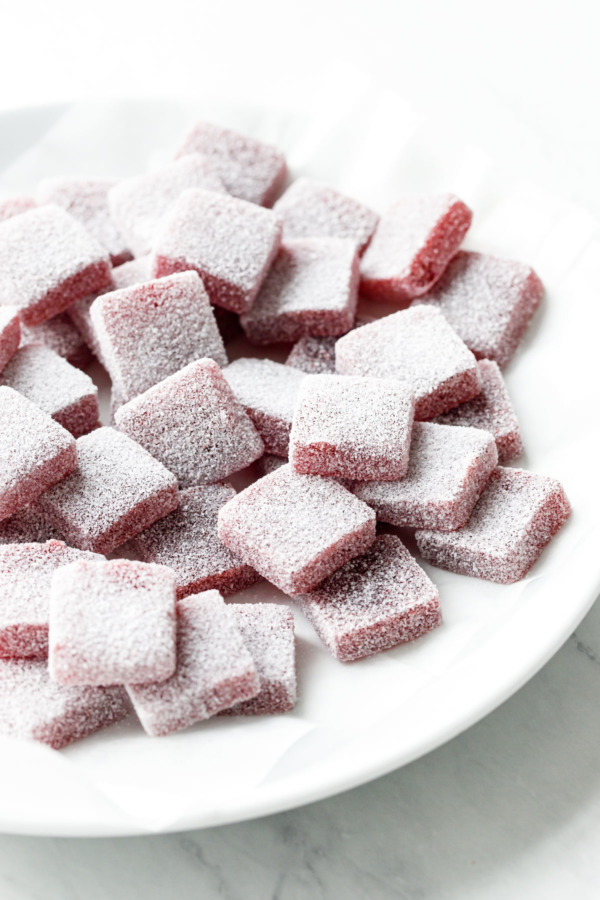
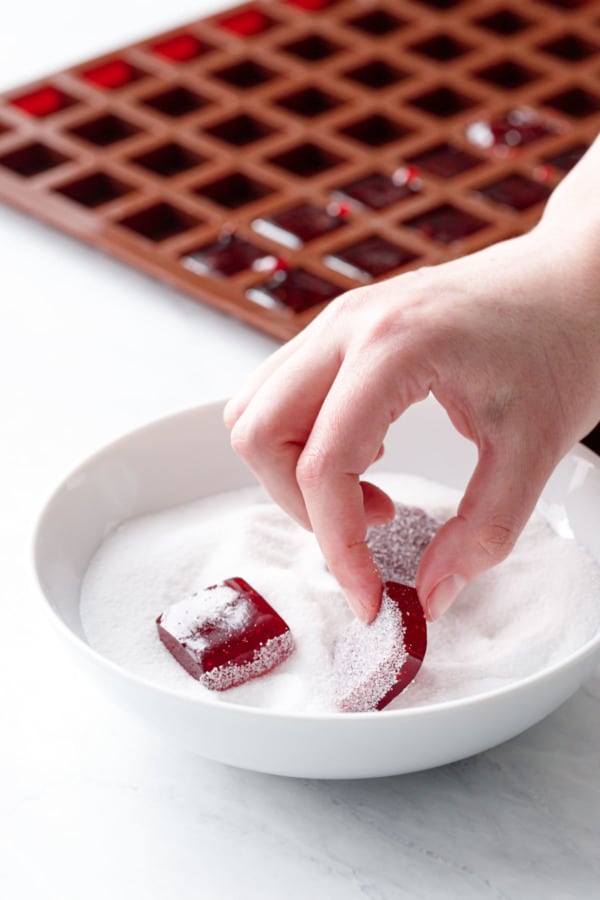
- Remove candies from molds (or, if you used a single pan, remove the entire piece from the mold and cut it into bite sized pieces or use a cookie cutter to stamp out shapes). Roll the sticky candies in the sour sugar until fully coated. Repeat with remaining candies.
- Store candies uncovered at cool room temperature for up to 1 week, covered in the refrigerator (separate with layers of parchment) for up to 2 weeks, or in in the freezer (in a container between layers of parchment) for up to 3 months.
Notes
- Do not reduce the sugar in this recipe! You'll only be setting yourself up for failure. This is not a low sugar recipe and cannot be made with less sugar and/or sugar substitutes, nor can you use low-sugar pectin. Read the full post for more info on why you should not do this.
This is exactly the vegan recipe I’ve been looking for! All I kept finding were gummy bear recipes, but I want something more like chewy squares like this. Can’t wait to try.
One question, is it possible to add alcohol? I’m still new at candy making like this so I wasn’t sure if that would change anything about how it sets.
I have not tested adding alcohol to this recipe. Depending on how much you’re adding and when it may result in a slightly softer set if it’s a lot of extra liquid. Maybe limit it to just a few tablespoons and add it towards the beginning of the process so most of the excess liquid will cook out? Let me know how it turns out if you try it!
How much can you safely increase the citric acid in the coating for a more sour gummy? I love extra sour but not trying to corrode my mouth 😅
You could probably double it and still be ok. I don’t recommend increasing the amount in the gummy base as too much acid can degrade the pectin, but the coating you can pretty much adjust to taste!
what can I use instead of corn syrup?
Golden syrup or glucose syrup would be the closest substitute. Honey technically would work but it will definitely change the flavor. The invert sugar is necessary to achieve the proper gummy texture!
I have every thing to do this recipe except the corn syrup. Is there anything I can substitute for it? Maybe Lectin, or agave, etc?
Glucose syrup would be the only suitable replacement. I wouldn’t recommend replacing it with anything else as it would affect the final flavor and consistency of the candy.
OH MY GOSH. These are absolutely incredible! I didn’t get mine up to 230 because I felt like it was starting to burn. But it was definitely over 220. They still worked beautiful. The texture is great, the flavor is great. Overall they are just incredible! I’ll be curious to see how it goes with other fruits.
I also didn’t get mine up to 230 because I was smelling some burning, it was more like 225, and I’m not high altitude. Also worked great for me. It was a quick decision, “do I ruin the whole batch with burning or do I accept potentially looser gummies” – I opted for the second and again, they came out great.
Sounds wonderful. Ordered all the supplies just now. Can’t wait to try it while strawberries plentiful! Thank you for detailed instructions for a beginner like me!
these look gorgeous. if i use frozen and thawed strawberries, do i use the strawberry juices as well? also, do you strain the strawberry puree? thank you.
Sure, you can use frozen berries, juices and all. No need to strain since the seeds are so small (something like blackberries or raspberries might benefit from straining).
I made these last night for my husband who’s addicted to sour gummies!! He loved them but also asked if I could make raspberry gummies. So I’m asking you… can I swap out Raspberries for the Strawberries using the same amount and directions?
You can swap strawberries with over fruit, though I haven’t tried it myself. Raspberries have more pectin than strawberries so they may end up firmer (or you could try using less pectin). Might be a good idea to strain out the seeds first too, otherwise the texture might be too seedy.
This recipe worked out great. I just mixed in the special ingredient at the end right before removing from heat and adding the citric acid to make them those kind of gummies. Very good recipe.
Do you mind sharing what you used for the special ingredient? I’ve used a recipe that uses infused coconut oil and it was horrible lol. Thanks
These candies were absolutely delicious!Everyone loved them! I made the batch with 3 gms of kief, they were extra ‘special’good! 23 mg each.
Made these with my son, turned out really great. Used a bag of frozen cherries, thanks so much for all the testing.
Do you have any more advice for swapping out different berries/fruits? I have a lot of wild blueberries, raspberries, lingonberries, and rhubarb in my freezer. I see above you say it could change the consistency due to the difference in pectin, would you mind going into a little more detail about that?
I haven’t personally tested this with other fruit. But, from my experience making jam, different fruits have different levels of natural pectin and acid. And since the gel/consistency of the candy is related to the amount of pectin used (which is activated by acid), using a fruit that is higher in pectin/acid may result in a firmer candy and vice versa. For example strawberries and blueberries are relatively low in both pectin and acid, raspberries are low pectin as well but higher acid. I’m not sure about lingonberries or rhubarb.
I do think this recipe would definitely work with other berries. It just might take a bit of testing to get the proportions just right.
too bad that the low sugar pectin doesn’t work, but thank you for testing it and everything else. very scientific! thank you
I don’t like sour. If I leave the lemon juice out, will that negatively affect the ability of these babies to solidify?
You can leave the citric acid out of the coating (that’s what makes it obviously sour), just use plain sugar instead. The acid in the gummy base is necessary to lower the ph and activate the pectin – definitely don’t leave that out!
There you go – I thought there might be something. Thank you for the fast answer!
I tried this recipe yesterday and it totally worked out. I’m trying another flavor next time. Thanks for sharing. I’m going to share this article to my friends too.
I love gummies and I guess you can adjust the sweetness and play with a lot of flavors if you make them yourself. Thanks for sharing the recipe!
Flavors, yes; sweetness, no. Please read the full post for more info about why you cannot mess with the amount of sugar in this recipe!