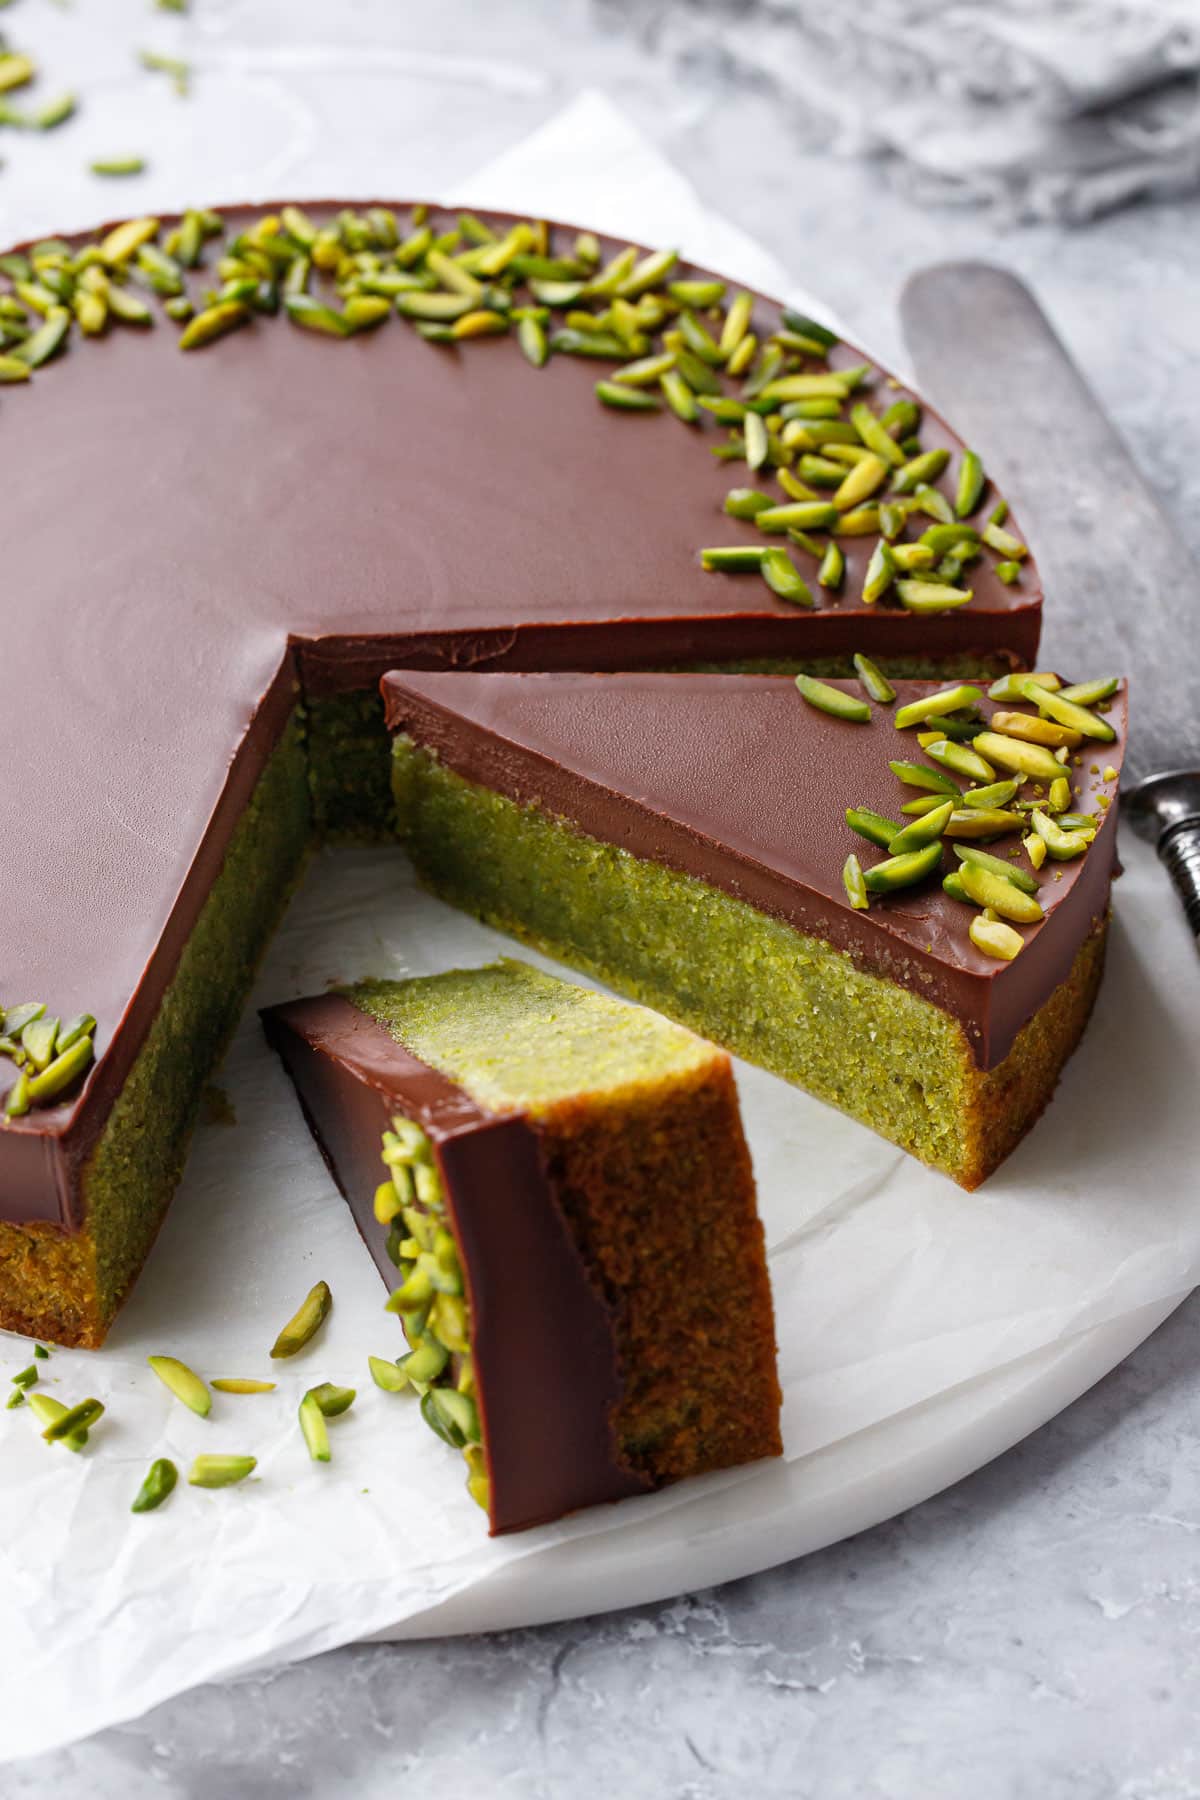
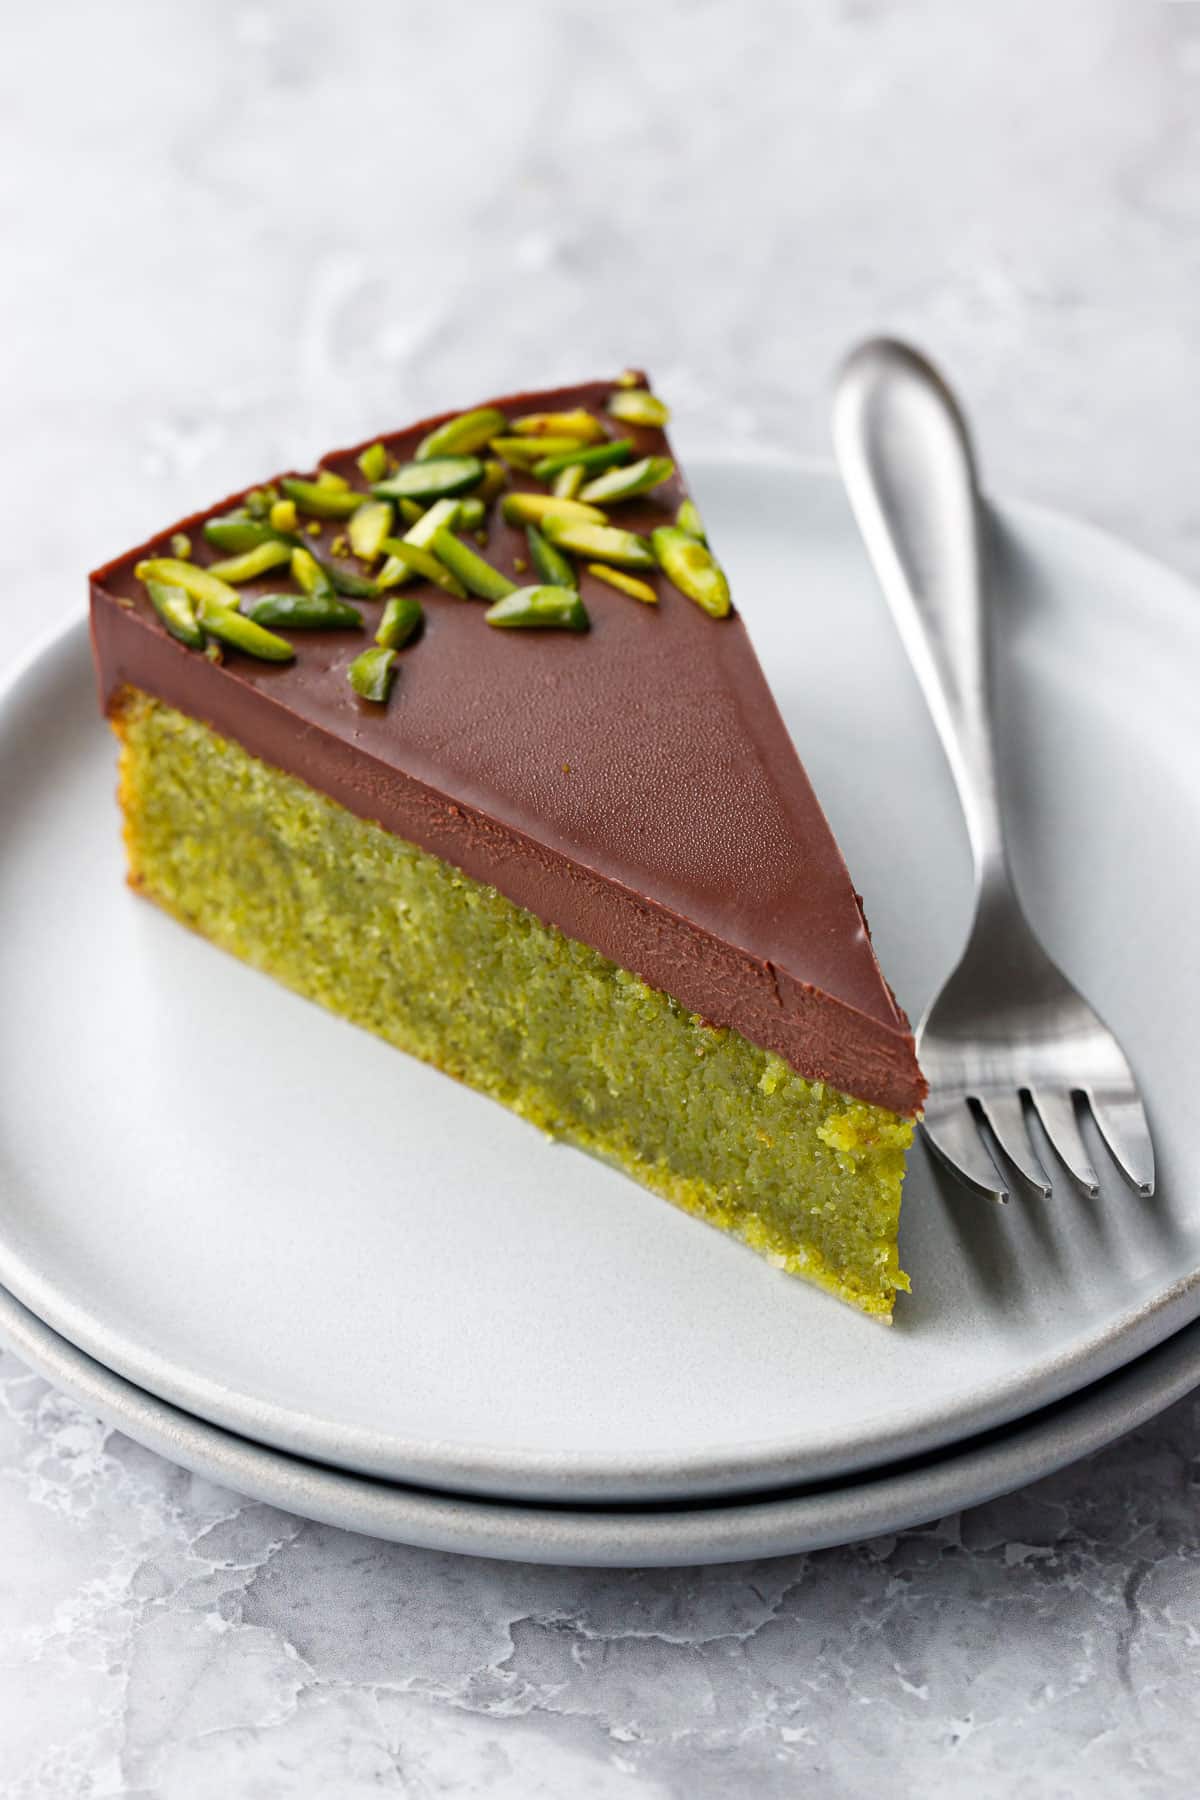
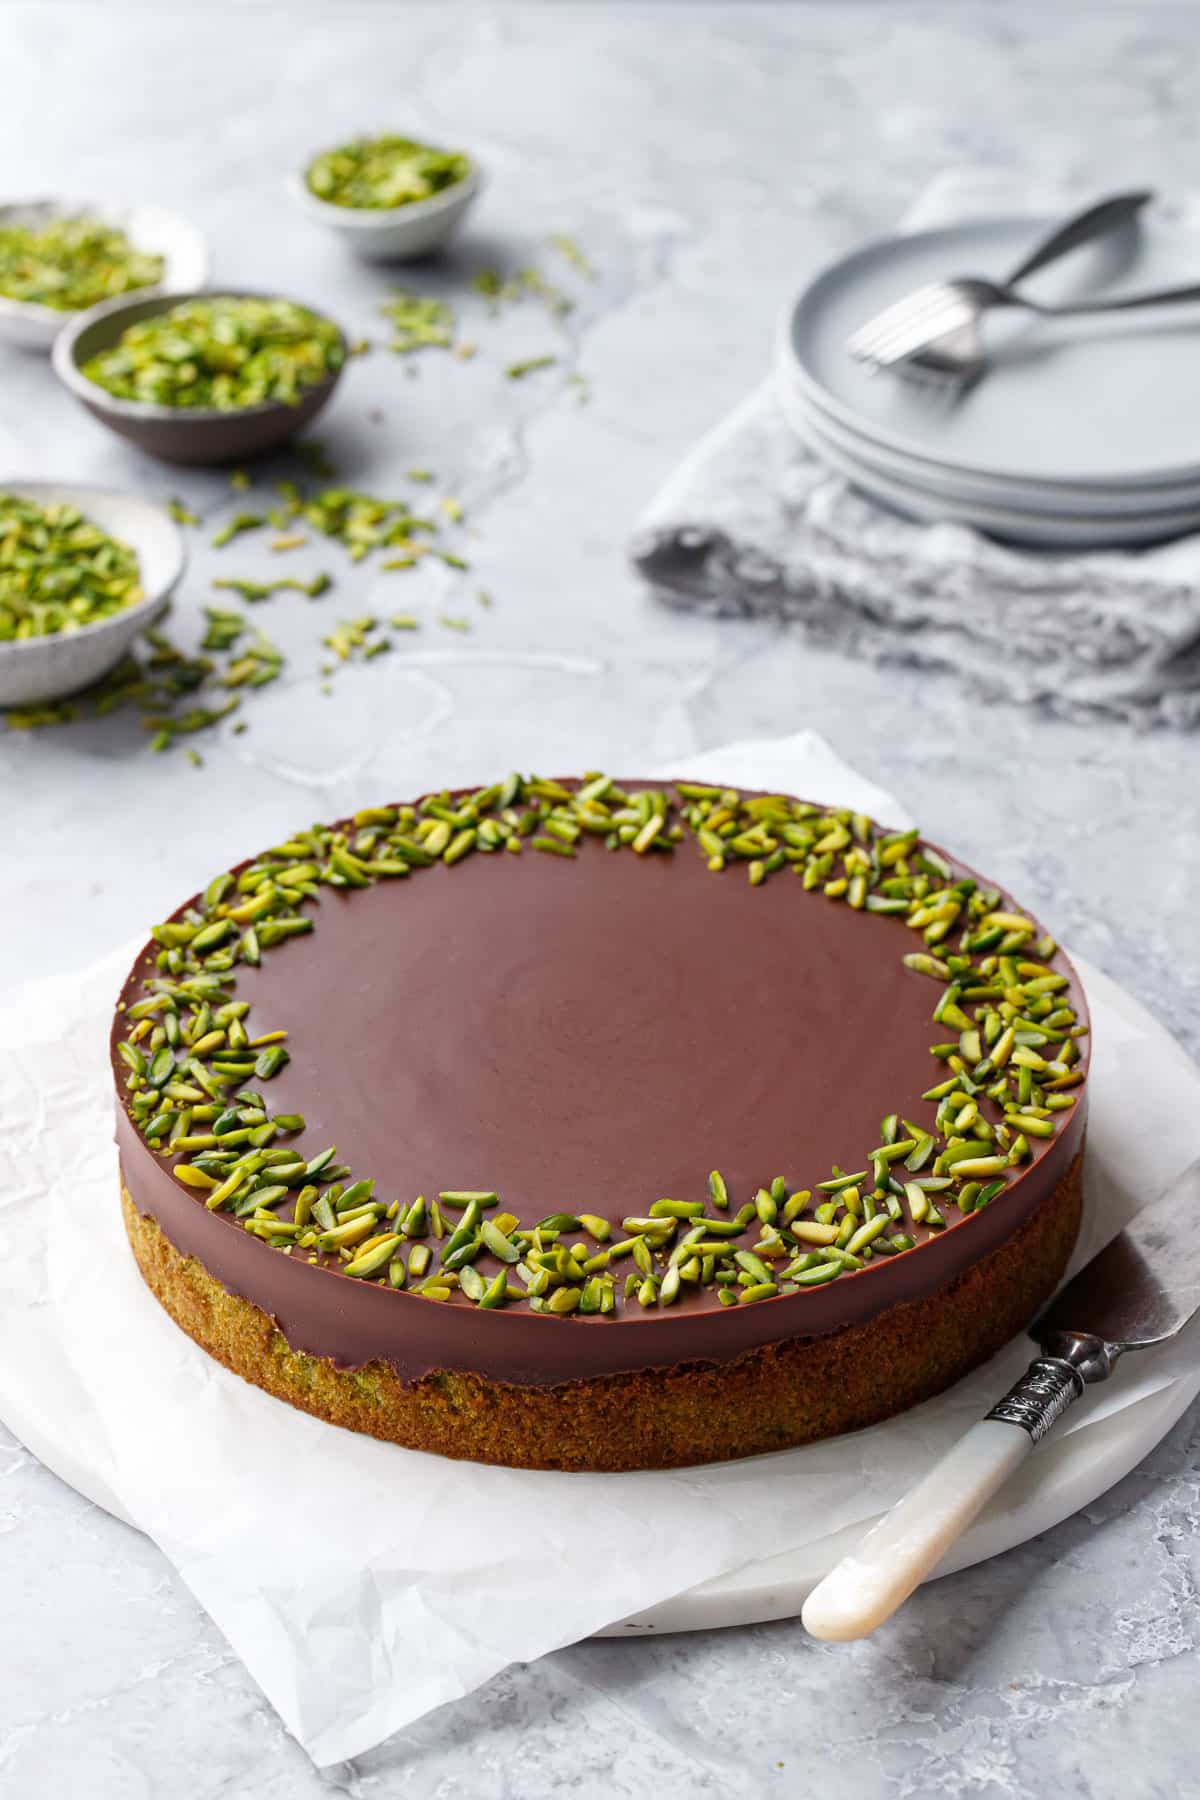
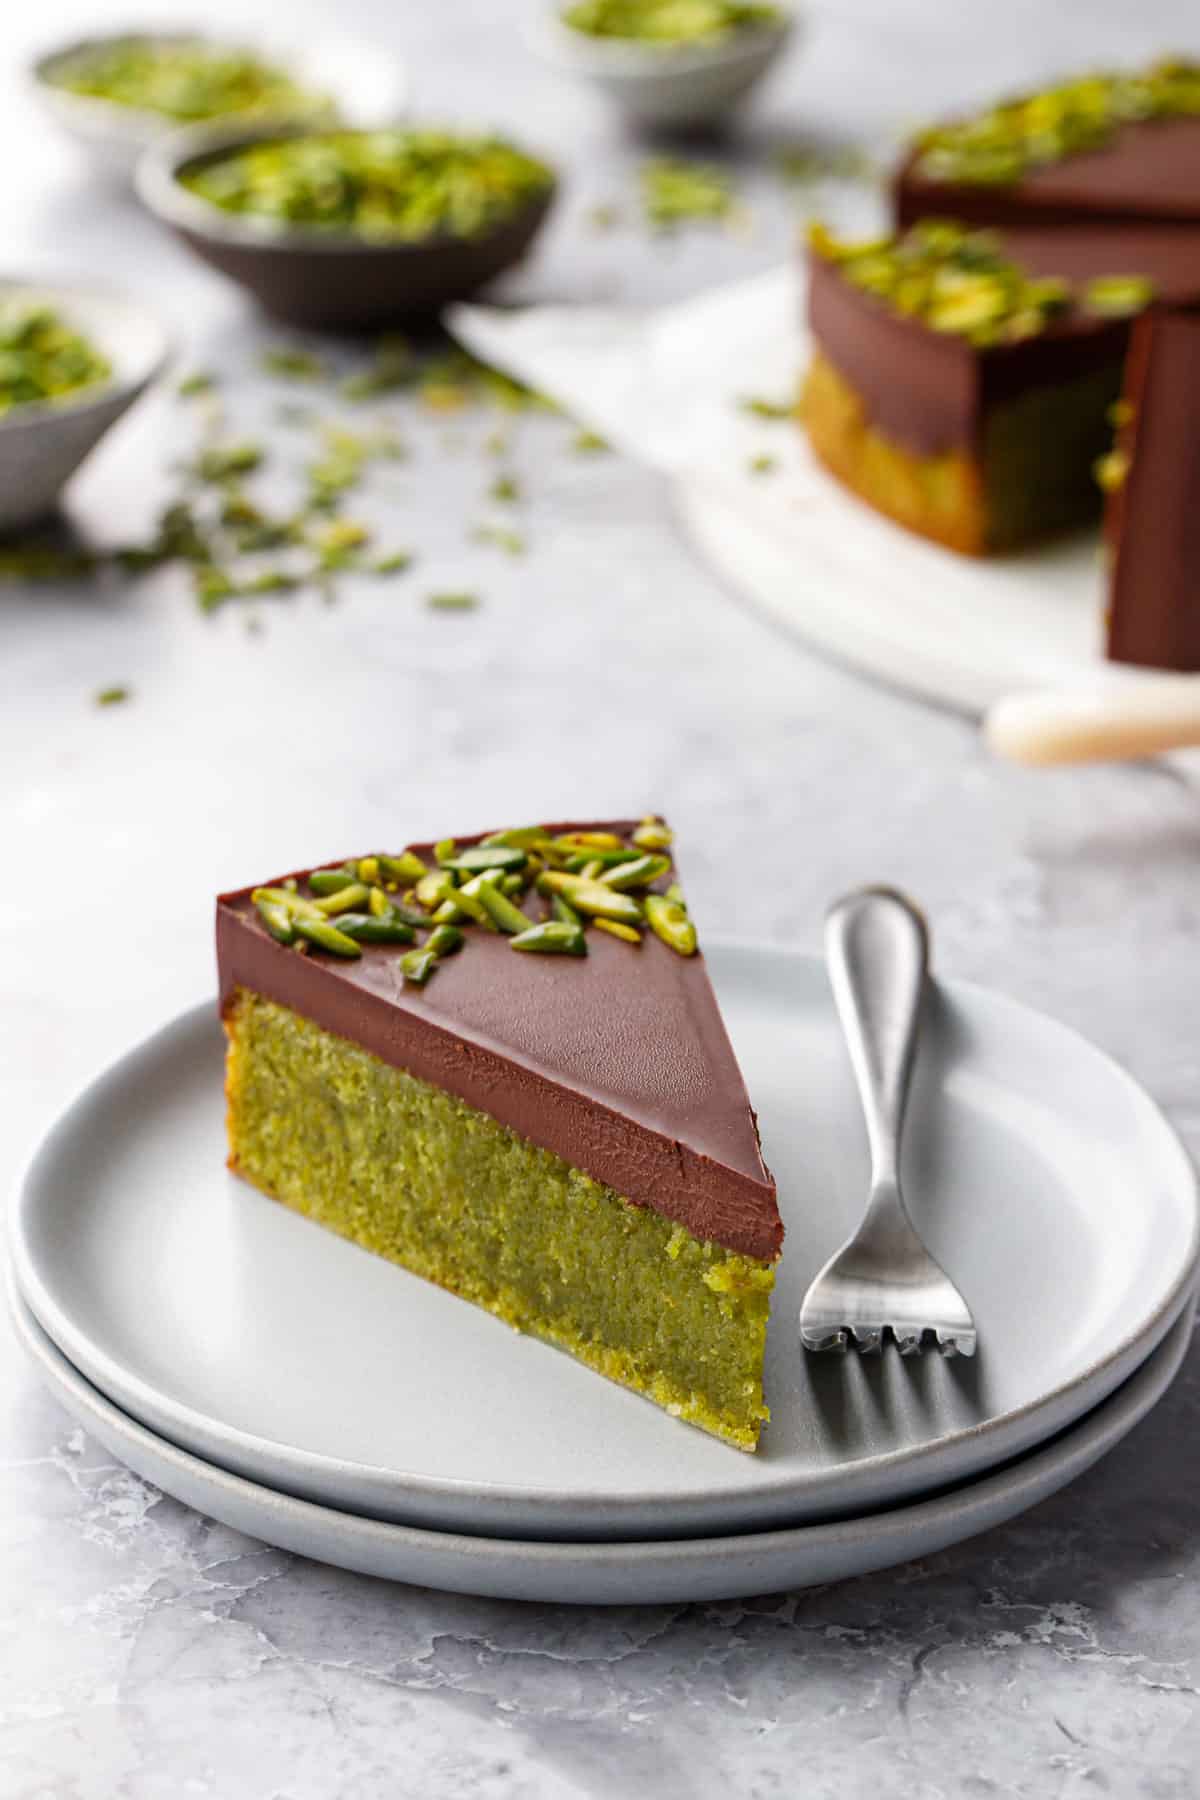
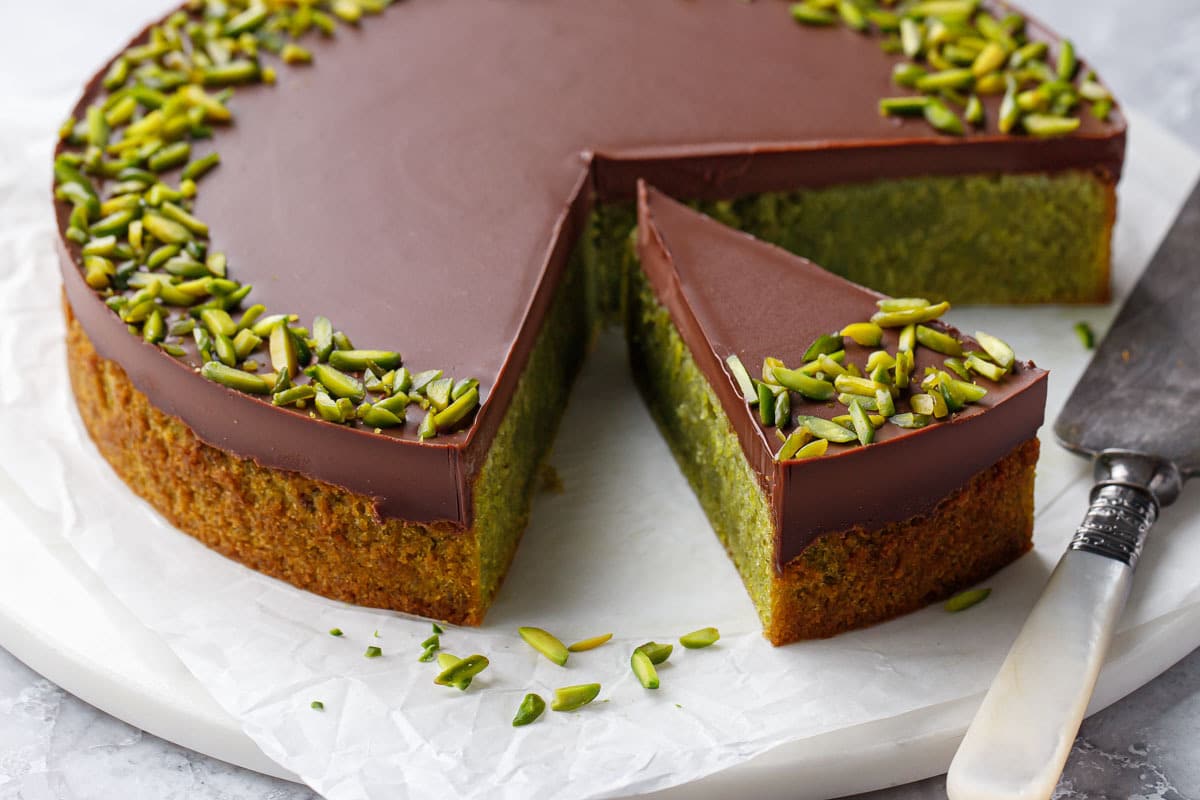
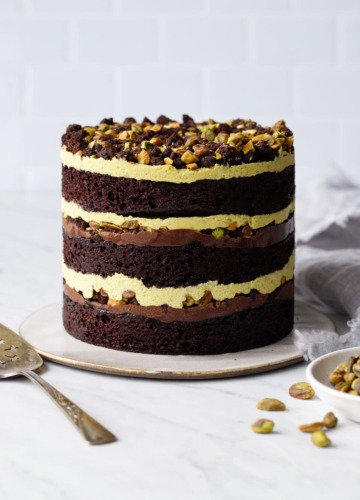
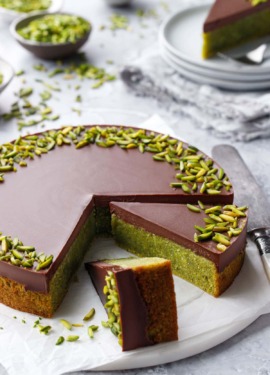
I’d like you to meet your new favorite cake: it’s (naturally) bright green, loaded with nutty pistachio flavor, and topped with a silky smooth layer of chocolate ganache for good measure. And did I mention it’s completely flourless?
Made with a mix of pistachio and almond flours, sugar, whole eggs, and fat (in this case a mix of butter and olive oil), this naturally gluten-free dessert comes together into a delicate and tantalizingly textured cake, topped with a luscious layer of dark chocolate ganache and a border of slivered pistachios.
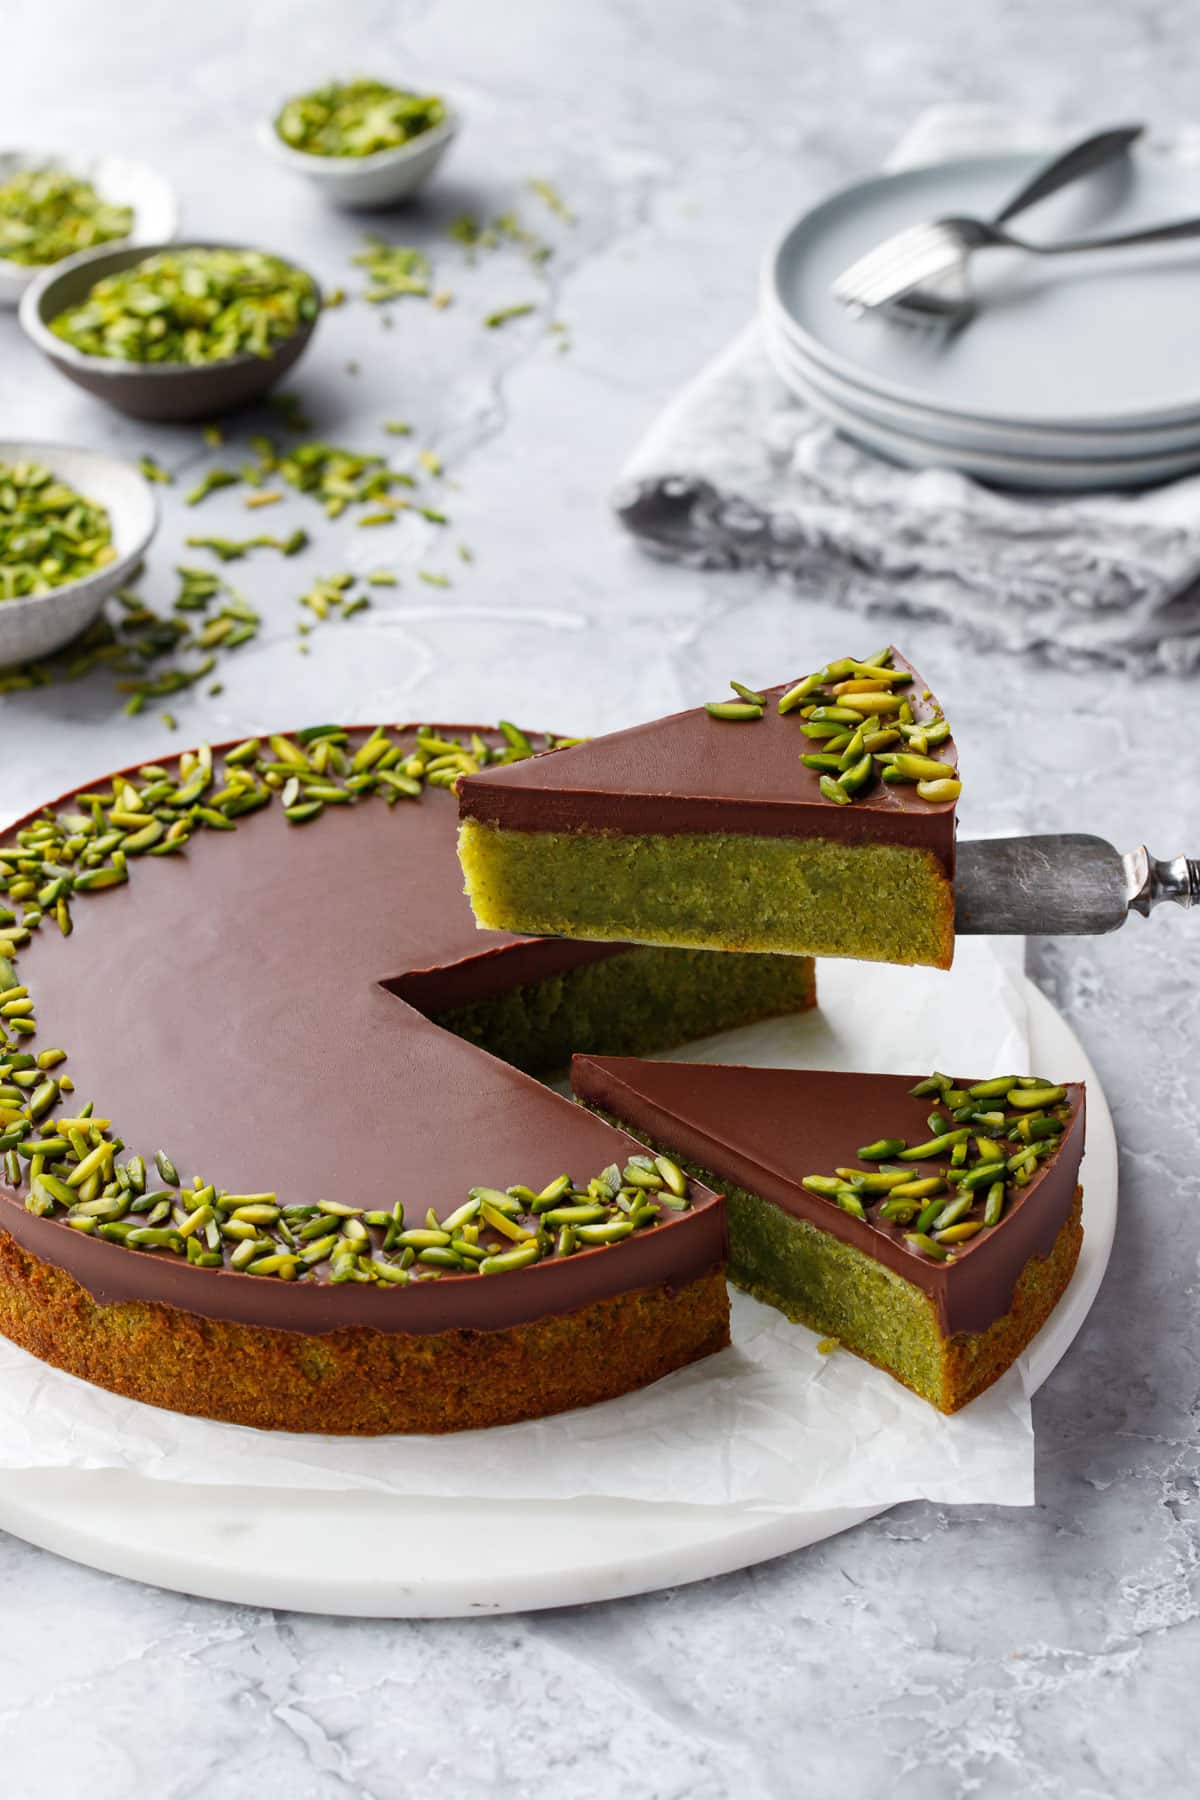
Happy National Pistachio Day! Indeed, February 26 is officially designated as a day of celebration for this little green nut. Did you know the pistachio is known as the “happy nut” in China and the “smiling nut” in the Middle East? What an apt name as I can’t help but smile when that bright green color makes an appearance.
I figured the best way to celebrate this under-rated holiday would be with the greenest, most pistachio-packed cake possible, and this flourless wonder certainly fits the bill: made with pistachio flour, pistachio extract for flavor, and a sprinkling of slivered green pistachios for decoration on top (you know what they say, triple the pistachio, triple the fun!)
Clearly I’m having a moment with pistachio, from my ultimate pistachio lover’s gelato to a stunning pistachio cheesecake to this ridiculously good pistachio créme brûlée (ok, maybe more than a moment… it’s safe to say I’m definitely in my pistachio era and don’t see myself moving on anytime soon).
But out of dozens of pistachio dessert recipes, this might just be my favorite one yet. Once you try it for yourself I think you’ll see why!
Speaking of holidays, this cake would also be perfect for Passover (it’s flourless and unleavened), St. Patrick’s day (because, duh, green), Valentine’s (sprinkle with dried rose petals for some extra romance) or even Christmas (just add a few red currants or sugared cranberries on top). An any and every holiday kind of cake, if you will. But to be honest it’d be perfect for an ordinary Tuesday too, because I’m a strong believer that you don’t need a special occasion to bake a cake.
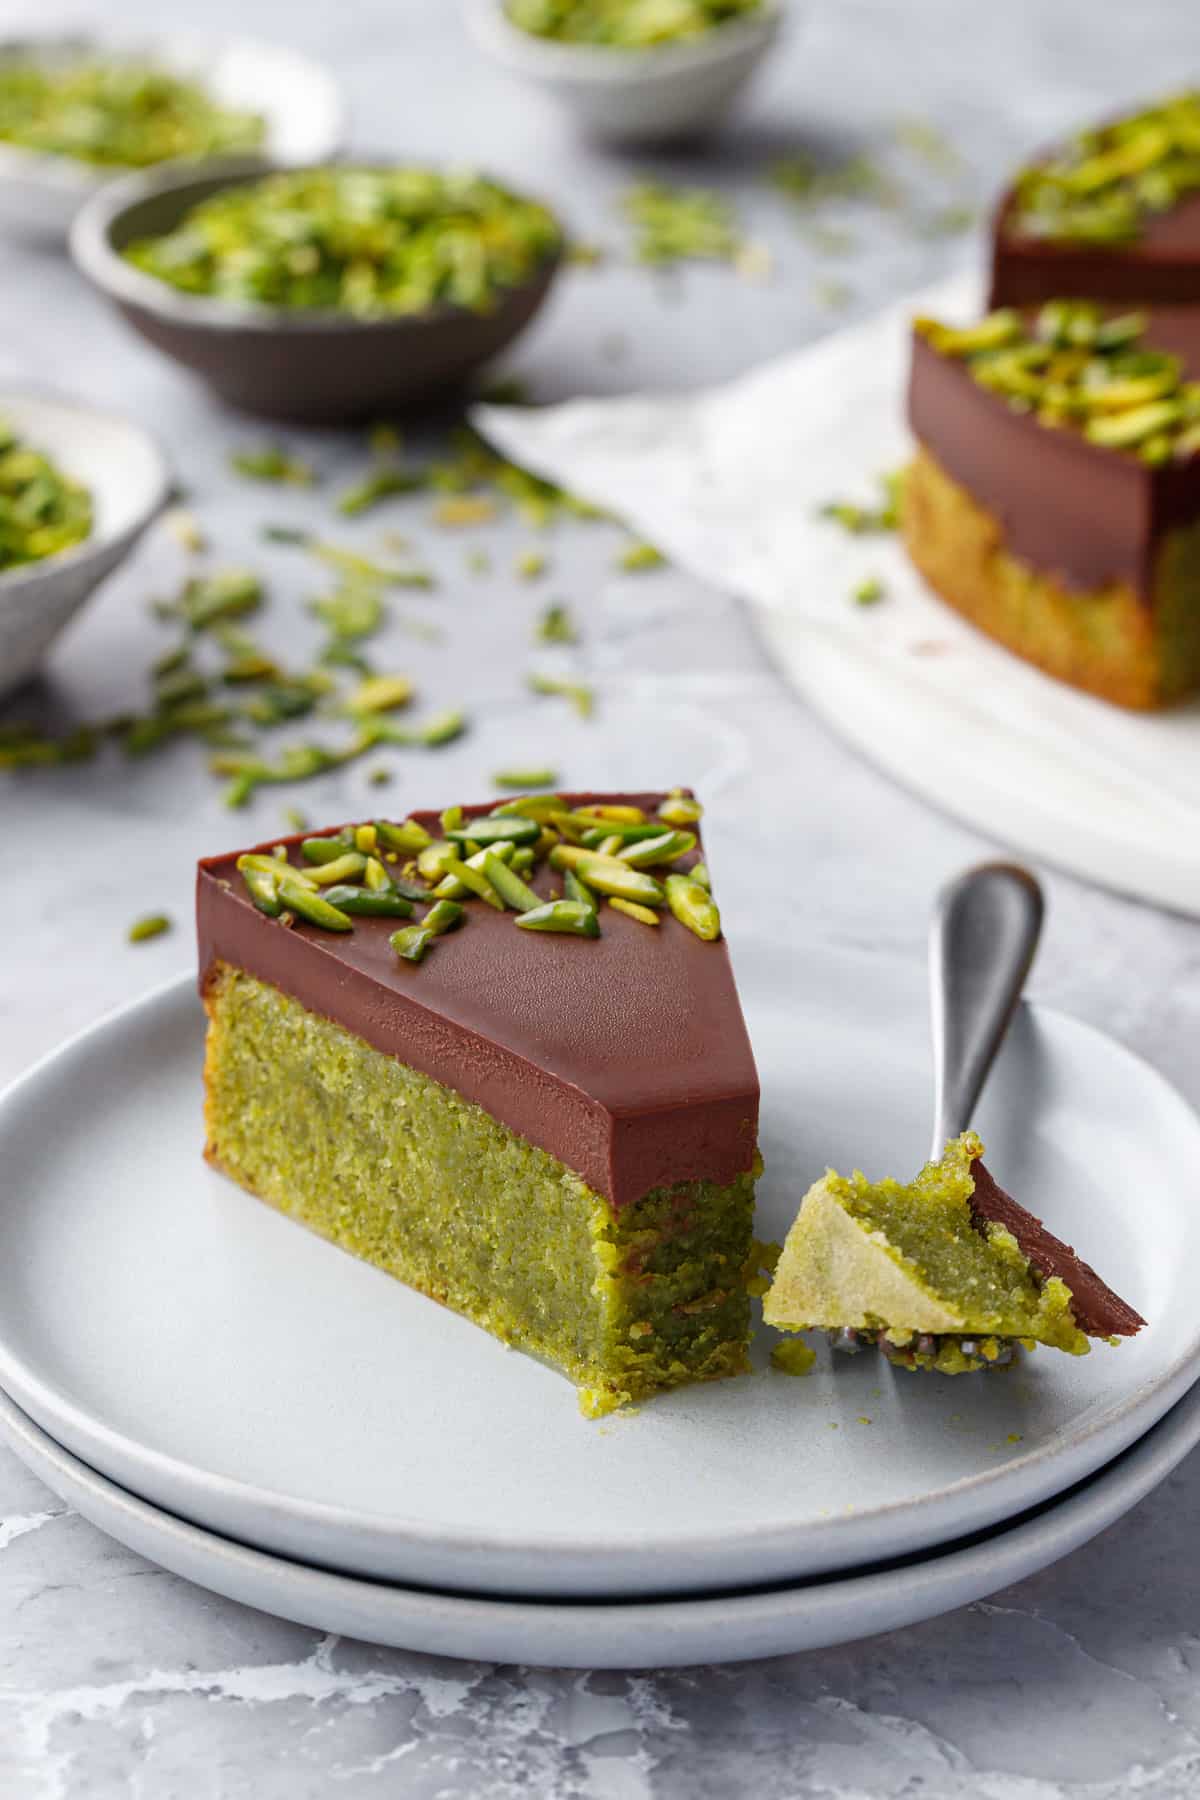
That texture, y’all. 😍 My eyes just about rolled to the back of my head when I first took a bite.
I had rather low expectations when I baked the first version of this cake, considering the batter is little more than eggs, sugar, pistachio flour and fat. It was a total experiment and I wasn’t expecting my tastebuds (or my socks for that matter) to be blown, but that’s exactly what happened.
Dare I say it’s my new favorite cake?
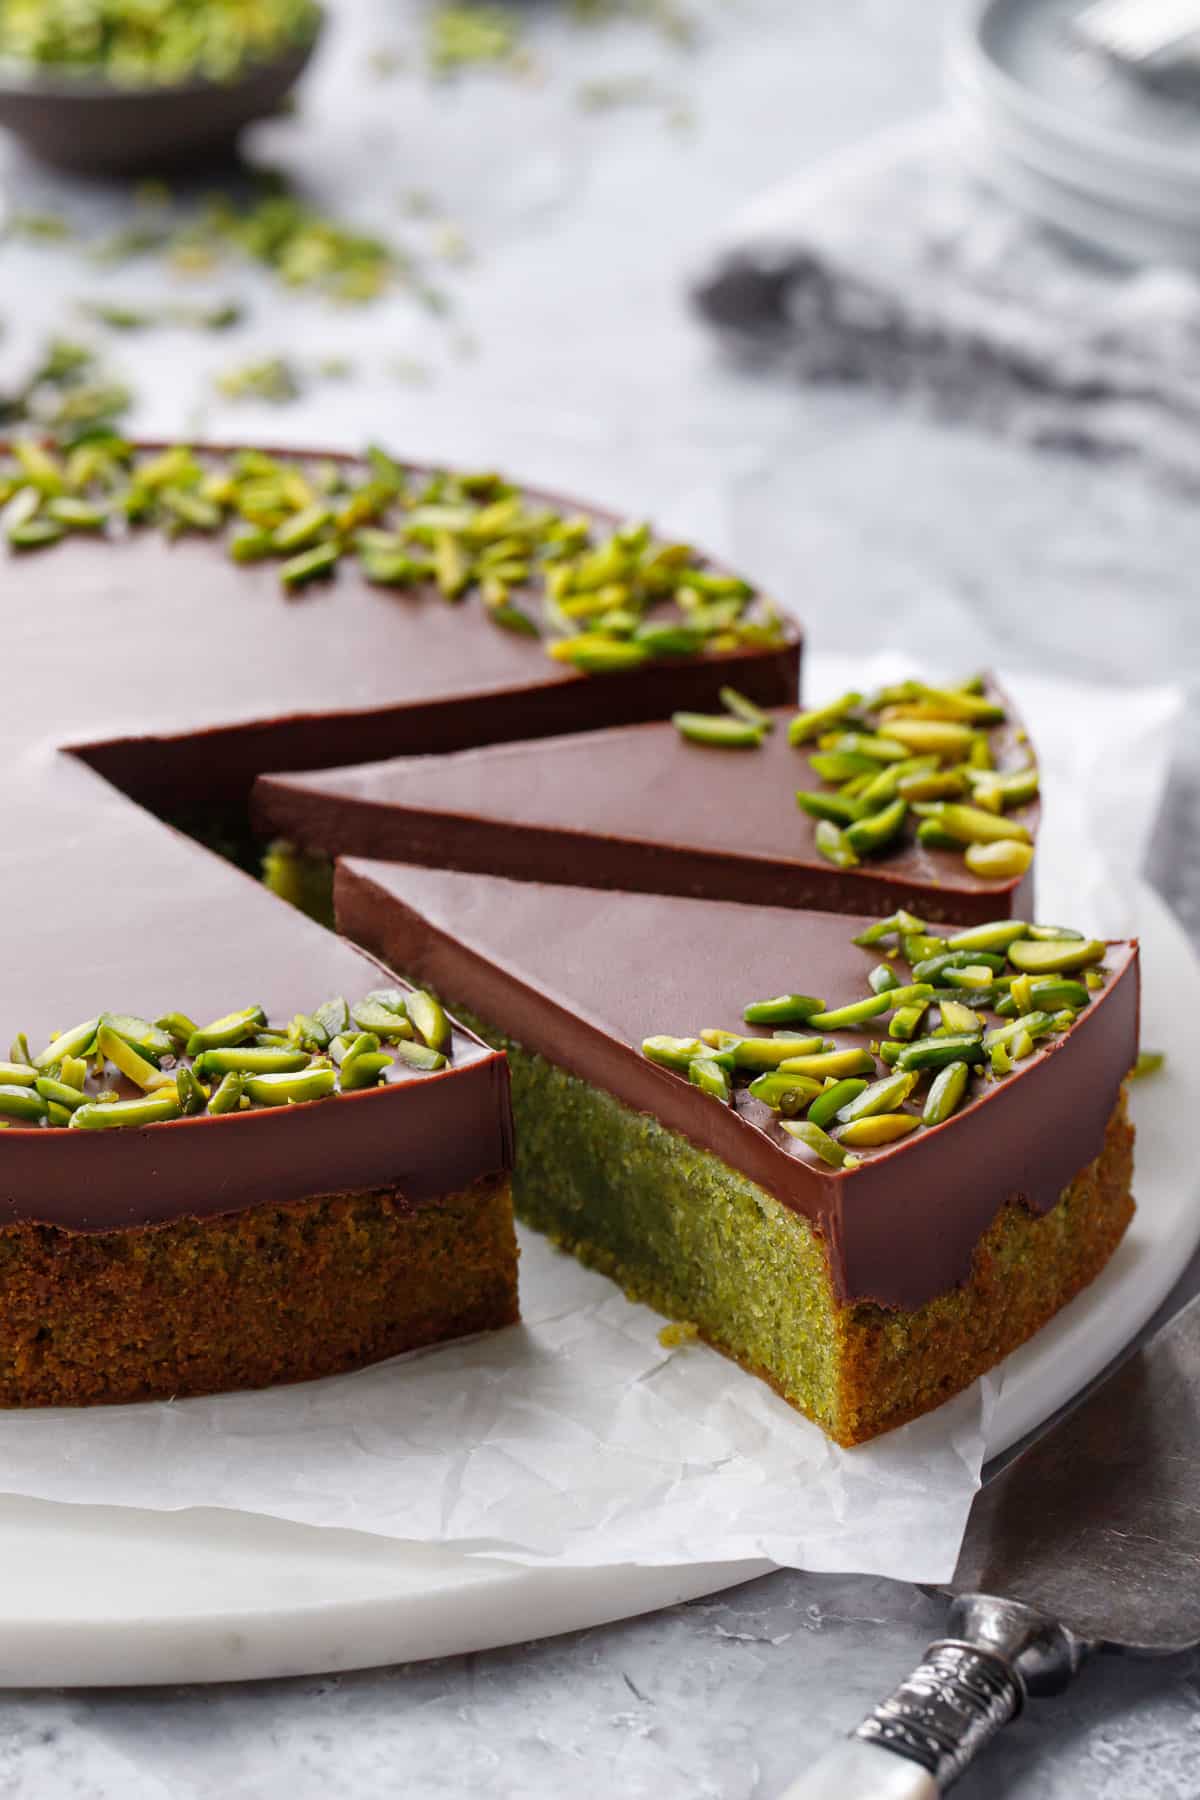
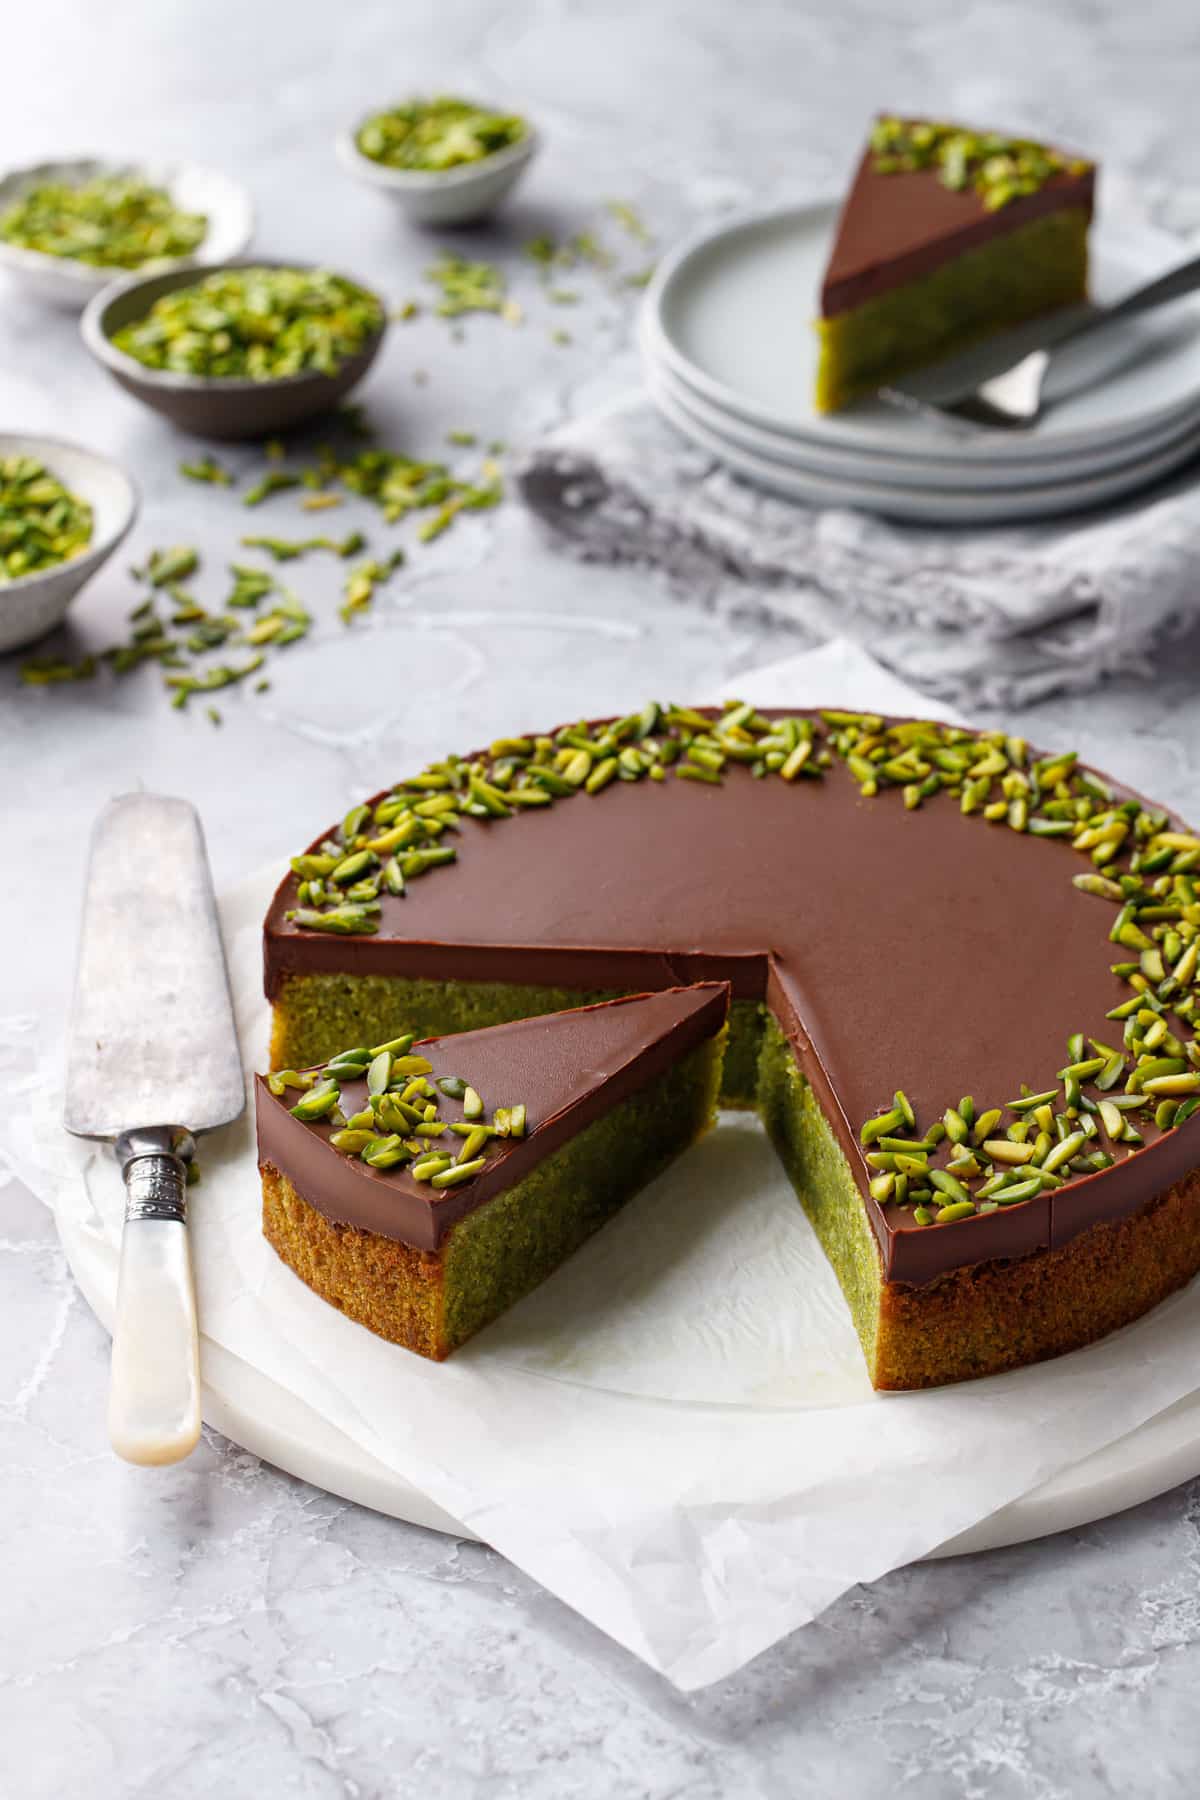
The texture is hard to describe other than it is magical. Denser than birthday cake, lighter and coarser than pound cake, but somehow miraculously soft and almost… velvety? I’m running out of suitable comparisons and adjectives to aptly describe this unique texture.
And, actually, now that I think about it, the texture is probably the most similar to my amaretti cookies, like a really loose marzipan (since both are nut flour-based that makes sense), but this cake is softer and smoother and much richer from all the added fats in the form of egg yolks, butter and olive oil instead of just egg whites.
It’s topped with a lusciously smooth layer of chocolate ganache, the bittersweet chocolate perfectly accentuates the rich, nutty flavor of the cake.
I may be having trouble describing it, but I promise you I had no trouble devouring it (and neither will you!)
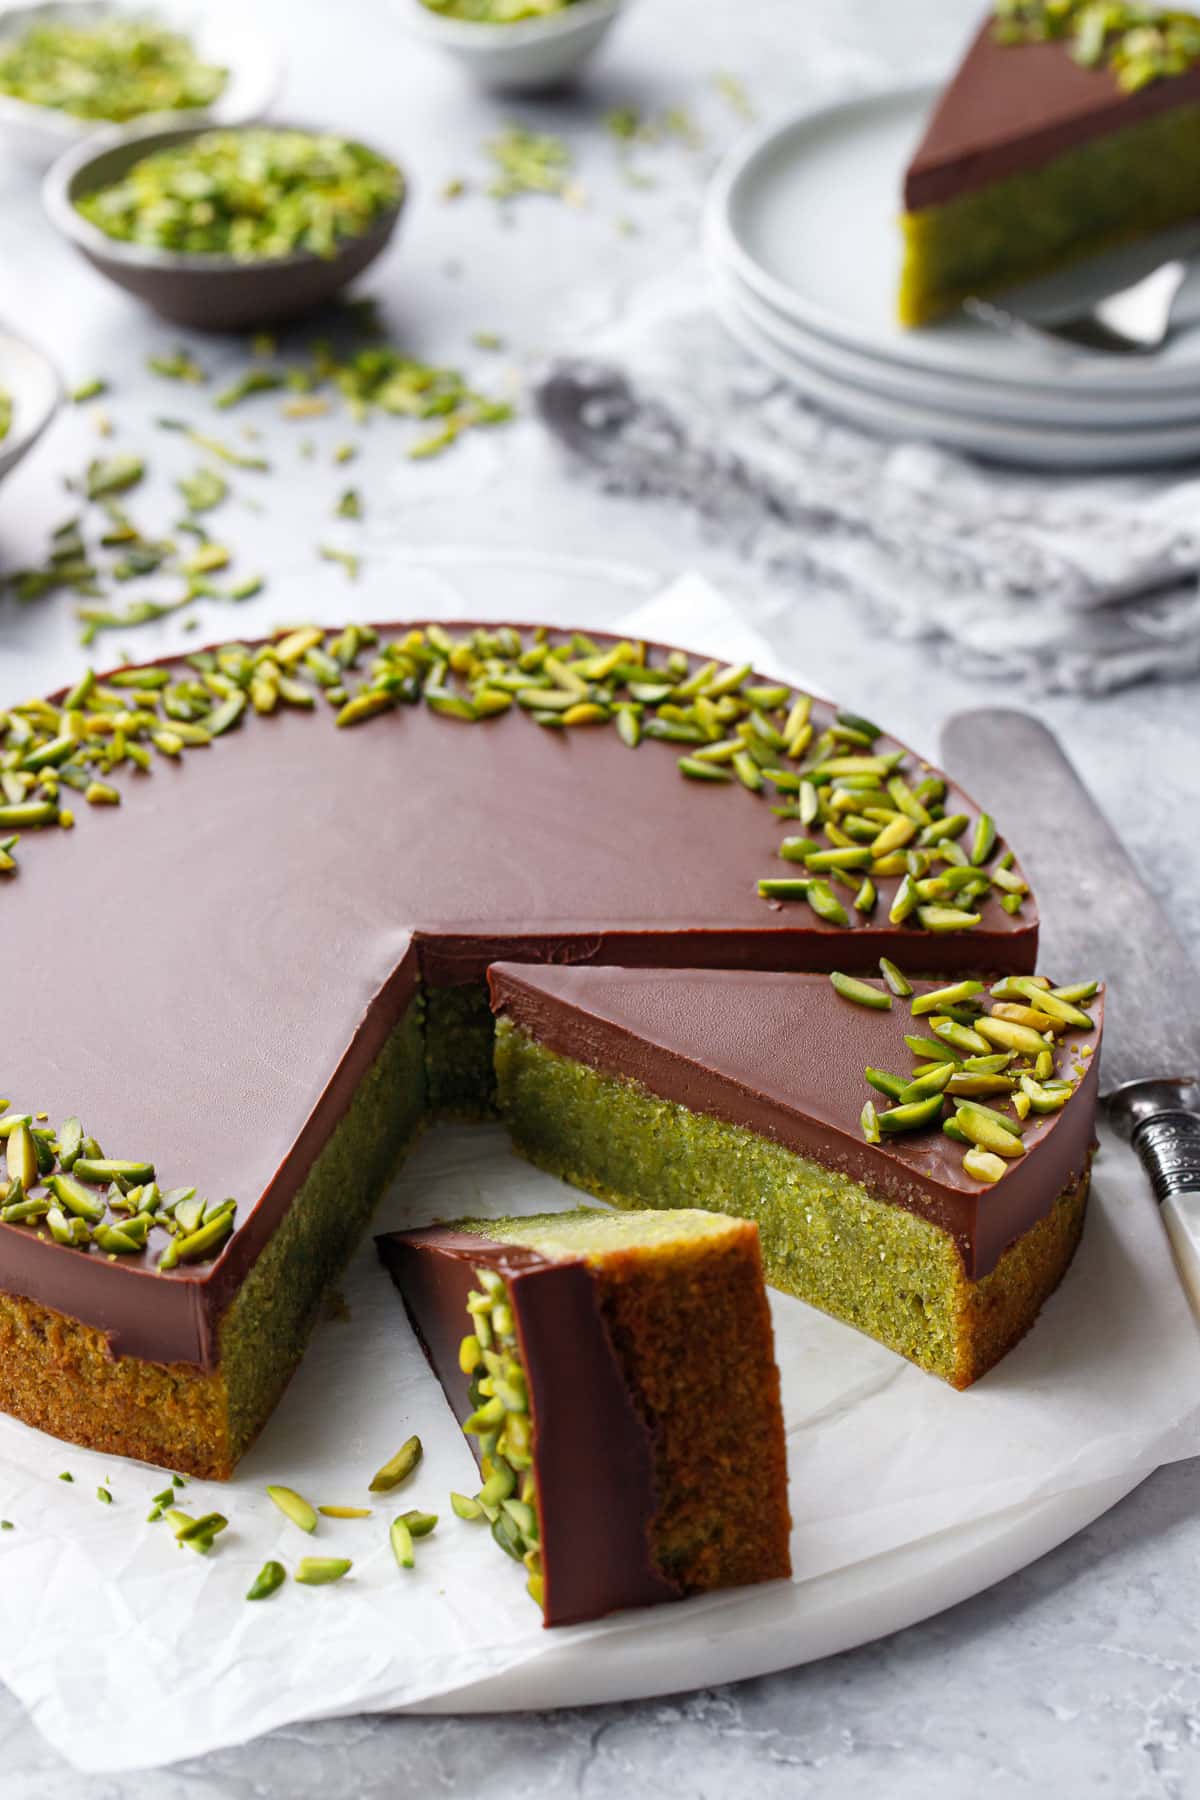
A little behind the scenes…
I’ve always been a bit of a perfectionist when it comes to my recipes, and I tend to hold my favorite recipes to even higher standards (I want the photos to do the recipe justice!) and let me just say I was hitting a wall with this photo. The arrangement and styling just didn’t feel right to me. Which is why I ended up with four little bowls of slivered pistachios in the background because at that point I basically just threw handfuls down and said “screw it”. But you know what, it works.
It’s similar to when I think I’ve finished a shoot only to sit down and take a bite or two and then realize that my haphazard bite looks way better than my styled one and of course I need to go snap another photo of it.
Hashtag food blogger problems.
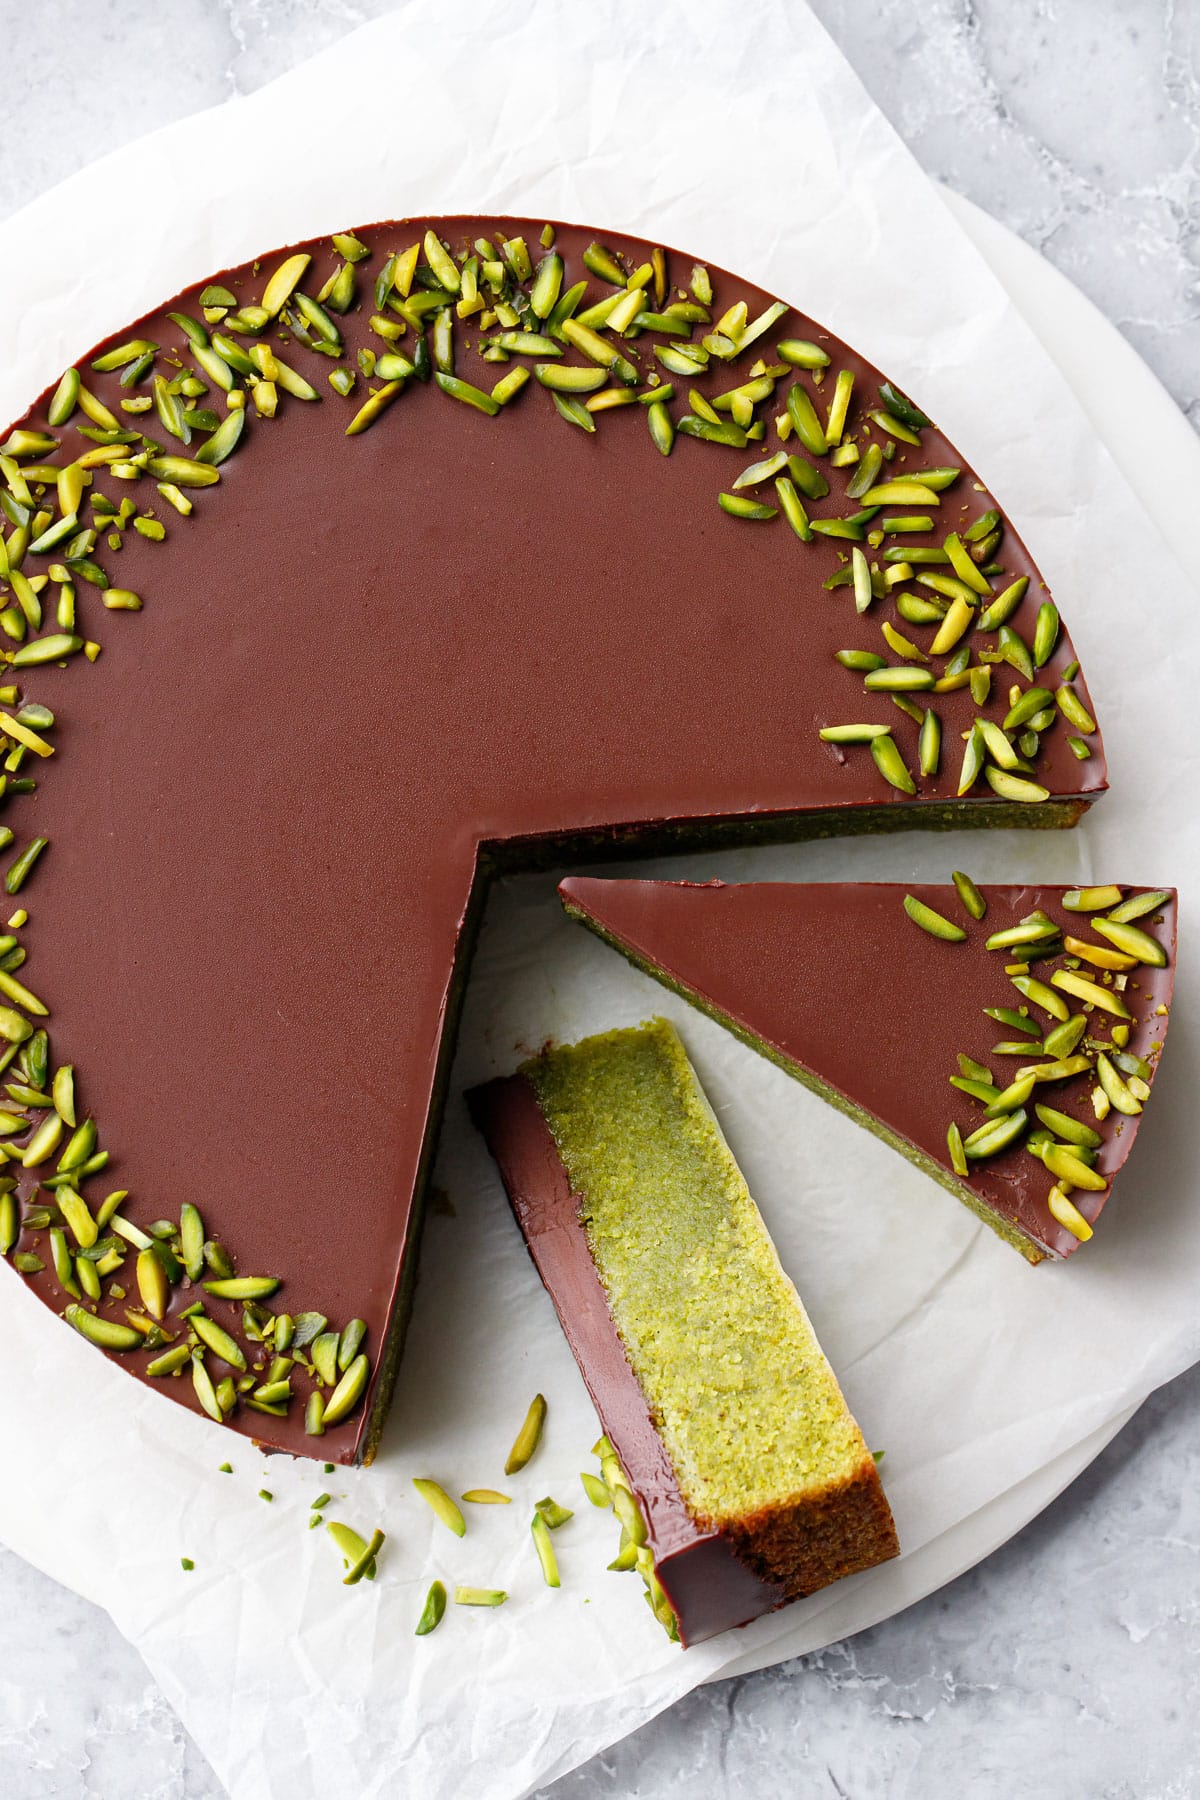
The Pistachio is Always Greener…
You may be wondering how my cake turned out so gosh darn green.
I promise, there was no food coloring used in this recipe and no enhanced photo editing either. It really is that green.
The color of your cake is directly related to the color of your pistachio flour, so the greener the better.
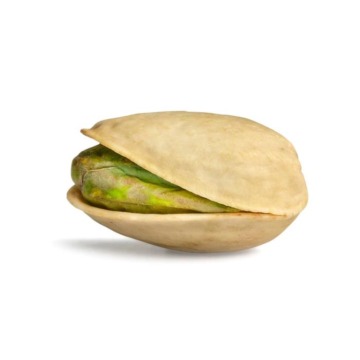
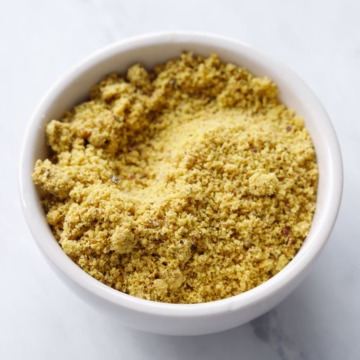
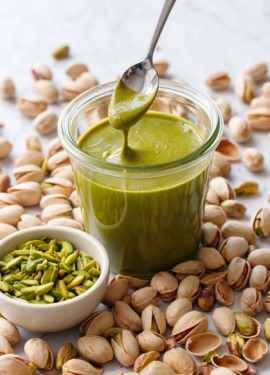
I used homemade pistachio flour made with my favorite slivered pistachios (the same ones I used on top), which resulted in a vibrantly green cake that was more beautiful than I could have ever imagined. Homemade pistachio flour is going to give you a much brighter color in most cases; I’ve yet to find a pre-made pistachio flour that satisfies me. (I’m almost tempted to go back and re-make my pistachio amaretti with this new, greener flour).
If your pistachio flour isn’t quite as green, your cake will be more of a greenish yellow color, but still perfectly delicious. You can also add a few drops of green food coloring if you want to enhance the natural color.
I know that pistachio flour isn’t exactly cheap, but the good news is you can substitute almond flour for all or part of it without affecting the final product (other than the color and flavor). I used about 1/3 almond flour and 2/3 pistachio, but you could certainly go 50/50 too.
Degrees to Succeed
The temperature of the butter and eggs is one of the things that gives this cake its unique texture. Using cold ingredients will not produce the same result, so pay close attention and plan ahead!
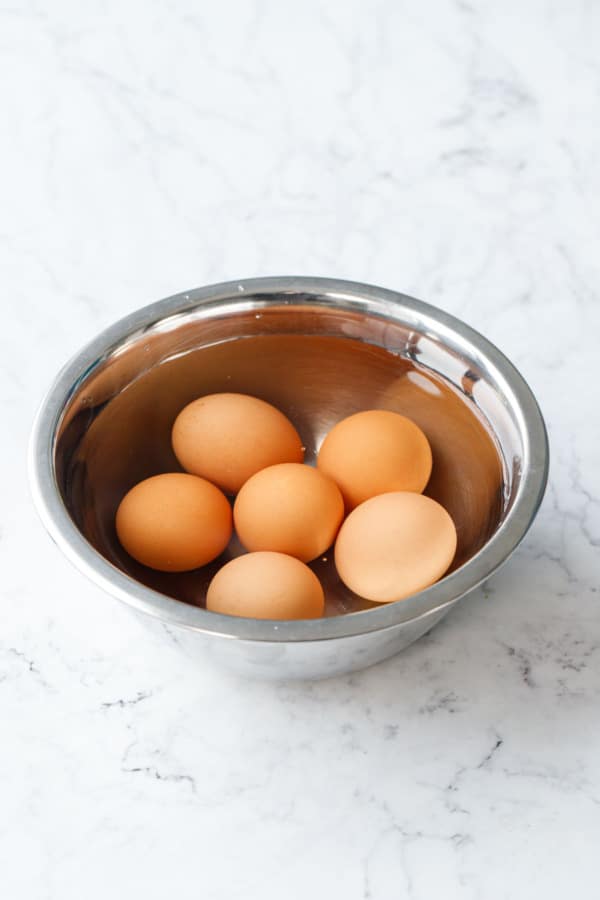
First and foremost, let your eggs sit out for at least an hour before you start baking.
Having the eggs at warm room temperature (70-75 degrees) is critical for the success of this recipe. If your eggs are too cold, they won’t whip up as fully, and the soft butter will solidify upon contact, making the batter appear slightly curdled. These solidified bits of butter will turn into air pockets or small craters in the cake as it bakes.
To quickly warm up eggs that have been in the refrigerator (or if your kitchen is particularly cold), place in a bowl of warm water and let sit for at least 20-30 minutes, changing the water once or twice if it gets too cold.
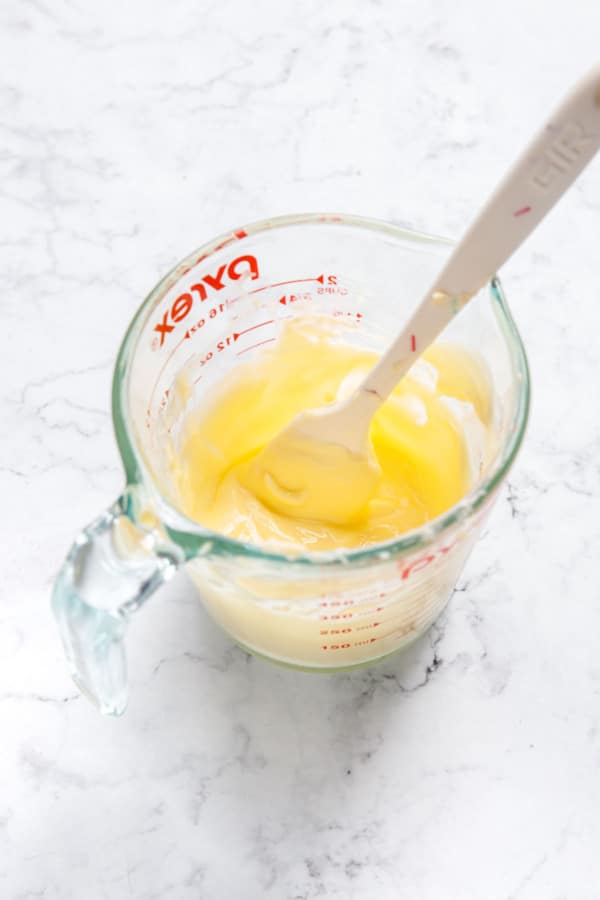
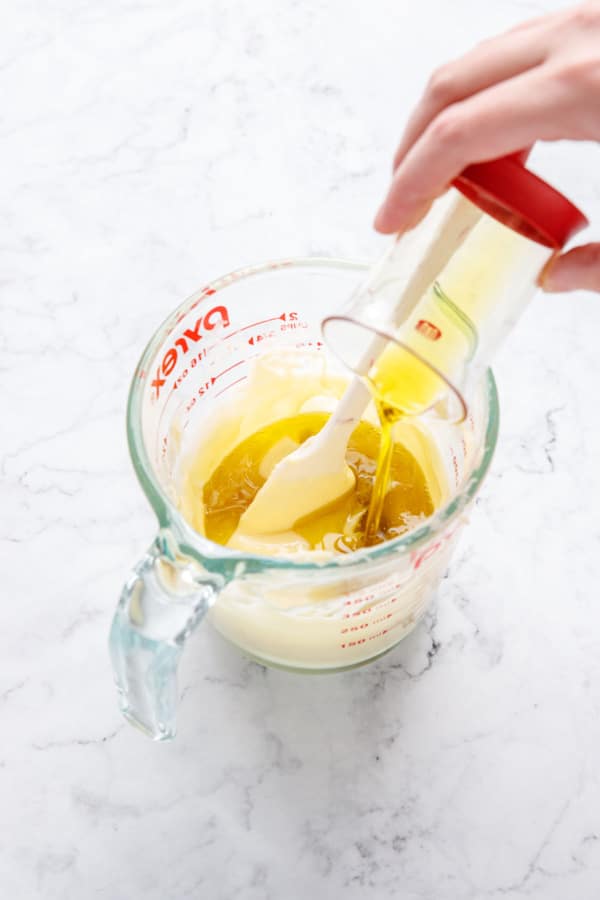
Additionally, you’ll notice the recipe doesn’t call for softened butter or melted butter, rather something in between the two. Ideally the butter should be softened and fluid but not completely melted (it should still have an opaque pale yellow color, not separated and clear like fully melted butter). You’re looking for the consistency of ranch dressing, to use an extremely un-appetizing comparison.
To achieve this specific consistency, cut your butter into chunks and microwave in a heat-proof container in short, 10 second bursts at 50% power, stirring between each interval, until butter is evenly softened and fluid but not completely melted.
Step by Step:

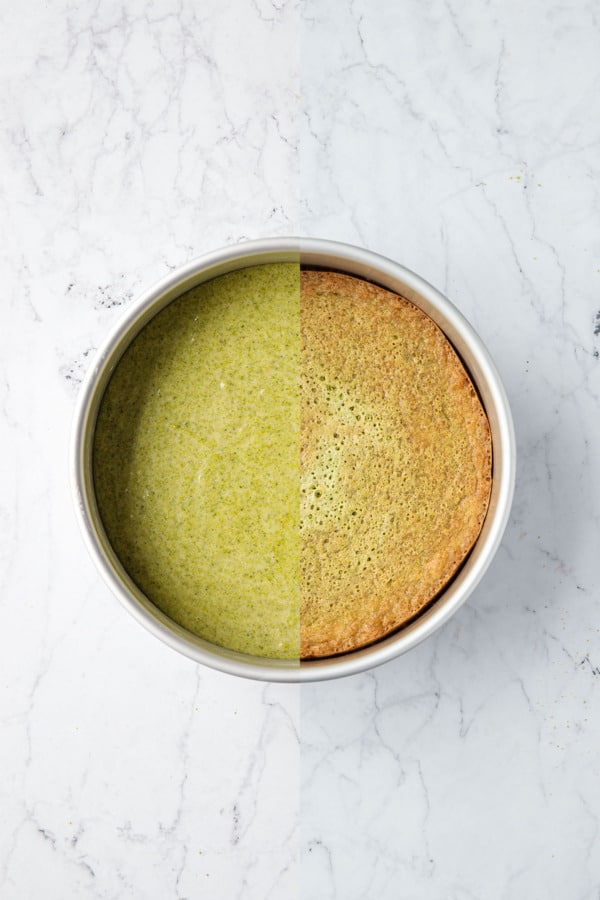
The cake comes out of the oven with a gentle dome on the top, which will settle back down a bit as it cools. You can also press lightly with a silicone spatula to help flatten it out. You can place a slightly smaller cake pan (grease the bottom or use another round of parchment) with a few soup cans inside on top of the cake to weight it down. The top of your cake will probably peel off once you remove the weights, but that’s ok since you’ll be covering it up with ganache anyway.
If the dome is still prominent once the cake has cooled, you can level it with a serrated knife so you have a perfectly flat surface for the ganache. Do so very gently as this cake is more fragile than typical flour-based cakes. You can also flip the cake so the perfectly flat bottom becomes the top (and the weight of the cake will flatten out the dome on the bottom naturally).
The edges do tend to shrink in just a tiny bit, which will allow some of the ganache to flow over. If you have cake strips, definitely use them as it’ll help the cake bake more evenly and won’t shrink as much. You can also trim the sides a bit after it cools (bringing the lower bulge even with the inner rim).
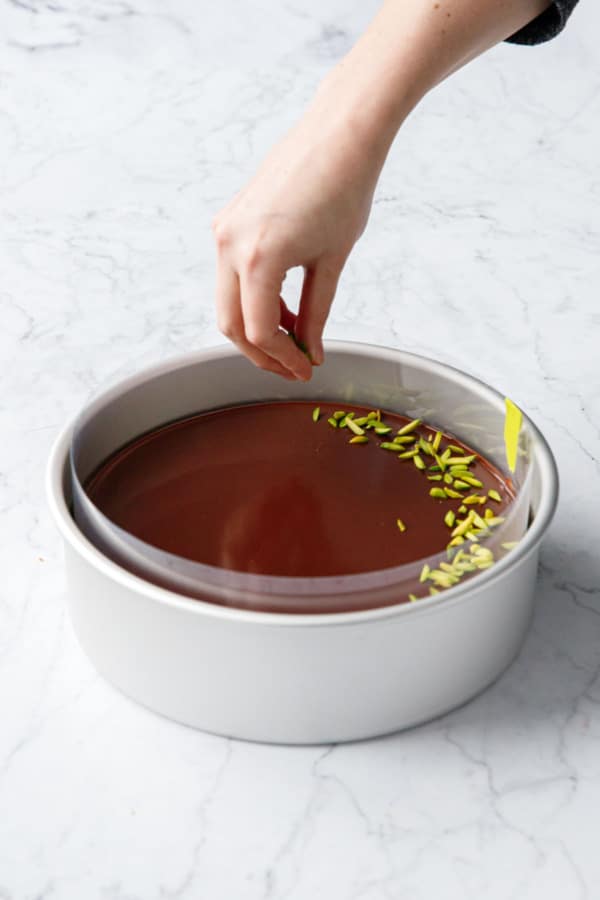
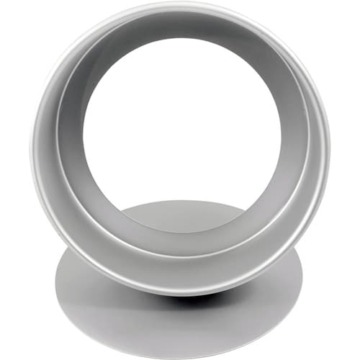
I used a 9-inch aluminum cake pan with a removable bottom (it doesn’t need to be 3″ deep, a standard 2″ pan is fine, but I wanted the removable bottom). I don’t recommend a springform pan as they are typically much too thin and won’t conduct heat as evenly (leading to overdone edges and a more prominent dome and/or an underdone center).
If your best cake pan does not have a removable bottom, that’s ok, you can invert and flip the cake out onto a cooling rack to cool. You don’t technically need the outer piece of the cake pan, the acetate should be strong enough to hold the ganache, but I like the additional support and stability as the ganache cools. You can also make a ‘sling’ out of two strips of parchment to lay under the cake and allow you to lift it out of a pan without a removable bottom.
This recipe can also work in an 8-inch cake pan, the cake will just be deeper and taller (and will need a slightly longer bake time). Halve the recipe to fit perfectly in a 6-inch pan (the bake time will be about the same as the 9-inch, since it’s smaller but also a little deeper). You can also 1.75x or 2x the recipe for a larger 10-inch pan, which will most likely need a longer bake time as well.
To be honest my cake could have used 5 more minutes in the oven, the center wasn’t raw but was definitely softer than my previous tests.
Some Assembly Required
There are a few options to assemble and decorate this cake.
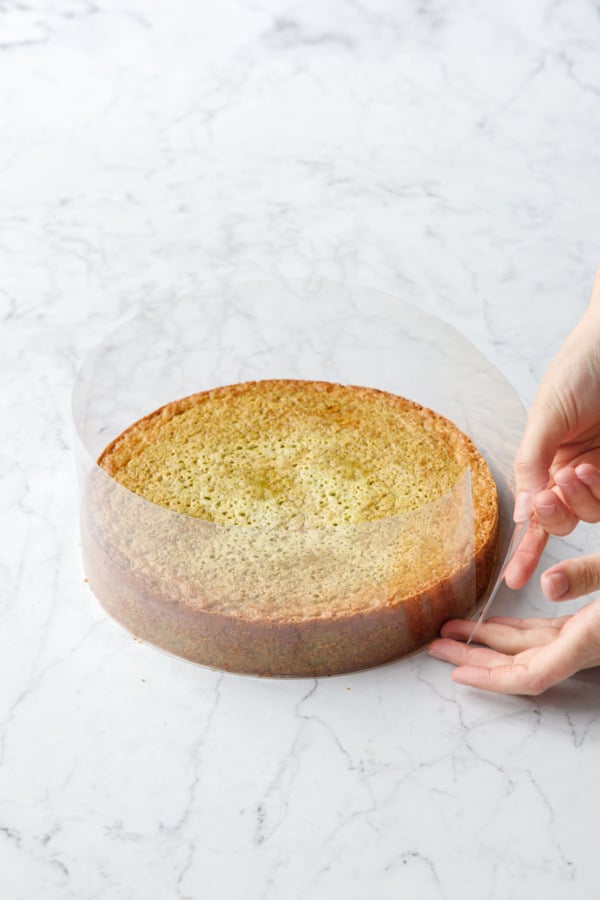
I chose to treat it like an entremet or naked cake: wrapping the cake in acetate and pouring on a liquid layer of silky smooth chocolate ganache. This method works best when your cake is perfectly level on top and the sides are flush with the acetate.
You really do need acetate though; parchment is too thin and won’t support the outward weight of the ganache, and will probably wrinkle too. Something like a silicone baking mat or flexible plastic mat could work, though you’d probably need two to fit around the entire cake (and will have visible seams).
Alternatively, if you don’t have acetate or don’t want to deal with the finickiness of the poured ganache layer, you can treat the ganache more like a frosting and spread it on once it’s cooled slightly (cool at room temperature, gently stirring every 10 to 15 minutes to ensure it cools evenly). Once it reaches a spreadable consistency, spread or pipe it on top of the completely cooled cake. You can also leave off the ganache entirely (see below).
Oh My Ganache
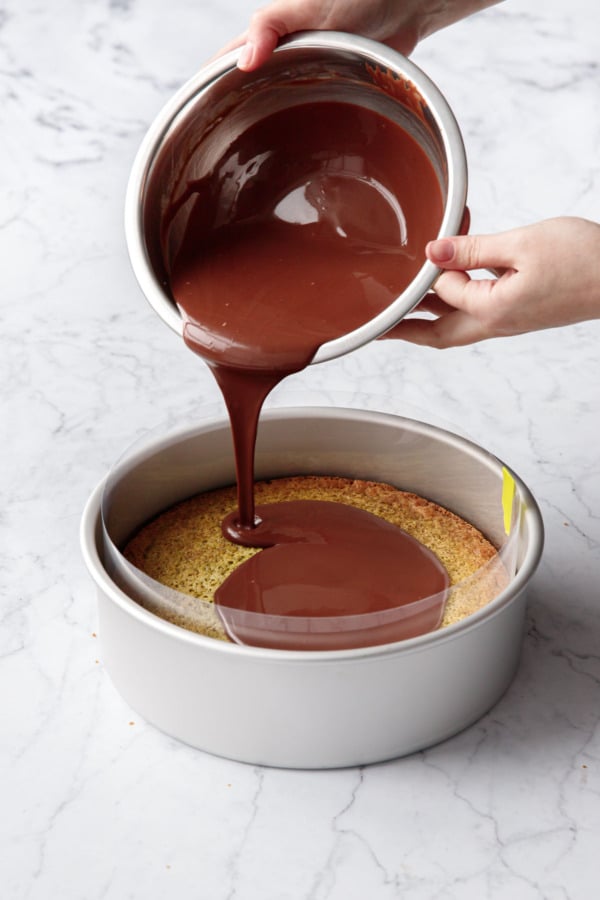
The ganache is fairly thin and pourable so it settles into a perfectly smooth top and against the acetate edges, but is still thick enough that it will set up and be sliceable after chilling.
I used a mix of 66% dark and 35% milk chocolates for the ganache (a little milk chocolate, which usually has more stabilizers/emulsifiers, helps make a smoother ganache that’s less prone to separate). If you use a different mix of cacao percentages, you may want to adjust the cream accordingly. For example if you used a 50% bittersweet and 35% milk (so a lower overall cacao %) or a higher proportion of milk chocolate, I’d suggest reducing the cream to by an ounce or two so the ganache will still set up firmly enough to slice. Alternatively, if you use all 60-70% dark chocolate and no milk chocolate, you may want to add a tablespoon or two of cream so it is still pourable.
Alternatively, if you’re going with the non-acetate assembly method and plan to spread the ganache on like frosting, reduce the cream to 6 oz so that your ganache is a 1:1 ratio (equal parts cream and chocolate by weight).
Not a fan of chocolate?
First of all… how dare you! (Just kidding, but as a chocoholic through and through, I simply cannot relate in the slightest.)
That said, this cake is actually quite lovely on its own without the ganache layer. The very first time I made it, I covered half in ganache and left half naked so I could taste test it both ways, and while I preferred the chocolate in the end, the naked one was perfectly satisfying on its own.
If you skip the ganache, I recommend brushing the top with an orange simple syrup to play up the orange flavor (simmer equal parts orange juice and sugar with a few strips of orange zest, then cool and strain. Or, use leftover syrup from candied oranges if you have some!) You can also dust it with powdered sugar for a super simple finish.
Cuts Like a Knife
If you have the time, I recommend refrigerating the cake overnight to allow the ganache to fully set. Cut into slices while it’s cold, though the cake is best enjoyed at room temperature when the ganache softens and better matches the consistency of the cake.
For the cleanest cuts, run a knife under hot water; pat dry, then lightly rub with an oiled paper towel. Wipe off your knife between every cut, rewarming and re-oiling as needed.
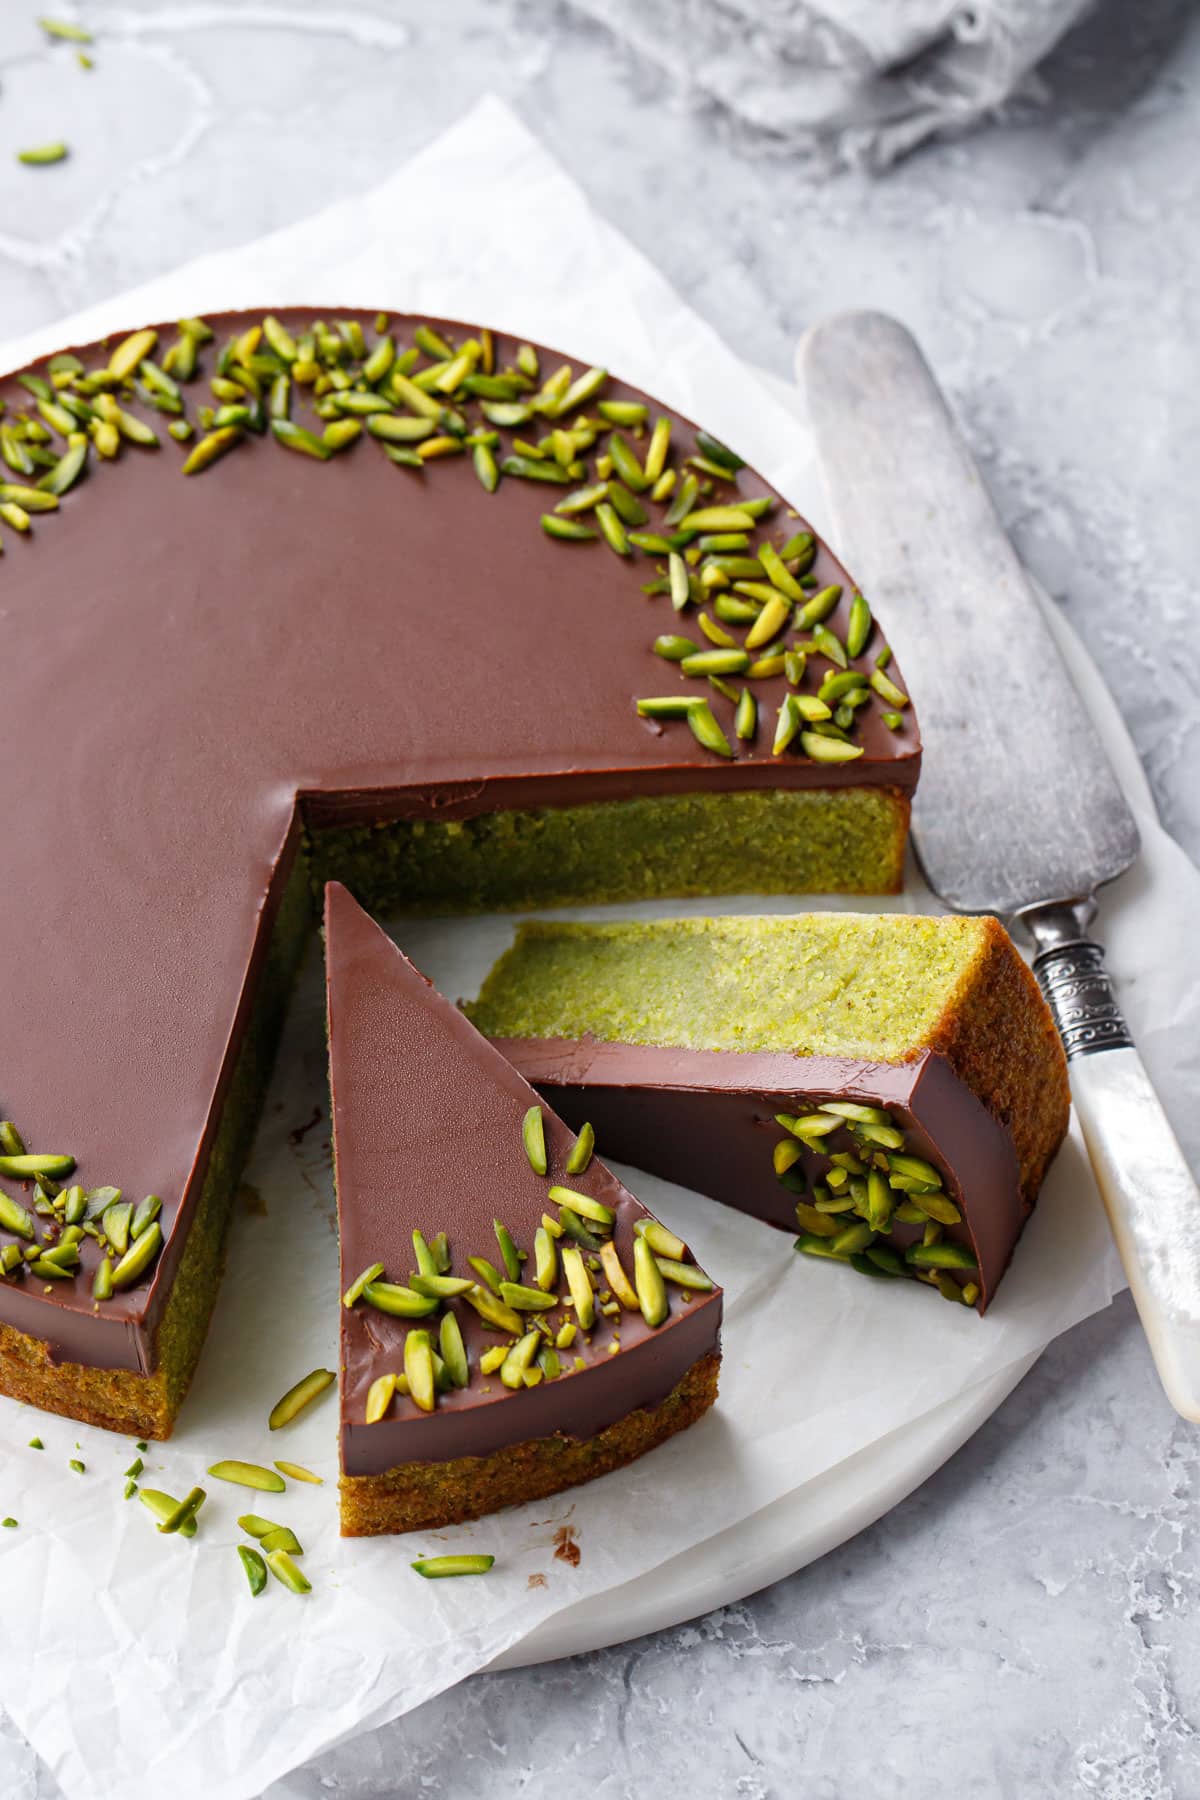
For the first few slices, rather than first sticking the tip down into the center of the cake and then out, I found that cutting vertically in from the edge to the center (like how you’d use a box cutter to open a box) produced beautifully clean slices, and kept the tips from collapsing and the ganache from smearing down into the cake. You’ll need to hold the cake in place to prevent it from sliding (please be careful when cutting towards your hand, or use a spatula or something else solid to hold the cake in place).
For the later slices, however, it’s hard to get a good handle to keep the cake from sliding around. In which case I recommend using the same hot, oiled knife, but scoring a few shallow slices to cut through the ganache first. Then do a final cut through the cake itself (since the cake is softer than the chilled ganache, this will prevent the cake from squishing.)
I’ve also used a wire cutter and dental floss to cut this cake like ceramic clay (lol), which actually works surprisingly well.
To store the leftover cake, I like to use the same piece of acetate (which can be cleaned and reused) as a ring around the whole cake, then press a piece of plastic or parchment to the cut surfaces to keep them from drying out. The ganache will seal the top for you. Lightly wrapped thusly, I’ve found this cake keeps quite well in the refrigerator for up to 5 days, the only downside being the pistachios on top get a little less crunchy.
Ingredient Notes & Substitutions
Pistachio flour: This cake calls for a total of 300g of nut flour, and will work with any type of nut flour or a combination. The recipe is written for about 2/3 pistachio flour and 1/3 almond flour (mainly because pistachio flour is so expensive, but also because a bit of almond helps enhance the pistachio flavor). In reality you can use 50/50, or 100% pistachio or even 100% almond if you choose (obviously it will be a flourless almond flour cake instead of a pistachio cake, but that would honestly be lovely in its own right).
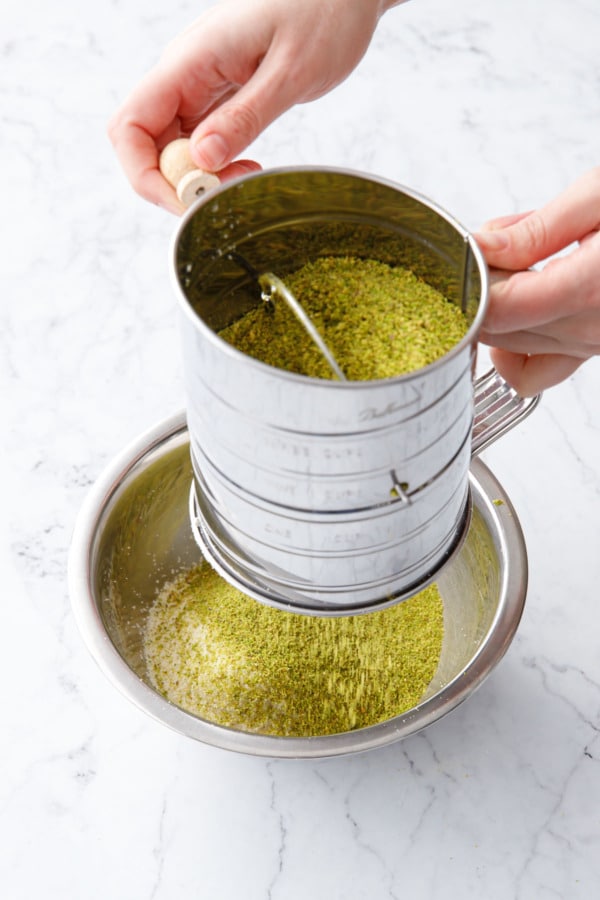
You want finely ground nut flour for the most refined texture. I always recommend sifting pistachio and almond flours first to remove clumps and larger pieces.
Note that the color of your pistachio flour will determine the final color of your cake. Most store-bought flours tend to be more yellow than bright green, and it’s not going to miraculously change color in the oven. Feel free to add a drop or two of green food coloring to the batter along with the pistachio extract if you want a more pronounced color.
Olive oil: Using some extra virgin olive oil in addition to the soft butter adds more depth and complexity to the flavor as well as enhances the moisture and longevity of the cake. That said, you can use all butter here instead (12 tablespoons total). In place of the olive oil you can use pistachio oil, or a neutral flavored oil like grapeseed or avocado. I don’t recommend using all oil, however, or the cake will be too gooey and greasy.
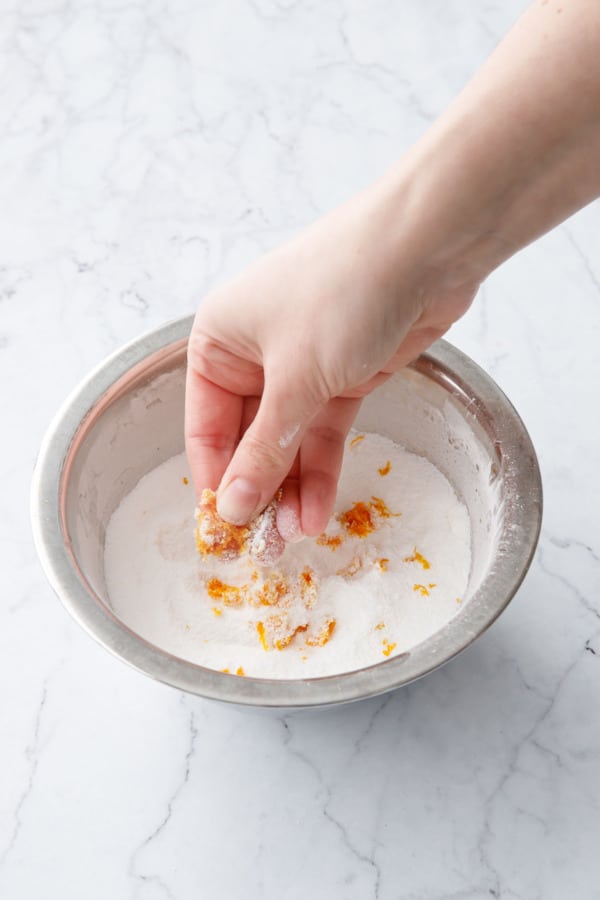
Orange zest: The orange zest compliments the flavor of the pistachio beautifully. Use finely grated fresh orange zest (I use a microplane for this), and then rub it with the granulated sugar to bring out the flavorful oils. That said, the orange zest is optional and you can certainly leave it out if you want.
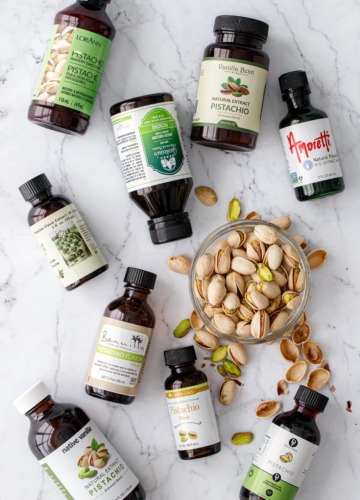
Pistachio extract: For this recipe I used Olive Nation pistachio extract, which actually didn’t get super high marks in my pistachio extract taste test because of the strong orange undertones, but that’s exactly what makes it perfect for this or any other recipe that combines orange and pistachio flavors (my pistachio florentines are another). But any pistachio extract will work here. Alternatively, if you don’t have pistachio extract, use 1 teaspoon vanilla and 1/2 teaspoon almond extract instead.
Granulated sugar: The sugar helps the eggs whip up light and airy, and contributes to the velvety texture of the final cake. In my testing, I accidentally cut the sugar in half for one cake and it was not nearly as good, the texture was much coarser and drier and not as velvety (it also baked much quicker which likely contributed to the dryness). For that reason, I do not recommend reducing the sugar or replacing it with sugar substitutes. The bitter chocolate does a great job at offsetting the sweetness of the cake if you’re worried about it being to sweet, but it really isn’t overly sweet to begin with.
Chocolate: I used a mix of 66% dark and 35% milk chocolates in the ganache. See notes above about ganache and adjusting the amount of cream based on the cacao % used.
Flourless Pistachio Cake with Chocolate Ganache
Ingredients
For Cake:
- 2 cups / 220 g pistachio flour*
- ¾ cup / 80 g almond flour*
- 2 tablespoons / 16 g cornstarch
- ¾ teaspoon fine sea salt
- 1 ¼ cups / 250 g granulated sugar
- 1 teaspoon orange zest, very finely garted
- 6 large eggs, at warm room temperature**
- 10 tablespoons / 140 g unsalted butter, cut into cubes
- 2 tablespoons / 28 g extra virgin olive oil
- ¾ teaspoon pistachio extract
For Ganache Topping:
- 5 oz / 140 g 60-70% dark chocolate, finely chopped
- 1 oz / 28 g 30-35% milk chocolate, finely chopped
- 1 cup / 238 g heavy cream
Instructions
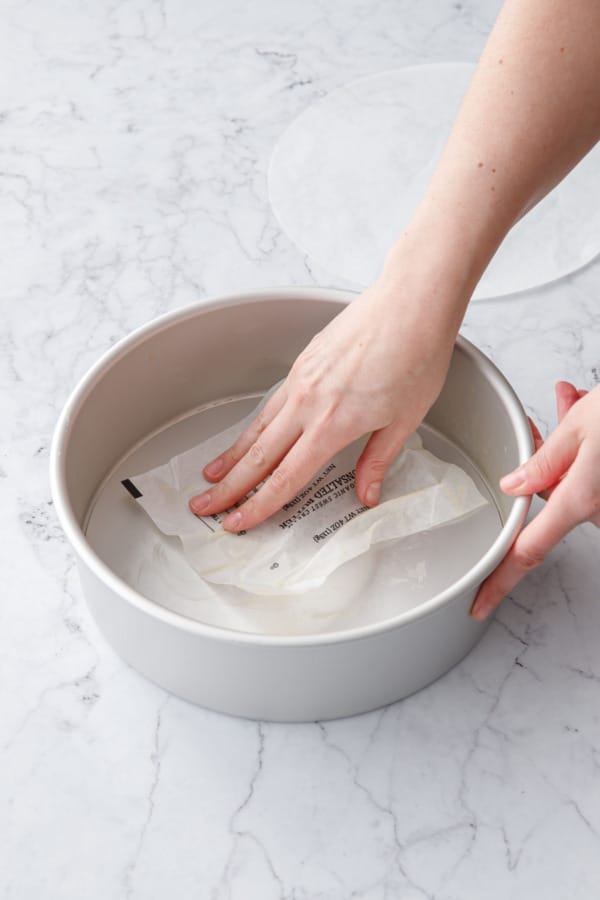
- Preheat oven to 350 degrees F. Butter and line the bottom of a 9-inch round cake pan (ideally with a removable bottom) with parchment paper; lightly butter parchment.
- Sift pistachio flour and almond flour together into a mixing bowl along with cornstarch and salt; set aside.
- Rub orange zest into granulated sugar until fragrant and evenly distributed.
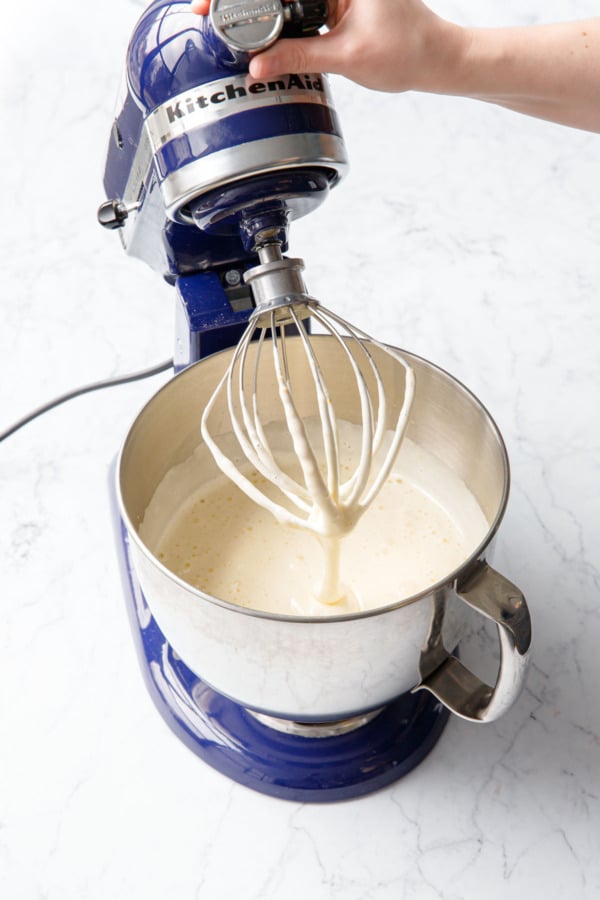
- In the bowl of stand mixer fitted with the whisk attachment, whip eggs on medium speed until frothy. Add orange sugar mixture and increase mixer speed to high and whip for 7 to 10 minutes or until eggs are very pale and falls from the beater in solid ribbons that slowly dissolve into the rest of the mixture.
- Place cubed butter in a heat proof measuring cup or container. Microwave at 50% power for 10 seconds, then stir. Repeat, microwaving in 10 second intervals, stirring in between, until butter is just soft enough to flow with no solid chunks, but is not fully melted and separated. It should be the approximate consistency of ranch dressing.
- Add olive oil to butter and stir to combine.
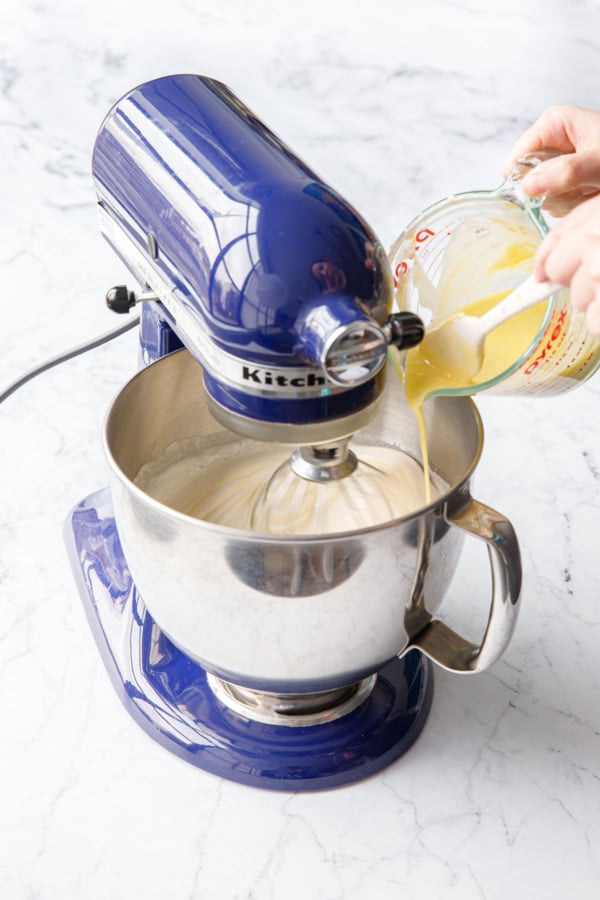
- With the mixer running on low, gradually pour butter and oil mixture in with eggs, a spoonful or so at a time, letting it incorporate fully before adding more. The batter will loose some of its volume. Add pistachio extract.
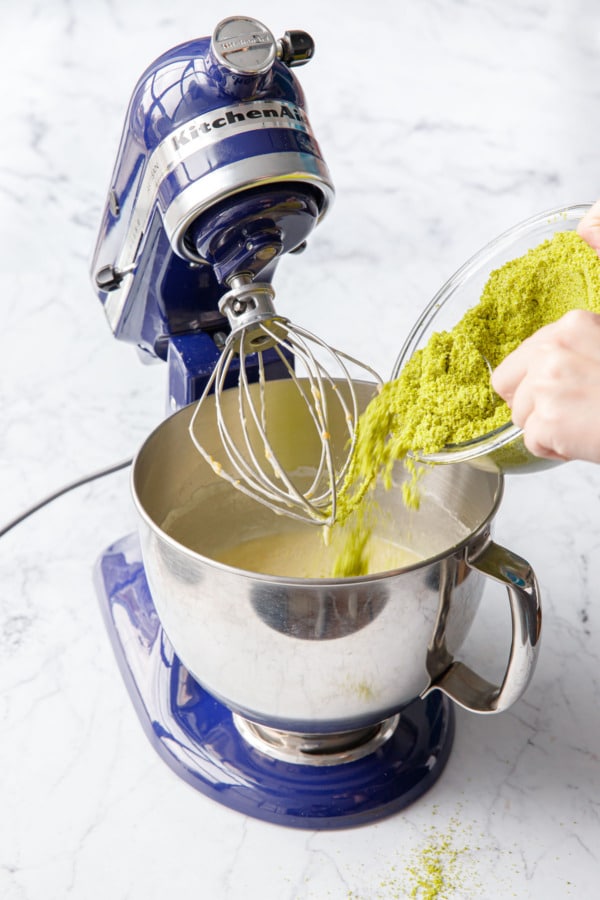
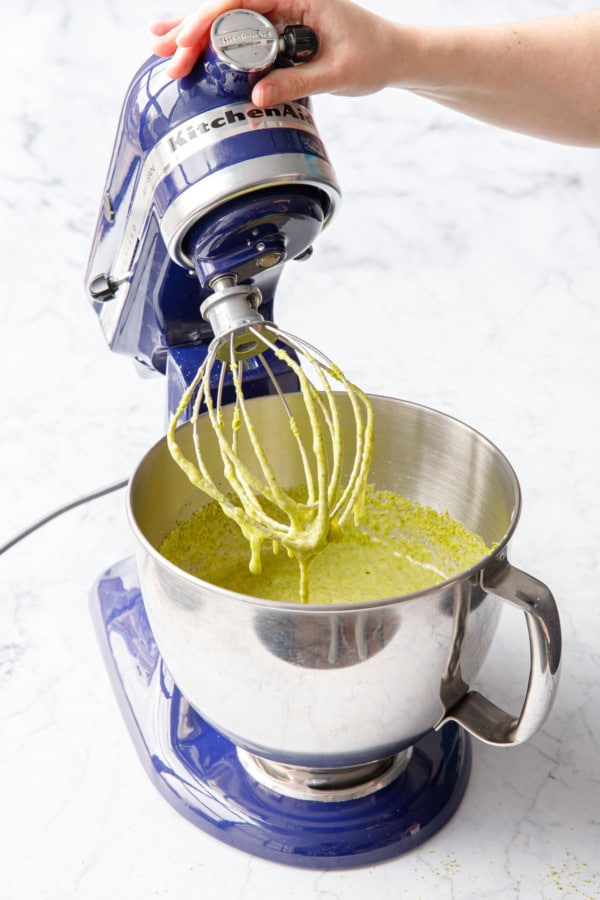
- Add sifted pistachio flour, then mix on low speed for a second or two, or fold in with a wide spatula, scraping the bottom and sides of the bowl as you go, until flour is just incorporated and no dry streaks remain.
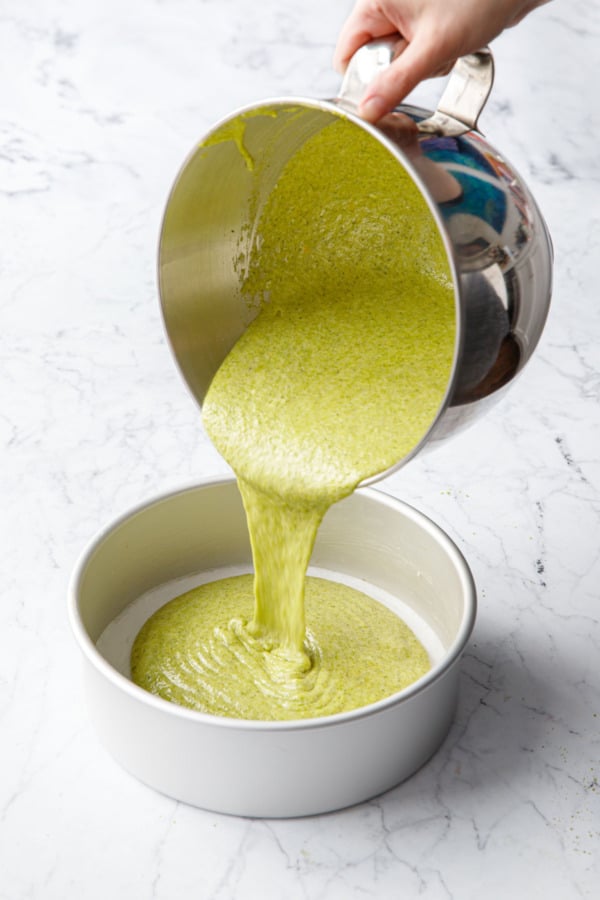
- Pour batter into prepared cake pan. If your pan has a removable bottom, set it on a baking sheet (just in case).
- Bake for 40 to 45 minutes or until top is no longer fluid, edges are light golden brown, and a toothpick inserted in the middle comes out clean.
- Remove from oven and set on a wire rack and let cool. Run a knife around the edge of the cake, then remove sides (or invert to remove it from the pan). If the top is domed, you can press down slightly with a lightly greased spatula, or very gently trim off the top to be level once the cake is cooled (the cake is much more fragile than typical layer cakes).
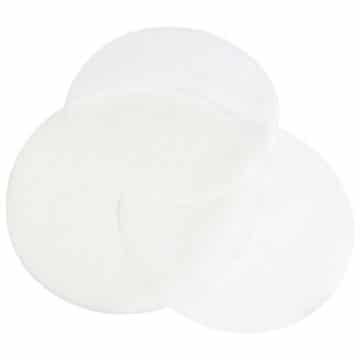
- Cut a strip of acetate to fit around the circumference of the cake. Wrap tightly and secure with tape. Optionally place the cake back into the (cleaned) cake pan for additional support. (Note if you skip the acetate, see the alternate assembly method instructions and treat the ganache more like frosting).
For Ganache Topping:
- Place chopped chocolate in a heat-proof bowl
- Warm cream in a small saucepan over low heat until it just begins to steam (don't let it fully boil).
- Immediately pour hot cream over chopped chocolate; let sit for 30 seconds, then gently stir or whisk, starting in the center and moving in small concentric circles outward, until the chocolate is fully melted and emulsified.
- While ganache is still warm and fluid, pour on top of acetate-wrapped cake. If the top is level and the sides tight against the acetate, it should settle into a neat, even layer.
- Alternatively, if you don't have acetate or don't want to assemble it that way, let your ganache cool at cool room temperature, stirring gently every 10 to 15 minutes, until it firms to a spreadable consistency, then spread or pipe onto completely cooled cake.
- Let the ganache cool gradually at room temperature for about an hour, then sprinkle with slivered pistachios if desired. Refrigerate for 2 to 3 hours or overnight until ganache is fully set, then peel off outer layer of acetate before slicing. The cake is best enjoyed at room temperature when the ganache softens and matches the consistency of the cake.
- To store, I like to use the same piece of acetate as a ring around the whole cake, then press a piece of plastic or parchment to the cut surfaces. The cake keeps quite well in the refrigerator for up to 5 days.
Notes
- *The pistachio and almond flour ratio can be adjusted (you can use 50/50 pistachio to almond or even all of one or the other), as long as the total amount of nut flour equals 300g.
- **Eggs must be at warm room temperature for the batter to emulsify properly, that means 70-75 degrees F. I recommend submerging the eggs in warm water for 20 to 30 minutes before you start.

DewaTerbang
Can you freeze this?
Followed your recipe exactly, delicious 60th birthday cake for my hubs. Thank you!
Love it!
Thetecisn’t a nutritional breakdown. I didn’t calculate the nutrition but I did the calories and the whole thing has at least 5570 calories or 700 calories per 8 servings, about 464 if you can manage 12. So proceed accordingly!
Question,
I can’t have eggs. Is there a substitute I can use and still get the same outcome?
Not with this recipe, unfortunately! Because there is no flour, the eggs provide the majority of the structure in addition to the nut flour. I don’t have any alternative recipes to recommend, unfortunately. You could try googling an eggless almond flour cake and see if something comes up (then swap pistachio for almond flour).
What do you think of baking this in a bunt cupcake silicone mold ? This would be a 6 hole mold
Thanks Susie
I only tested it in a round cake pan so I can’t say for sure, though I’m not sure how cleanly it would come out of a bundt mold because of the unique texture. You’d also need to play with the cook times though to be sure it gets fully cooked but not overdone.
FLOURLESS PISTACHIO GANACHE LOOKS GOOD I WILL TRY MAKE IT SOMEDAY.. IT NEW TO ME I LOOK A OF YOUR PICTURES WITH RECIPES LOOKS GREAT.. I PUT E MAIL SUBSCRIBE WITH EMAIL OF YOURS.. THANK YOU. DAWN AYRES
Hi
Is it possible to make own pistachio flour? They don’t sell it here in Australia
It sure is! https://www.loveandoliveoil.com/2024/02/homemade-pistachio-flour.html
Sieht großartig aus, ich glaube dir sofort, dass der Kuchen auch großartig schmeckt.
Muss ich unbedingt mit längerer Backzeit nachbacken.
Danke und viele Grüße sendet,
Gabriel
This cake looks amazing! Where are your sourcing your pistacios? I am having trouble finding really green ones.
Thanks.
Linked to my source in the post (as well as the homemade pistachio flour post). They are imported Turkish pistachios (and I’ll warn you they aren’t cheap!)