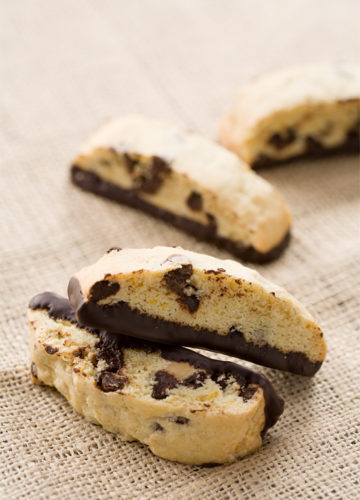
Light and crunchy pecan praline biscotti dipped in a white chocolate praline coating and sprinkled with a caramel praline crunch, this pecan praline biscotti might just change your opinion of biscotti for good!
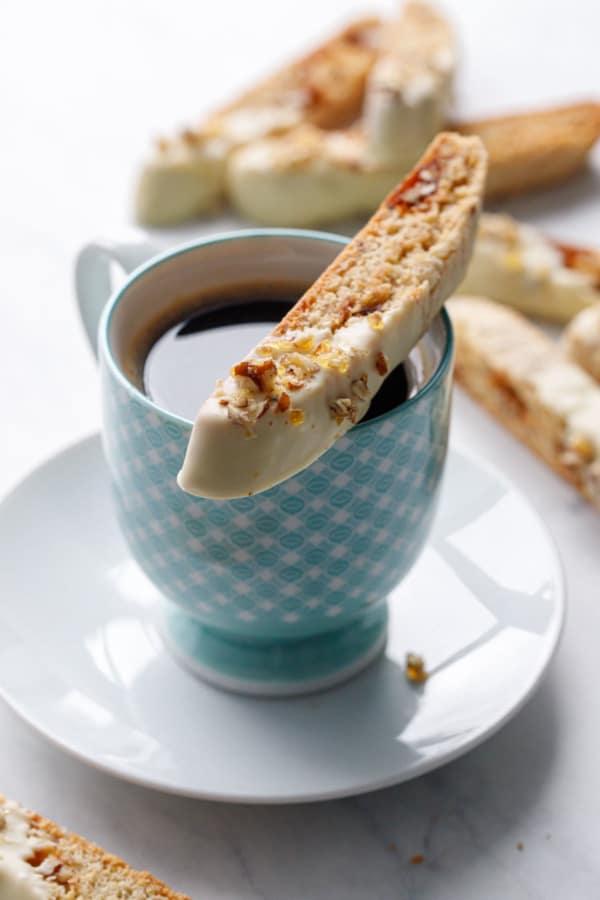
No more rock hard biscotti! This praline biscotti is thinly sliced and perfectly baked for a delicately crispy crunch you’ll adore with coffee or simply on its own.
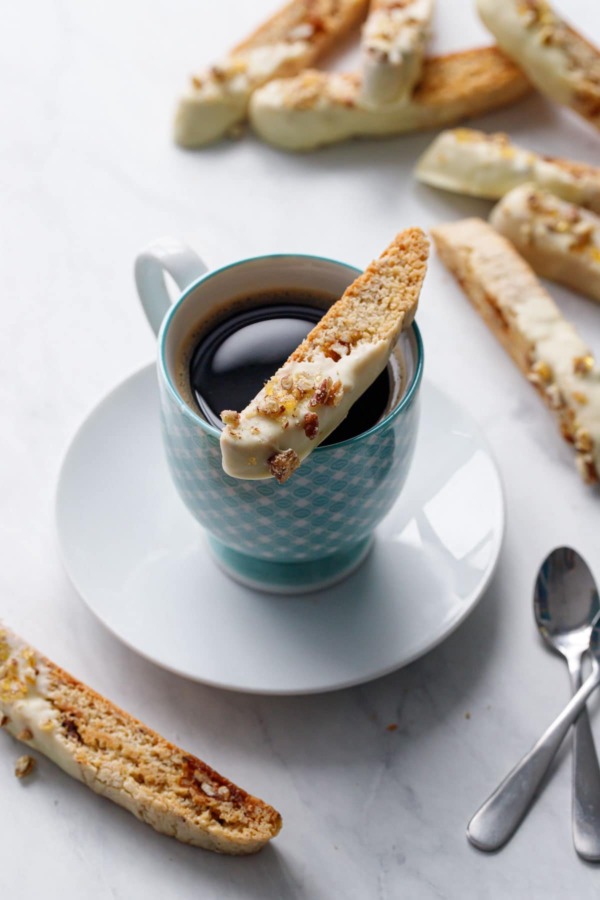
Biscotti has always been a cookie favorite of mine, especially around this time of year.
It’s just so darn shippable that, when you regularly send out a dozen cookie boxes to friends and relatives like I do, it’s hard not to love it’s durability. Not many cookies can arrive half way across the country and little worse for wear.
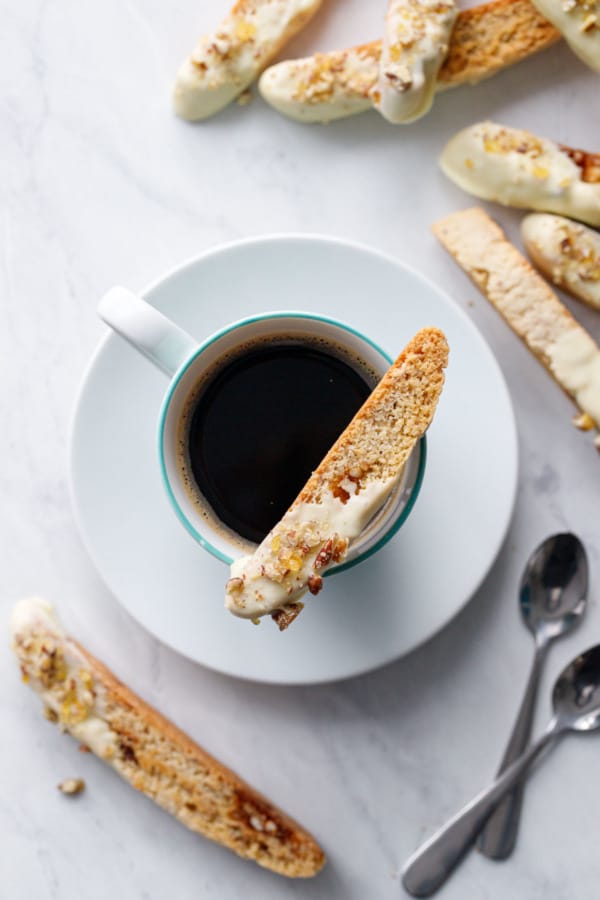
Plus, the fact that they were literally meant to be dipped in coffee means they are totally acceptable breakfast fare.
Cookies for breakfast? What’s not to love?
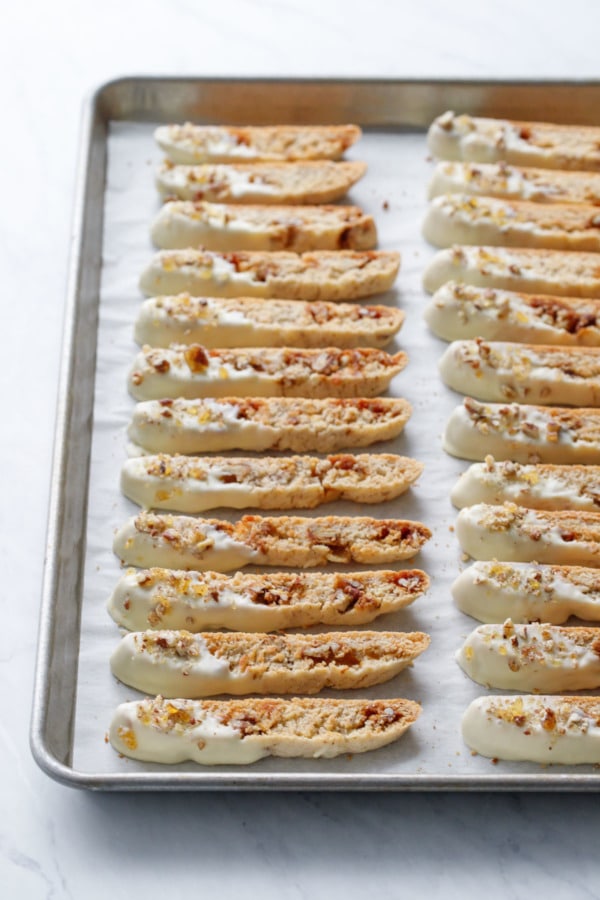
This recipe is a hybrid of my orange and dark chocolate biscotti and ATK’s almond biscotti recipe from The Perfect Cookie. I added caramelized pecans and a bit of pecan praline flavoring, plus a dip of praline-infused white chocolate and sprinkled with crunchy praline crumbs for even more crunch. I know I’m usually on team chewy, but there’s no denying these cookies are delightfully crunchy and downright delicious.
The secret to the perfect texture is air: rather than creaming the butter with the sugar like most cookie recipes, here you start by beating air into the eggs. Then you add the sugar, melted butter, and dry ingredients.
Comparing identical batches with and without this special first step, the biscotti with the beaten eggs were noticeably lighter with a more delicate crunch that won’t threaten your dental work.
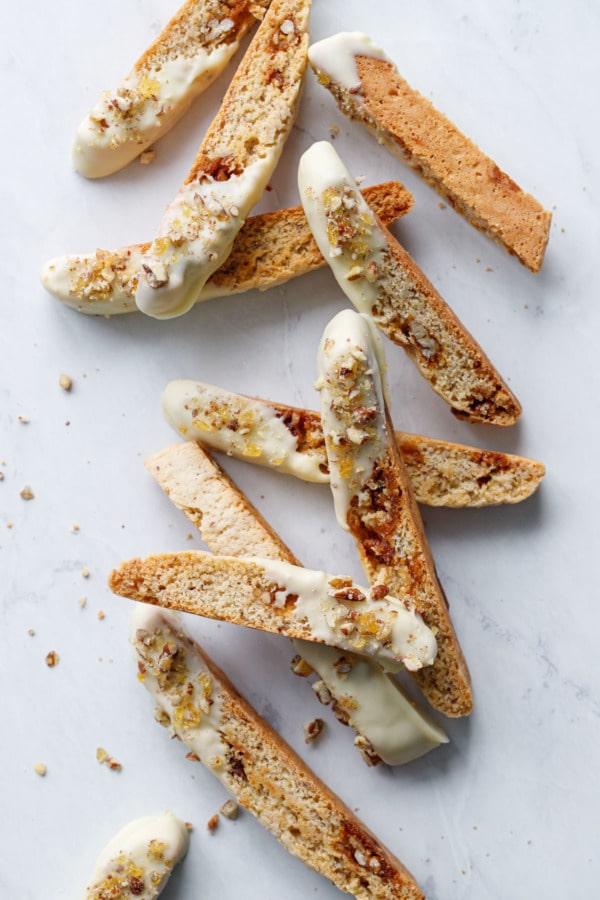
I don’t like rock-hard biscotti like the Italians do, so, to ensure a more toothsome crunch, I decreased the baking time a bit from ATK’s recipe.
If you, on the other hand, enjoy your biscotti dipped and softened with your morning coffee, you can increase the second bake time up to 35 minutes in total (I took mine out after about 20). The longer you bake them the harder they will become (obviously) but a longer bake also increases the shelf life and strength of the cookies (so if you’ll be shipping them across the country you might want that).
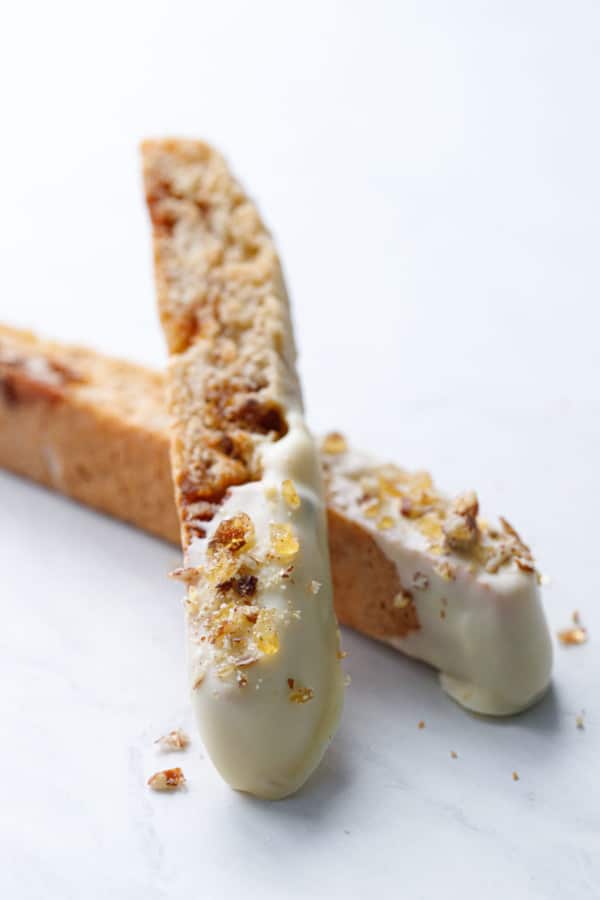
Biscotti literally means twice baked, and that’s the secret to their tell-tale crunch.
First you form logs of dough, which spreads and bakes into surprisingly ugly looking mounds. You may think you messed something up, that they spread too much, but that’s good: it’ll give you thin and delicately tapered spears of biscotti.
After cooling for about 30 minutes, use a serrated knife (try out a few different knives if you want to see which one cuts the best) to cut the biscotti on the bias into 1/2-inch thick slices. Try not to cut them too thick (get out the ruler if you have to) as thicker slices will be less delicately crunchy and harder to crunch with your teeth.
After slicing, arrange the pieces cut-sides-down on a baking sheet and pop them back in the oven. Here’s where you can control the crunchiness to your personal tastes: give them 20 minutes for a lightly crunchy biscotti, or up to 35 for a firmer, more traditional Italian crunch perfect for dipping in your morning coffee.
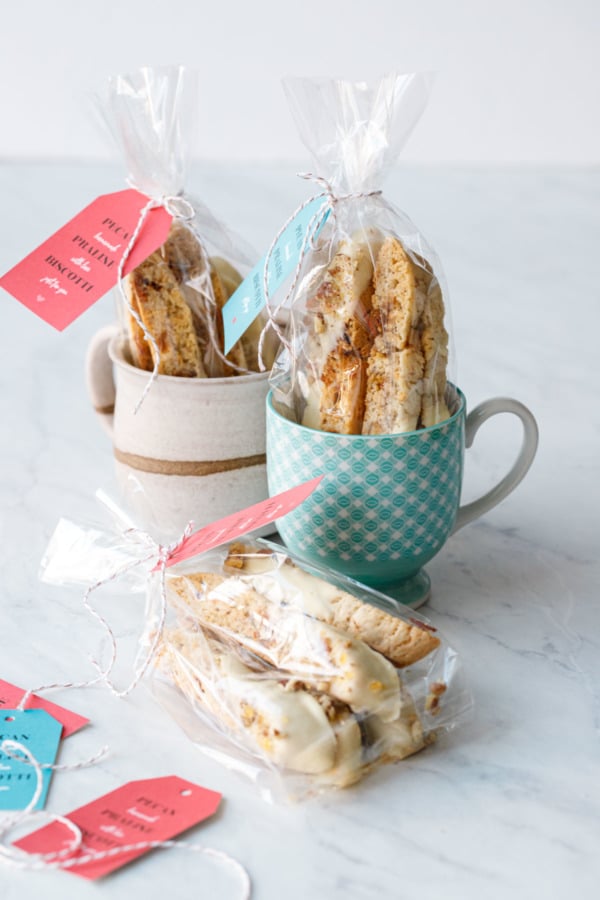
Holiday Gift Idea:
Pack 5 or 6 biscotti in a clear gift bag, tie with decorative twine and add a cute gift tag (keep scrolling to download these free printables for yourself!)
Then place the whole bag in a decorative or handmade mug for an adorable, edible holiday gift that would be perfect for friends, teachers, or as a hostess gift (I mean, honestly, how many bottles of wine does one person really need? Mix it up a bit!)
The great thing about biscotti is they last for weeks. Not that they’ll actually last that long because they’re so gosh darn delicious, but still, you don’t have to worry about your soft and chewy cookies getting hard or drying out between the time you make them and the time you gift them.
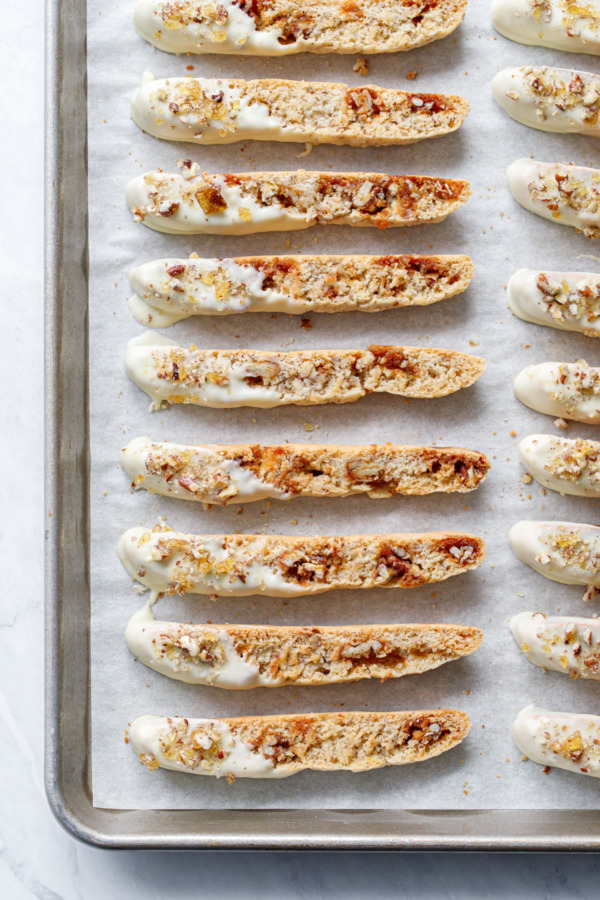
I dipped my biscotti in tempered white chocolate flavored with a hint of praline flavoring (be sure you use a candy flavoring or flavoring oil, not extract, otherwise your chocolate may seize up on you). The hint of caramel and nutty goodness really brings out the best flavors of these cookies. You could also dip them in caramel candy coating (nice because you don’t have to worry about tempering) or I also think caramelized white chocolate would be simply divine.
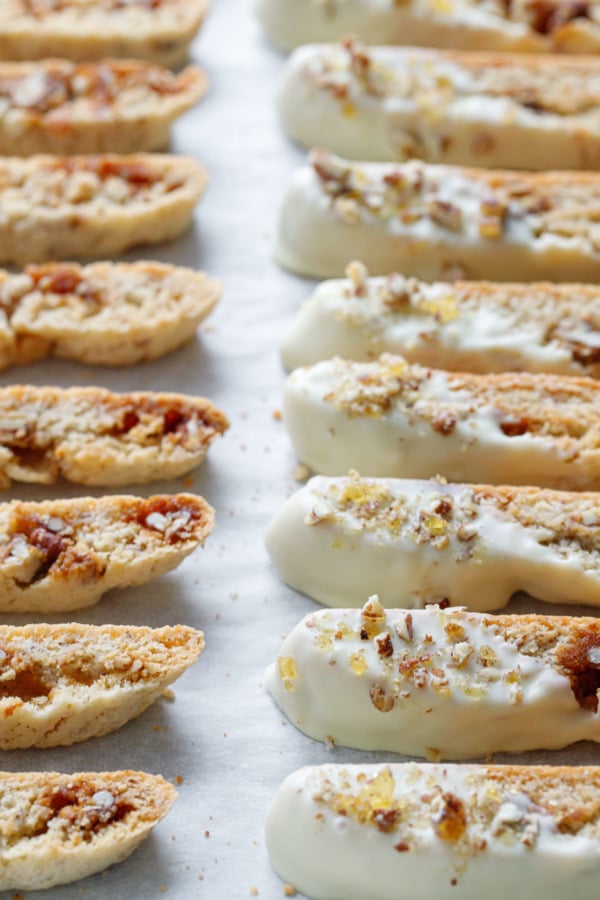
As a final touch, I used the crunchy caramelized crumbs leftover from when I pulsed by pecan praline in a food processor as a crunchy topping sprinkled on the white chocolate before it completely set. Since I didn’t want to waste these tasty bits, but didn’t want that much caramelized sugar mixed in to the dough itself, this seemed like a perfect way to use it.
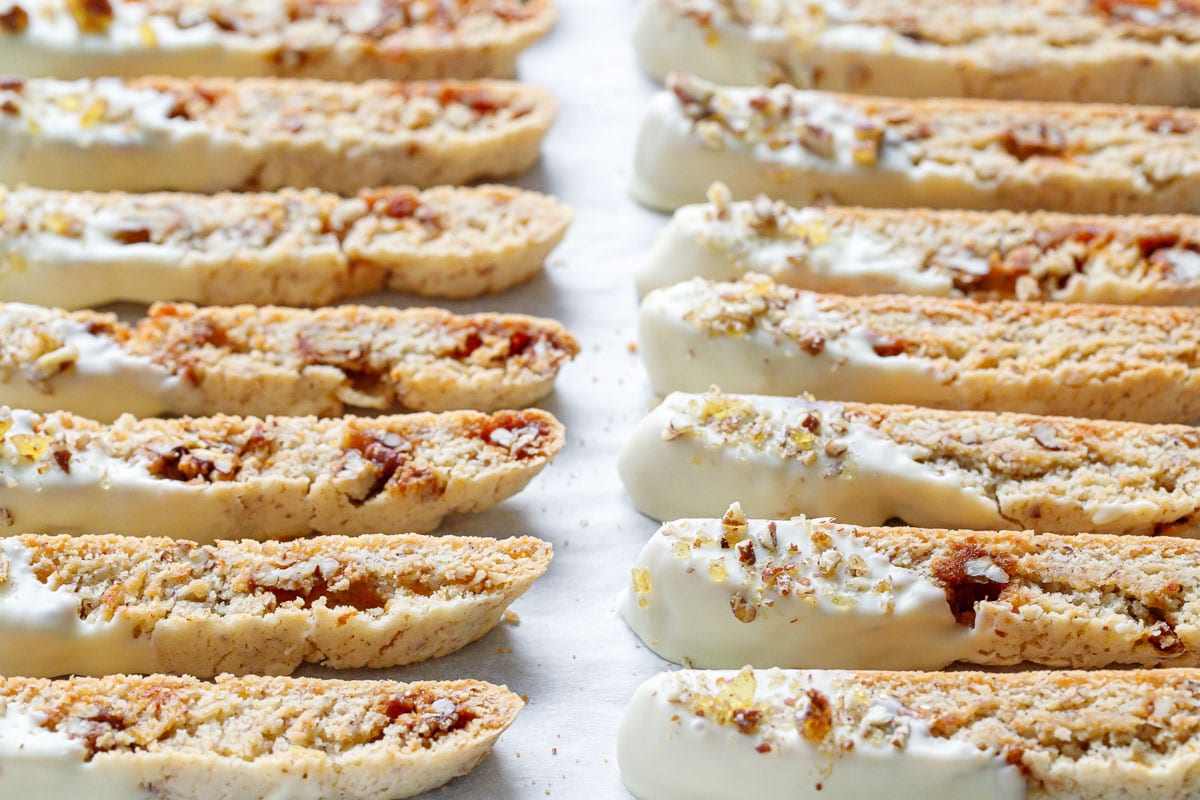
Crunchy Pecan Praline Biscotti
Ingredients
For Pecan Praline:
- 1 cup / 110 g pecans, divided
- ⅓ cup / 66 g granulated sugar
- 2 tablespoons water
- pinch cream of tartar
For Biscotti:
- 1 ¾ cup / 220 g all-purpose flour
- ¼ cup / 40 g finely ground pecans
- 2 teaspoons baking powder
- ¼ teaspoon kosher salt
- pinch ground cinnamon
- 2 large eggs, at room temperature
- 1 cup / 200 g granulated sugar
- ¼ cup unsalted butter, melted and cooled to lukewarm
- 1 teaspoon vanilla
- praline flavoring oil, optional
For White Chocolate Coating:
- 8 ounces / 226 g white chocolate, chopped
- ½ oz / 14 g cocoa butter, finely chopped or grated
Instructions
To make pecan praline
- Lightly toast pecans in a 300 degree oven for 5 to 10 minutes; let cool. Measure out 1/3 cup (40g) of pecans and set aside for later. Line a baking sheet with parchment paper or a silicone baking mat.
- Combine sugar, water and cream of tartar in a small, heavy saucepan. Cook over medium heat, stirring occasionally, until sugar is completely dissolved. One sugar starts to boil, cover and let simmer without stirring for 2 minutes. Remove lid. Brush down any stray sugar crystals on the sides of the pan with a pastry brush dipped in water.
- Continue to cook without stirring (you can occasionally swirl the pan if needed to ensure it caramelizes evenly) until sugar darkens to a light amber color.
- Remove from heat and stir in 1 cup of pecans until coated in melted sugar. Pour onto a prepared baking sheet, breaking up any large chunks (you want individual nuts as separated as possible). Let cool completely.
- Once pecans are completely cooled, transfer to a food processor and pulse 2 to 3 times or until coarsely chopped. Ideally you're looking for pea and chickpea-sized pieces here. Transfer to a bowl. Shake the bowl back and forth a bit to let the smaller crumbs sift to the bottom, then pick the larger pieces off of the top. You should end up with about 1/2 cup of larger pieces, and 1/4 cup or so of smaller pieces and crumbs (save these, you'll use them later!)
To make biscotti
- Finely grind reserved 1/3 cup of toasted pecans in food processor until very finely ground (you're looking for a pecan meal-like texture; don't grind too much or you'll end up with pecan butter!)
- Combine ground pecans, flour, baking powder, salt and cinnamon in a bowl and whisk until evenly combined. Set aside.
- Place eggs in a large mixing bowl or the bowl of a stand mixer fitted with the paddle attachment. Beat on medium high speed until frothy, then add sugar and continue beating until pale and thick, 2 to 3 minutes on medium-high speed.
- Reduce mixer to low and drizzle in melted butter, followed by vanilla and 3 drops of praline flavoring (if using).
- Sprinkle flour mixture over top and mix on low speed until almost completely incorporated. Add 1/2 cup of the larger bits of pecan praline and stir until evenly incorporated. Cover and refrigerate for 30 minutes.
- Preheat oven to 325 degrees F. Line a baking sheet with parchment paper. If you'd like, you can trace two 2.5-by-10-inch rectangles side by side on the back of the parchment paper as a guide. Leave about 4 inches of space between the two rectangles to allow for spreading.
- Divide chilled dough in half and dollop bits of dough in two rows along rectangle guides; lightly flour your hands and pat dough into two 2.5-by-10-inch rectangles, sprinkling with flour as needed so the dough doesn't stick to your hands.
- Bake for 25 to 30 minutes, rotating sheet half way through baking, until top is just beginning to crack and bottom is light golden brown. Remove from oven and let cool for 30 minutes.
- Transfer biscotti to a cutting board. Using a sharp serrated knife, cut on a bias into 1/2-inch wide pieces. Lay pieces, cut side down, on baking sheet, leaving 1/2-inch of space between each piece.
- Return to oven and bake for an additional 15 to 20 minutes, flipping pieces about half-way through, until crisp and golden brown. If you want harder biscotti you can bake bake them as long as 35 minutes (harder biscotti will travel better and keep longer, but they are really too hard eaten plain and are best when dipped in coffee). Transfer to a wire rack and let cool completely.
For white chocolate coating
- Finely chop about 3/4 of your white chocolate. Leave the remaining chocolate in 3 or 4 large chunks (set these aside).
- Place chopped chocolate and cocoa butter in a double boiler set over a pot of gently simmering water (you can also use a chocolate melting pot if you have one). Melt, stirring occasionally, until chocolate is fully melted and measures 110 degrees F on an instant read thermometer (don't let it get much hotter or it may start to separate). Remove from heat and add reserved chunks of white chocolate. Continue to stir until the chocolate has cooled to 83 degrees F, then briefly return to heat to bring it back to 87 degrees F. At this point you can test the temper by dropping a bit on a piece of parchment paper; it should set up snappily in about 5 minutes. Stir in 3 to 5 drops of praline flavoring oil (do not use extract here or the chocolate may seize).
- Dip one end of each cookie into melted white chocolate, shaking off excess. Lay flat on parchment or silicone-lined baking sheet. Sprinkle with a pinch of reserved praline crumbs. Let cool until chocolate is completely set.
- Biscotti will keep at room temperature in an airtight container for up to 2 weeks.
Did you make this recipe?
Let us know what you think! Leave a Review below or share a photo and tag me on Instagram with the hashtag #loveandoliveoil.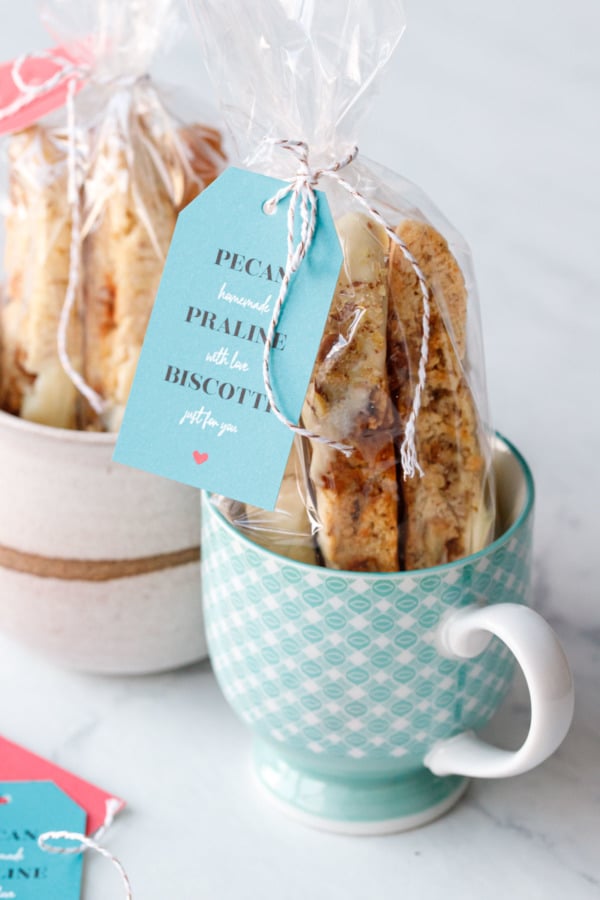
Free Printable Gift Tags
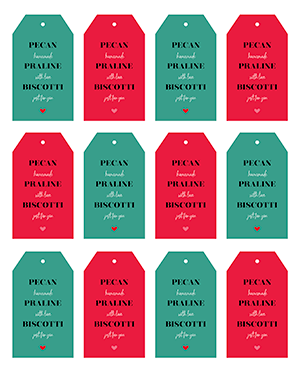
To use, print the PDF file onto white cardstock. Cut out shapes using scissors or an Xacto knife. Use a 1/8-inch hole punch to make a hole over the marking. Tie onto gift bags with decorative twine or ribbon.


In the ingredients, you wrote baking powder, and in the directions you wrote baking soda in the ingredients . The amount of ground pecans to incorporate into the flour difference in the ingredient list versus the directions
The recipe calls for baking powder, not soda. And the pecans start as about 1/3 cup of whole toasted nuts, but once ground up they measure more like 1/4 cup (the ingredients list the finely ground amount if you wanted to substitute an equal amount of almond flour for example). 40g is the weight either way.
I thought I was all done with my holiday baking…nope! Gotta add these to my to-do list this weekend. Yum!
Did you use baking powder or baking soda? You have baking powder in the ingredient list but baking soda in the written recipe. Thanks!
Where do you buy praline flavoring?
It’s linked in the recipe, but I got it on Amazon:
https://amzn.to/36PRlqS
It’s a concentrated oil, not an extract, so you only need a few drops!
These look amazing! I wish I was snacking on these right now!
Paige
These look absolutely amazing and I am very excited to find this recipe. Have you ever put these in the freezer completed with the coating and the crumbs .
Also very curious if I could turn this or your orange and dark chocolate biscotti into a gluten free recipe. Have you had any luck doing this.
Really looking forward to your response as I am trying to bake for dinner with many different dietary restrictions.
I personally don’t have any experience with gluten free baking so I really can’t say what the result might be. You could start by swapping in an all purpose GF flour blend and see what happens?
As for freezing, these keep pretty well at room temperature for a few weeks so you really don’t need to freeze them. That said, I’d do it without the white chocolate part as that might get weird once it thaws.