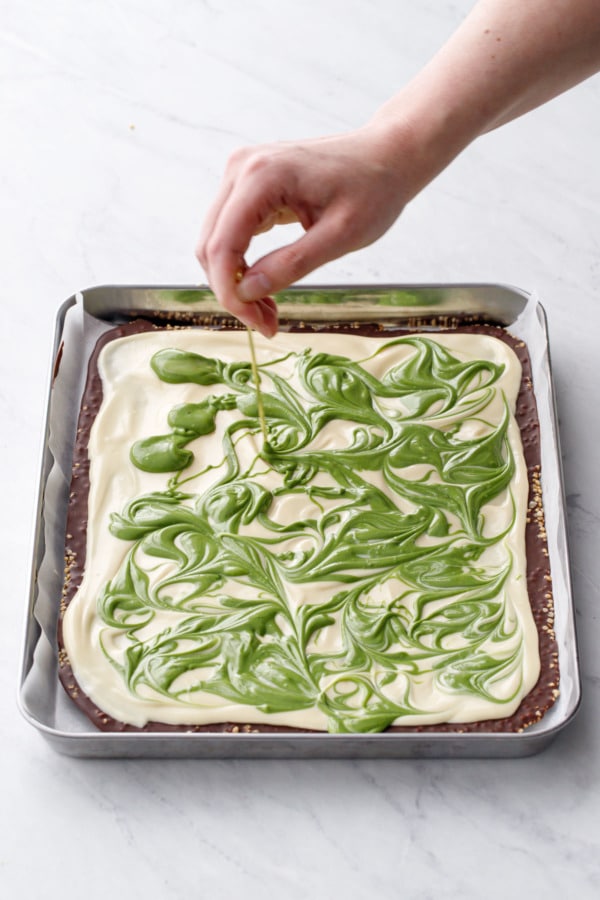
With mesmerizing swirls of matcha and creamy white chocolate on a base of dark chocolate and crispy puffed quinoa, this truly unique chocolate bark is a masterpiece of texture and flavor.
Whether made as a homemade holiday gift or an indulgent treat for yourself, this matcha white chocolate crunch bark is both beautiful and delicious… and sure to be a new holiday staple!
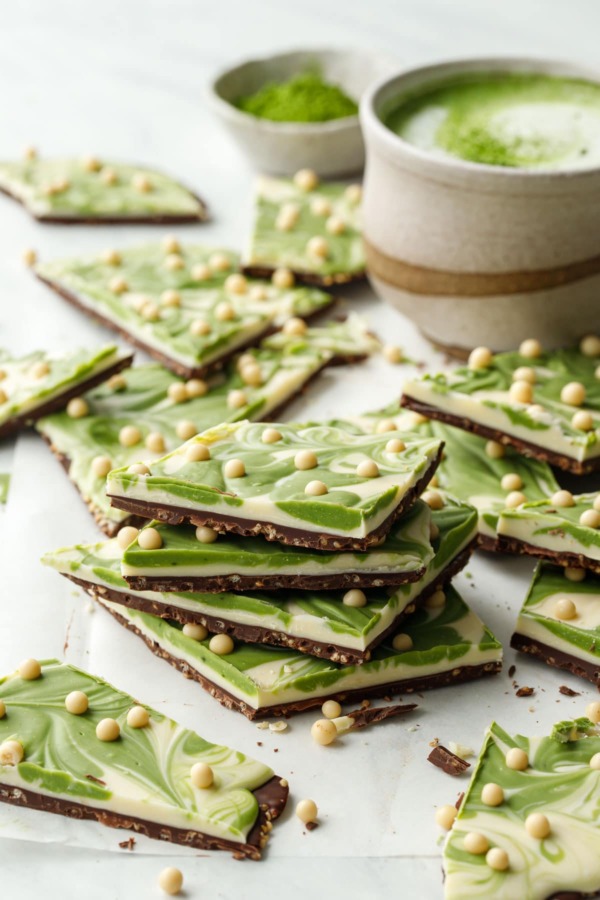
Chocolate bark is one of my favorite last-minute holiday recipes. I’ll often use up all the random bits of chocolate I have left from my holiday baking, swirling them into pretty (and pretty delicious) slabs of chocolatey delight.
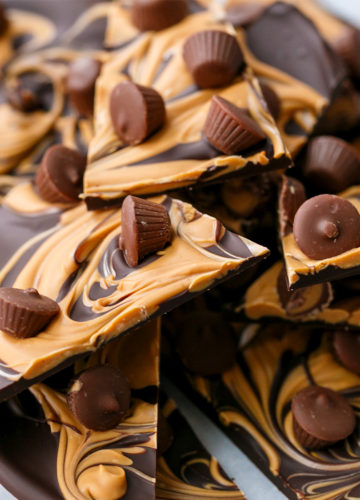
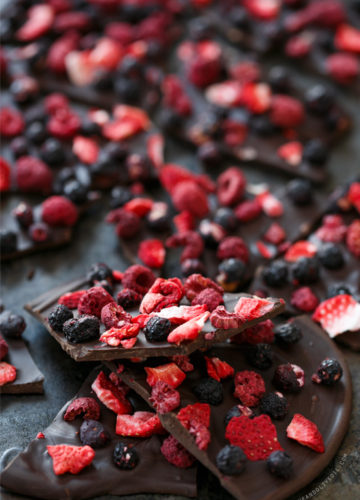
Not to mention the endless possibilities of flavors and toppings… from peanut butter to creme de menthe, freeze-dried fruit to crunchy cookie bits. And now this one, featuring grassy matcha swirled with sultry white chocolate and a base of dark chocolate to offset the sweetness.
I actually first started testing this recipe last year, but I wasn’t completely happy with the appearance of it (turns out rainbow sprinkles aren’t always the best choice), and seeing as it was practically Christmas already, I ended up tabling the idea for this year instead.
While my previous chocolate bark recipes are basically a single layer that’s either swirled or topped with another flavor, this one has two distinct layers. White chocolate on its own tends to be cloying, so I wanted the extra layer of dark chocolate to balance out the sweetness.
I also figured the extra layer was an opportunity to add some fun texture, which I achieved my adding some puffed quinoa into the dark chocolate layer (the puffed quinoa was leftover from this delightfully crunchy cookie recipe).
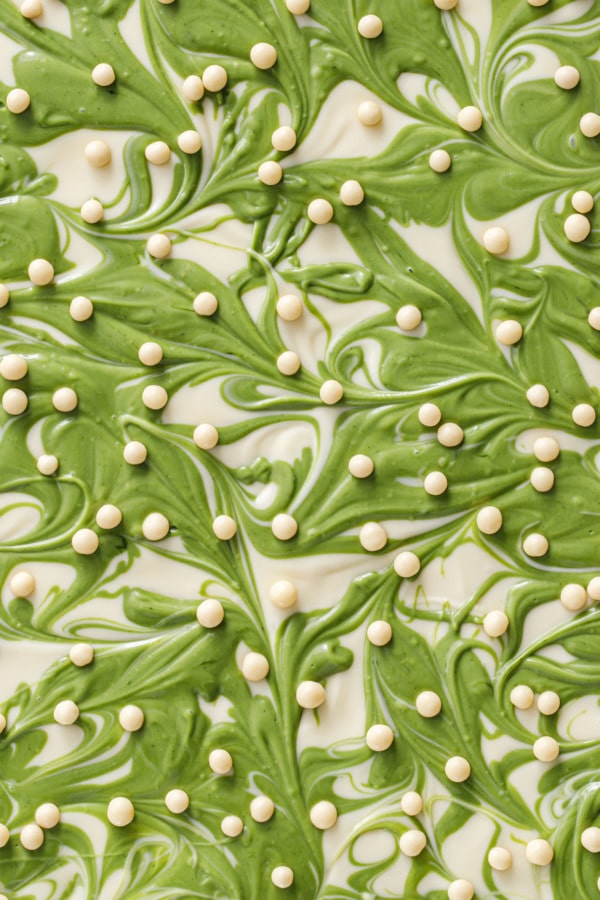
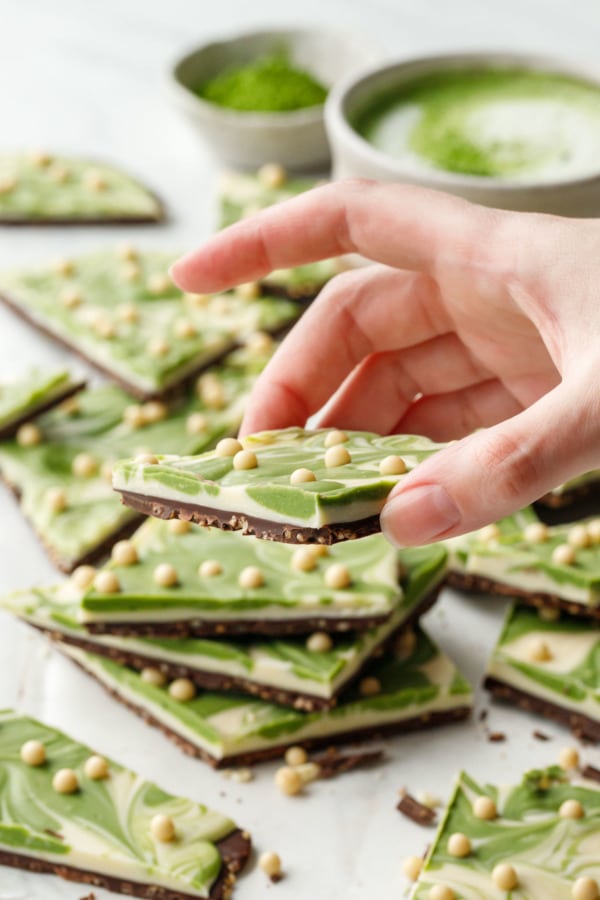
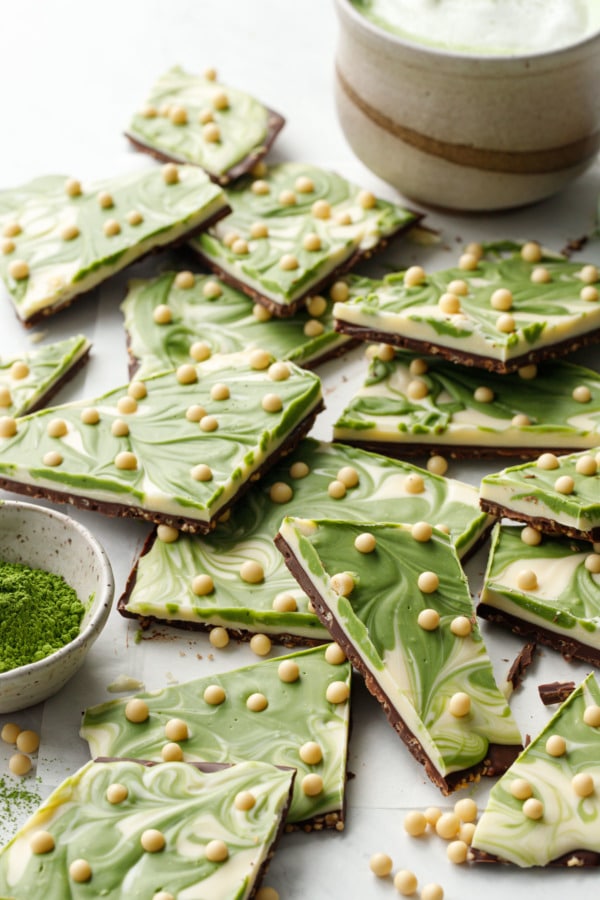
The puffed quinoa is mixed in to the bottom dark chocolate layer, giving the bark a lovely crispy texture (think Crunch bar).
There’s a professional pastry product called tiny crisp rice which is very similar. Regular puffed rice cereal would work in a pinch, though the larger pieces would give the bark a much more rustic appearance and coarser texture. I also find it doesn’t stay crispy when exposed to moisture or air, so your bark might get a bit chewy after a few days.
I topped my bark with more crunch in the form of white chocolate crispearls (which are crispy bits of toasted biscuits coated in white chocolate). I think they give the bark an elegant appearance and add to the texture as well.
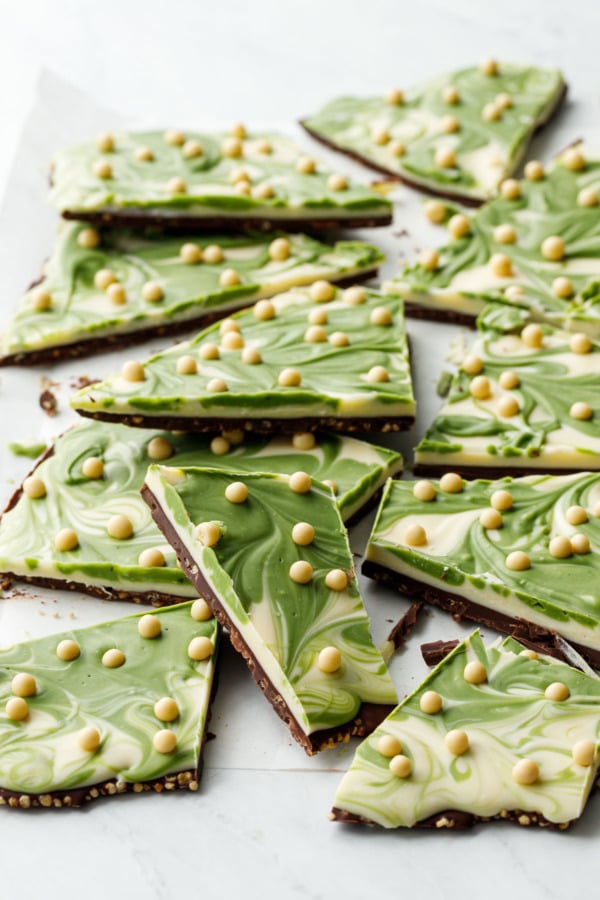
What kind of chocolate to use
This recipe uses both dark and white chocolate. I used a semi-sweet (54%) chocolate for the bottom layer, though you can certainly use milk chocolate or bittersweet chocolate instead, whatever you like best or have on hand. The only differences is that milk chocolate tempers at a slightly lower temperature.
Since the chocolate makes up 90% of the flavor, you want to use the good stuff. My advice? Bypass the baking aisle and head to the candy aisle. Gourmet bars of chocolate meant for eating are much higher quality overall (and not really that much more expensive) than the chocolate you find in the baking aisle.
And while chocolate chips are fine for cookies, but don’t use them here: they have added waxes and fillers that are intended to prevent them from fully melting when baked in cookies and that will make them more difficult to melt and temper in recipes like this one.
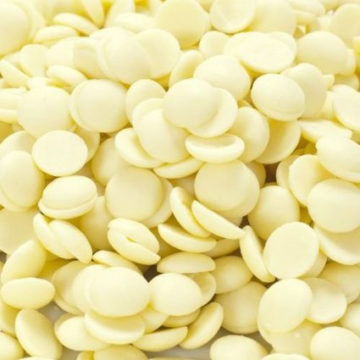
Use caution when it comes to white chocolate chips, most of which can’t even be labeled “chocolate” (rather, they’re called simply “white baking chips”). If you aren’t sure what kind of white chocolate you have, look at the ingredients: cocoa butter should be listed as one of the first few ingredients. Trader Joe’s white chocolate chips are actually real white chocolate, but most other brands (like Toll House and Ghiradelli) are not really white chocolate. I’ve had varying levels of success with white baking chips; some of them don’t melt very well and just end up in a pasty blob instead of smooth, spreadable chocolate. For that reason I’d recommend avoiding them in this recipe.
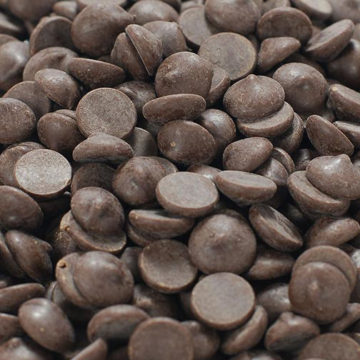
I personally like to use what’s called chocolate coverture: it’s good quality chocolate with a little extra cocoa butter for added fluidity. And it comes in easy to melt callets that negate the need for chopping (chopping chocolate being one of my least favorite tasks). Callebaut and Cacao Barry are both great, affordable brands (I consider this my everyday chocolate), while Valrhona is super high quality (with prices to match). If using Valrhona (which come in slightly larger feve shapes), I recommend coarsely chopping them before you start just to help them melt more quickly and evenly.
While you can use ‘candy coating’ type products for the bark (sold in both dark chocolate and vanilla or almond flavors), I really dislike the fake taste of it. I much prefer real chocolate. That said, if you’re nervous about tempering, a candy coating product contains stabilizers and other additives that negates the need for tempering entirely.
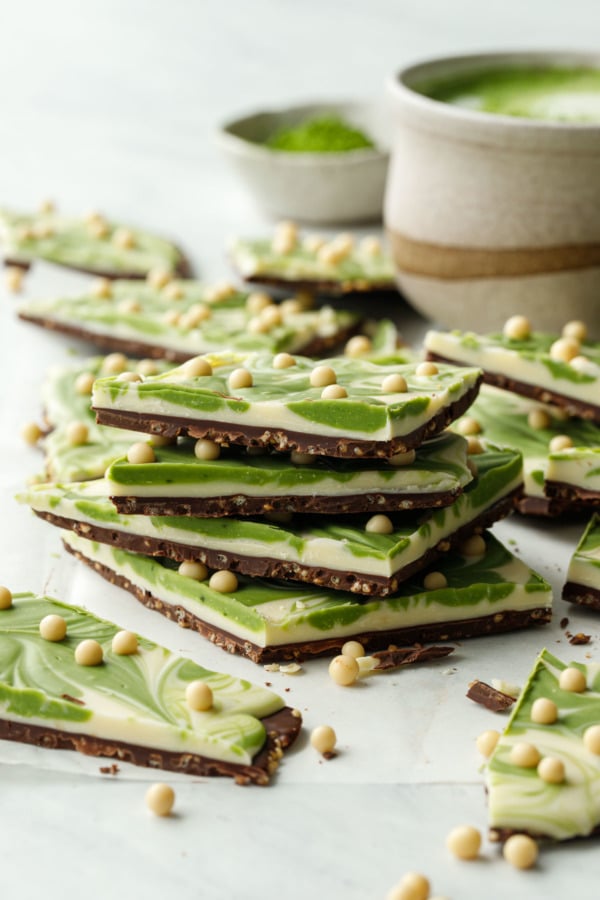
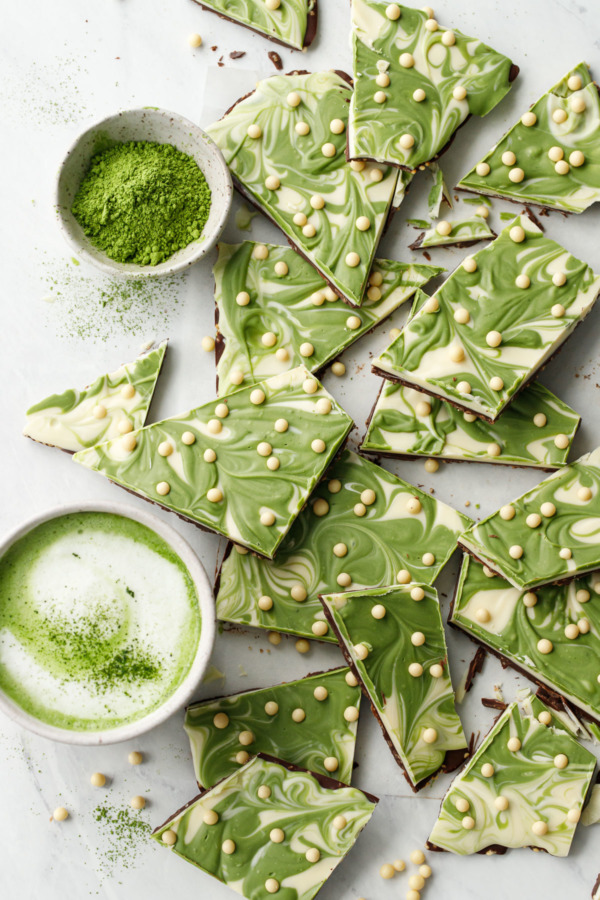
Tempering chocolate
Chocolate bark works best with tempered chocolate: it’s what gives the bark its snappy finish and allows it to remain stable at room temperature.
Untempered chocolate has a tendency to bloom (that white filmy layer that often shows up on old chocolate or chocolate that’s melted and cooled). It also won’t set fully at room temperature, so it will melt in your fingers and will require refrigeration to keep it firm.
While tempering is an exacting science, I find the easiest way to achieve tempered chocolate is using the seed method (see more detailed info about this method in this post from David Lebovitz). The seed method involves melting about 3/4 of your chocolate (very gently using super low heat, you don’t want the temperature to go above 120 degrees for the dark or 105 degrees for the white). Then, add the rest of your chocolate, what’s called seed chocolate, to bring the temperature of the rest of the chocolate down and ‘seed’ it with the proper crystal structure that will give your chocolate that snappy finish. This seed chocolate needs to be already tempered, and not blooming (that white layer that sometimes forms on older chocolate… it doesn’t mean the chocolate is bad, just no longer tempered so the fats have separated out).
The other method that’s worked well for me, though it does require some patience, is to melt your chocolate very very slowly, not allowing it to surpass 90 degrees F (84 for white chocolate). Doing this will preserve the crystal structure already in place and you should be able to achieve similar results.
I have never had luck microwaving chocolate (it always overheats and seizes), and double boilers pose the issue of the chocolate seizing up if even a drop of water gets in it.
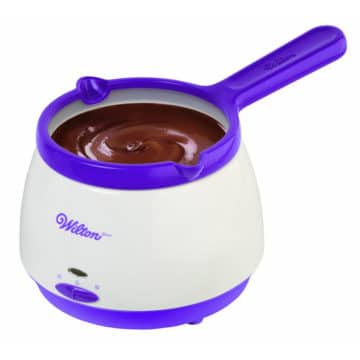
Instead, I have a little electric chocolate melter, which has a ‘warm’ and a ‘melt’ setting that I find to be perfect for gently melting chocolate in this manner.
I also find it helpful, especially if not using coverture chocolate, to melt a little bit of cocoa butter in with the chocolate. Coverture chocolate is essentially chocolate with a little extra cocoa butter, which makes it smoother and more fluid and easier to spread and swirl.
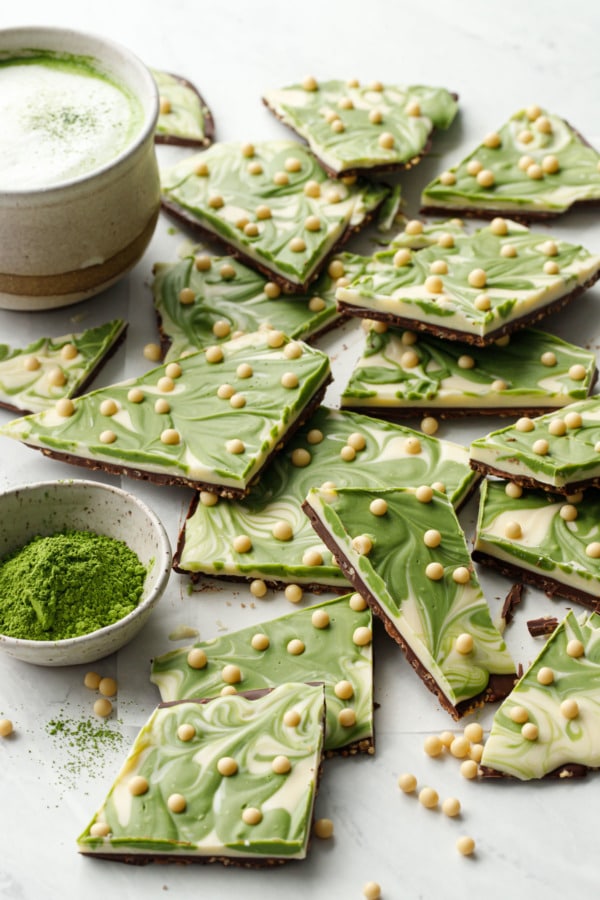
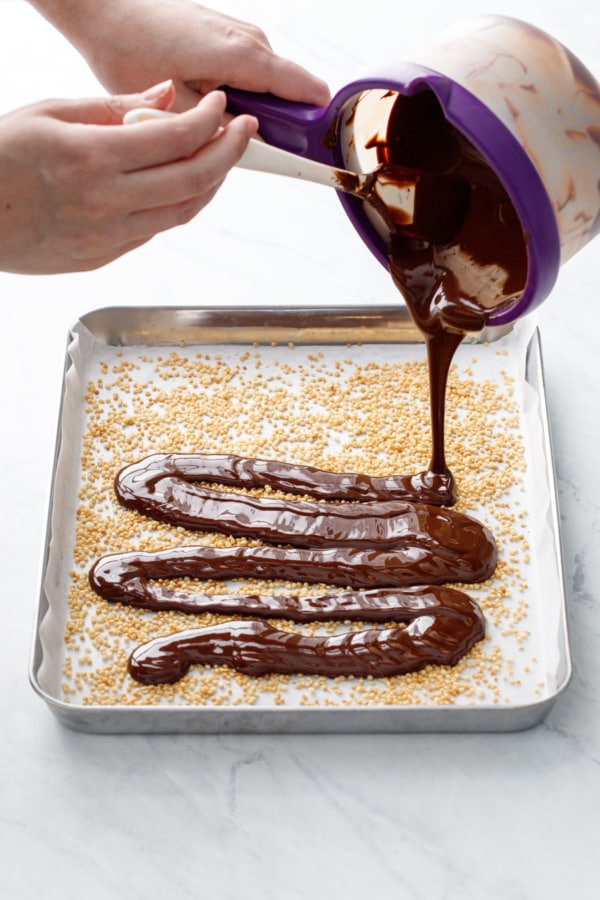
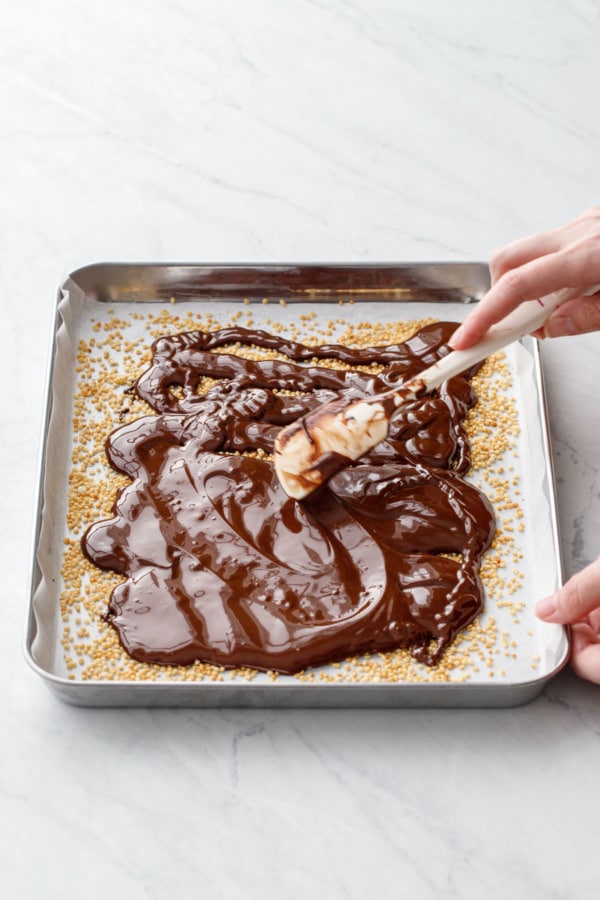
The dual layers of this unique chocolate bark are assembled in two separate steps, starting with a base of dark chocolate spread over a layer of puffed quinoa. Pour the dark chocolate over the quinoa and then, as gently as you can, spread the chocolate to the edges of the pan.
Let the first layer fully set before starting on the second, otherwise you might end up with swirls of dark chocolate in your clean white and green. For tempered chocolate at cool room temperature, this will probably take about 15 to 20 minutes.
If your chocolate is not tempered, you’ll probably need to refrigerate the dark chocolate layer to get it to set. If you do this, try to let it come back to room temperature before adding the white chocolate layer, otherwise the cold temperature will cause your white chocolate to set too quickly, and you may not have sufficient time for your swirl.
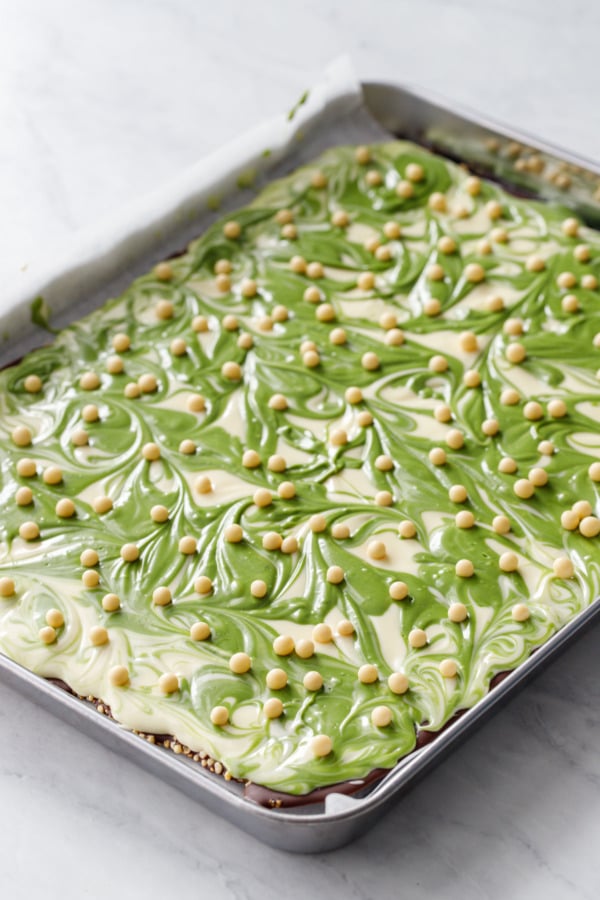
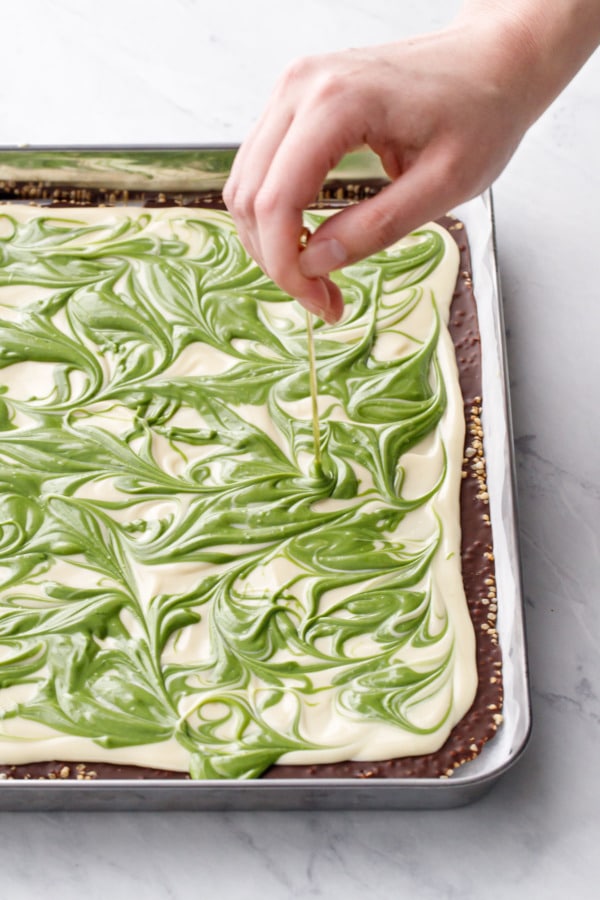
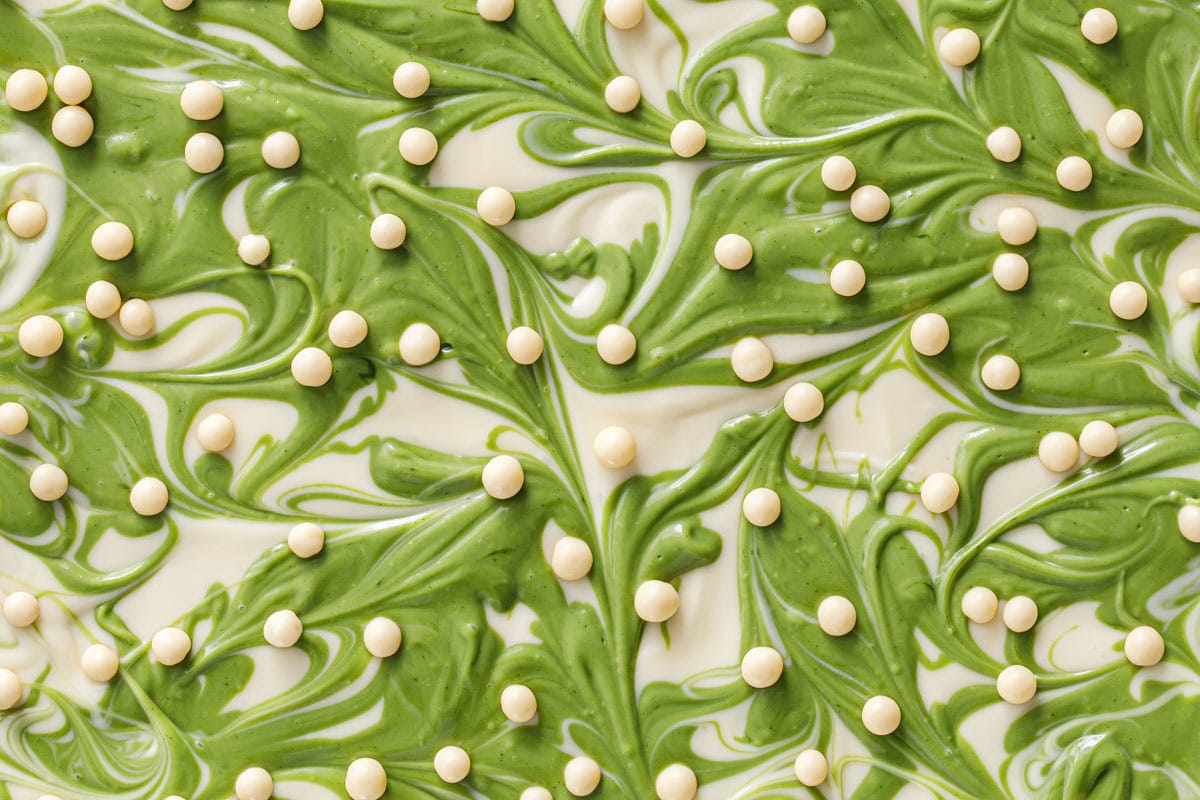
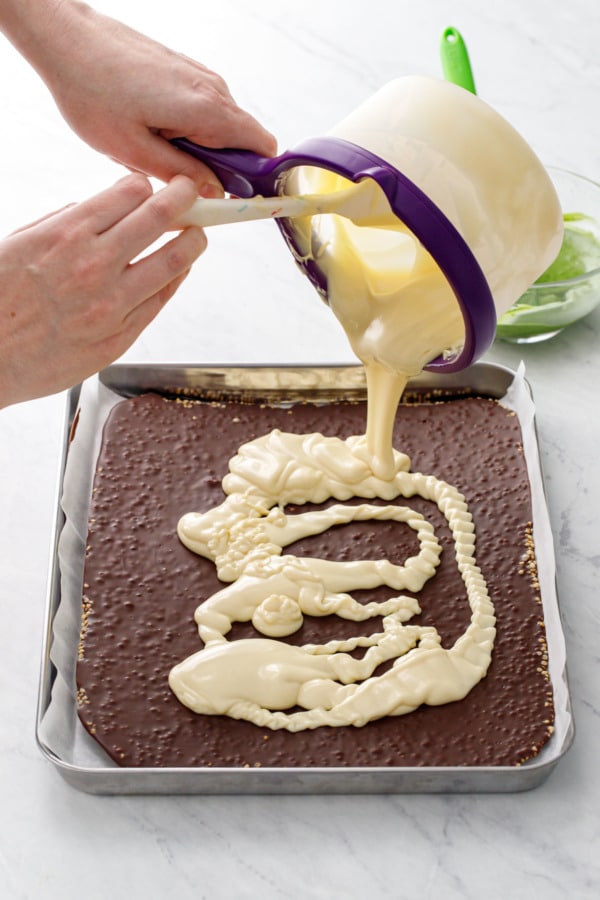
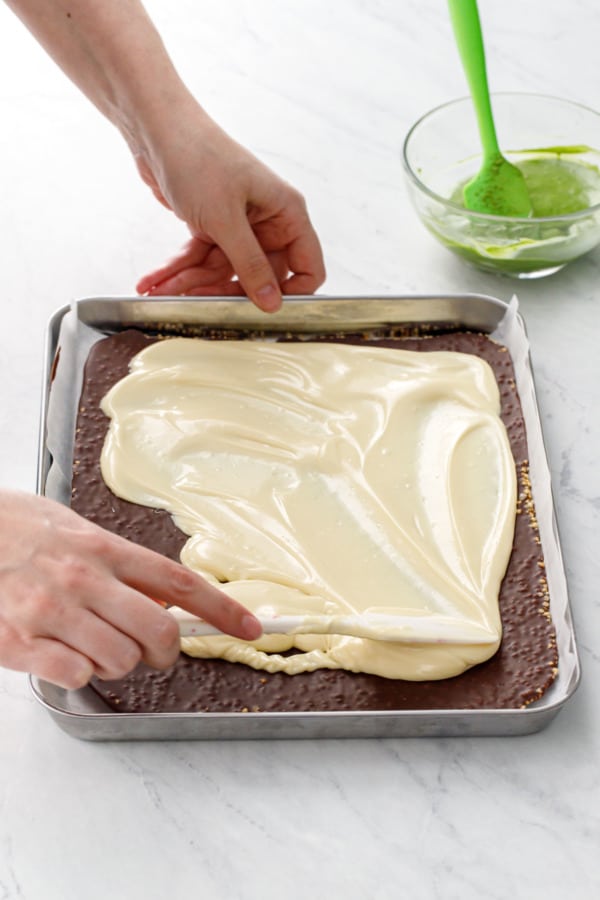
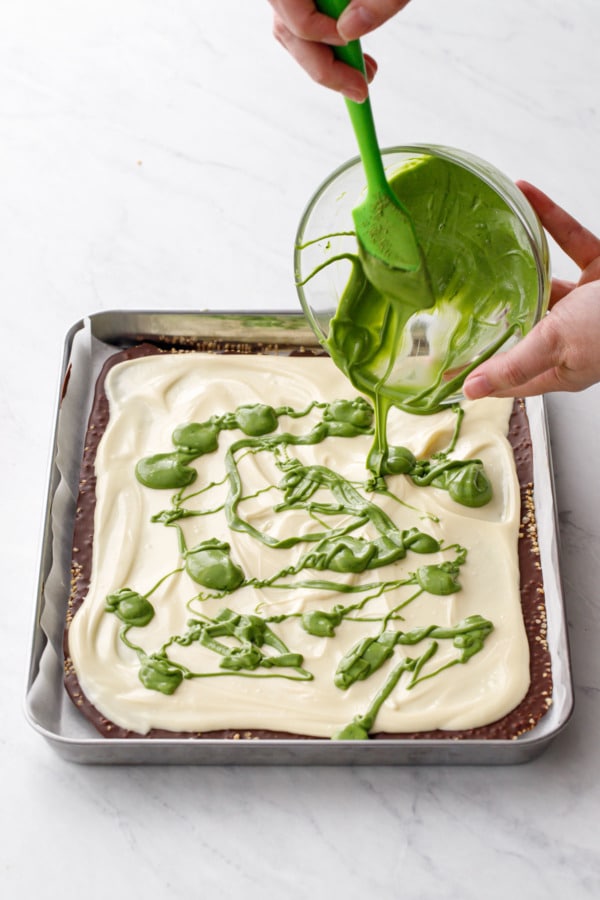
The swirls are achieved by dropping dollops of the matcha white chocolate mixture on top of the still fluid white chocolate, then running a toothpick or skewer through the dollops in a swirling motion (think of it like drawing a whole bunch of figure eights, essentially).
Then add your toppings, whether you use white chocolate crispearls like I did or you opt for fun sprinkles or even chopped nuts, be sure you add the topping before the white chocolate layer has fully set.
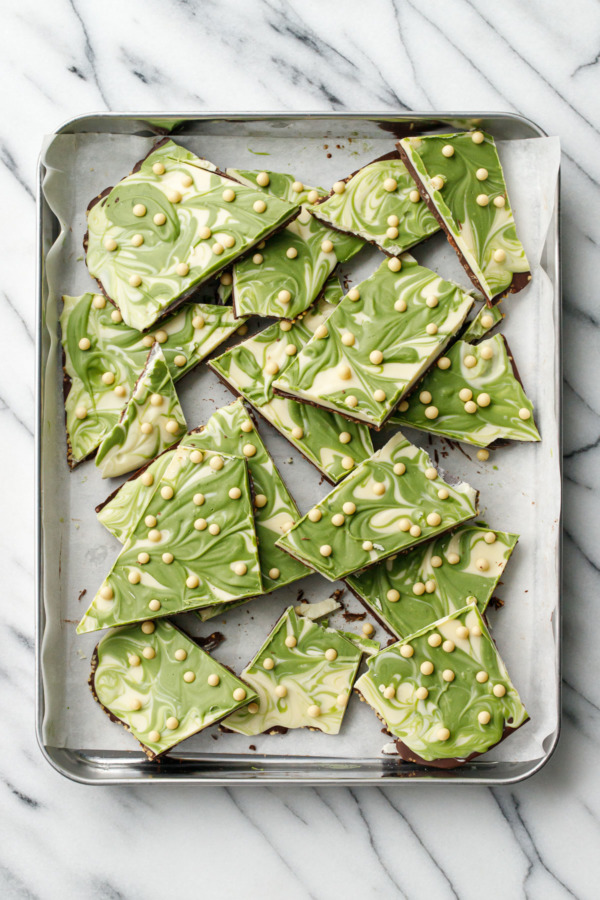
Then let the bark set fully, again at room temperature (unless it’s not tempered, then chill it). After an hour or two the bark should be firm all the way through, and you can then break it or cut it into serving-sized pieces.
Swaps and Substitutions
Puffed quinoa is what gives this bark its delightful crunch; I get mine from Nuts.com. Something called Tiny Crisp Rice would work similarly. While you can use puffed rice cereal here, I find it doesn’t stay crispy when exposed to moisture or air, so your bark might get a bit chewy after a few days. You can also leave out the crunch part of the recipe and just go with straight dark chocolate.
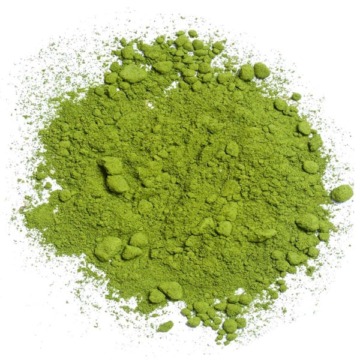
In terms of matcha, you don’t need anything super high quality here (the sugar content in the white chocolate will help offset the bitterness often found in less expensive matchas). However, lower quality matcha is typically less vibrant in color and can have a muddy flavor. Ippodo is my favorite brand of matcha both for drinking and baking, I buy the 100g bags of the Ikoyo variety which is a great value for a high quality product. Matcha Moon is another brand I’ve used with a slightly lower price point.
You’ll notice cocoa butter listed as an optional ingredient, I find a little bit helps make the chocolate more fluid and easy to work with (especially for the swirls). Feel free to leave this out entirely, just don’t swap it for dairy butter, it is not the same thing! Vegetable oil would be the closest approximation.
Matcha White Chocolate Crunch Bark
Ingredients
- 3 tablespoons / 45 g puffed quinoa or tiny puffed rice
- 8 oz / 226 g dark chocolate, finely chopped
- 12 oz / 340 g good quality white chocolate, finely chopped
- 1 teaspoon / 4 g matcha powder, sifted
- 1 to 2 teaspoons / 2 g cocoa butter, optional
- sprinkles or other decorations for topping, optional
Instructions
- Prepare a quarter sheet pan or 9-by-13-inch baking pan by lining with parchment. I recommend lightly buttering the pan, then adding your parchment (the butter will help the parchment stick so it doesn't move around when you spread in the chocolate... you don't need to butter the parchment itself though). Sprinkle puffed quinoa in an even layer in bottom of pan.
- In a microwave, double boiler, or chocolate melter, gently melt 3/4 of dark chocolate. If you want, you can add a teaspoon or two of cocoa butter to make the melted chocolate more fluid. Use very gentle heat here, you don't want the chocolate to overheat or it will lose its temper. Once it is fully melted, remove from heat and add remaining chocolate. Continue to gently stir until fully melted and temperature has lowered to about 88-90 degrees (this will probably take at least 15 minutes or so, if it melts quicker than that it's probably too hot).
- Pour melted chocolate over puffed quinoa in prepared pan; gently spread into an even layer (it will pick up some of the quinoa, but just do your best). Firmly tap the pan a few times on the countertop to get rid of any air bubbles. Set aside at cool room temperature until fully set, about 15 to 20 minutes. (If your chocolate has not been tempered, you may need to refrigerate it to get it to set. But let it come back to room temp before adding the second layer otherwise the white chocolate will cool before you have a chance to swirl it).
- Melt white chocolate in the same way you did the dark chocolate, by gently melting about 3/4 of it over very very low heat, then remove from heat and stir in the remaining white chocolate until fully melted. This 'seed' method will help the chocolate form a nice snappy finish.
- Spoon about one third of melted white chocolate into a bowl. Sift matcha powder over top and stir until evenly combined.
- Spread white chocolate on top of dark chocolate layer, spreading it almost to the edges. Dollop blobs of matcha mixture on top. Run a toothpick or skewer through the two kinds of chocolate in a circular motion to form decorative swirls.
- Sprinkle evenly with sprinkles or other toppings as desired. Let sit uncovered at cool room temperature until set, about 1 to 2 hours. Break or cut into serving size pieces. Store at room temperature, or if your chocolate isn't fully tempered, keep refrigerated to keep the bark firm.
oh wow, gorgeous even after Christmas, good to know too about the interaction of matcha and white chocolate, thnk you!
i made triple chocolate bark the other day (on my blog). so easy and delicious isn’t it? merry xmas.