
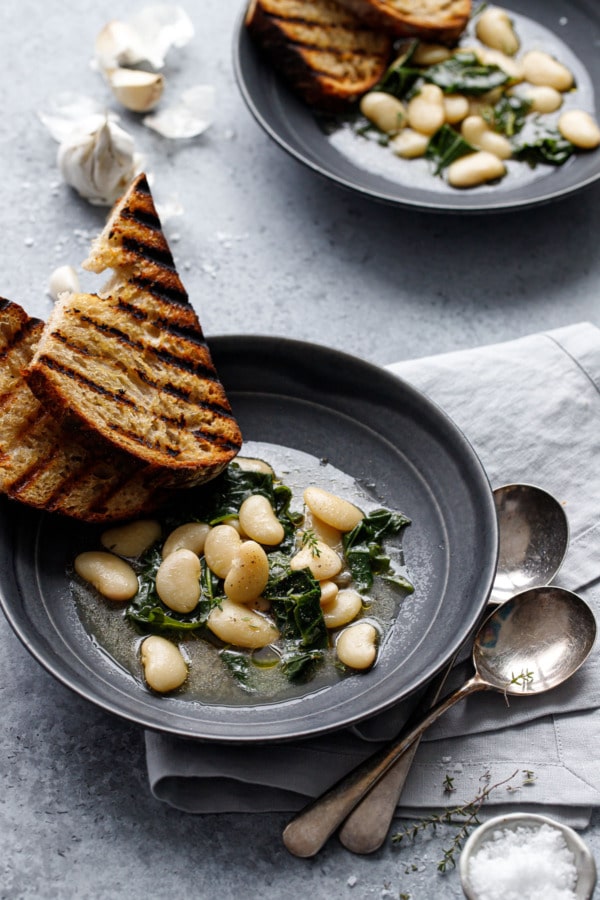
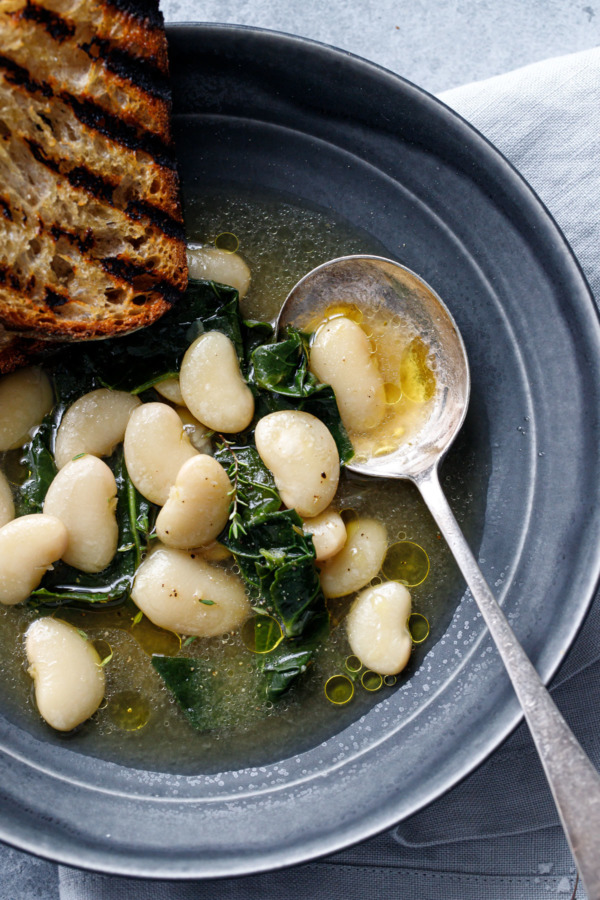
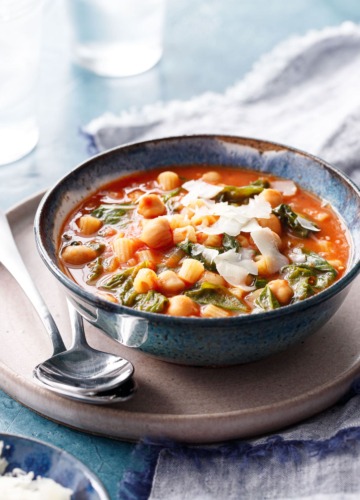
With little more than some aromatics and time (also: thyme), drab dried beans become tender and buttery in a richly flavored broth, complete with wilted bitter greens and grilled bread to top it all off.
Dried beans are a pantry staple, but it can take some practice to cook them properly! This brothy beans and greens recipe is our favorite method, resulting in a rich bean broth that’s surprisingly full of flavor. Serve with slices of toasted crusty bread for the perfect meal!
Save this recipe for later!
2020 was undeniably the Year of the Bean.
Dried beans were not something we cooked with any regularity before last year. We honestly had no clue what we were doing in the beginning, and the first few batches surely reflected that (mmm crunchy beans).
Surprisingly, now that we have a bit more experience with them, we’ve been pleasantly surprised at just how good a properly-cooked pot of beans can be. Easily as satisfying as a good plate of pasta, and significantly healthier at that.
We’ve made probably made these brothy beans and greens, or something similar, at least a dozen times in the past year, and every single time it turns out different. So finally, after enjoying yet another soul-satisfying bowl of brothy beans, we decided to start writing things down and fine-tuning our favorite aromatics and additions so we could share it here with you.
The Parmesan rind here is key: the batches we’ve made with it are notably better than the ones without, though we’ve certainly made them that way and thoroughly enjoyed it regardless. You’ll never toss a Parmesan rind again!
This a great way to use up all the hearty greens from our Caney Fork Farm CSA, of which there has been no short supply. Both kale and collars are superb in this recipe (give the collards a little more time, the kale softens much quicker).
You can also easily change out the aromatics to suit whatever you have on hand: onion instead of shallot, different fresh herbs, other veggie-additions like carrots or celery if you like that kind of thing.
We usually start with a base of chicken stock, although plain filtered water works too (the result is a bit clearer in color and a little less flavorful). Even using just water, you’ll be surprised at the amount of flavor you can extract from a simple pot of dried beans.

One of the frustrating parts of dried-bean-cooking is the absence of specific cooking times in almost all bean recipes. I didn’t quite get it at first, but once we’d made a few batches I started to understand. Dried beans can vary wildly in the amount of time they take to cook, dependent on a number of factors including variety, age (older beans will take longer to cook), and pre-soaking time.
We’ve had batches cook as quickly as 45 minutes, while other times we’re still going at 2 hours (at which point we usually give in and start eating the al dente beans—and beans aren’t really supposed to be al dente).
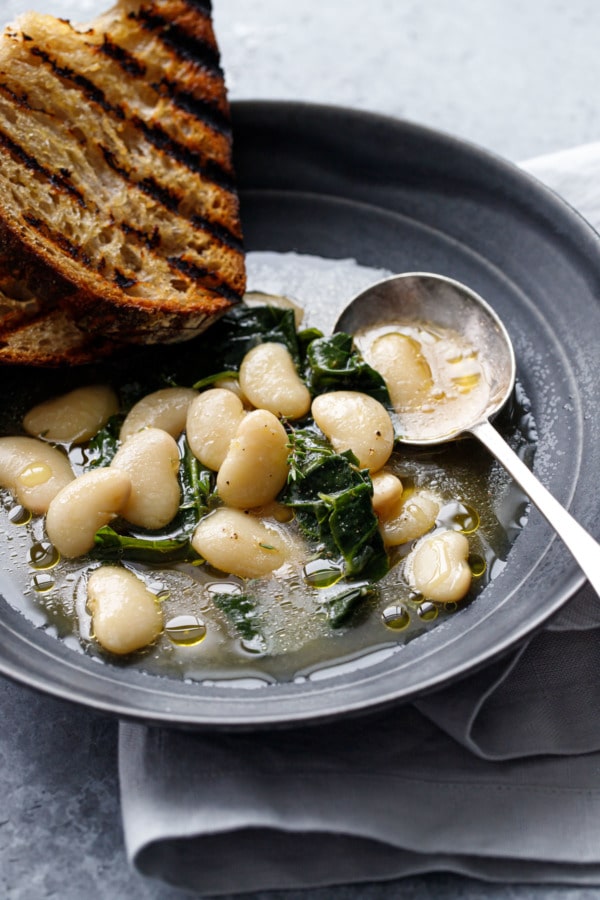
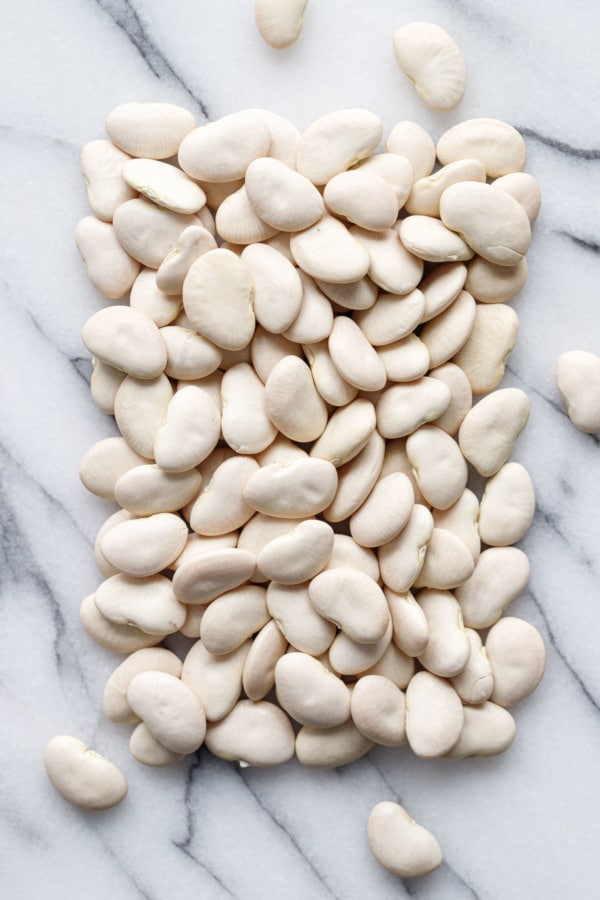
Here we’ve used large white beans, specifically the large white lima beans from Rancho Gordo. Interestingly we find that smaller beans sometimes take the longest to cook, but these limas are relatively quick (in bean years, that is), taking only about 60-75 minutes for pre-soaked beans. Other types of beans, such as the stunning black and purple scarlet runner beans, and even the deceivingly small cassoulet beans, can easily take upwards of two hours.
Any variety of dried white beans will give you a gorgeous, buttery yellow broth, while darker brown and red beans will result in something a bit more muddy, but no less delicious. Black beans, including the gorgeous cow-spotted vaquero beans, will give you a dramatic, almost purplish broth.
How do you know when your beans are done?
Taste, taste, taste some more! It’ll probably take you a few batches to really get the hang of it, but once you find that sweet spot, when the slightly al dente bean softens into buttery perfection the entire way through, you’ll know. And once you know, you know. But in the meantime, luckily even slightly over-cooked beans, while they might not hold their shape very well, are still perfectly enjoyable.
If you still can detect a slightly firmer center in the middle of your bean, give it another 5 or 10 minutes and taste again.
We always pre-soak our beans, giving them at least 8-10 hours and often times overnight. Add a bit of baking soda to your soaking liquid; the alkaline environment helps the pectin molecules break down more quickly, resulting in a quicker and more evenly cooked bean. We’ve also found that, especially with lima beans, baking soda keeps the skins from splitting and shedding during the cooking process. There’s also studies that have shown that a bit of baking soda can decrease the gas-forming compounds in the beans. Toot toot!
We also add a bit of salt to the soaking liquid, which I know is probably controversial (there’s so much out there about not salting your beans until the end of cooking), but we haven’t had any issues with this and find it results in a more thoroughly seasoned bean.
While the whole salt thing might be a bit of a wives tale, the acid thing is not, so any acids you want to add to flavor and finish the broth should not be added until the very end (we like a small splash of sherry vinegar, but lemon juice is quite lovely as well to brighten up the other flavors).
This recipe calls for 1 cup or 1/2 pound of dried beans, and will make a generous 4 servigs or 6 smaller servings with a slice or two of bread each. You’d be surprised at how filling these beans are!
That said, you can also double it and cook a full pound of beans if you like, the leftovers are great reheated and will keep easily for a few days at least (we have not tried freezing these beans though, not sure how it would affect the texture of the beans, but if you try it let us know how it works!)
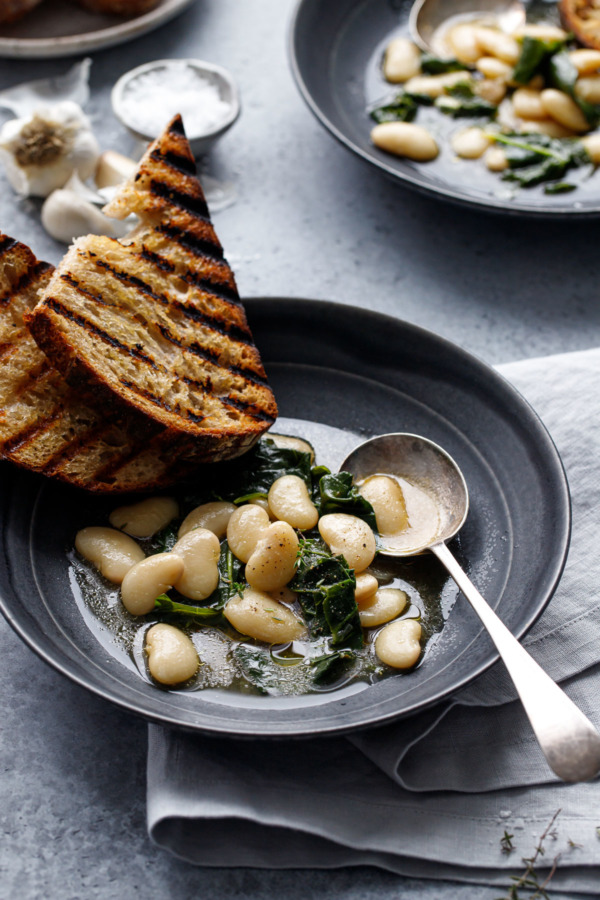
Brothy Beans & Greens with Grilled Bread
Ingredients
- 1 cup / 226 g dried beans, such as white lima
- ¼ teaspoon baking soda
- ½ teaspoon kosher salt
- 4 cups / 960 g chicken stock
- 2 cups / 480 g filtered water, or more as needed
- 1 shallot, peeled and halved
- 5 cloves garlic, peeled and smashed
- 1-2 whole dried chilies
- 2 fresh bay leaves, or 1 dried bay leaf
- 1-2 sprigs fresh thyme
- 1 parmesan rind, approximately 4-inch piece
- 3 saffron threads, optional
- 3 tablespoons olive oil, plus more for serving
- 1 bunch kale or collards, large stalks removed and torn into 2-inch pieces
- salt, to taste
- 1 teaspoon sherry vinegar
For Grilled Bread:
- sliced crusty bread
- peeled garlic cloves
- olive oil, for brushing
Instructions
- Pick over beans to remove any debris or pebbles; rinse well. Place in a quart size container or jar along with baking soda and salt. Cover with filtered water by at least double (the beans will expand significantly). Cover and refrigerate at least 8 hours or overnight.
- Drain and rinse the beans, then place in a 4 or 5 quart stockpot or Dutch oven. Add chicken stock and water (the liquid should cover the beans by at least an inch or two). Add shallot halves, garlic cloves, dried chilies, bay leaf, thyme and parmesan rind, as well as saffron if using. Top with a few generous glugs of olive oil, then place over medium-high heat.
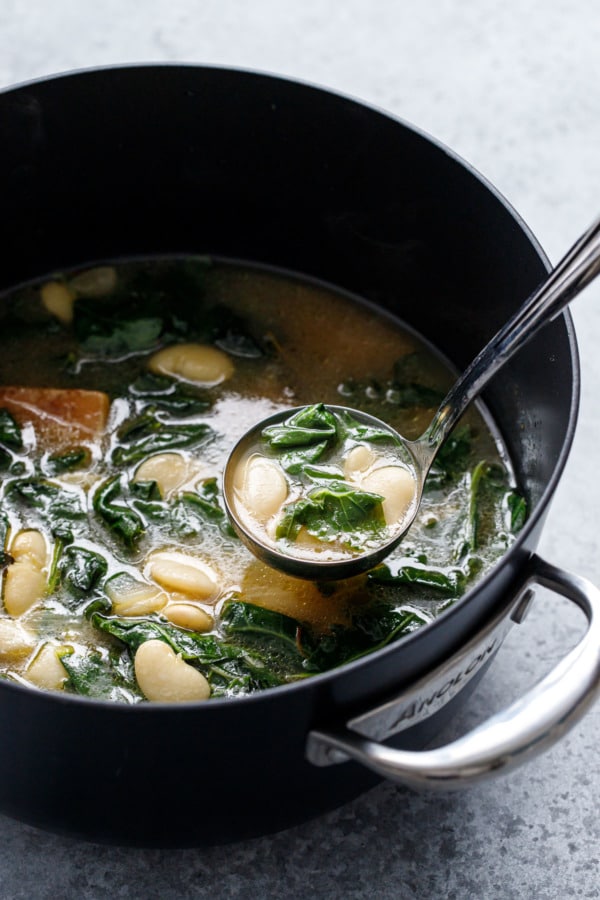
- Bring beans to a simmer. Reduce heat slightly and partially cover. Continue to gently simmer (don't let them boil too vigorously), stirring occasionally, until beans are tender and evenly cooked through. Depending on what kind of beans you are cooking, how old they are, and how long they've been soaking, this can take anywhere form 45 minutes to 2 hours. If at any point your beans seem to be low on water, add a little bit more as needed.
- When the beans are almost fully cooked, remove bay leaf, thyme, chilies and parmesan rind (if you can find them, sometimes they dissolve entirely). Add the greens and continue to cook until wilted. Remove from heat and add vinegar. Taste, then season with salt and pepper as desired.
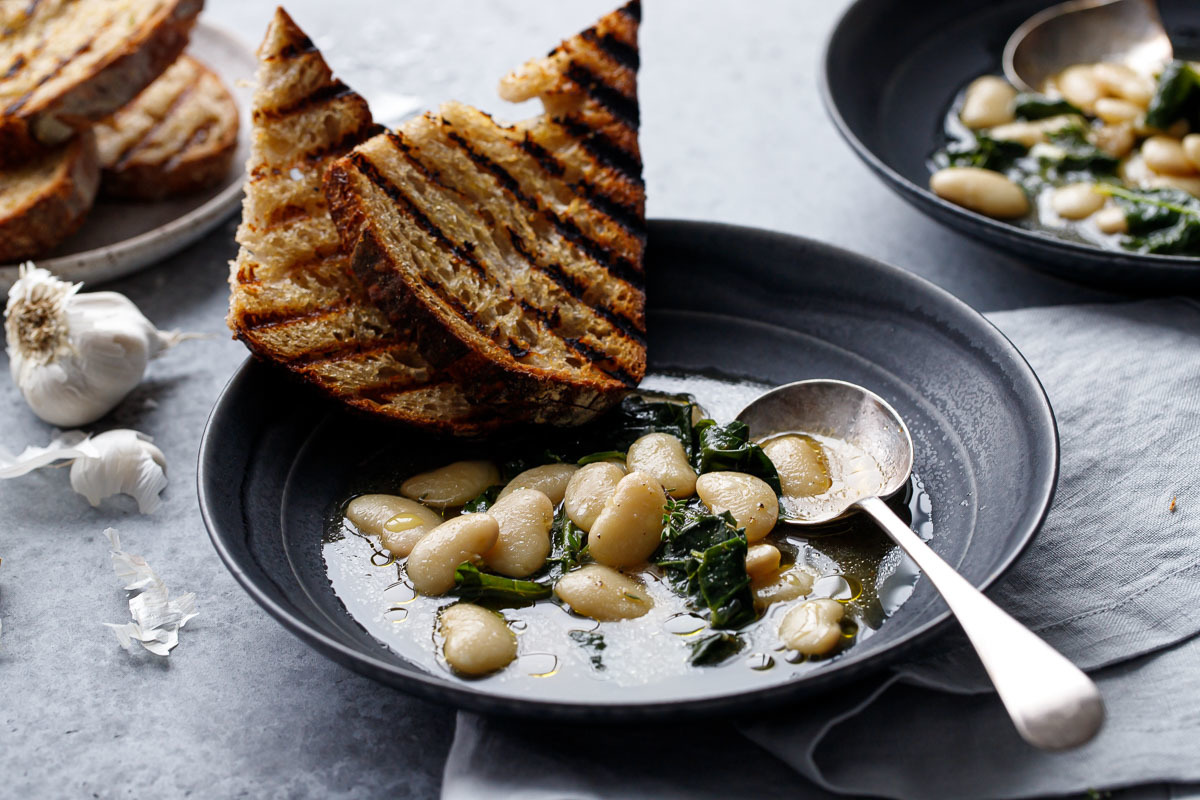
- For grilled bread, rub raw garlic cloves over the surface of the bread. Brush with olive oil. Preheat a grill pan over medium high heat. Place bread slices in pan, then put another lightweight pan or metal bowl on top to gently weight them down (this will make for pretty grill marks). Cook for 1 to 2 minutes per side or until grill marks are deep brown and toasty. Flip and cook the second side in the same way. Sprinkle with flake salt to finish.
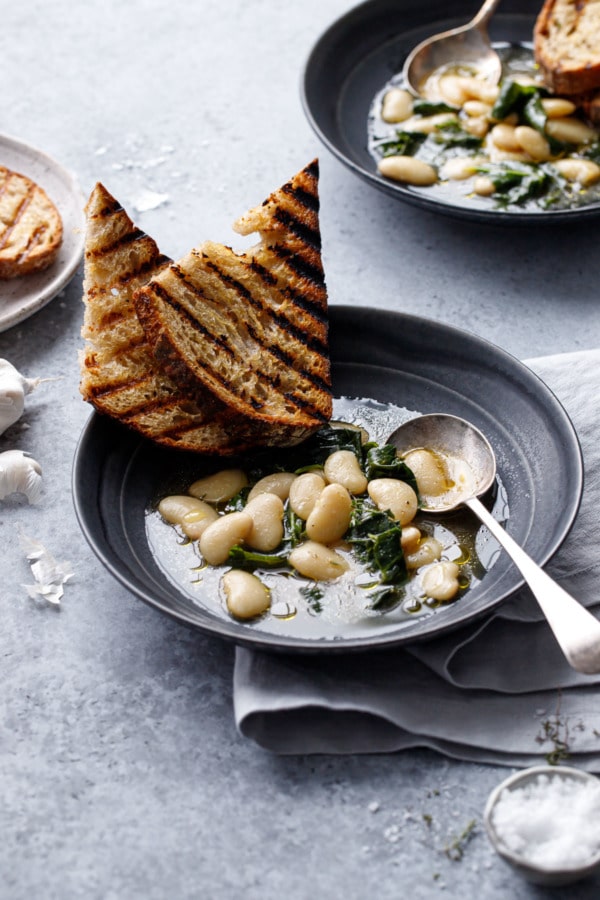
- Serve beans warm, finished with a drizzle of olive oil and a sprinkle of flake salt, with grilled bread on the side. Leftovers can be refrigerated in an airtight container for 2-3 days and reheated on the stovetop.


Its looking delicious. Thanks for sharing such amazing recipe.
I loved this recipe so much . It’s really awesome
“In bean years” 😂 looking forward to trying this!
great dish and tips, especially about using parmesan rinds! Love that and have some, anything to make my beans taste less “one note”, so thank you!