
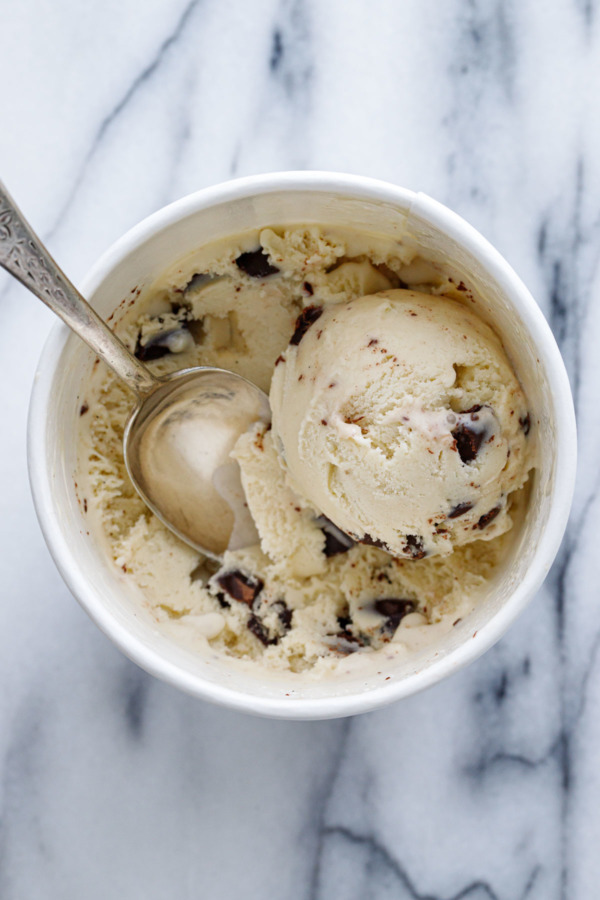
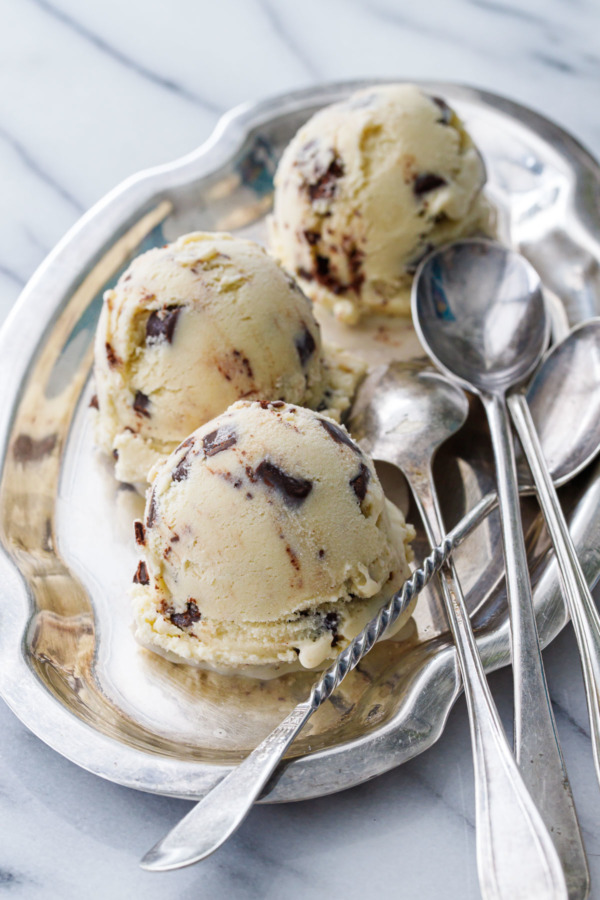
With ample chunks of chewy chocolate fudge in a creamy banana custard, this homemade banana fudge chunk ice cream really hits the spot!
Inspired by one of my favorite ice cream flavors from years ago, this recipe uses extra ripe bananas and high quality dark chocolate for an intense and sophisticated flavor profile.
Save this recipe for later!
Years ago I recreated one of my favorite ice cream flavors from college.
At that time, however, I simply tossed in some chopped dark chocolate at the end of the churn. Which is great and all, but fudge chunk and chocolate chunk are not the same thing. Fudge, to me, implies a softer chocolate, something you can really sink your teeth into and chew instead of chomp.
I’d done something similar for my Sea Salt Fudge Chunk ice cream (which is still one of my favorite ice cream recipes ever).
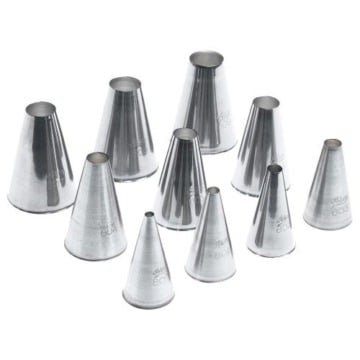
I changed up the process a bit for this banana version. Rather than spreading out the fudge mixture onto a baking sheet, I found piping out 1/2-inch logs of chocolate was easier to to cut into uniform chunks, easy enough to warrant washing the extra piping bag.
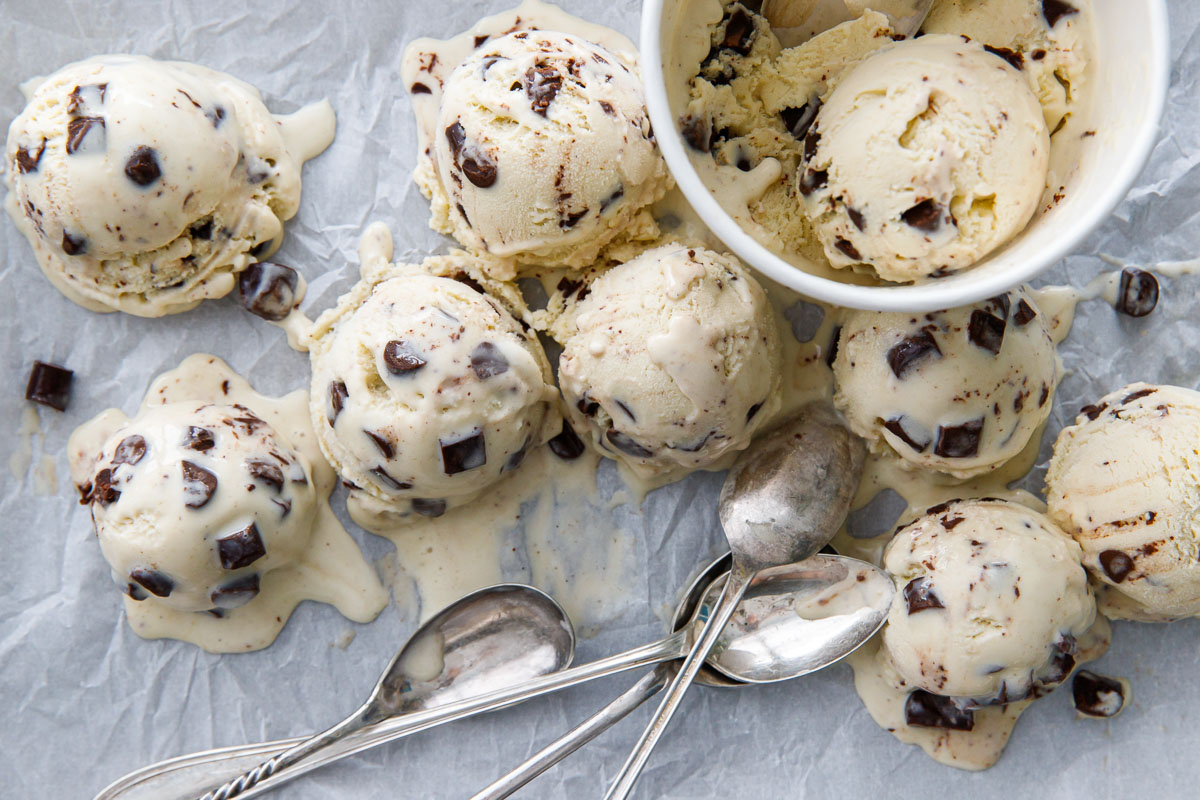
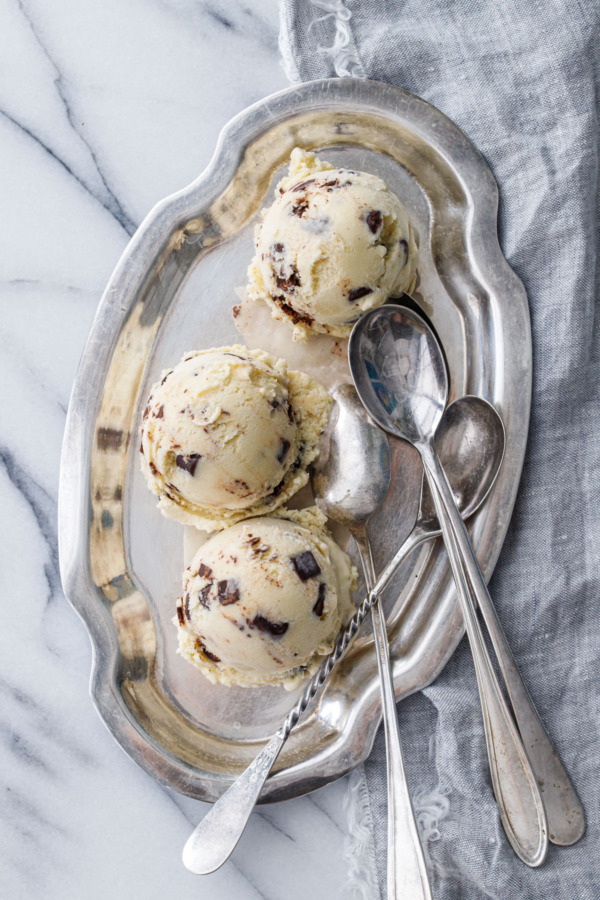
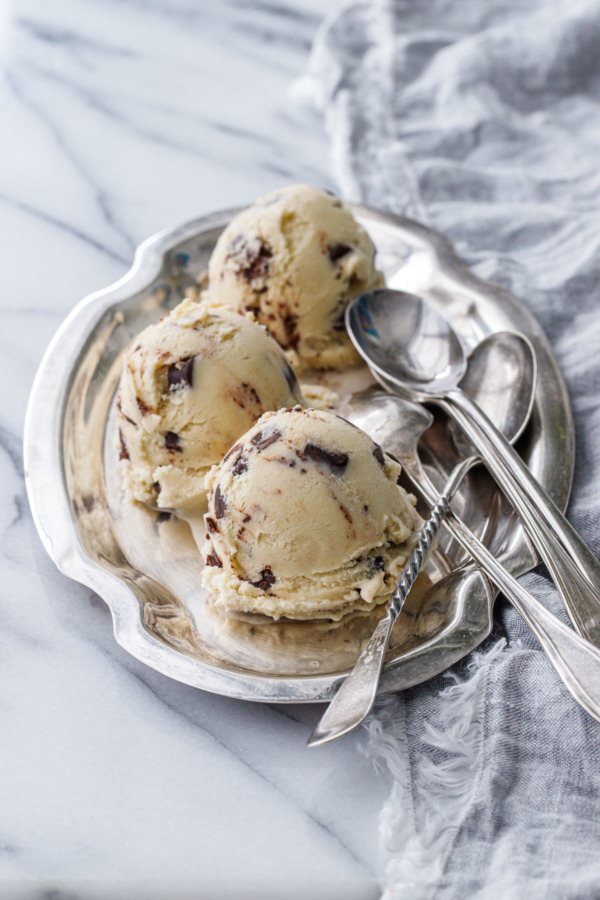
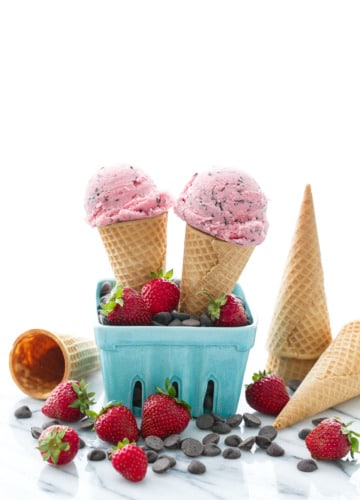
In the end, you’re rewarded with chewy chunks of rich dark chocolate swimming in a creamy banana custard base.
(And yes, I know this recipe leaves you with 4 leftover egg whites. These can easily be frozen for a later time, or if you’re looking for something quick to use them up now, a double batch of my Soft Amaretti Cookies would be perfect!)
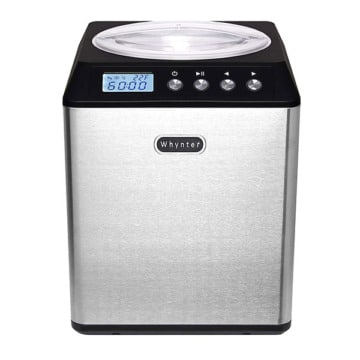
This was also the inaugural run of my new ice cream machine.
Previously I used (and loved) the KitchenAid ice cream attachment, which worked great, but I hated having to freeze the bowl a full 24-48 hours before I could churn a batch of ice cream. And if I needed to churn two batches (testing recipes I’ll often make 2-3 variations at the same time to see which is best), it was simply too long to have to wait. So I splurged and treated myself to a compressor-based ice cream machine, which can easily churn multiple batches back to back.
If you make homemade ice cream with any regularity, and have the storage space (it’s a good deal larger than the freezer bowl versions), I highly recommend a compressor-based machine. It’s a game changer!
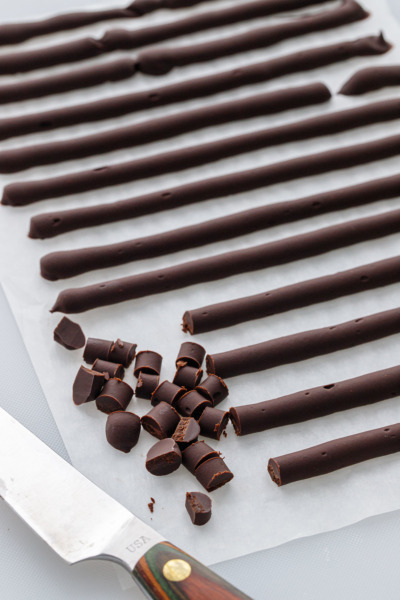
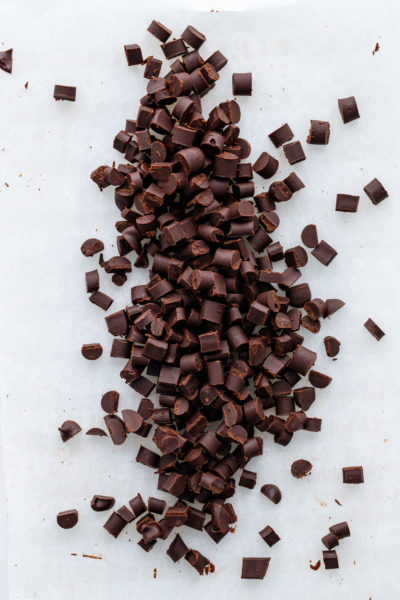
To make the chocolate chunks, pipe the chocolate mixture into logs on a parchment-lined baking sheet. Chill until set, then chop into 1/2-inch chunks.
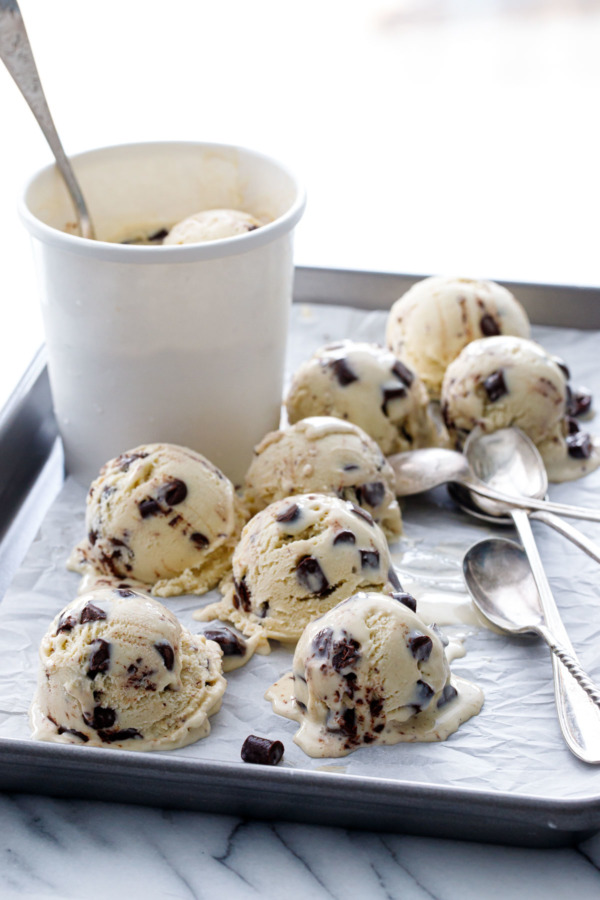
Keep the chunks frozen until just before you stir them into your ice cream (they will melt rather quickly when left at room temperature).
You can also spread the chocolate mixture in an even layer on the baking sheet. Once set, chop into 1/2-inch squares. No piping bag required for this method, but I still found it more cumbersome, and the chunks weren’t as even or nicely shaped. But either way will taste just as good!
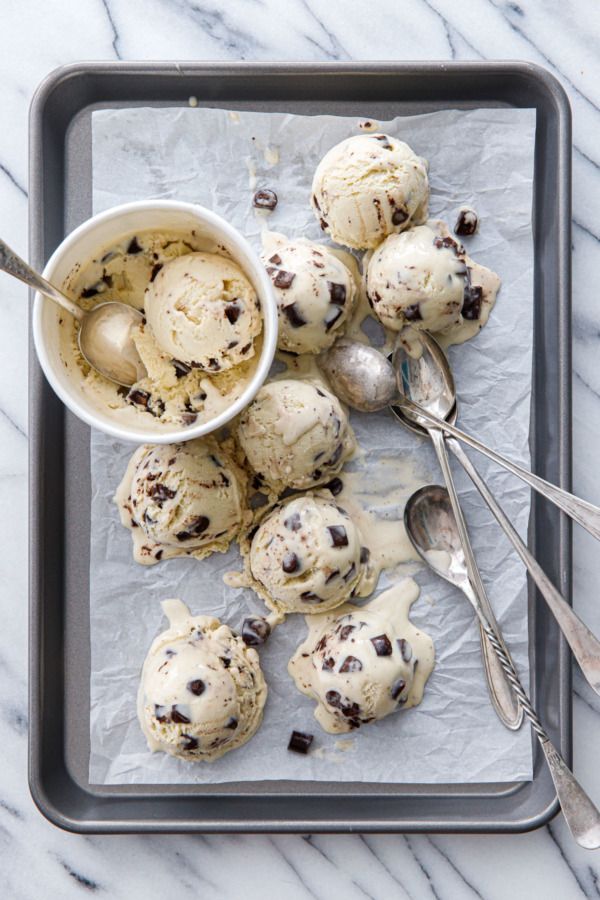
So, what are you waiting for?!?
Grab a spoon and dig in!

Banana Fudge Chunk Ice Cream
Rich and creamy banana ice cream with soft, chewy chunks of dark chocolate throughout.
Ingredients:
For Ice Cream Base:
- 1 1/2 cups whole milk
- 1 cup heavy cream
- 1/2 cup granulated sugar
- 1/4 teaspoon fleur de sel or sea salt
- 4 large egg yolks
- 1 large ripe banana (about 1/2 cup mashed)
- 1/8 teaspoon guar gum (optional, to improve texture)
- 1/2 teaspoon vanilla paste or 1 teaspoon vanilla extract
For Fudge Chunks:
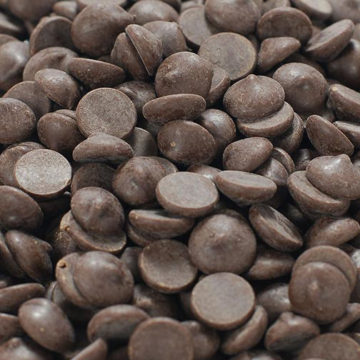
- 5 ounces (140g) high quality dark chocolate, chopped
- 2 tablespoons heavy cream
- 1 tablespoon light corn syrup
Directions:
- Combine milk, 1/2 cup cream, sugar and salt in a saucepan. Cook over medium heat, stirring occasionally, until it begins to steam (do not let it boil).
- Whisk egg yolks in a medium-sized heat-proof bowl until smooth and starting to lighten in color.
- Slowly ladle in 1/4 cup of warm milk mixture at a time, slowly drizzling the hot liquid into the yolks as you whisk vigorously. Repeat with a few more ladles full, whisking constantly, until the yolk mixture is noticeably warm to the touch (I usually do about half of the milk mixture just to be safe). Pour into saucepan with remaining milk mixture and return to heat.
- Continue to cook over medium-low heat, stirring regularly, until mixture has thickened slightly and coats the back of the spoon; it should register approximately 170 to 175 degrees on an instant read thermometer. Remove from heat.
- In a blender or food processor, blend banana with about 1/2 cup of warm milk mixture until smooth. Blend in guar gum (if using). Stir into saucepan with rest of warm milk mixture along with remaining 1/2 cup heavy cream and vanilla. Strain through a fine mesh sieve to remove any bits of cooked egg or larger bits of banana.
- Transfer to a bowl or 4-cup glass measuring cup. Set inside a larger bowl, then fill the space between with ice water. Stir occasionally until mixture has cooled to lukewarm, then cover tightly (pressing a layer of plastic wrap onto the surface of the custard) and refrigerate for at least 2-3 hours or ideally overnight.
- To make fudge chunks, combine chopped chocolate, cream and corn syrup in a small saucepan set over very low heat (I used our ‘melt’ burner for this, you can also use a double boiler if you have one). Gently warm the mixture until chocolate is melted and mixture forms a smooth, glossy paste about the consistency of peanut butter.
- Transfer chocolate mixture to a piping bag fitted with a 1/4 or 3/8-inch round tip. Pipe ropes of chocolate onto a cookie sheet lined with parchment paper or a silicone mat. Alternatively, you can pour the chocolate out onto a lined cookie sheet and spread it into an even layer approximately 3/8-inch thick. Let cool for 30 to 60 minutes, then loosely cover and refrigerate for at least 1 hour until completely set, or freeze for 15 to 30 minutes. Once the chocolate is firm, cut into small pieces. Work quickly, as the chocolate will get melty again quite quickly (refreeze for a few minutes if needed). If you spread the chocolate instead of piped it, just cut a small grid of chocolate so you have approximately 3/8-inch bits. Return cut chocolate pieces to freezer until you’re ready to use them.
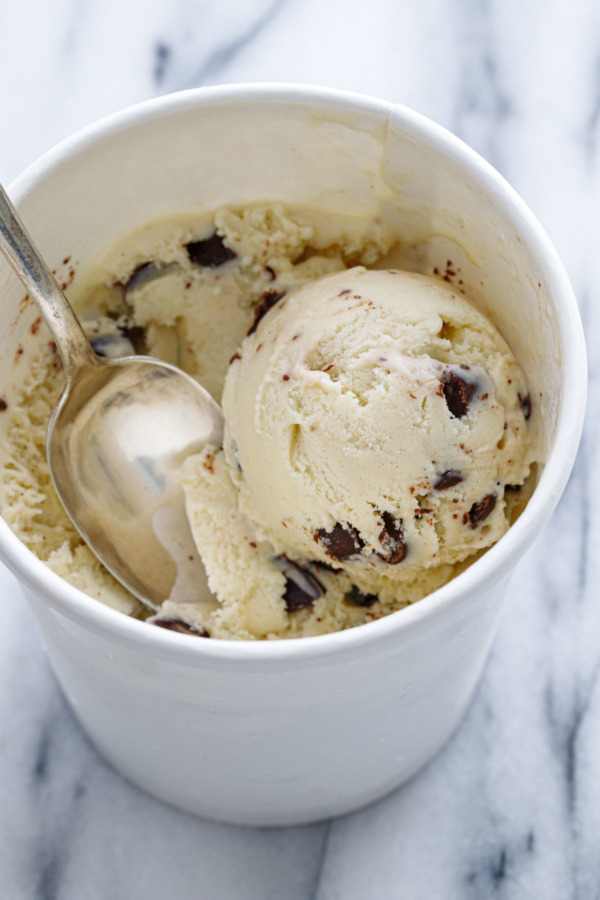
- Churn ice cream base in an ice cream maker according to manufacturers instructions. When the ice cream reaches the consistency of soft serve, add frozen chocolate chunks and stir until evenly incorporated. Transfer to a freezer storage container, ideally one with a lid (you can also press a layer of parchment or plastic wrap down on the surface of the ice cream) and freeze until firm, at least 3 hours or overnight.
Did you make this recipe?
Let us know what you think!
Leave a Comment below or share a photo and tag me on Instagram with the hashtag #loveandoliveoil.


So yummy! This was my first time making ice cream base from scratch and the instructions were very easy to follow. And I could eat the fudge chunks by the spoonful by themselves, they’re so chewy and delicious!
Absolutely wonderful photos, absolutely amazing creation ! Thank you so much and I wish you enjoy your day :-)
what a fun recipe, summer recipe, as long as it lasts, thank you this one!
This looks so delicious! I can’t wait to make it soon!