
Save this recipe for later!
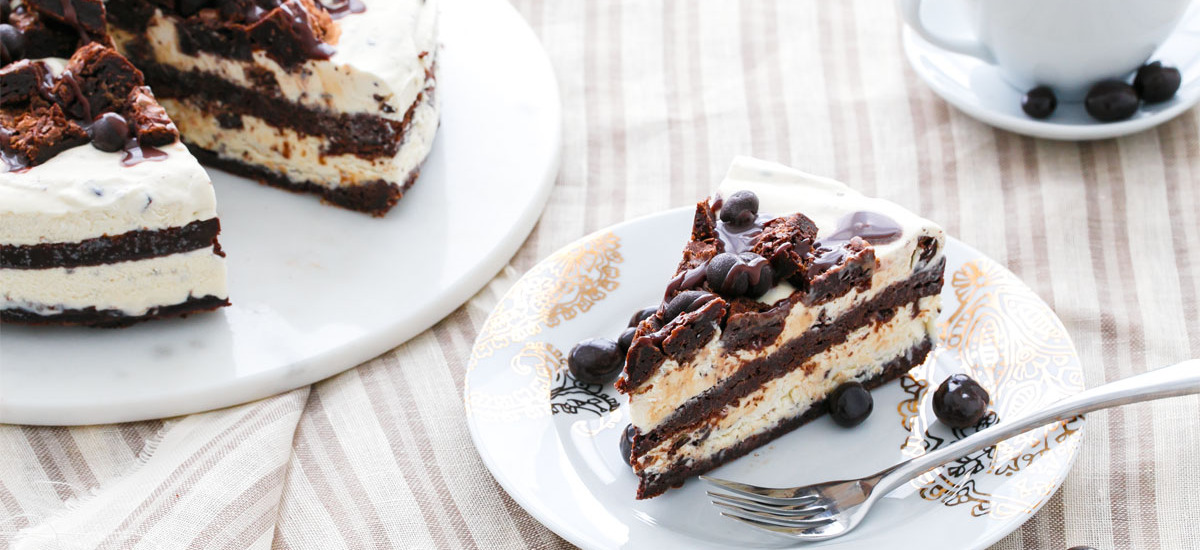
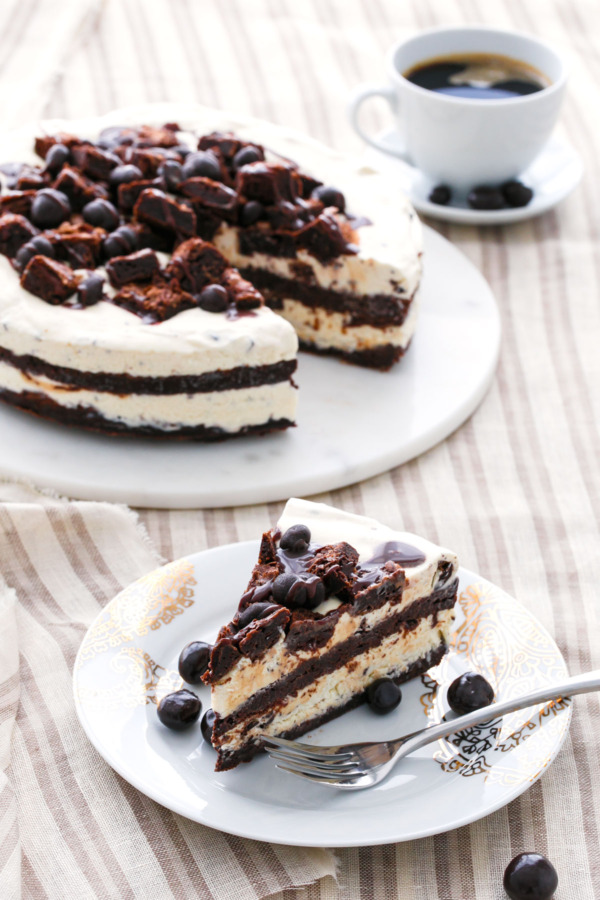
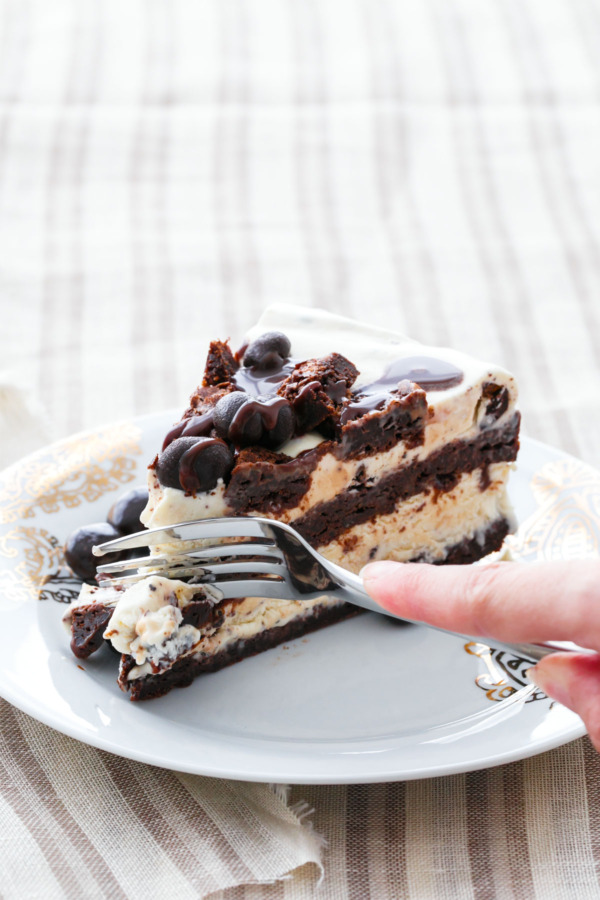
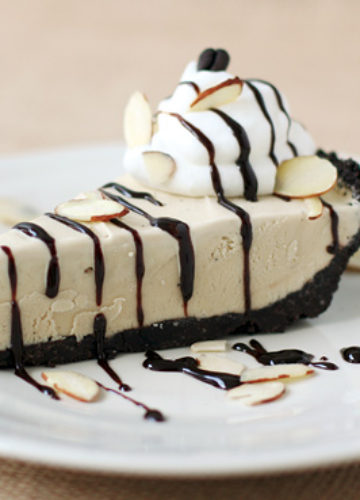
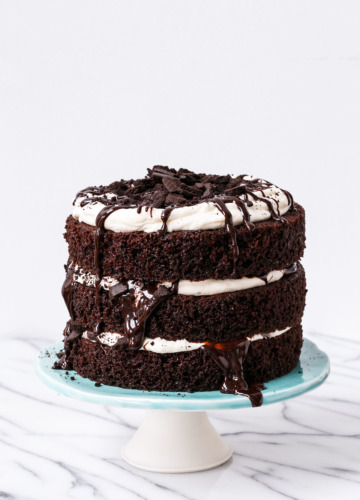
Talk about summer lovin’…. this ice cream cake is layers upon layers of goodness: a rich and fudgy brownie and a no-churn coffee-infused ice cream that’s as easy as it is delicious. The cherry on top (icing on the cake, rather) is the mountain of brownie chunks, chocolate covered espresso beans, and a hot fudge drizzle.
Making your own no-churn coffee ice cream (instead of using a store bought ice cream) gives you the flexibility to use decaf coffee beans for less of a buzz (while I love coffee flavor, caffeine is not my friend). Granted, there still is espresso powder in the brownies and chocolate covered espresso beans studded through out, but the effect is milder.
Also an option if you are not a coffee fan at all is to skip it entirely. The basic no-churn ice cream base can be made into just about any flavor you can imagine… I’m thinking folded in chunks of fresh sweet cherries, a splash of bourbon and vanilla bean, or even infusing the cream with fresh mint in place of the coffee beans (follow the exact same process for a lovely fresh mint flavor).


My go-to brownie recipe is so dense and fudgy that, when frozen, it becomes somewhat tricky to cut and eat. So for these, instead of melted butter, I whipped the butter with sugar as if I was making a cake, with the goal to produce a slightly lighter and less dense brownie that’s more manageable when frozen.
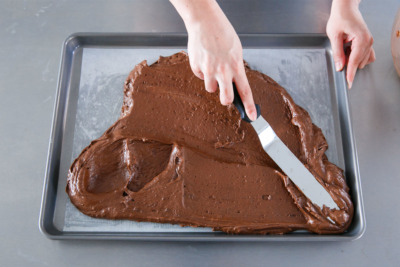
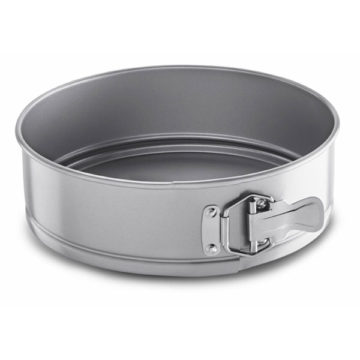
You’ll also notice this brownie is baked in a half sheet pan instead of a normal 13×9. This solves the main conundrum faced when making an ice cream cake: the fact that 9″ cake pans and 9″ springform pans are never exactly the same size. A sheet pan is the perfect size for two 9” round, cut to fit your springform pan exactly, each layer the perfect thickness to compliment but not overpower the ice cream, and still have some scraps leftover for a glorious mountain-of-brownie to top it all off… and maybe a few snacks for the chef while you’re putting it all together (shhh, it’s our secret).
The ice cream base is lightly infused with the coffee beans by simply warming and steeping it for about 30 minutes, infusing a surprising amount of coffee flavor into the cream. To finish out the no-churn ice cream, the cream is whipped (hello, coffee whipped cream that might be my new favorite thing!) and then folded into a can of sweetened condensed milk. That’s it. No eggs to separate, no custard to thicken, no special equipment necessary. Just spread the light and airy mixture into your springform pan and then freeze overnight until firm.
The final step, once everything is assembled, is the deep freeze. You need at least 4 hours of chill time at the very minimum, preferably overnight if you can manage to wait that long. The longer the cake chills the cleaner your slices will be. I’d even recommend bumping your freezer temperature down a few degrees to help the cake along even further.
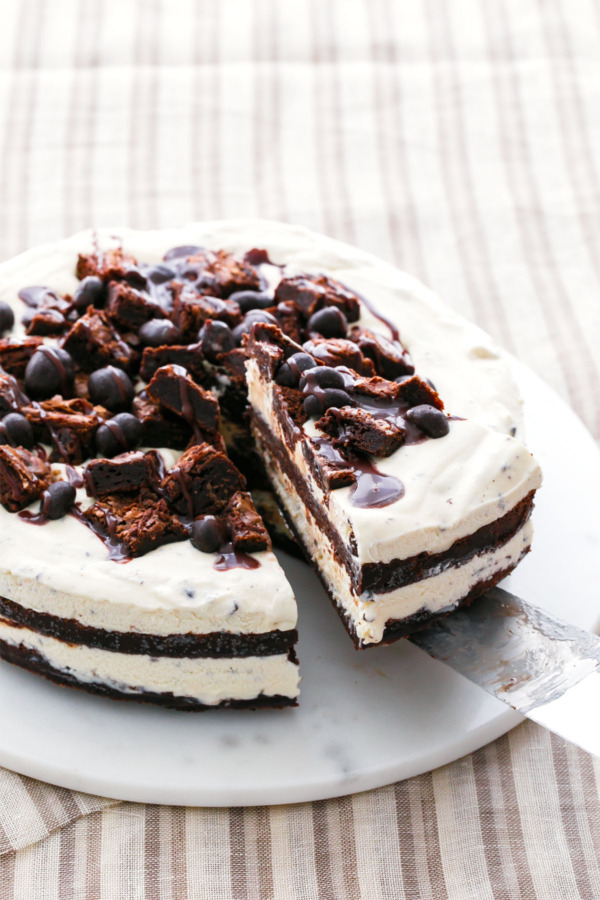
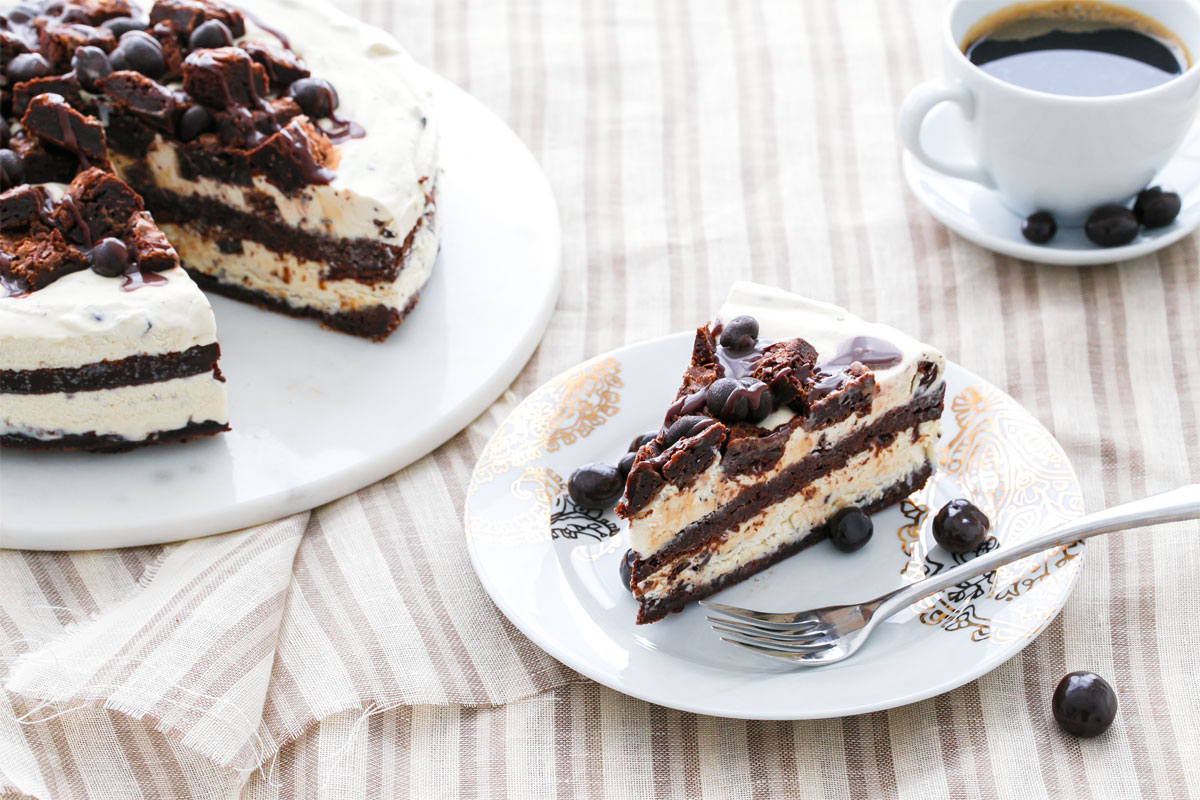
Once frozen, the sides of the springform pan should release cleanly and evenly, showcasing your beautiful layers.
Fudge Brownie Mudslide Ice Cream Cake
Coffee and chocolate, brownie and ice cream: this ice cream cake recipe is the perfect pairing two times over. With layers of fudgy brownie and creamy, no churn coffee ice cream, it’s summer dessert perfection.
Ingredients:
For Brownie:
- 12 ounces semisweet chocolate chips
- 1 1/2 cups (3 sticks) unsalted butter, room temperature
- 2 cups granulated sugar
- 4 large eggs
- 1 teaspoon vanilla extract
- 1 cup (4.5 ounces) all-purpose flour
- 1 cup (1.5 ounces) dark or dutch process cocoa powder
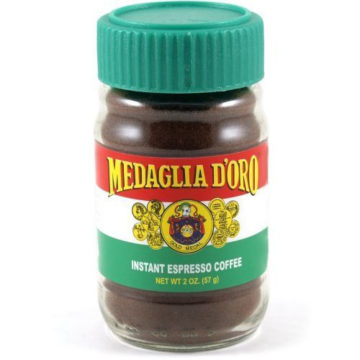
- 1 teaspoon instant espresso powder
- 1 teaspoon baking powder
- 1/2 teaspoon fine sea salt or kosher salt
For Ice Cream:
- 2 cups heavy cream
- 1/2 cup whole coffee beans
- 1 (14 oz) can sweetened condensed milk
- 1/2 cup chocolate covered coffee beans, chopped
To Assemble:
- 1/2 cup hot fudge sauce, slightly warmed
- more chocolate covered coffee beans, as desired for decoration
Directions:
- Preheat oven to 350ºF. Lightly butter a half sheet pan; line with parchment paper and lightly butter parchment.
- In a double boiler or in the microwave on low power, gently melt chocolate until smooth. Set aside to cool slightly.
- In the bowl of a stand mixer fitted with the paddle attachment, beat butter and sugar on medium-high speed for 2-3 minutes or until light and fluffy. Add eggs, one at a time, beating well after each addition. Increase speed to high and beat for another 2-3 minutes or until fluffy and increased in volume. Mix in vanilla.
- In a separate bowl, sift together flour, cocoa powder, espresso powder, baking powder, and salt.
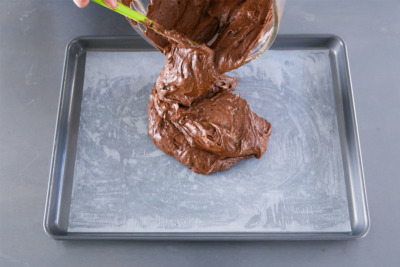
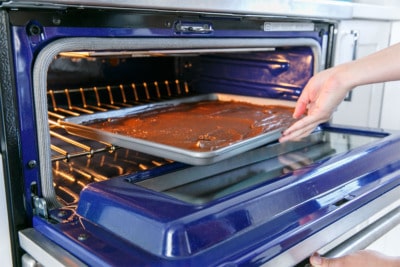
- Remove bowl from mixer and fold in melted chocolate with a large rubber spatula. Sprinkle dry ingredients over top and fold until just incorporated. Spread into an even layer in prepared baking sheet and bake for 17 to 19 minutes or until a toothpick inserted near the center comes out clean. Place sheet pan on a wire rack to cool completely, then refrigerate for at least 30 minutes (or more) to make the brownie easier to work with.
- For ice cream, heat cream and coffee beans in a small saucepan over medium heat until it just starts to simmer and steam. Remove from heat; cover and let steep for 30 minutes, then strain out coffee beans and refrigerate cream until completely chilled, at least 2 hours (anything but thoroughly cold cream will not whip up into a stable whipped cream).
- When completely chilled, pour the cream in to a clean metal bowl of your stand mixer fitted with the whisk attachment. If you like, you can also chill the metal bowl and whisk for 15 to 30 minutes which will help your cream to whip up nicely. Turn on mixer to medium-high speed and whisk until cream forms stiff peaks.
- Pour sweetened condensed milk into a large mixing bowl. Spoon in about 1/3 of the whipped cream, and fold to lighten up the mixture. Add remaining whipped cream and fold until evenly incorporated and no streaks of bright white remain. Fold in chopped chocolate covered coffee beans.
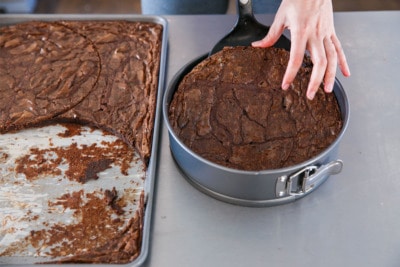
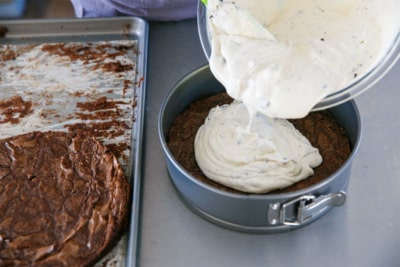
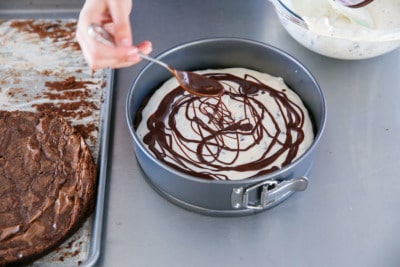
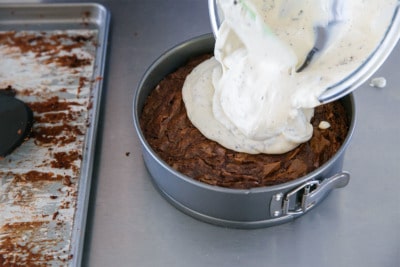
- To assemble, detach the sides of a 8 or 9-inch springform pan. Using the bottom of the springform pan as a template, trace with a butter knife and cut out two rounds the exact size of your springform pan. Use a spatula to remove excess brownie and set aside. Latch bottom of springform pan back into place. With an extra large spatula, carefully lift one of the brownie rounds and place into the bottom of springform pan, pressing down edges into an even layer. Spread half of ice cream mixture evenly on top of brownie. Drizzle with about 1/3 cup of fudge sauce. Repeat with second brownie round, followed by remaining ice cream mixture.
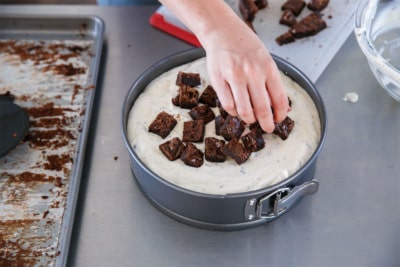
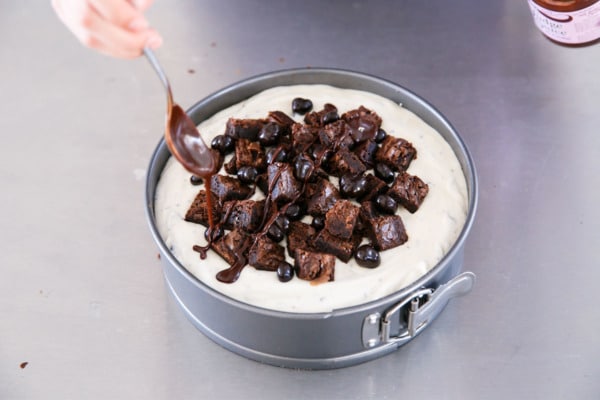
- Cut the brownie scraps into evenly sized squares, and pile on top of assembled cake in a decorative manner, scattering a few chocolate covered espresso beans on top as well if desired. Drizzle with remaining fudge sauce. Place cake in freezer and freeze until completely firm, at least 4 hours or overnight if possible.
- To serve, remove cake from freezer and release sides of springform pan to leave behind clean layers. Use a large knife to slice into wedges and serve immediately. Return any leftover cake to freezer to enjoy later.
Did you make this recipe?
Let us know what you think!
Leave a Comment below or share a photo and tag me on Instagram with the hashtag #loveandoliveoil.
This recipe was created in partnership with KitchenAid®. All opinions are my own.
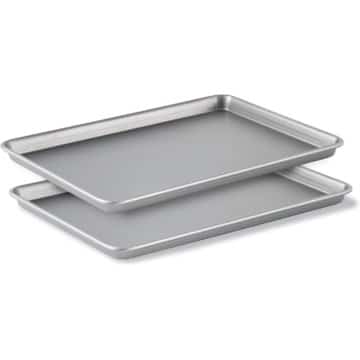


What are the actual dimensions of the half sheet pan? I’m trying to purchase one and thought I might as well get the recommended dimensions. Making this for a friend’s graduation cake so I want it to be perfect!
A half sheet pan is about 18×13 inches in size! You could also use two 9×13 inch pans which is about the same overall area.
If I were to have only one fudge brownie level, could I cook it directly in the springform pan and let cool before stacking with ice cream?
In my experience springform pans have a tendency to leak when there is no crust. You can certainly try, just be sure to have a baking sheet underneath in case!
After being lucky enough to try this first hand, I’m making one (or two…) this weekend! SO GOOD.
omg incredible! and i love that sheet pan trick ;)
I’m sure this is as wonderful to eat as to see.
Beautiful dessert!
This looks so delicious. Amazing recipe! Thanks for sharing!
Best, MODENOVA I http://www.modenova.com
Oh my, this looks awesome.
I don’t think I would skip out on the full caffeine effect though, because I absolutely love my caffeine! Cannot wait to try this! :D
Is there any reason not to bake the brownies in two 9×13 pans? Some of us don’t have half sheet pans and still want delicious frozen treats!
Technically, yes, but measure the pans against your springform, make sure you can fit a full round out of the bottom. That was the issue with my 9-inch pans, they were actually a half inch or so smaller than my springform pan.
ugh yes, i always have same sized cake probs. love the cherry/coffee/chocolate combo; i’ve never had cherry and coffee together but the sweet/bitter dichotomy sounds amazing.
No-churn ice cream! Fabulous.
Wish I could help you dispense with the leftover brownie bits….they look so good!
heaven on a plate
Thank you for this amazing recipe….definitely going to make this one!
Dit ziet er mooi én lekker uit!
Wat ziet dat er lekker, maar ook nog eens erg mooi uit, zeg!