
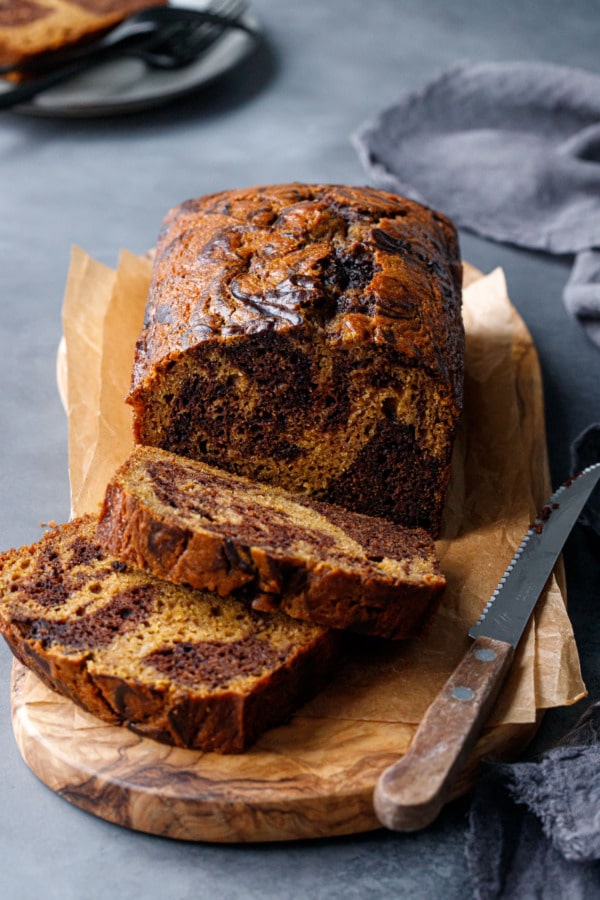
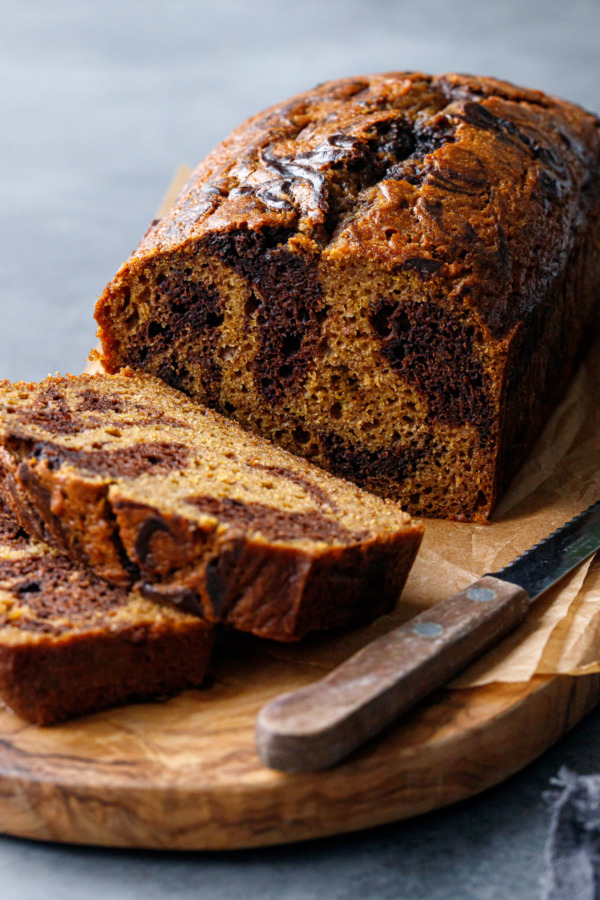
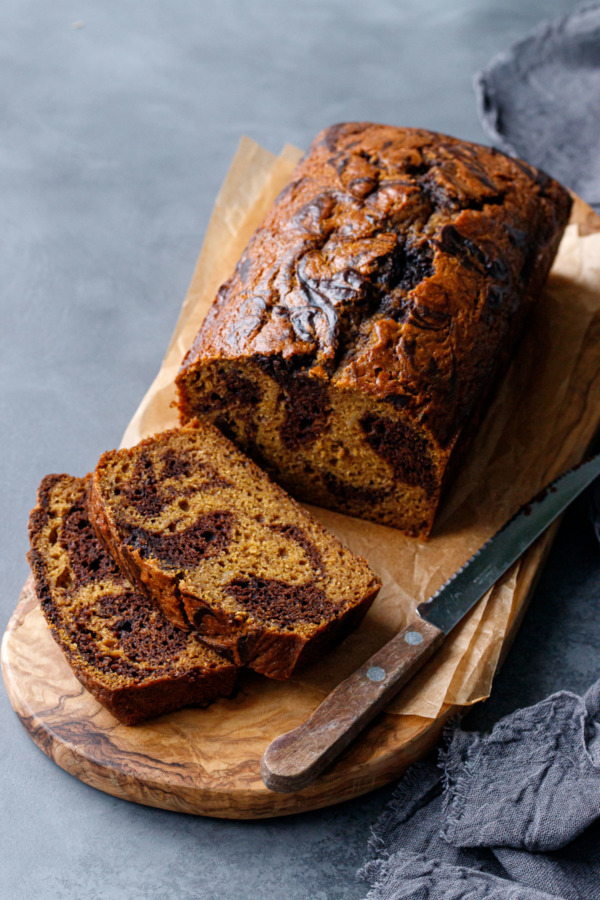
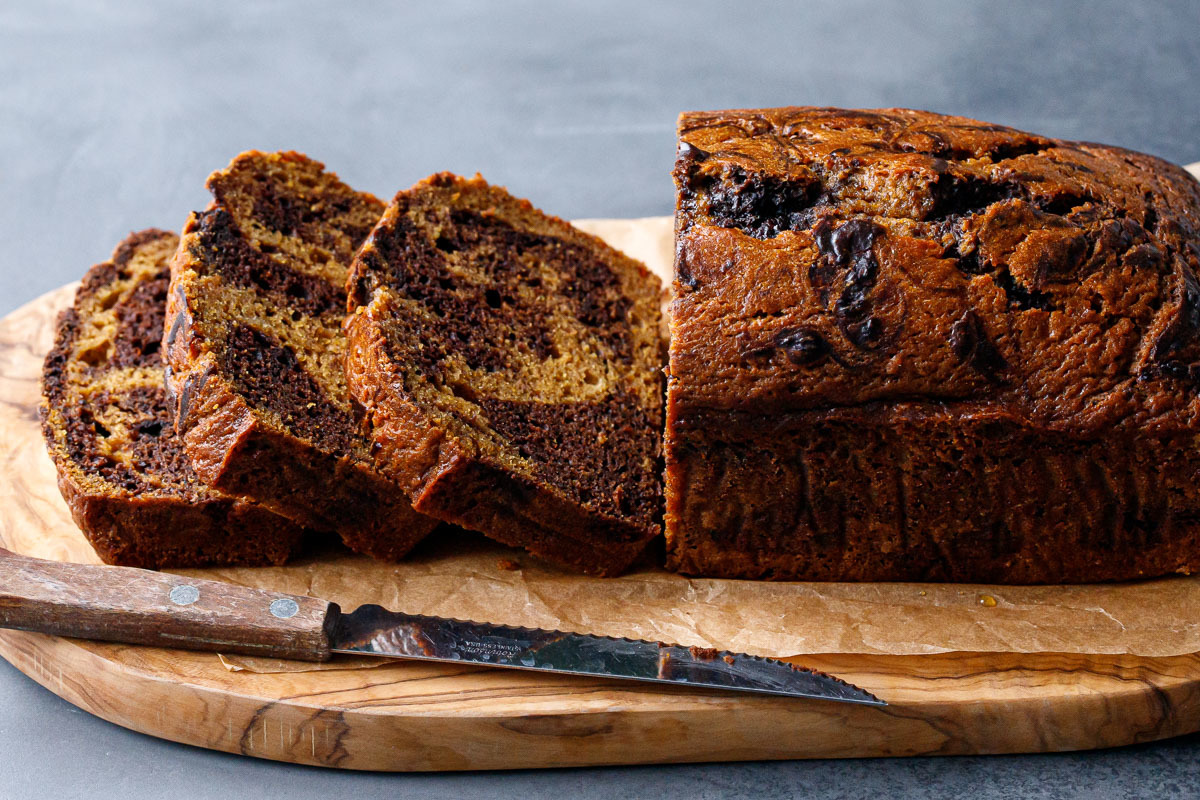
No matter if you call it bread or cake, this chocolate and pumpkin swirl bread is a revelation, with mesmerizing swirls of deeply spiced pumpkin and rich dark cocoa in a moist and tender loaf. Give it a swirl!
Whether you enjoy it for breakfast, as a satisfying afternoon snack, or as a decadent after-dinner dessert, this dramatically swirled quick bread is a flavorful fall delight.
Save this recipe for later!
Cake, bread. Bread, cake. Really, what’s the difference?
Just one of the many reasons I love quick breads: they’re basically cake disguised as breakfast food. Especially if there’s a little chocolate in the mix.
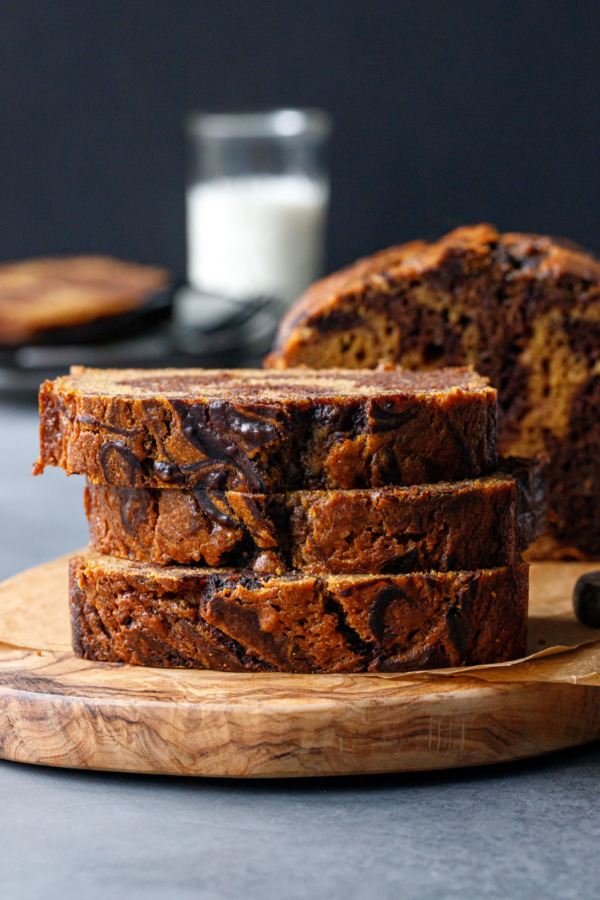
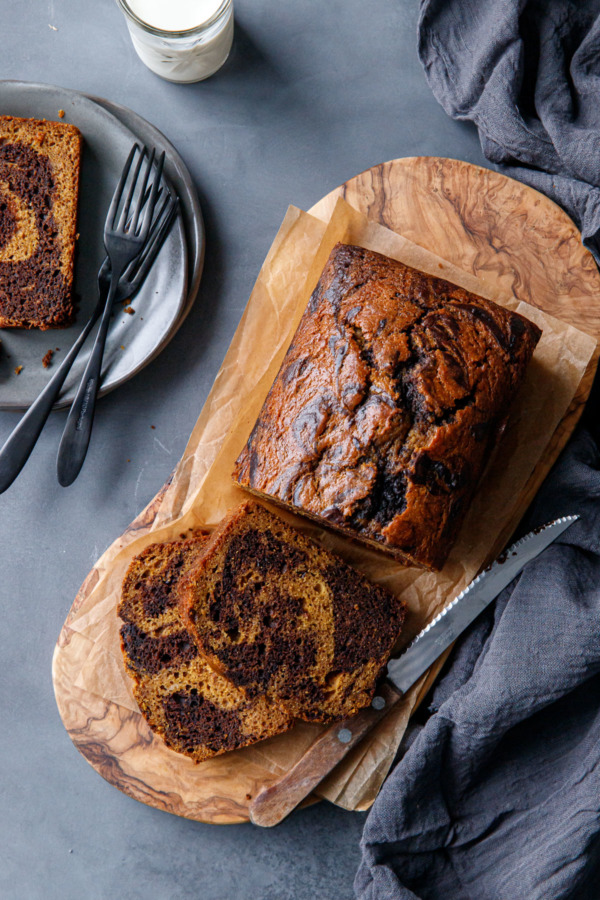
Calling it bread means it’s perfectly acceptable for breakfast, served warm with your morning tea or coffee. Calling it cake makes it similarly satisfying as a dessert (take it a step further with a drizzle of chocolate glaze or a scoop of vanilla ice cream and it’d be downright decadent!)
I’ve also been enjoying the heck out of this bread in the afternoons, as it makes a perfect, satisfying snack to get me through the afternoon lull.
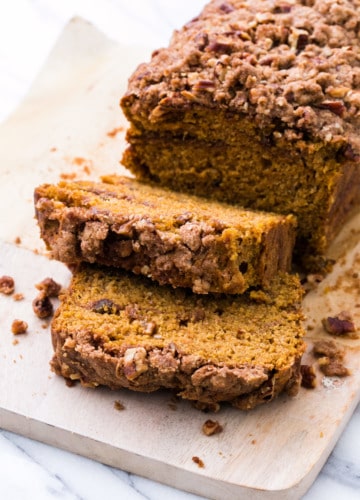
This is a loose adaptation of my sweet potato crumb cake recipe. In addition to chocofying half the batter, I also made a few more adjustments to give the crumb a bit more depth and heft. I wanted a dense, weighty cake that was packed with spices and pumpkin flavor and that stayed moist for days.
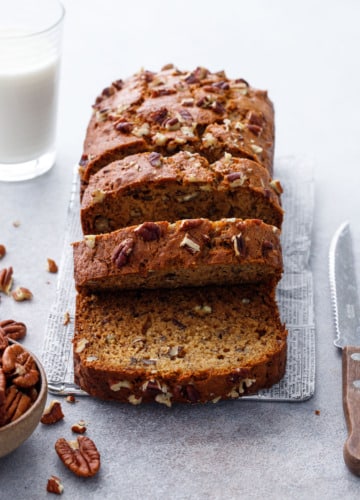
The result is quite remarkable, like your favorite banana bread all dressed up for fall. All it needs is a cable knit sweater and a pile of leaves to play in.
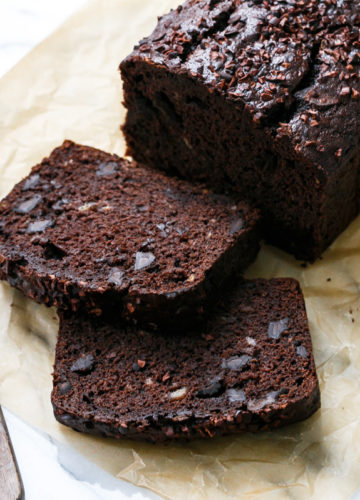
While you could certainly bake this up straight pumpkin (just skip the cocoa and the swirl step), I wholeheartedly believe that everything is better with a little chocolate.
Likewise, sweet potato or butternut squash puree can be used here in place of the pumpkin.
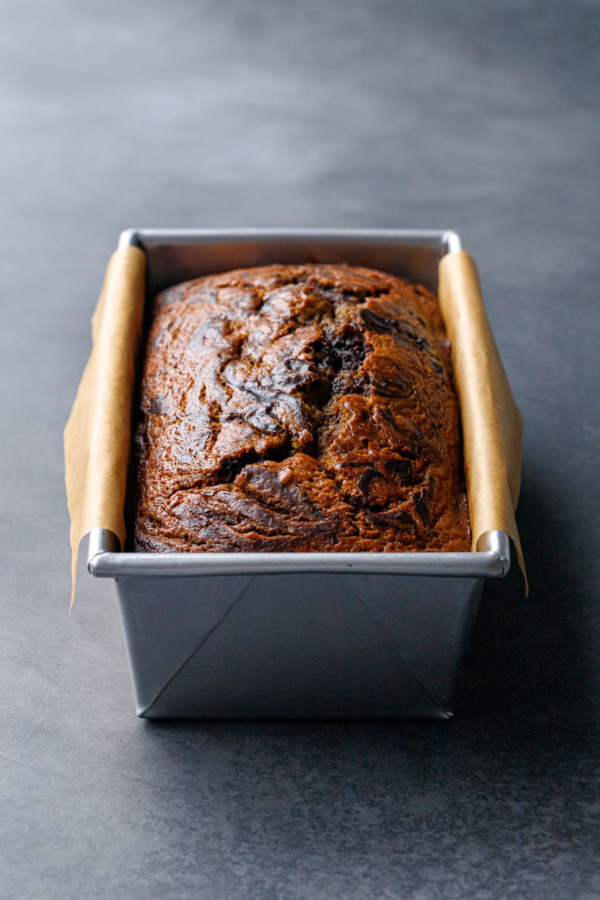
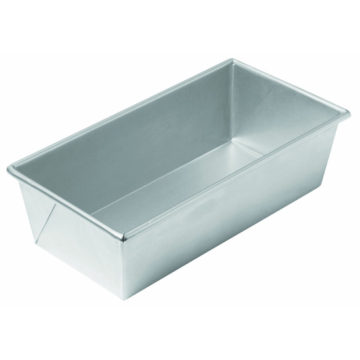
Not all loaf pans are created equal.
This recipe was made in an 8-by-4-inch loaf, light-colored metal pan (this one, if you’re curious), sometimes called a 1 pound loaf pan and also labeled 8.5-by-4.5-inches in size as well (I usually measure the base of my pans, but the larger measurement refers to the rim). This is a pretty standard size as far as loaf pans go.
There is another common size loaf pan that’s about an inch larger, usually labeled 9-by-5-inch. While you can use this size pan for this recipe, you’ll end up with a slightly wider, squattier loaf than mine. You will also want to keep an eye on your bake time, because of the reduced thickness, the larger pan will likely need less time overall.
How do you know when it’s done? Use a toothpick or a long skewer and insert it near the center/thickest part of the loaf. If the toothpick comes out with moist crumbs attached (as opposed to still-gooey batter), then it’s done. You don’t want to wait until the toothpick is completely clean, that means your bread is likely overbaked and, while it’ll still be delicious, it will be a bit drier overall.
All ovens vary, and depending on what kind of pan you use (light vs dark metal, glass or ceramic) your cook time may vary. When in doubt, trust your toothpick.
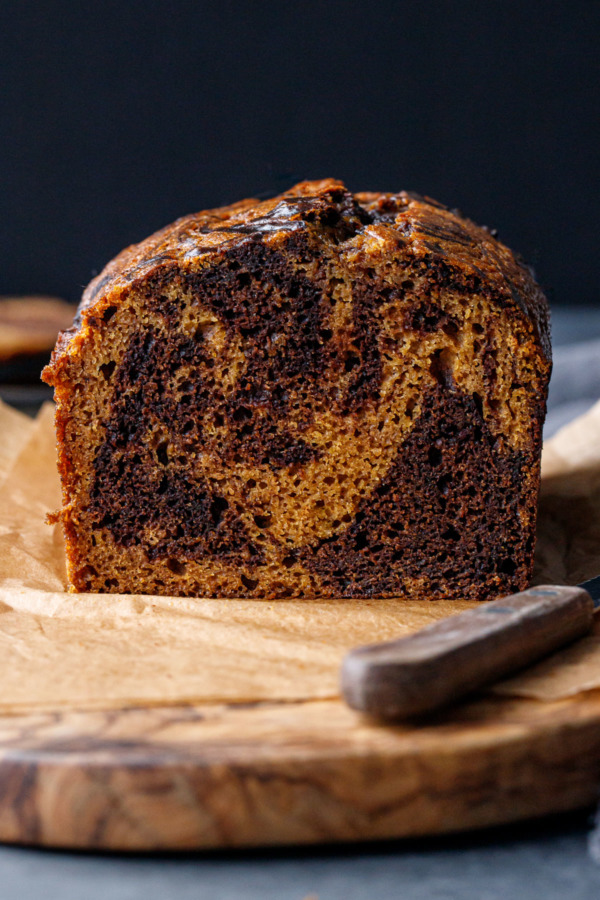
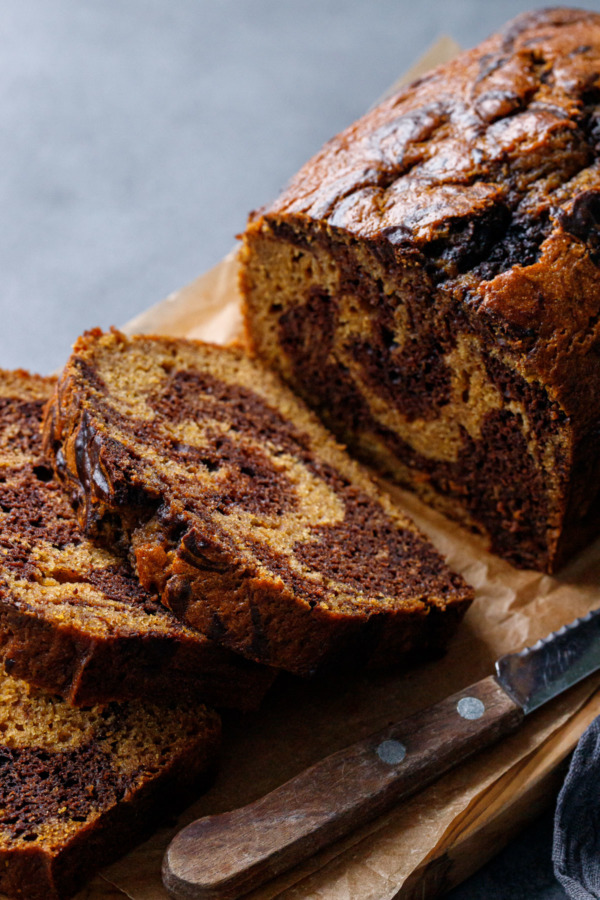
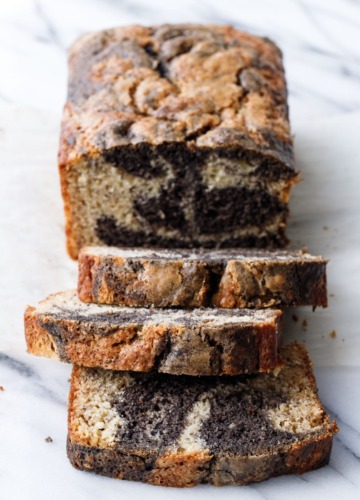
That’s my swirl
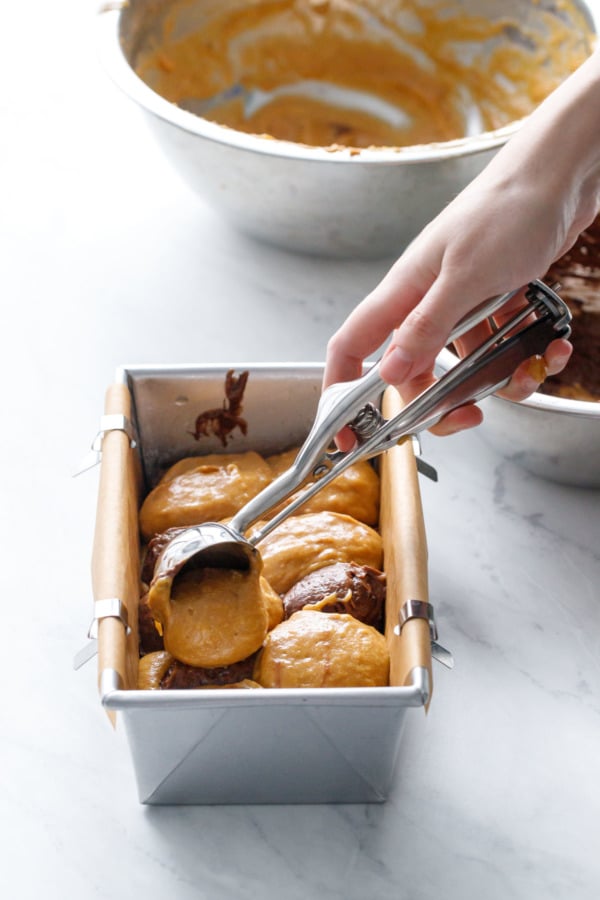
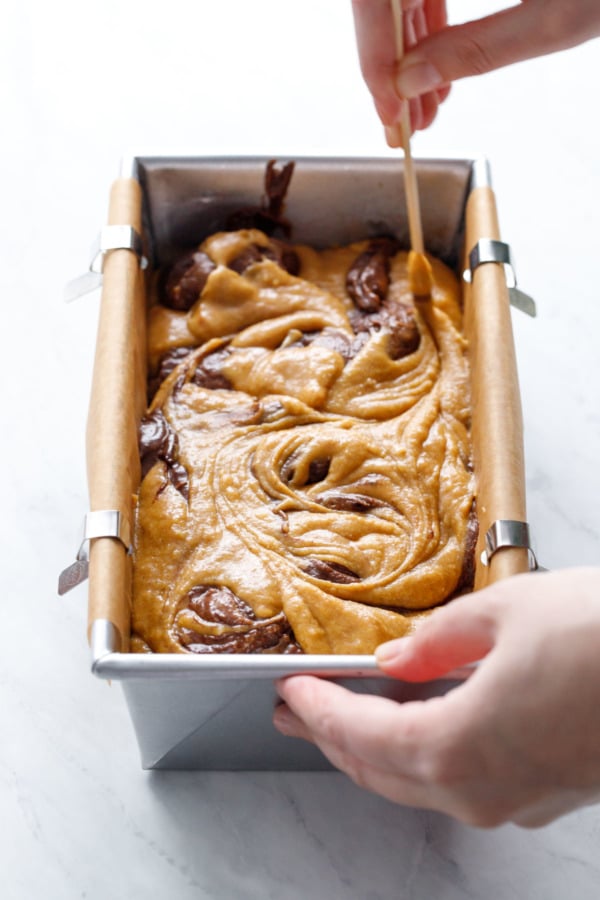
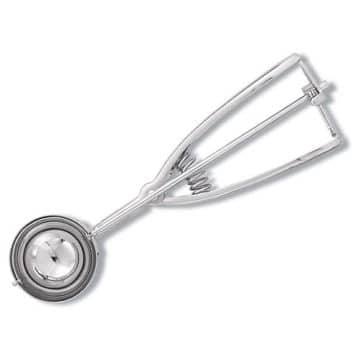
The marble effect is achieved by dropping alternate blobs of pumpkin and chocolate batters into a loaf pan, like a checkerboard. I used a medium cookie scoop for this, but a spoon works as well.
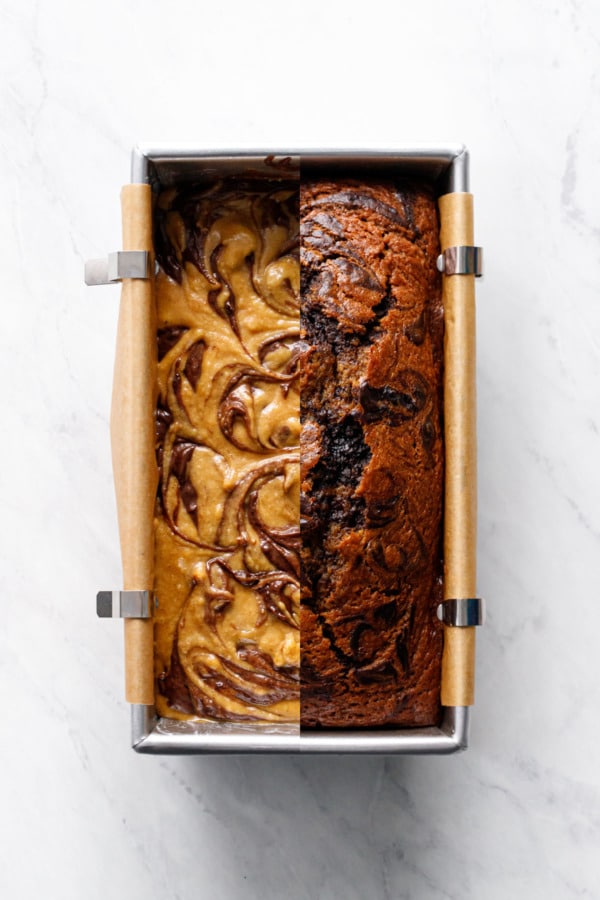
Once all the batter is in the pan (and I like to save a few small dollops of chocolate to put on top), use a long skewer to swirl the batter in a series of figure eight-like swirling motions while the skewer is touching the bottom of the pan (that way the swirl will be present throughout the entire loaf).
Quick breads like this one keep beautifully; we store ours at room temperature (with the pan covered by a tight-fitting silicone lid) and it’s just as good five days later (if it lasts that long, that is).
Especially if you just barely warm it up in a microwave or toaster oven… then smear it with a bit of salted butter or even a drizzle of honey.
Pumpkin Chocolate Swirl Bread
Ingredients
- 1½ cups / 188 g all-purpose flour
- 2 teaspoons ground cinnamon
- 1 teaspoon ground ginger
- ¼ teaspoon ground cloves
- ¼ teaspoon ground nutmeg
- 1 teaspoon baking soda
- ½ teaspoon fine sea salt
- 1 cup / 250 g pumpkin puree
- 1 cup / 205 g packed light brown sugar
- 2 large eggs, at room temperature
- 1 large egg yolk, at room temperature
- ¼ cup / 60 g whole milk, divided
- 2 tablespoons / 28 g vegetable oil
- 2 teaspoons vanilla extract
- 6 tablespoons / 85 g unsalted butter, melted and cooled slightly
- 3 tablespoons / 21 g cocoa powder, sifted
Instructions
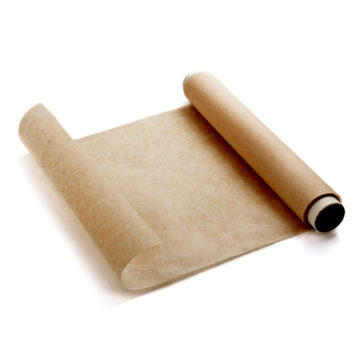
- Preheat oven to 350 degrees F. Lightly butter an 8-by-4-inch loaf pan; press and 8-inch wide strip of parchment paper into bottom of pan so it lines the bottom and long edges, leaving two overhangs on either side.
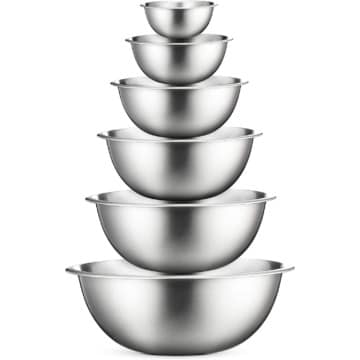
- In a bowl, whisk together flour, baking soda, spices, and salt.
- In another bowl, whisk together pumpkin, sugar, eggs, egg yolk, 3 tablespoons of milk, oil and vanilla until evenly incorporated.
- Add pumpkin mixture and melted butter to dry ingredients, and mix until just incorporated and no dry ingredients remain.
- Separate batter into two bowls. Add cocoa powder and remaining 1 tablespoon milk to one bowl and stir until just combined.
- Use a medium cookie scoop or spoon to scoop batter into prepared pan, alternating dollops of the pumpkin and the chocolate batter in a checkerboard pattern, layering alternate scoops on top of one another about 3 or 4 levels deep. Use a large skewer and swirl the batter, with the skewer touching the bottom of the pan and moving in loose swirling motion to swirl the batter throughout the entire thickness of the loaf.
- Bake for 55 to 65 minutes or until a toothpick inserted in the deepest part of the bread comes out with moist crumbs attached (but no gooey batter). If using a 9-by-5-inch pan, the cook time will be slightly less.
- Place pan on a wire rack to allow bread to cool completely, 1 to 2 hours. Use the parchment overhang as handles to gently lift the loaf out of the pan. If it is still warm, let it cool completely on a wire rack before slicing and serving. Store in an airtight container for up to 1 week.


I noticed that no one commented so I came here to say – I baked it and it’s delicious!
i made this recipe last night and it turned out a disaster, don’t worry, it’s totally on me. But was wondering why my flour clumped up when i pour the wet mixture in. I tried to dissolve the little balls of flour to no avail. So do you think it would be better to pour the dry into the wet mixture in increments to prevent this? I tried to salvage the batter by sifting thru a sieve, as you can imagine, the mess it created was bad. The loaf turned out alright, shorter in height but still edible. I would appreciate your insight on what could have gone wrong in my bake. Thank you! Happy Thanksgiving
Sorry you had trouble with the batter! Sifting your flour first may help (some types of flour may be clumpier by nature to begin with). You could also add the dry to the wet if you find that easier. I usually use a whisk to incorporate, I find it works better than a spatula in this case. It’s ok if the batter is a little lumpy, as overworking it can prevent the bread from being quite as tall (probably why your loaf was short). Hopefully it still tastes good despite the issues!
You ingredient list does not indicate using baking powder but the instructions says to mix in with dry ingredients. What is amount of baking powder used for this recipe?
Just baking soda in this recipe! ;)
I want to make this recipe so badly but am afraid of us living at 5,000 feet elevation in Payson, Arizona. Would you be able to send me adjustments to this recipe so the loaf will not sink, or fall in the middle?
Thank you!!!!
Susie Randleman
I haven’t personally baked this recipe at high altitude, but usually reducing the leavening a bit and adding 1-2T of flour is all you need to do. It’s got quite a lot of lift as is, so I think you’ll be just fine with this one!