
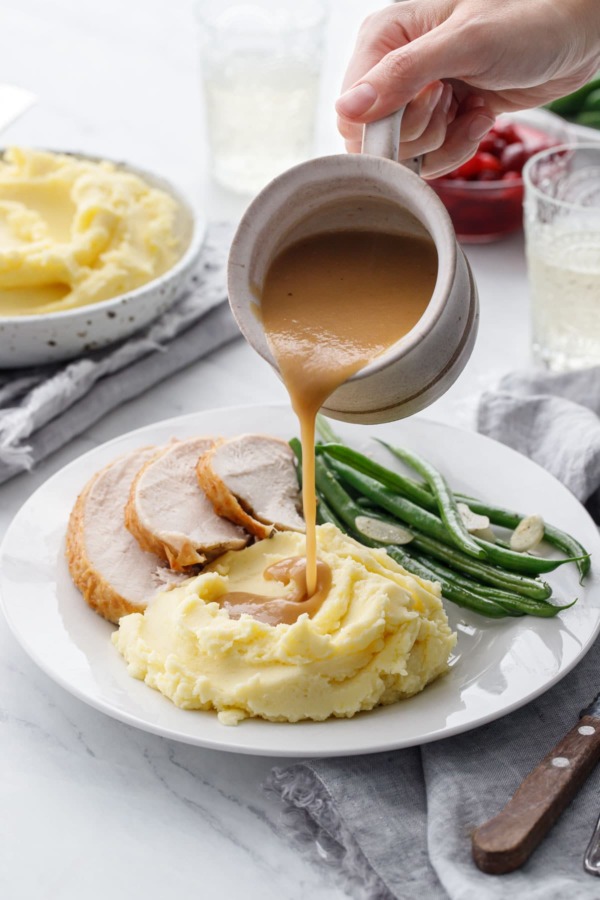
I love brined turkeys—they are always incredibly moist, flavorful and juicy. But most gravy recipes out there use the pan drippings, which in the case of brined turkeys can make your gravy unbearably salty if you’re not careful.
That doesn’t mean you have to choose between a moist and juicy bird or a robustly flavorful gravy. By following our helpful tips and tricks for making perfect gravy with a brined turkey, you can have the best of both worlds!
Save this recipe for later!
As much as we love brined turkeys, they do have one unfortunate side effect: overly salty gravy. Since much of the salt from the brine is absorbed into the turkey (this is what makes brined turkeys so moist and flavorful), some of that salt water, along with the fat and juices from the turkey, drips into the bottom of the roasting pan as the turkey bakes. Most traditional gravy recipes use these pan drippings as a base, which can make the resulting gravy undesirably salty.
Our secret to perfect homemade gravy from a brined turkey is threefold: homemade turkey stock, a golden brown roux, and strategic use of the turkey drippings.
So rather than start with a panful of drippings like most recipes do, start with your turkey stock (this will make up the bulk of your gravy), then add your drippings, a little at a time, until the gravy is suitable to your tastes. The roux is what thickens the gravy into a luxurious, silky smooth blanket to smother your Thanksgiving plate.
The actual saltiness (as well as the total quantity) of your turkey drippings will vary quite a bit depending on the size and fattiness of your turkey, your specific brine recipe, as well as your cooking method.
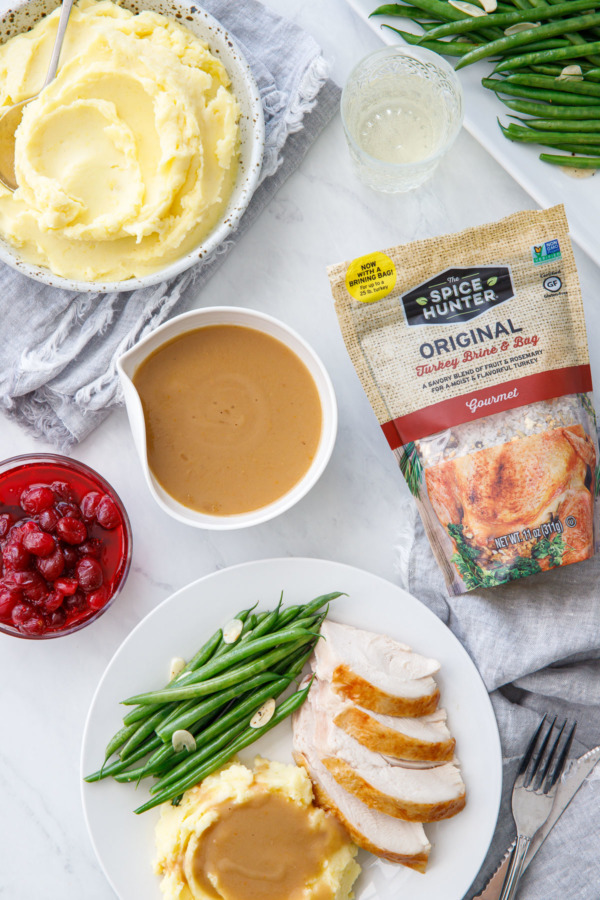
We used a bag of Spice Hunter Turkey Brine, which simplifies the brining process immensely (just dissolve the brine mixture in water, chill, then cover your turkey in the included bag—so easy!)
We then roasted our turkey with a little bit of water in the roasting pan to keep the drippings from burning (keep an eye on it as it bakes and add more water as needed). Using more water means you’ll have more drippings, but they won’t be quite as concentrated.

I’ve tried to write this recipe in a way that will allow you to adapt as necessary, but let me remind you to taste as you go (have a few clean spoons handy!) You can always add more drippings, but once you’ve crossed that line between perfectly seasoned and overly salty, there’s no going back (unless, of course, you’ve got more stock on hand).
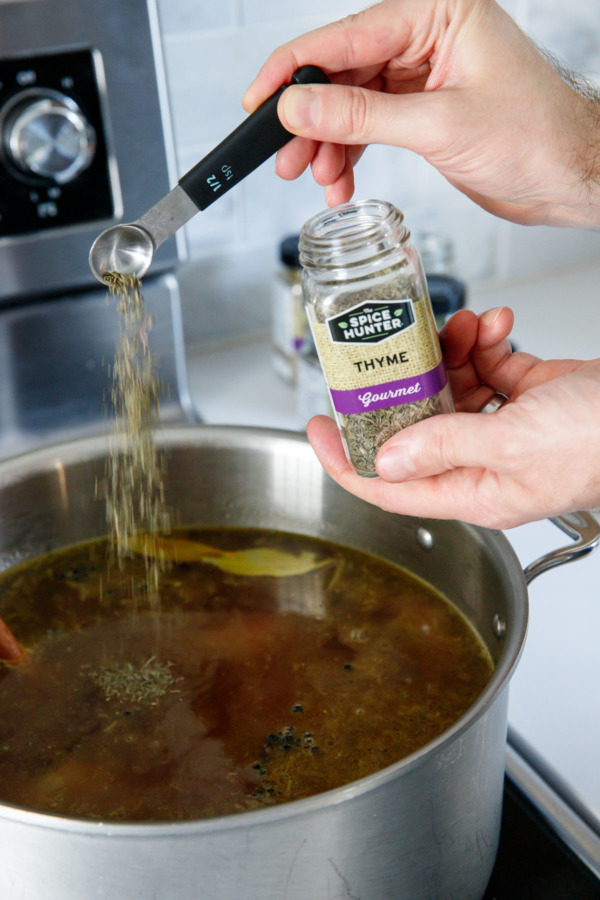
Our first secret to the best gravy you’ve ever had is homemade turkey stock. Since the stock makes up the bulk of your gravy, you want to pack as much flavor into it as possible.
We make this the day before Thanksgiving, once our turkey is thawed and ready to go in the brine.
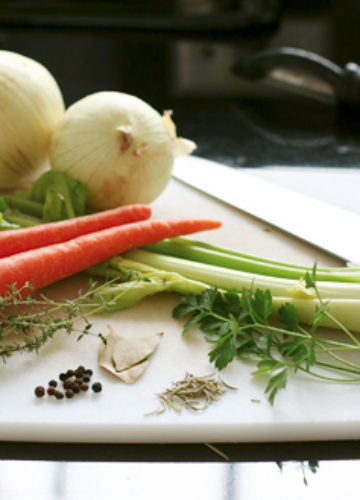
Before you brine it, pull out the giblets – those add great flavor to the turkey stock and they shouldn’t be wasted. We also added some chicken wings to give it extra flavor (if you can find turkey wings or happen to have a leftover turkey carcass in the freezer, that’d be ideal, but chicken wings work in a pinch). Together with some aromatic vegetables and fragrant dried spices including bay leaves, thyme, rosemary, parsley, and whole black peppercorns (also from The Spice Hunter), it makes for an incredibly flavorful base for your gravy.
Can you use store-bought turkey broth? Of course. However I find homemade to be much more flavorful overall; so it’s worth the extra work in my opinion. And as a bonus, by making it yourself you have full control over the salt quantity, so you can make a completely unsalted broth which will allow you to add even more of the extra-flavorful turkey drippings (hello, flavortown!)
The turkey stock can (and should) be made a day or two ahead of time and refrigerated until you’re ready to make the gravy. This also allows you to skim off any excess fat that has risen to the surface.
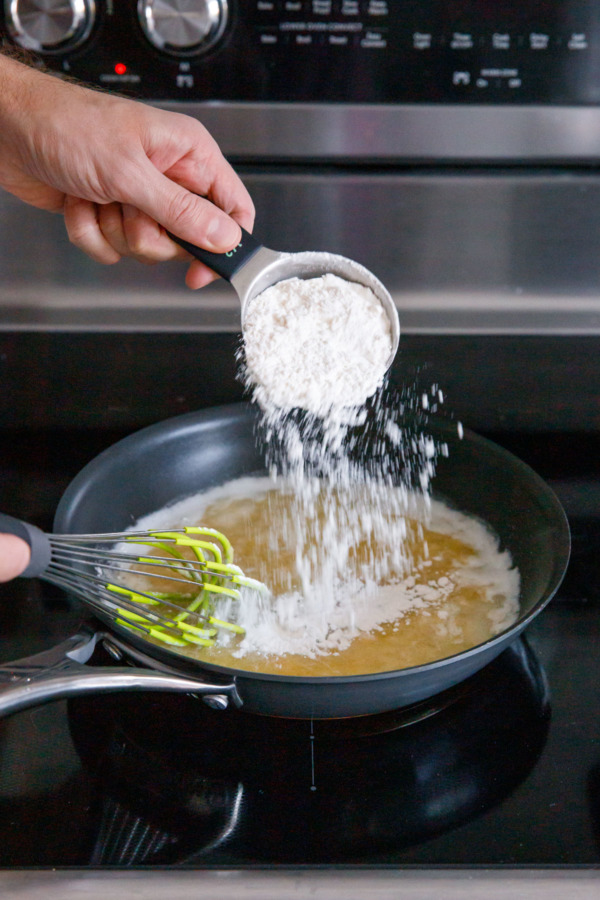

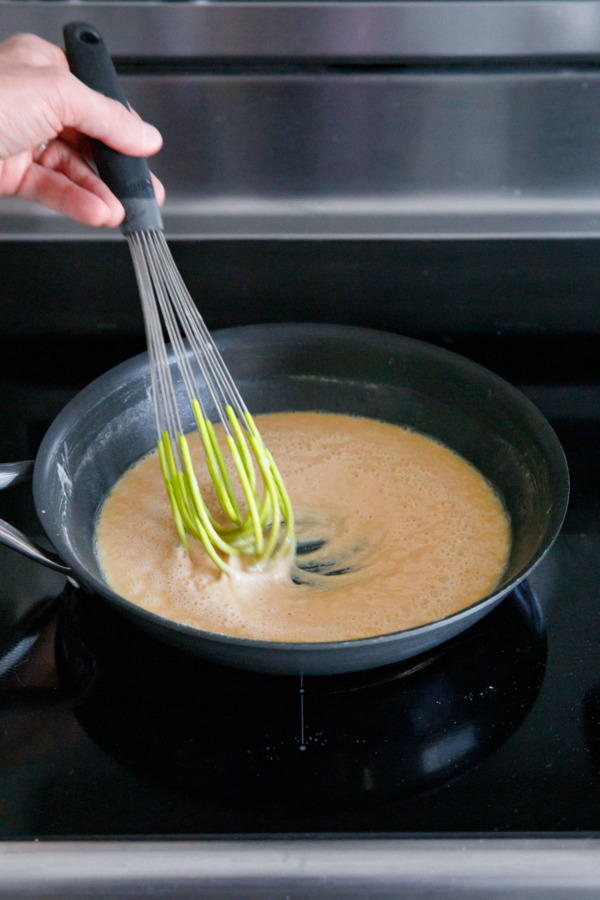
The other secret to a perfect, silky smooth and thick gravy is a roux: a cooked paste of butter and flour used to thicken and flavor sauces and stews (it’s a critical component of gumbo, for instance, as well as most béchamel or cheese sauces). We like to cook ours to a nice light brown color, like peanut butter, otherwise known as a blonde roux.
Like the turkey stock, the roux can also be made a day or two ahead of time and refrigerated in an airtight container. Rewarm it gently in the microwave or on the stovetop so it’s smooth again (this is important to avoid chunky gravy).
We typically start making the gravy as soon as the turkey comes out of the oven. It needs to rest for about 30 to 45 minutes, which is conveniently just about how long it takes to finish the gravy.
If you can, pour off the drippings as soon as the turkey is finished cooking. They need to cool just a bit so the fat has a chance to separate. And if you have a gravy separator, even better, otherwise spoon off as much of the excess fat as you can.
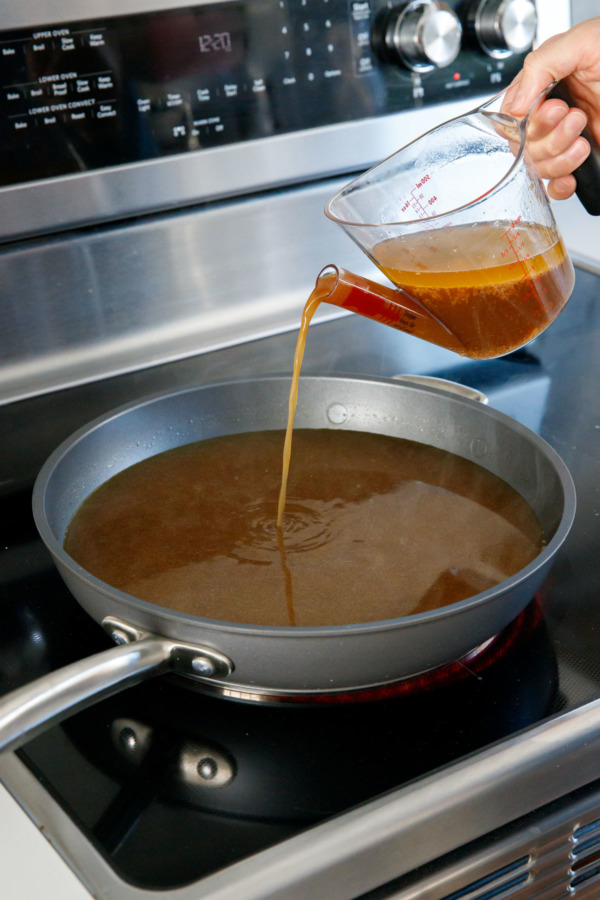
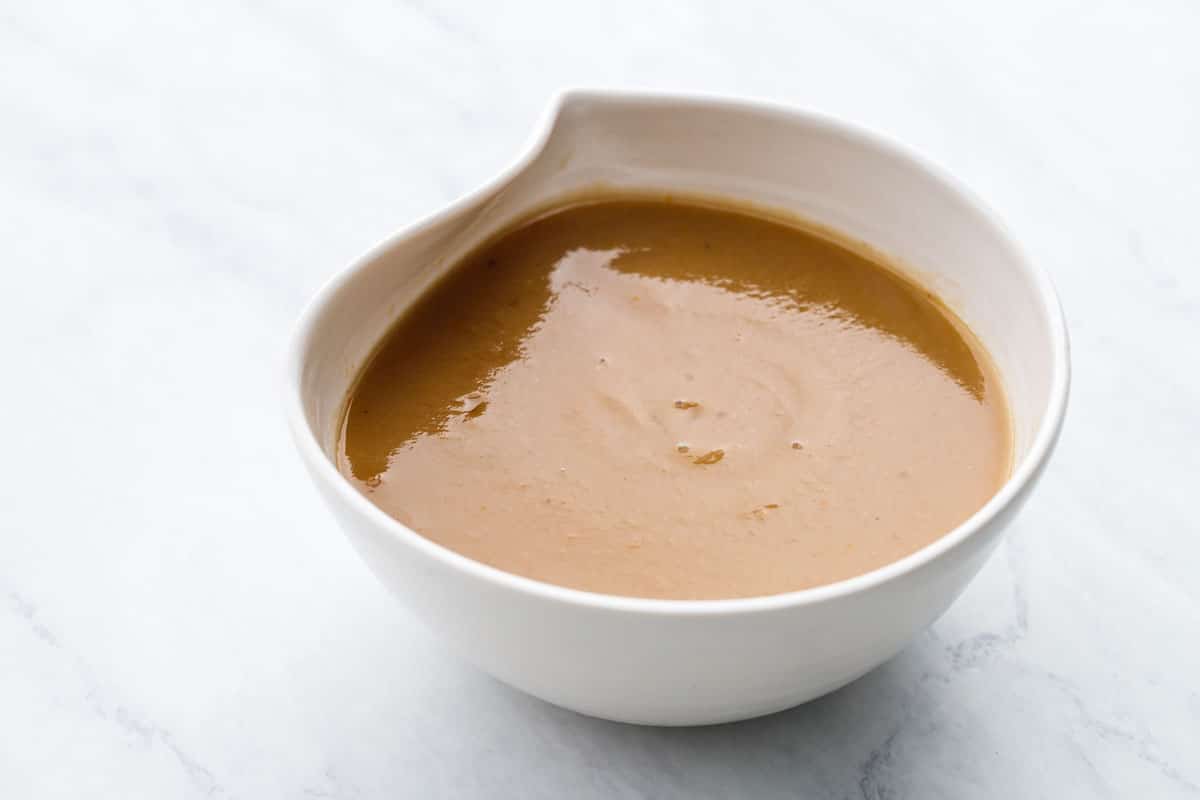
Pour the stock into a saucepan and bring to a simmer. Then add drippings, starting with 1/2 cup or so. Taste, then add more drippings as desired until the gravy has a balanced saltiness and rich flavor. For this particular batch, we ended up using about 1 1/4 cups of drippings to 5 cups stock.
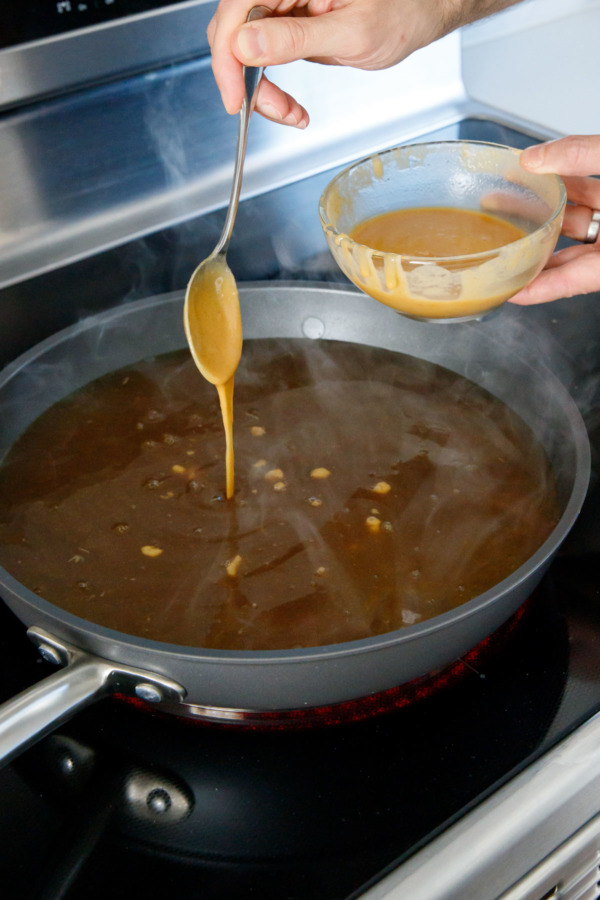
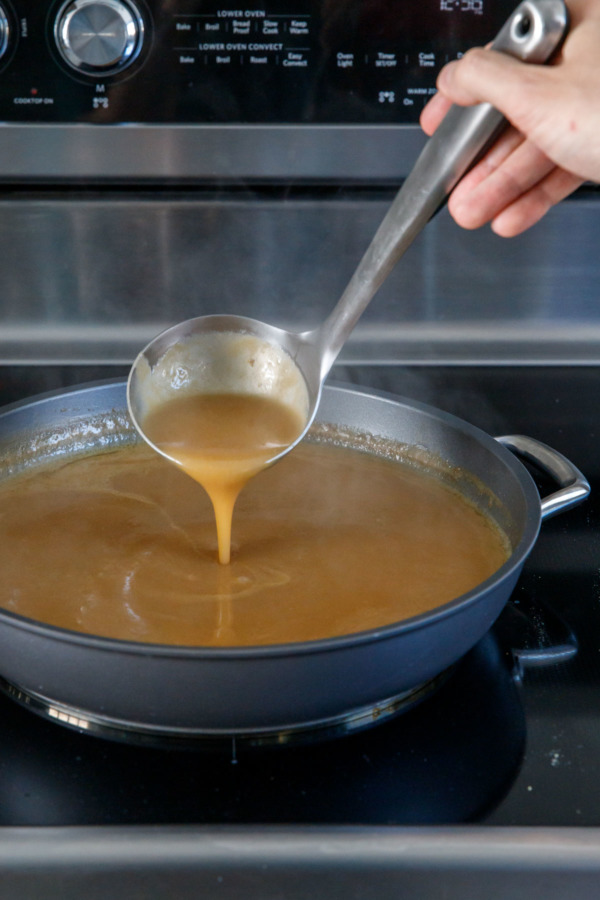
Once the flavor is to your liking, add your roux, a few spoonfuls at a time, whisking until smooth and returning to a simmer after each addition, until the gravy is silky smooth and thick. We like our gravy reasonably thick but still pourable, anticipating that it will continue to thicken more as it cools (reheated gravy is always much thicker than it was originally). In this case we ended up using the full batch of roux.
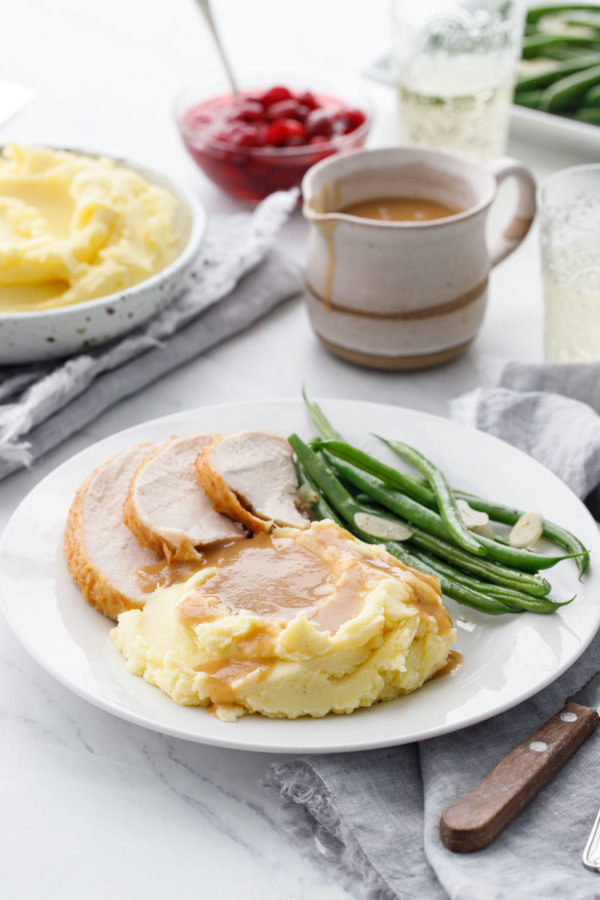
This recipe makes a whopping 6 cups of gravy, because pretty much everything on your Thanksgiving platter is better slathered in gravy (I swear Taylor has some deep-seated fear of running out of gravy, so he always makes sure there is more than enough). I tend to agree, it’s always better to have too much than to run out of gravy mid-turkey.
Leftover turkey stock? I probably shouldn’t have to tell you it’d make for an amazing turkey soup. 😍
Thanksgiving Turkey Gravy
Ingredients
For Turkey Stock (optional, can also use store bought)
- 2 pounds turkey or chicken wings
- turkey giblets from 1 turkey, neck, heart and gizard only
- 2 tablespoons olive oil
- 1 large onion, coarsely chopped
- 2 medium carrots, coarsely chopped
- 2 stalks celery, coarsely chopped
- 3 large garlic cloves, smashed
- ½ cup Madiera wine
- 16 cups filtered water
- 1 teaspoon whole black peppercorns
- 2 whole bay leaves
- 1 teaspoon dried parsley
- 1 teaspoon dried thyme
- ½ teaspoon dried rosemary
For Roux:
- ¾ cup unsalted butter
- ¾ cup 94g all-purpose flour
For Gravy:
- 5 cups homemade or store-bought turkey stock
- 1 batch roux, more or less as needed
- 1 to 2 cups turkey drippings, more or less to taste
Instructions
To make turkey stock:
- Preheat oven to 450 degrees F. Line a baking sheet with foil; spray with cooking spray or brush with oil. Arrange chicken wings and turkey giblets on baking sheet in a single layer. Bake for about 45 minutes or until wings are golden brown and crispy.
- Heat olive oil in a large stock pot over medium-high heat. Add onion, carrot, celery and garlic and sauté until softened and fragrant, about 5 to 7 minutes.
- Add Madiera wine, stirring and scraping up as many brown bits from the bottom of the pan as possible.
- Add water along with dried spices. Transfer chicken wings and giblets to saucepan as well as any liquid drippings you can recover from the baking sheet.
- Bring to a simmer, then reduce heat to medium-low. Continue to gently simmer, stirring occasionally, until liquid has reduced by half, about 2 to 3 hours.
- Pour through a strainer or sieve to remove any solids. You should have about 7-8 cups of stock.
- Turkey stock can be made 1-2 days ahead of time; refrigerate in a covered container until ready to use. Skim off any excess fat that has solidified on the top of the stock before using.
To make roux:
- Melt butter in a large, high-sided skillet or medium saucepan over medium heat.
- Once butter is melted and frothy, sprinkle half of flour over surface of butter, whisking constantly until incorporated. Sprinkle remaining flour and whisk until you have a smooth paste.
- Continue to cook, whisking frequently, until roux has darkened to the color of peanut butter, about 10 minutes.
- Transfer to a heat-proof container and let cool, then cover and refrigerate until ready to use (up to 2 days). It will solidify as it chills. Before using, rewarm the roux in the microwave in 15 second intervals, or in a small saucepan over medium-low heat until melted and smooth again.
To make final gravy:
- As soon as your turkey comes out of the oven, carefully (it's very hot!) dump out any liquid from the cavity of the bird into the roasting pan. Transfer turkey to a carving board; tent with foil and let rest for 30 to 45 minutes.
- Pour off all the drippings left in the roasting pan, straining through a mesh sieve to remove any solid bits. Pour into a gravy separator if you have one. Let sit for 5-10 minutes until the fat starts to separate. Pour or spoon off as much fat as possible.
- Pour 5 cups turkey stock into a large high-sided skillet or saucepan set over medium heat. Whisk in 1/2 cup of turkey drippings. Taste, then continue to add drippings, 1/4 to 1/2 cup at a time, until desired flavor and saltiness is achieved. You may not use all the drippings depending on how concentrated they are. Taste as you go: you can always add more drippings, but you cannot add less (although, if you have extra stock, if you happen to overdo the drippings and your gravy is too salty, you can add more unsalted stock to hopefully bring it back to a good level; just note if you add more liquid you might need more roux to thicken accordingly).
- Bring stock mixture to a simmer. Add 1/2 cup of warmed roux, whisking until completely incorporated. Return to a boil. Continue adding spoonfuls of roux, whisking and returning to a boil between each addition (the roux won't thicken until it reaches a boil). When desired thickness has been achieved (keep in mind the gravy will continue to thicken as it cools), taste once more and add any additional salt and pepper if needed. Transfer to a serving bowl or pitcher and enjoy!
- Leftover gravy can be stored in an airtight container in the refrigerator for up to 2 days. Rewarm just the amount you need (try not to reheat gravy multiple times if possible) on the stovetop or in the microwave in short intervals. Reheated gravy will be noticeably thicker than fresh gravy.
Did you make this recipe?
Let us know what you think! Leave a Review below or share a photo and tag me on Instagram with the hashtag #loveandoliveoil.Disclosure: This post was originally created in partnership with The Spice Hunter®. As always, all opinions written are purely our own. We’re incredibly grateful for opportunities like these that allow us to continue sharing delicious recipes with you, so thank you for supporting us and the brands we love.


I tried dry-brining the turkey for the first time this year so I looked for a gravy recipe that wouldn’t be too salty. This one was perfect! Even though it makes huge amount, it doesn’t skimp on richness and flavor. My roux separated after cooking it, but it whisked together easily after warming it up slightly in the microwave.