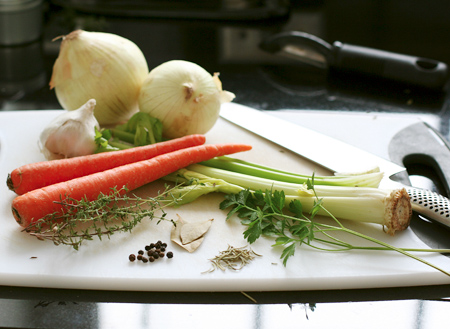
Homemade chicken stock. Would you believe we haven’t bought canned chicken broth in over a year? Seriously. We make a batch every few weeks or so, and it is surprisingly simple to do. Once you taste the difference (and believe me, you WILL taste the difference), you will never want to purchase the canned stuff again. It’s that good. We use it in everything from soups to risotto, and you’d be surprised at how much depth of deliciousness it can bring to an ordinary recipe. A good quality chicken stock will take a basic chicken soup and make it fantastic.
While I’ve briefly outlined the steps in a previous post, I thought I’d write up an official recipe and accompanying step-by-step photos. Plan on at least 3 hours of idle time to make the broth, meaning it’s a good Sunday afternoon activity. That’s not 3 hours of active time, as the pot is fine just simmering away on it’s own for the most part.
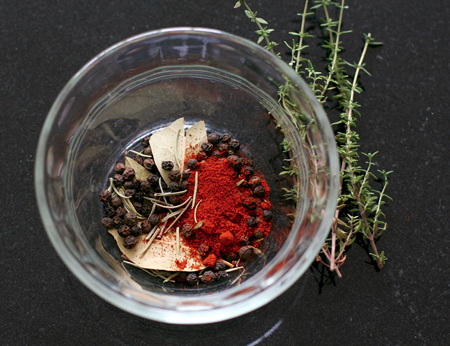
The other benefit to homemade stock is that you control the seasoning. We like ours very lightly salted. No massive amounts of sodium in this stock. But massive amounts of flavor? For sure.
Feel free to change up the spices as well. We like to use fresh parsley and thyme, plus dried bay leaf, rosemary, peppercorns, and a pinch of paprika for punch. Also be aware, if you are using a rotisserie chicken, some are already seasoned. Take this into account when salting and adding other spices to your stock.
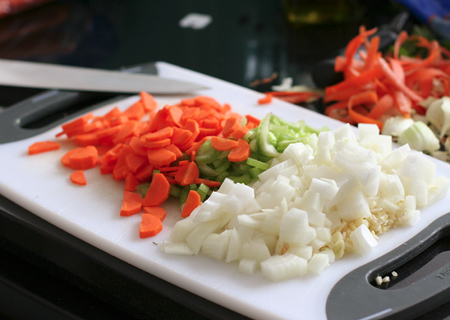
Prep all your ingredients. Rough chop is fine, as you’ll be straining it out later. Homemade stock is a great opportunity to use up those almost-expired veggies in your fridge. Feel free to throw in any other veggies you may have on hand as well. Don’t worry if your celery is a bit limp or your parsley is wilted (or even if it’s just the stems leftover from a previous meal), this stock uses it all.
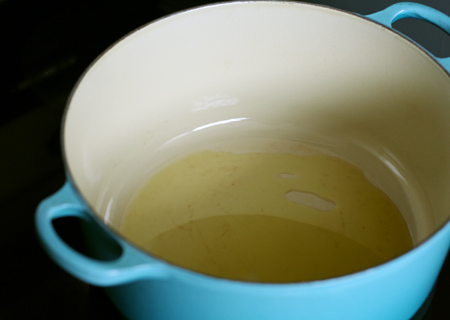
Heat the olive oil in your biggest, heaviest pan over medium heat. We use our 5qt dutch oven for this, but any large stock pot will do. The oil should be hot but not smoking.
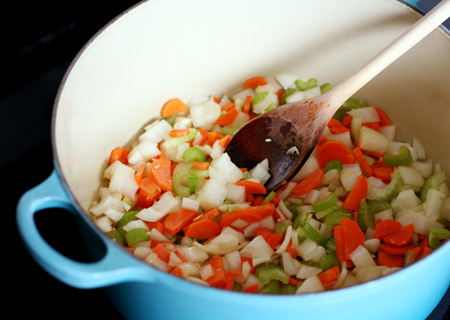
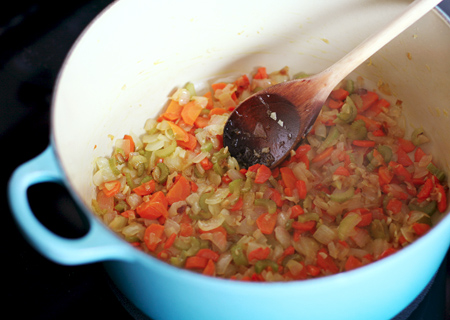
While many recipes have you simply toss all the ingredients together in the water, we like to brown the veggies first. Maybe it’s all in our heads, but we really feel that the extra step brings out more flavor and richness. Toss in the “mire poix” (ie: carrots, celery, and onion) and garlic and let them sweat it out. They are done when the onions are slightly transparent and the veggies are just beginning to brown.
Time to add our secret ingredient: Madiera. A quick deglaze of the pan with the wine gets all the good brown bits off the bottom of the pan before adding the spices and seasonings.
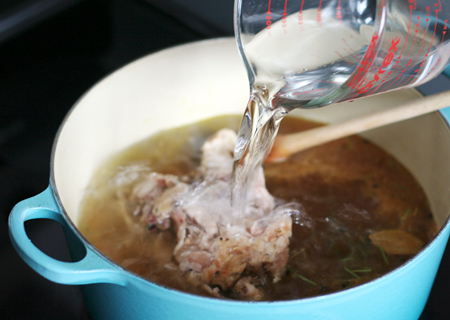
In goes the carcass. We buy rotisserie chickens every couple weeks, and after we’ve picked off all the meat we store the bones in a bag in the freezer. When it’s time to make broth, just pull them out, and into the pot they go. Though I do have to say at times, we’ve had up to 3 or 4 carcasses in the freezer… it begins to look like a chicken graveyard.
Add water. Our 5qt pot will hold about 16 cups. Add whatever amount of water you need to reach about 1″ below the rim.
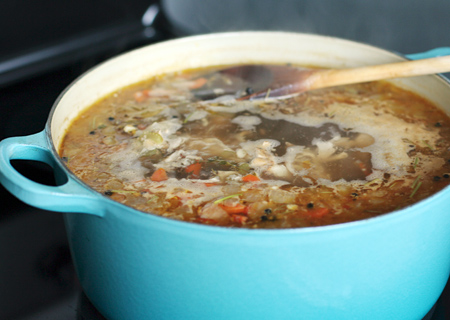
Turn the heat up to medium-high and bring to a simmer. Reduce the heat and continue to simmer for at least 2 hours, 3 is better, stirring occasionally. You don’t have to watch it for the whole 3 hours, but don’t stray too far as you don’t want it to boil over. Adjust the heat if necessary.
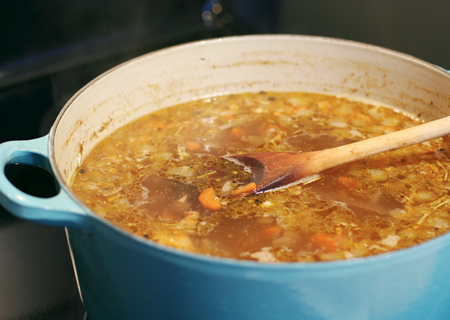
After 3 hours, you can see just how much the stock has reduced. Remove from heat and let cool for 20-30 minutes.
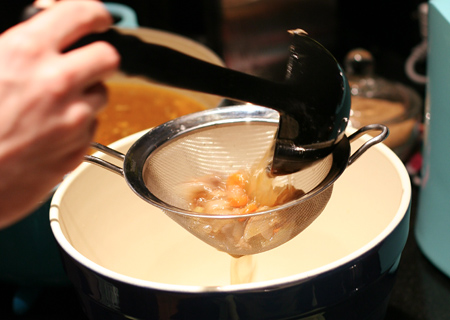
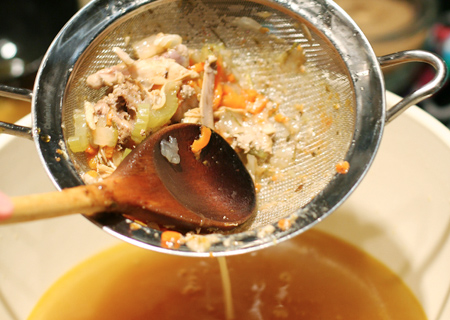
Strain the stock through a fine mesh sieve, pressing out as much liquid as you can. Discard chunky bits.
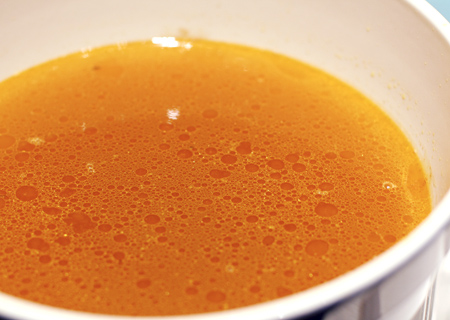
Allow stock to cool even further. You can even pop it in the fridge and let it cool overnight. As it cools, the fat should separate and float to the top. Skim off as much of this as you can with a spoon. Since we don’t use the skins or any fatty parts of the chicken, our stock never has much fat to be skimmed off. But do what you can.
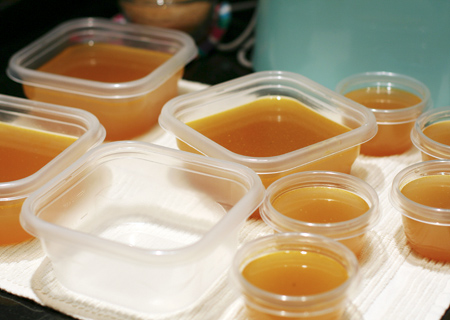
When the stock is completely cooled, measure and divide into freezer safe containers. We have larger containers that hold 2 cups of stock, and smaller ones that hold 1/2 cup. With the combination of the two we can usually pull out the exact amount of stock we need for a particular recipe. We usually get about 10-12 cups of stock at a time (depending on how long you let it reduce and how much water you added to begin with, you may end up with more or less).
And tada! Homemade chicken stock made easy! Use this delicious stock as a base for soups and sauces, or as a replacement for water when cooking couscous, risotto, or even risotto-style pasta. It’ll take your dishes to a whole new level.
Homemade Chicken Stock
Makes approximately 3 quarts (10-12 cups)
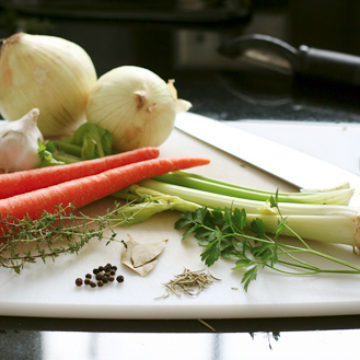
Ingredients:
- 1 whole chicken carcass
- 2 tablespoons olive oil
- 2 large onions, roughly chopped
- 3 carrots, roughly chopped
- 2 ribs celery, chopped
- 2 whole cloves garlic, peeled and minced
- 4 sprigs fresh thyme
- handful fresh parsley stems
- 2 bay leaves
- 1 teaspoon dried rosemary
- 1 teaspoon paprika
- 1/2 tablespoon whole peppercorns
- 1 teaspoon salt, or to taste
- 1/2 cup Madeira wine
- 1 gallon (16 cups) cold water
Directions:
- Heat oil in a large stock pot over medium heat. Add carrot, onion, celery, and garlic and cook until softened and beginning to brown, about 10 minutes. Add Madiera and cook, scraping any brown bits off the bottom of the pan, until most of the liquid is gone, about 3-5 minutes. Add herbs and spices. Season with salt and pepper.
- Add chicken carcass, and pour in water a few cups at a time, filling to 1 inch below the rim. Increase heat to medium-high and watch, stirring occasionally, until liquid just barely begins to bubble. Turn heat down to medium low so that stock maintains low, gentle simmer. You do not want a rolling boil or you’ll end up with a nice big mess. Skim the scum from the stock every 15-20 minutes if needed.
- Simmer uncovered for 2 to 4 hours. Remove from heat.
- Strain stock through a fine mesh strainer into another large stockpot or heatproof container, discarding the solids. Allow stock to cool completely in the refrigerator until fat begins to separate. Skim as much fat as you can from the surface.
- Store, covered, in the refrigerator for 2-3 days or divide stock into freezer safe containers or bags and freeze for up to 3 months.
Did you make this recipe?
Let us know what you think!
Leave a Comment below or share a photo and tag me on Instagram with the hashtag #loveandoliveoil.





I tried this recipe. It’s a great recipe especially if we don’t use slow cooker. The vegetables must be cut small pieces. I used regular white wine. Great recipe!
I have been wanting to make this for a while. Thanks for the step-by-step photos. I feel like I can do it now!
How fabulous! This is a great how-do. I’ve always done mine by just throwing the veggies in the water, but I’m definitely trying your way next. Yum!
The best part of creating stock of such, whether chicken, turkey or another of my favourite is duck, is how the house smells for the next two days. Much like Chris I also use the crockpot and let it simmer forever. I do like the idea of adding acidity to loosen the vitamins. Thanks,
I’ve got two carcasses in the freezer waiting for their second turn in the pot. You’ve encouraged me!
Flavor? Check.
Nutrition? Not quite all there.
The vastly lower amounts of sodium is def a good start but a good deal of vitamins and minerals are still locked in the bones. What I do is, like you, start with a carcass, skin, any extra bones I have lying about and some wing tips (the not edible part), cover with water, add 1T vinegar or lemon juice and simmer for a couple days, not hours. The acid works to leach the vitamins out of the bones and break down the collagen in the skin and connective tissue. Add the vegetables and herbs for the last 3-4 hours of simmering to get a full flavored stock without it becoming bitter from oversimmering the veggies. You get all the same delishiousness with an added boost of vitamins, minerals, essential amino acids from the collagen and all without having to buy it from the health supplements aisle.
for what it’s worth, kudos on taking a big step towards (even) more healthful eating. Also, this is a great use for a crock pot/slow cooker. It simmers forever and loses very little moisture over the days.
This is the perfect winter meal!
Grandma would be proud!
Awesome! I’m going to cook my first whole chicken next week and was planning to make stock for the first time….I think I’ll try out this recipe. Thanks for the step by step!