
Cheesy, crunchy, and totally addictive, these homemade cheddar cheese crackers are truly snack-worthy!
Banishing store-bought junk food from your life doesn’t mean you have to make any snack-rifices. Now you can make your favorite cheese crackers, homemade and entirely from scratch!
Is there anything more satisfying than a handful of crunchy cheese crackers?
Yes, actually.
Two handfuls of crunchy cheese crackers.
(lol)
The perfect mid-day (or mid-night) snack, these cheese crackers are made with sharp orange cheddar cheese. Tillamook is my favorite brand if you can get your hands on it. In fact, I originally made this recipe as part of our ongoing partnership with Tillamook last year, but have since become utterly addicted to them and figured they were worth sharing here as well.
We could all use more homemade junk food in our lives! In fact, I’d argue that if it’s homemade, it’s really not considered junk food at all. Sure, it’s not health food (obvs) but since you made it yourself you can take comfort knowing there are no preservatives or artificial nasties in there.
Snack on!
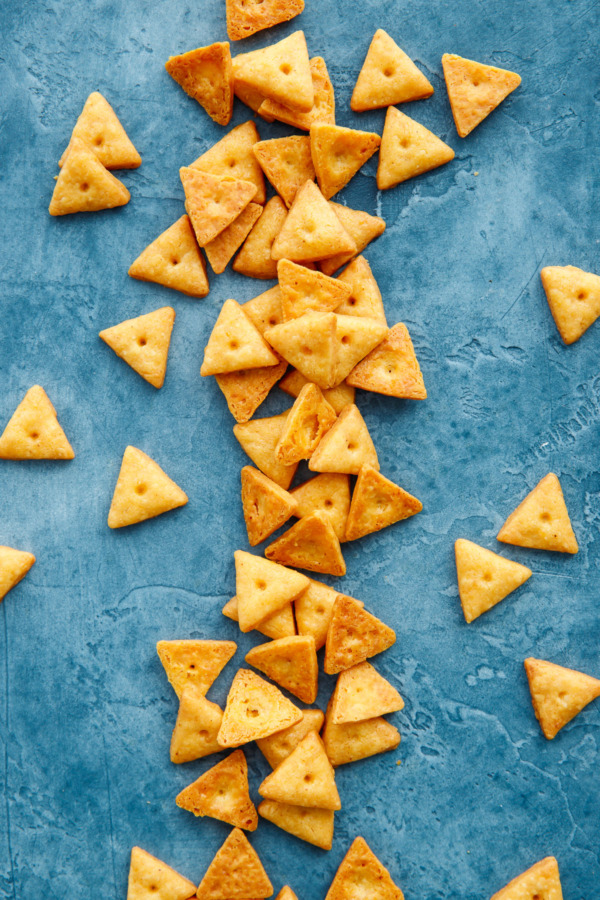
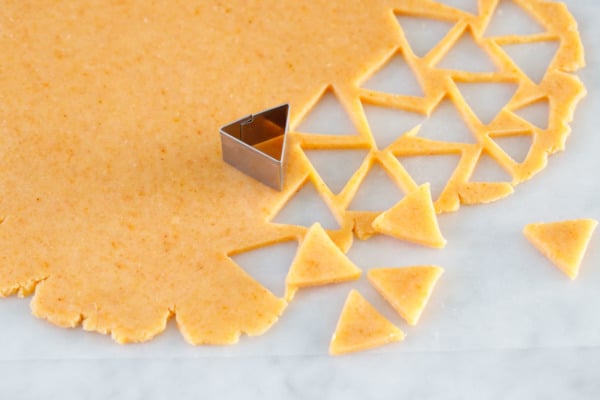
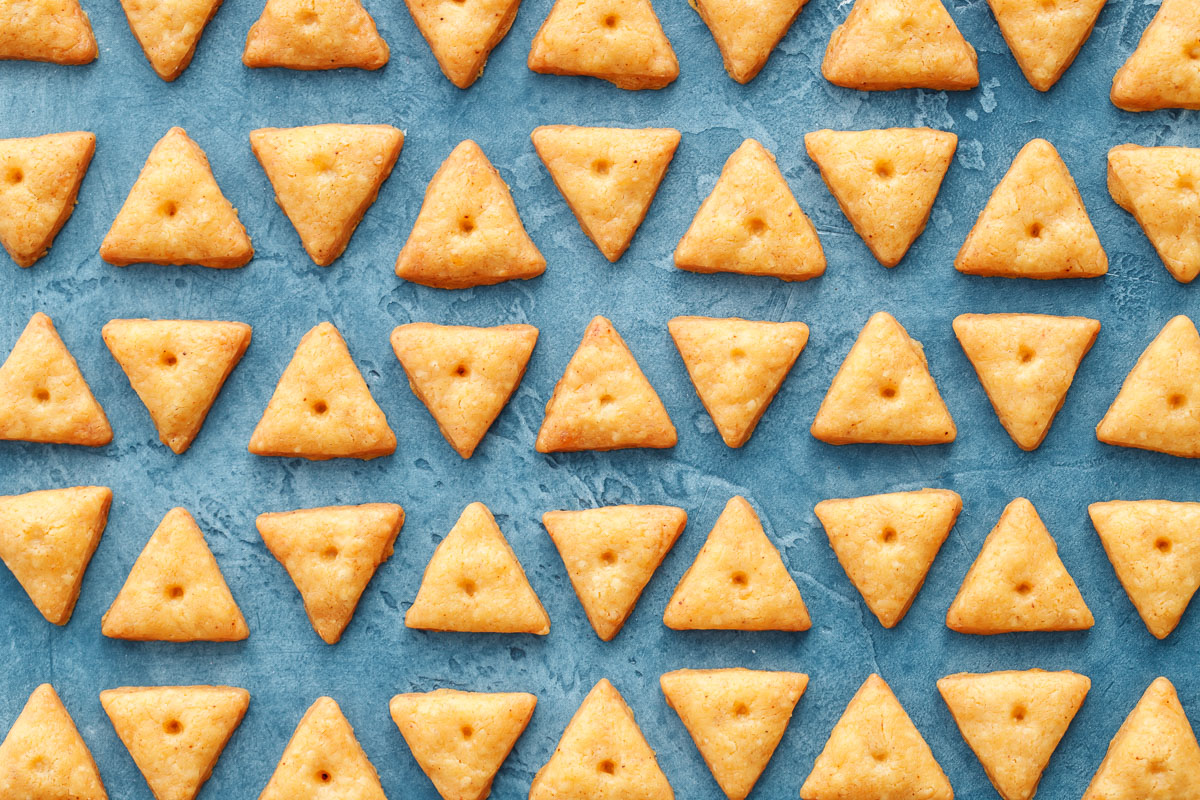
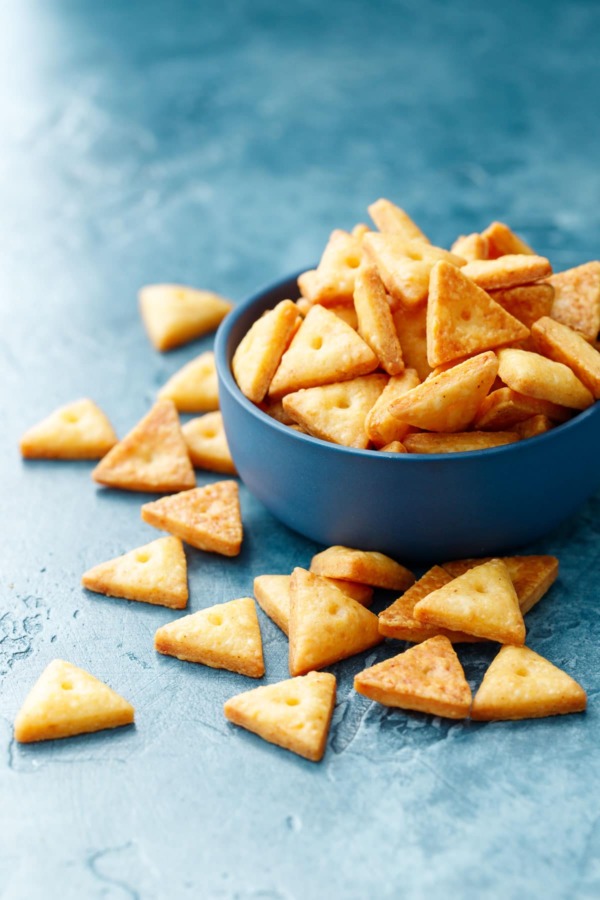
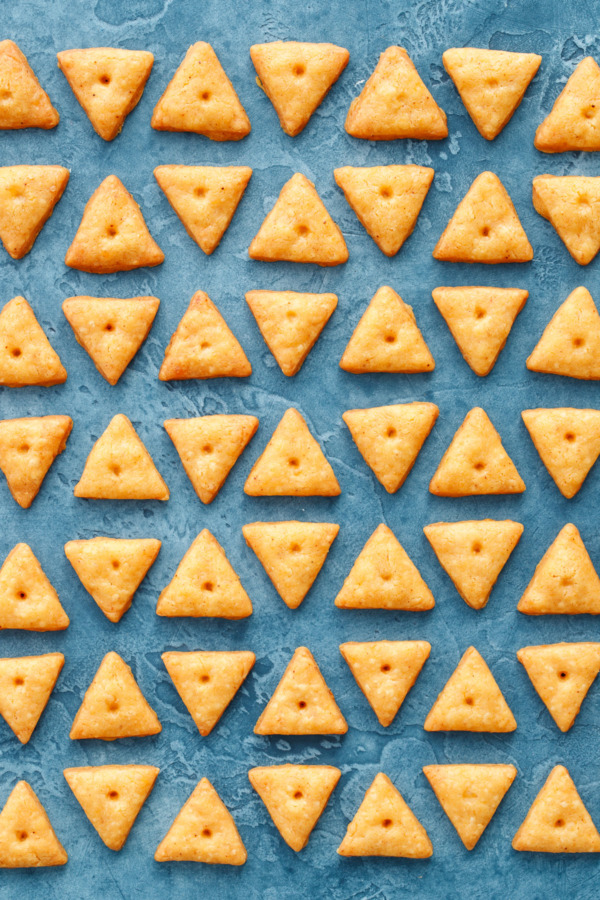
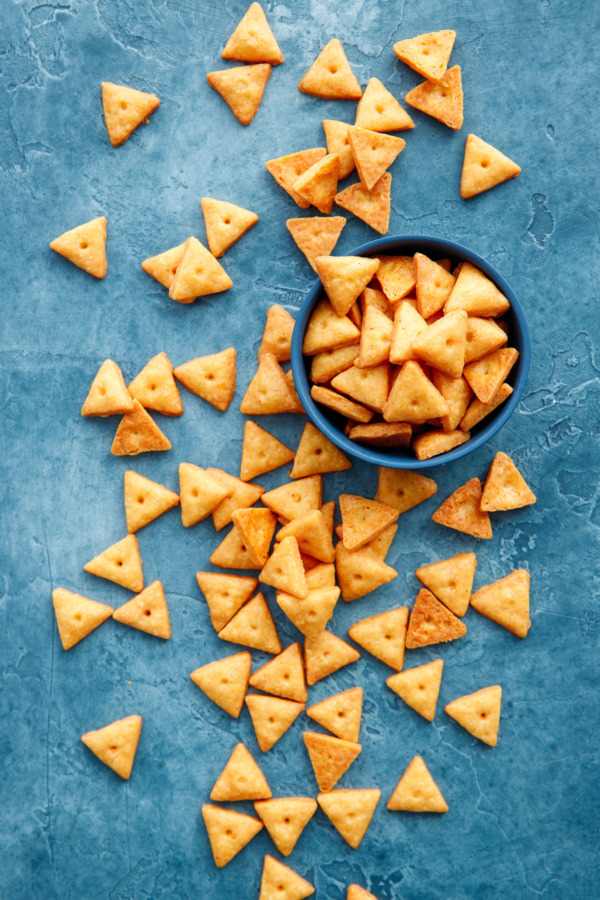
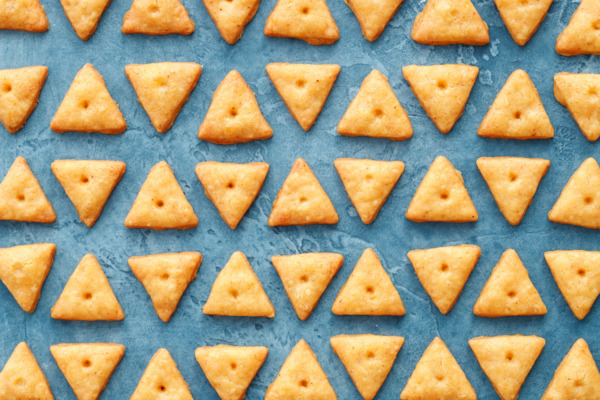
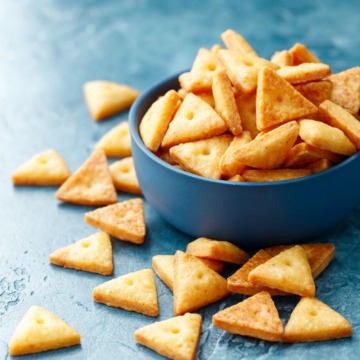
As to what shape your crackers take, well, that’s up to you! I used a small triangle cookie cutter from this set which also has some other great small shape options that would be great for crackers.
Or, if you’re in a time crunch (cutting out hundreds of little triangles, hearts or fishies is rather tedious, I fully admit) you can also use a pizza cutter and a ruler to cut the dough into approximately 1-inch squares. Who cares if they’re perfect, really. It’s not like you’re going to be inspecting the shapes as you shovel them in your mouth…
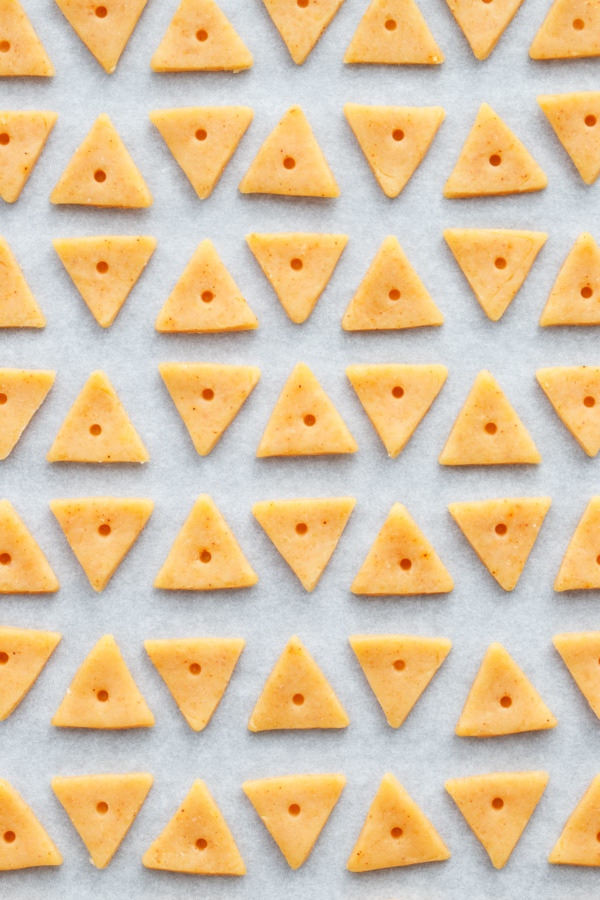
As for the holes, use the tip of a chopstick or skewer to poke a hole in the center of each shape. Could you skip the holes? Sure, but they actually do serve a purpose, keeping the center of the cracker from puffing up too much. Without them you’ll just end up with puffier middles.
The dough comes together in a food processor in a matter of minutes. If you don’t have a food processor, you can still mix the dough by hand or in a stand mixer, just be prepared for an arm workout as the dough is quite stiff. Knead it really well to be sure the cheese is fully incorporated.
I recommend grating your own cheese fresh from a block, as pre-shredded cheese often has anti-caking agents that will prevent it from completely integrating into the dough.
Feel free to mix up the spices to your liking! I used cayenne and smoked paprika for a pleasant heat and smokiness, but a mix of garlic powder and herbs, or even simple salt and freshly ground black pepper would make for a lovely snack too.
Homemade Cheese Crackers
Ingredients:
- 1 1/2 cups (180g) all-purpose flour
- 3/4 teaspoon salt
- 1/4 teaspoon cayenne pepper
- 1/4 teaspoon smoked paprika
- 2 cups (225g/8oz) finely shredded sharp Cheddar cheese
- 1/2 cup unsalted butter, softened
Directions:
- Combine flour, salt, cayenne and paprika in the bowl of a food processor. Cover and pulse until evenly blended. Add shredded cheese and butter and pulse until a firm dough forms. Gather dough together in a ball and wrap tightly in plastic wrap; chill for at least 30 minutes. If you chill for longer than 30 minutes, let the dough sit at room temperature for 15 to 30 minutes before rolling.
- Preheat oven to 350 degrees F. Line two baking sheets with parchment paper or silicone baking mats.
- Roll dough to an even 1/8-inch thickness on a lightly floured surface or between two sheets of lightly floured waxed paper. Cut into desired shapes with a small cookie cutter, or use a ruler and a pizza cutter to cut basic squares approximately 1-inch in size. Gently transfer cut shapes to baking sheet using a thin spatula. Use the tip of a chopstick or skewer to make a small hole in center of each cracker (this keeps the cracker from puffing too much in the middle).
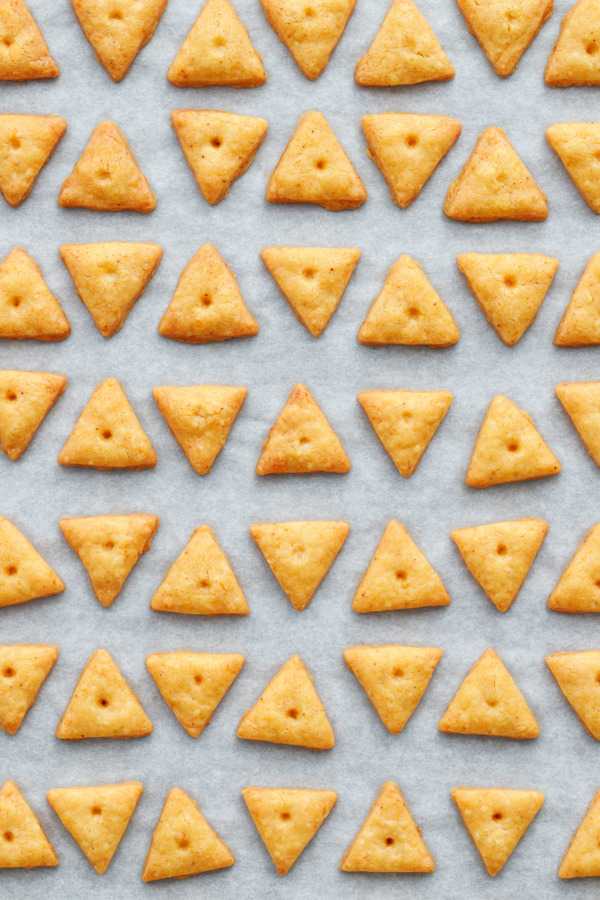
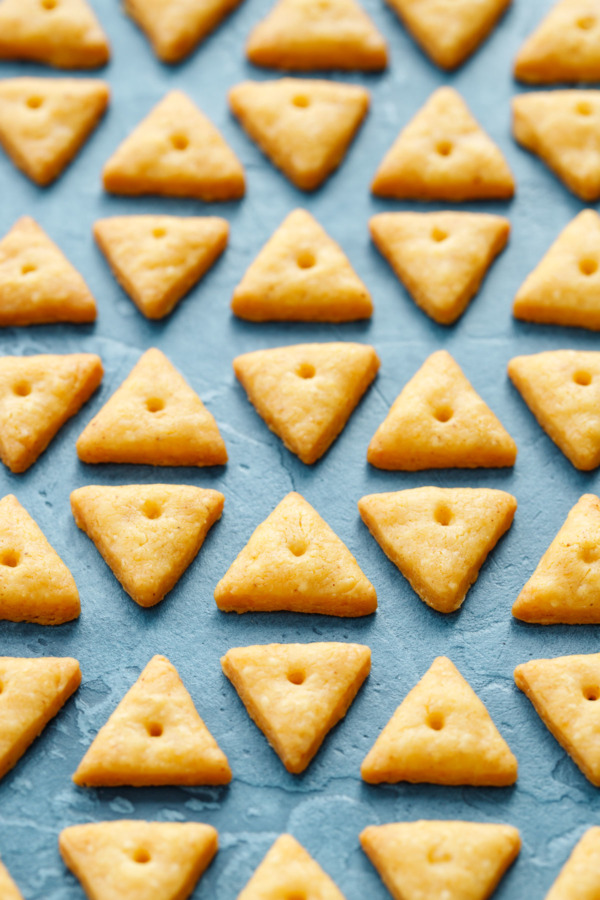
- Bake for 12 to 14 minutes or until bottoms just start to brown, rotating pans partway through baking. Let cool on baking sheets for 5 minutes, then transfer to a wire rack to cool completely. Crackers will keep in an airtight container for up to 1 week.
Adapted from White Lily.
All images and text ©Lindsay Landis / Love & Olive OilDid you make this recipe?
Let us know what you think!
Leave a Comment below or share a photo and tag me on Instagram with the hashtag #loveandoliveoil.


I make these every Christmas. I also make them for gifts as everyone loves them !
First time making this recipe and they’re the most moreish things I’ve had in a while! Could barely wait until they’d cooled down haha. A good amount of spicy and super cheesy. Will definitely be making again
I made these last week and they are absolutely delicious. This probably sounds stupid but I’d love to to make something similar for my vegan son without using vegan cheese. Would the be ok without adding the cheese or is there anything else I could or need to use
Give this recipe a try instead: https://www.loveandoliveoil.com/2021/02/homemade-everything-crackers.html (you can mix in any seasoning blend you like, or use a vegan egg replacement instead of the egg wash to get the seeds to stick on top!)
I’m so glad I tried this recipe!
They turned out great. I used Black pepper in place of the Cayenne. I will definitely make these again. Thank you!
I didn’t have the cayenne pepper or smoked paprika, so I added chives and some Cajun spice. These were absolutely delicious. FYI, I also didn’t have a food processor. Good old arm work was just fine. So please don’t pass up on this recipe because of that.
I added dried jalapeños diced fine like peppercorn sized. Tasted just like the jalapeño cheezits that I love
It’s easy to get triangles without using a cookie cutter. Roll out dough. Use pizza cutter to cut horizontal strips. Then instead of vertical strip for a square, make diagonal cuts. 1 set from bottom left to top right, another set from bottom right to top left.
How could I use my sourdough starter to make these? Thank you!
I’m not sure that would work, as there isn’t any liquid in this dough… Normally if I use sourdough starter in I replace an equal amount of the flour and liquid in a recipe with starter. Since there is no liquid here, I think the dough would end up too sticky to properly roll.
Can I use almond flour instead? I have gluten sensitivity.
I have not tested this with almond flour so I can’t say. You might have better luck with something like a gluten-free flour blend though.
I made these today, they were so easy and so delicious! One kid was a big fan so that was a win!
I made these and they are fantastic! I swapped out the spices and used garlic powder and salt as I wanted them to be mild so my toddler would eat them. But they are soooo buttery and flavorful and fantastic! The dough was super easy to put together too. They are going to become a staple in our house!
love these, especially since you know what’s in them, and Tillamook for meet to, extra sharp, thank you!
What if you cut them out on parchment paper?
Ta daaaaa!
Oh my goodness! These are way too much work for me! You’re very patient, obviously! I love the recipe, but I’d have to make them bigger, or more straw-shaped!!! But they’re so pretty!
Skip the cookie cutter and use a pizza cutter instead… it makes quick work of little crackers, I promise!