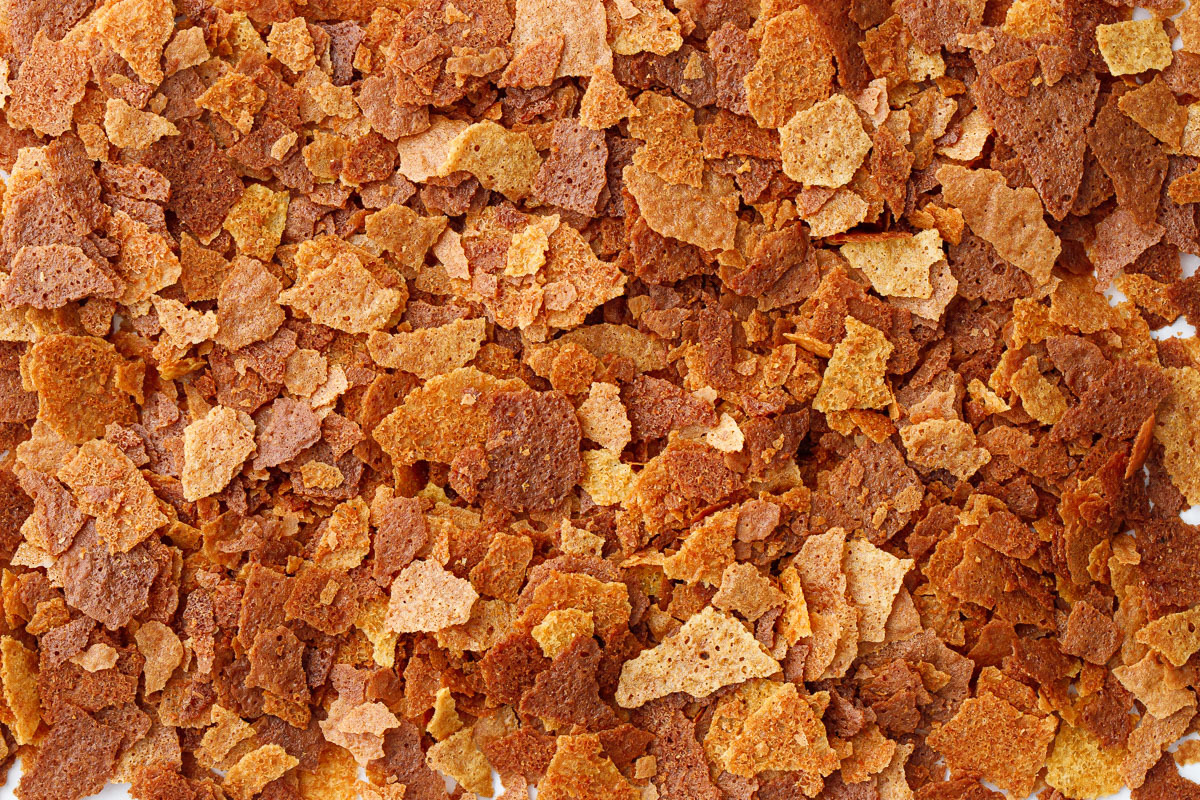
Feuilletine is a pastry chef’s best kept secret, giving professional cakes and pastries that extra something special: a delicate crunch that provides the perfect textural contrast to just about any dessert.
Making feuilletine from scratch is surprisingly easy (much easier than spelling it, that’s for sure), and the resulting thin, crispy flakes can be mixed into any number of confections including ganache or chocolate mousse, sprinkled between cake layers, or added to cookie batters or brownies to provide a lovely bit of added crunch.
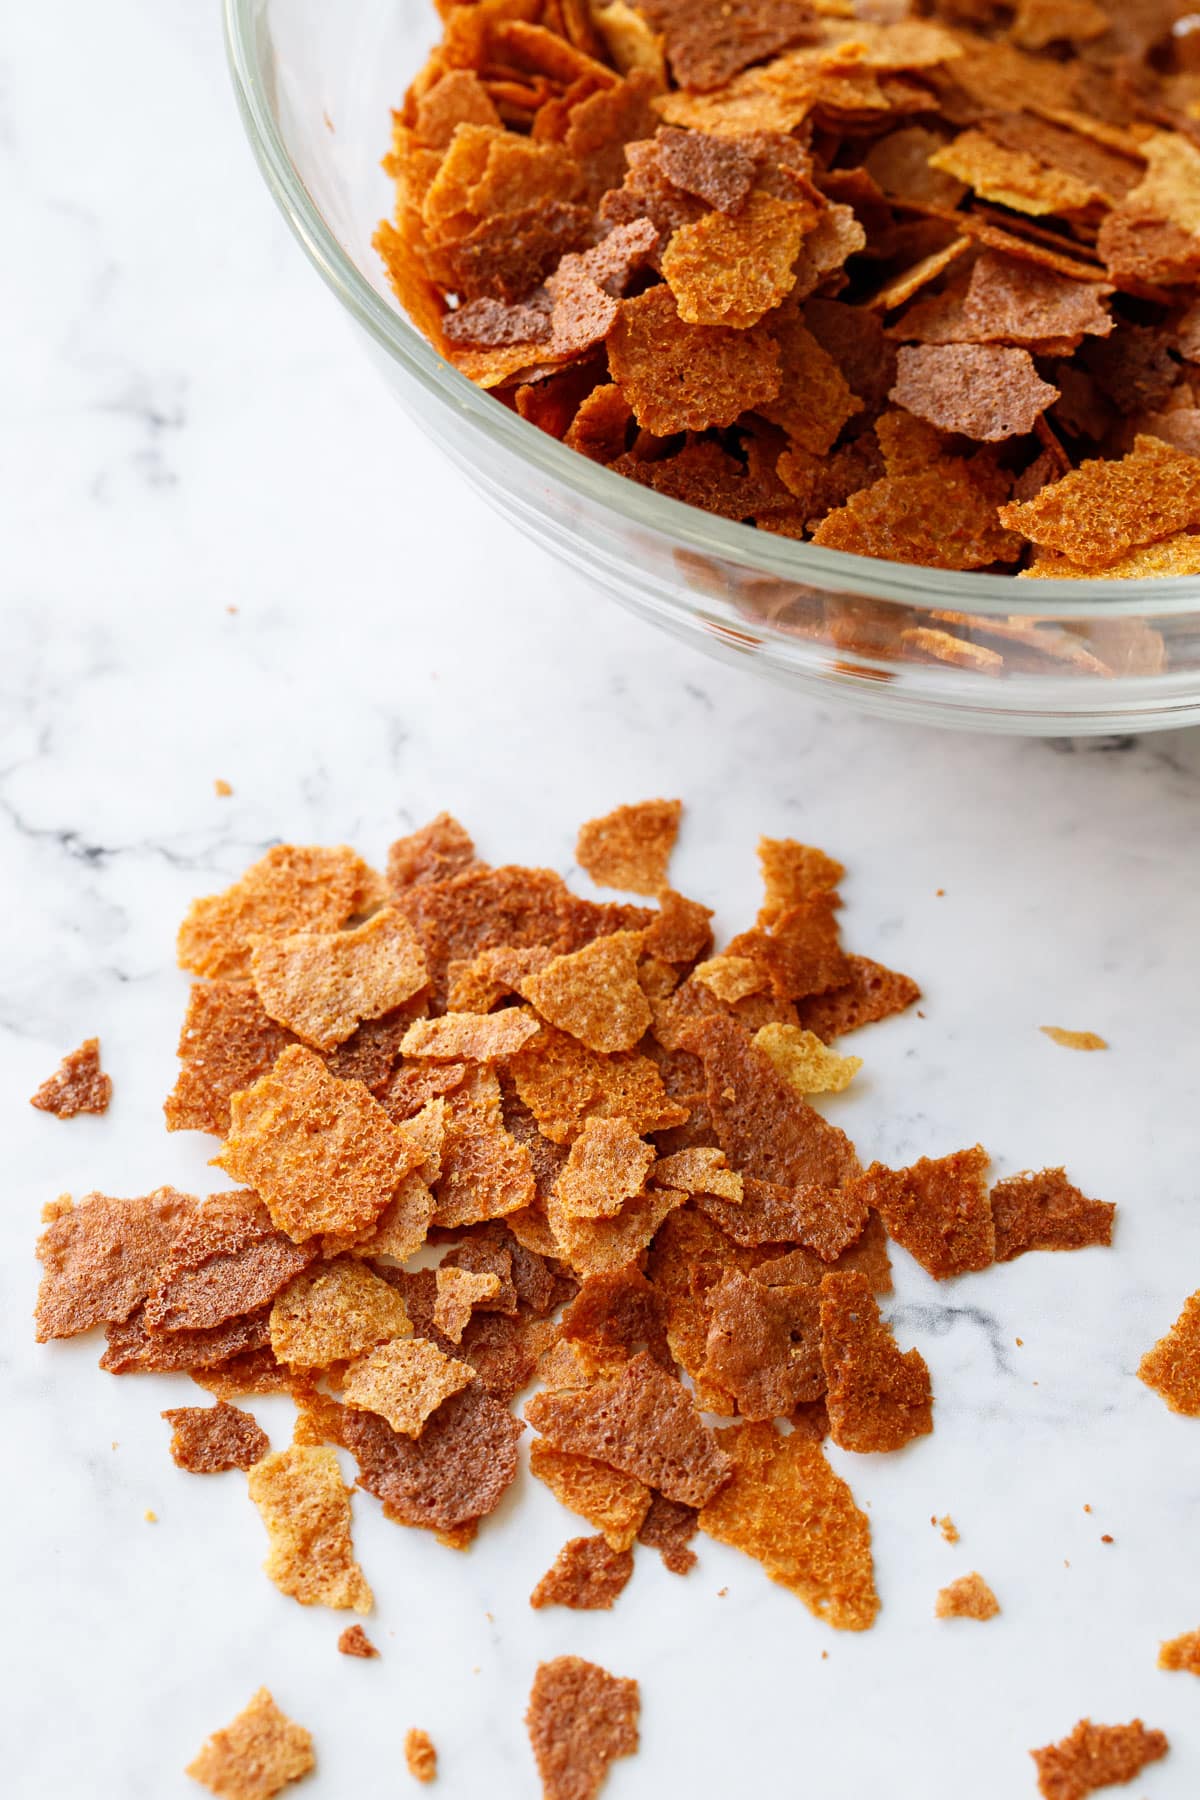
If you’ve ever had a professionally made cake or confection and noticed a mysterious yet delightful crunchy texture in one of the layers, chances are it is feuilletine.
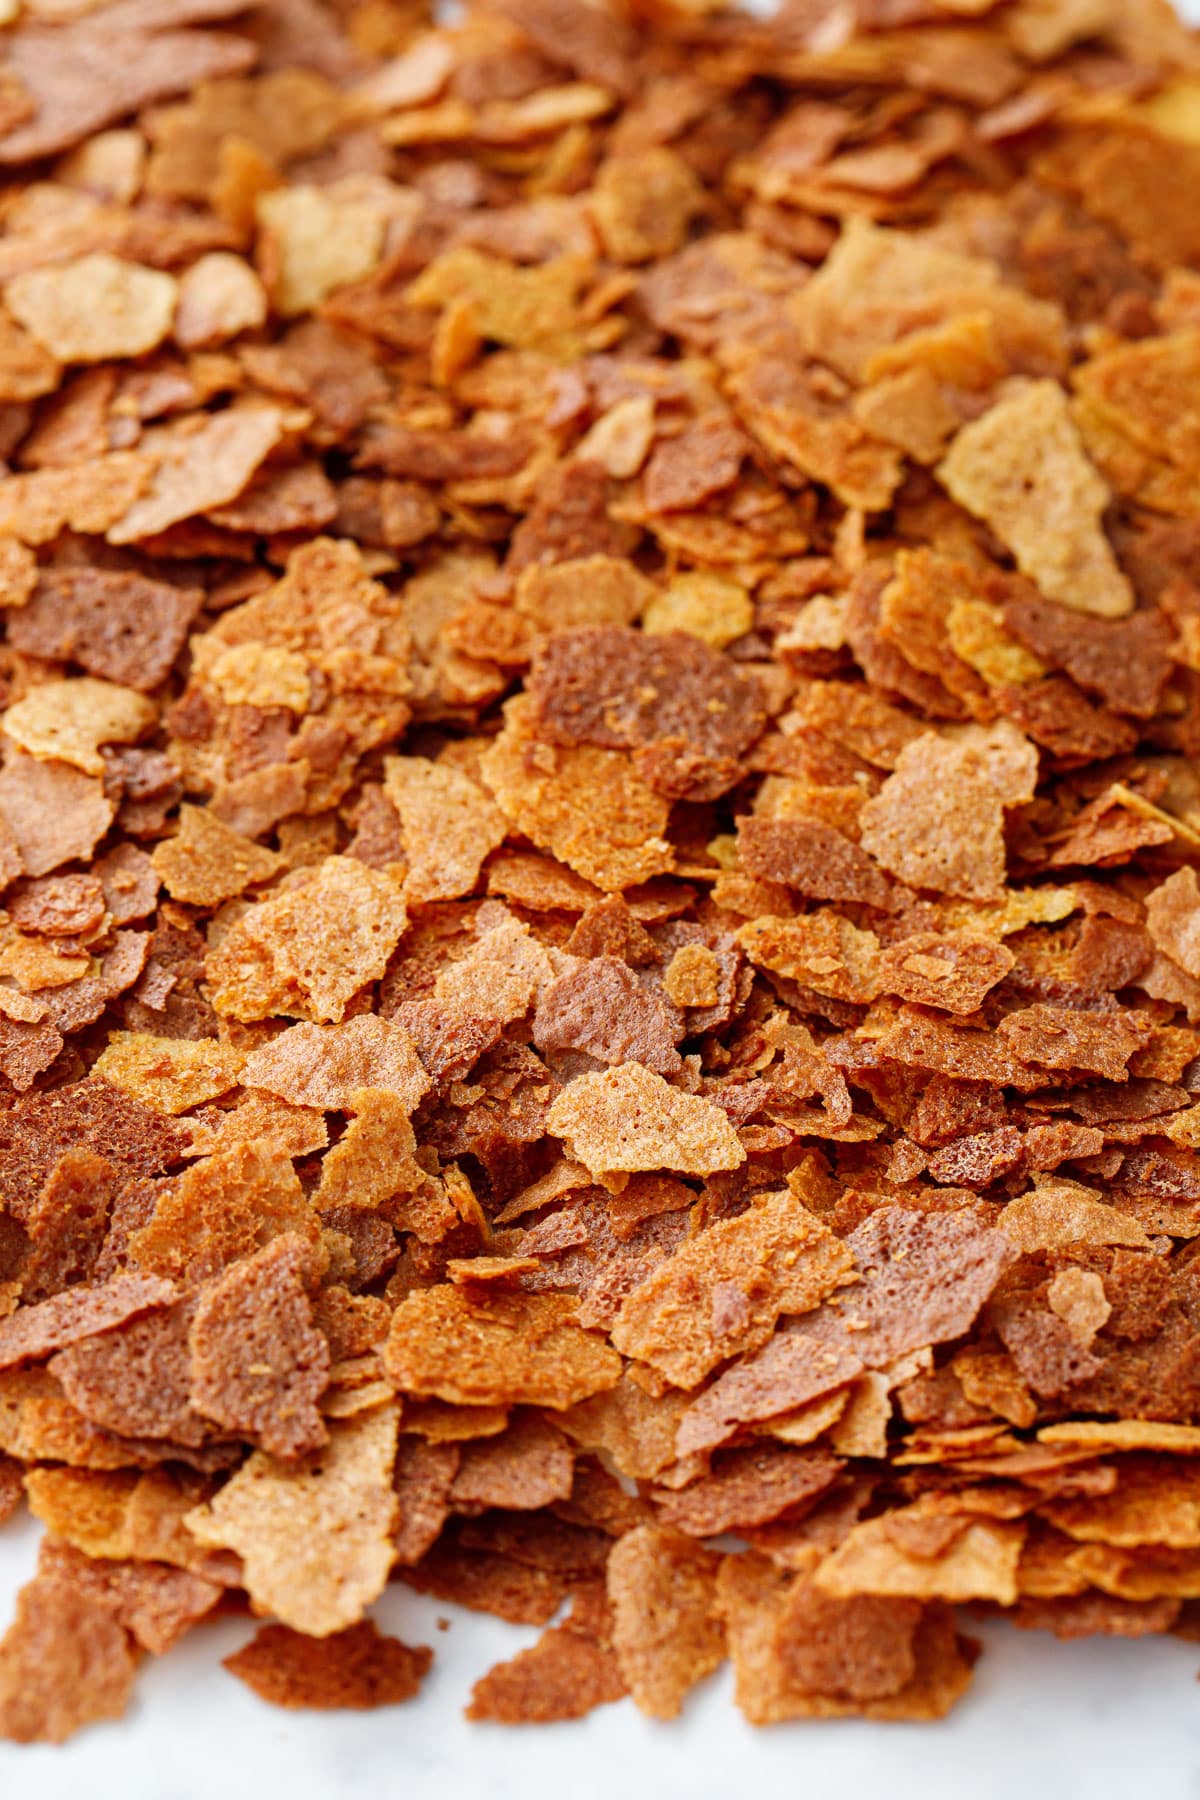
Feuilletine, or pailleté feuilletine, is basically just a super thin crepe that’s been crumbled into flakes. If you’ve ever made crepes and noticed how the edges often get beautifully crispy (the best part of crepes if you ask me), that’s essentially just feuilletine on a smaller scale.
That ultra fine, delicate crunch that holds up in fat-based mixtures is one of feuilletine’s most unique characteristics, and not something easily replicated with other ingredients (corn flakes, crushed fortune cookies or ice cream cones, and puffed rice cereal are the most common substitutes I see recommended, and to be honest none of them even come close to the thin and delicately crispy crunch of feuilletine or its ability to stay crispy even when mixed into, say, chocolate ganache for example).
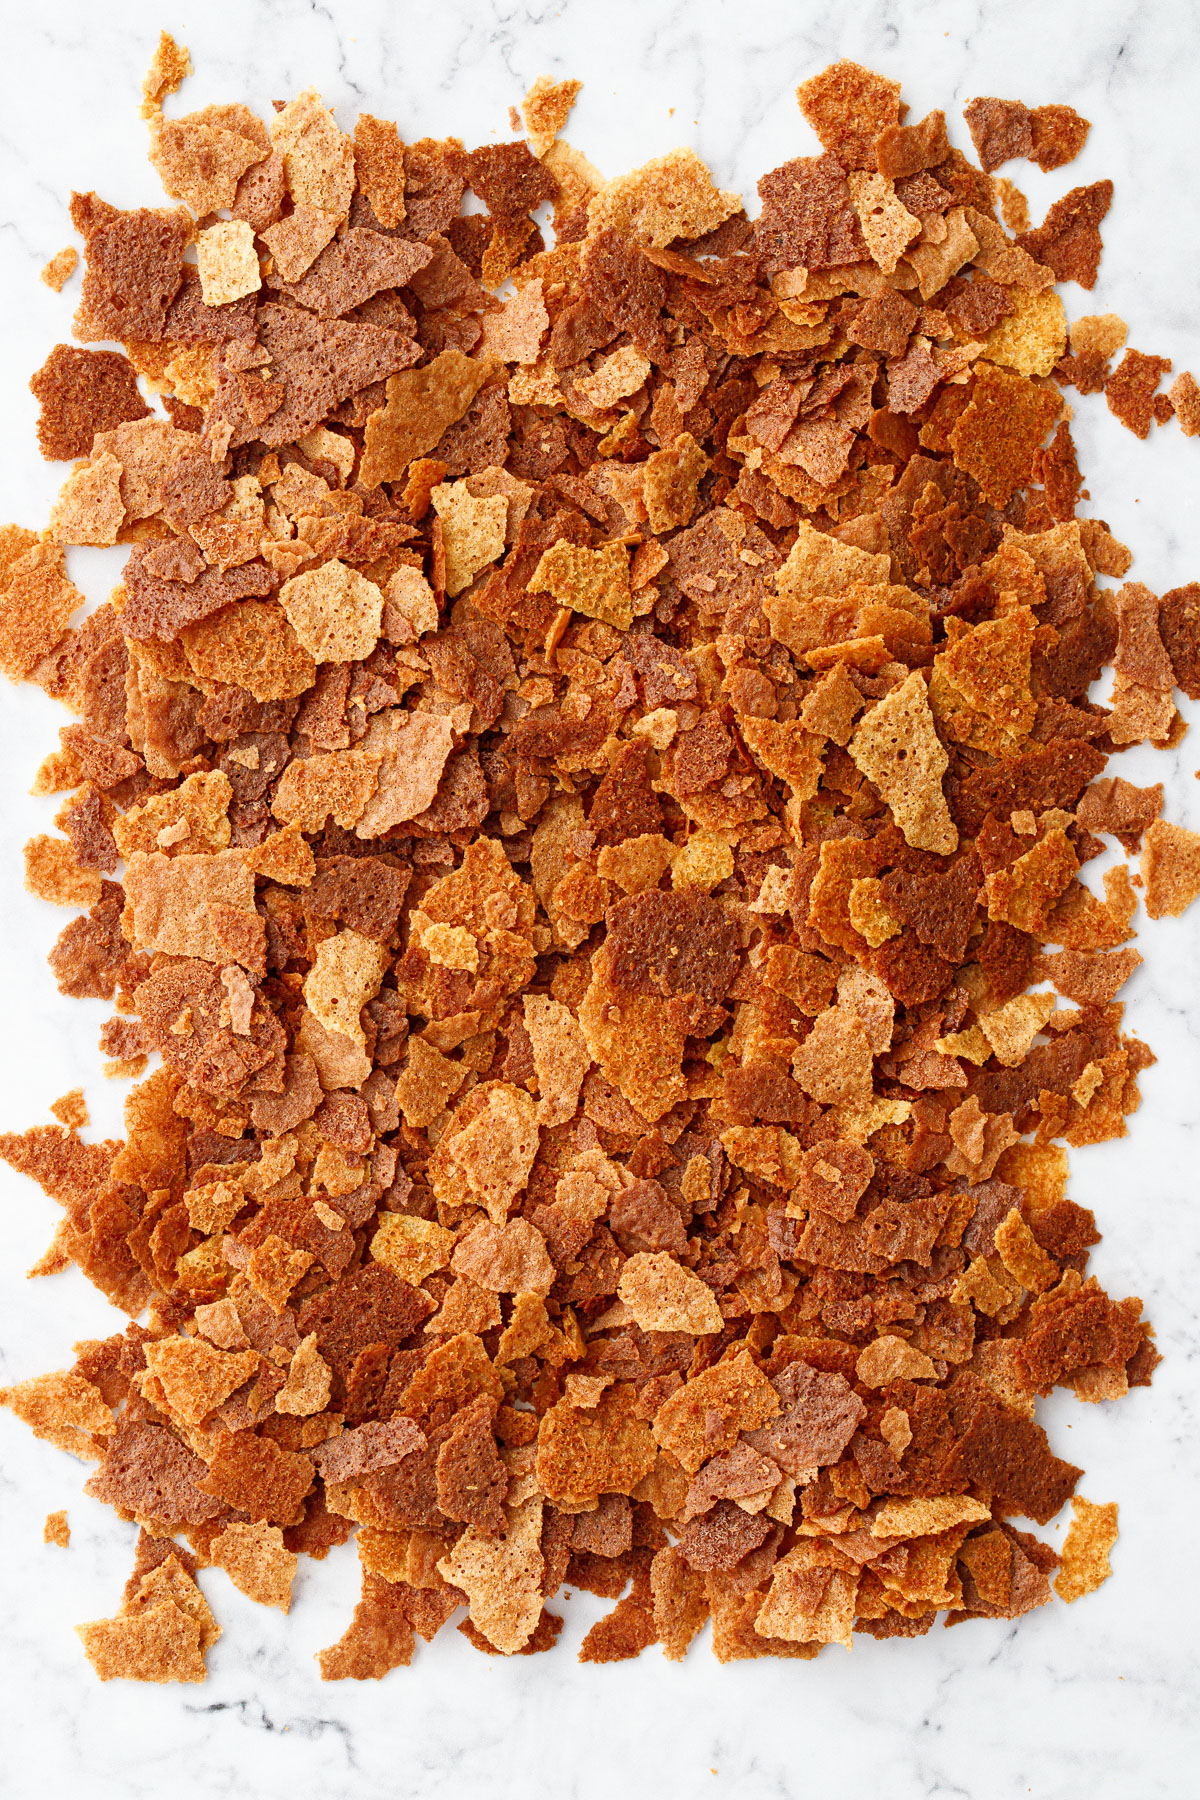
Most pastry chefs use and buy their feuilletine in bulk, but if you just need a little bit it is incredibly easy to make it yourself with just a few simple ingredients and a bit of practice (spreading out a super thin layer of batter may take a few attempts to really get the hang of).
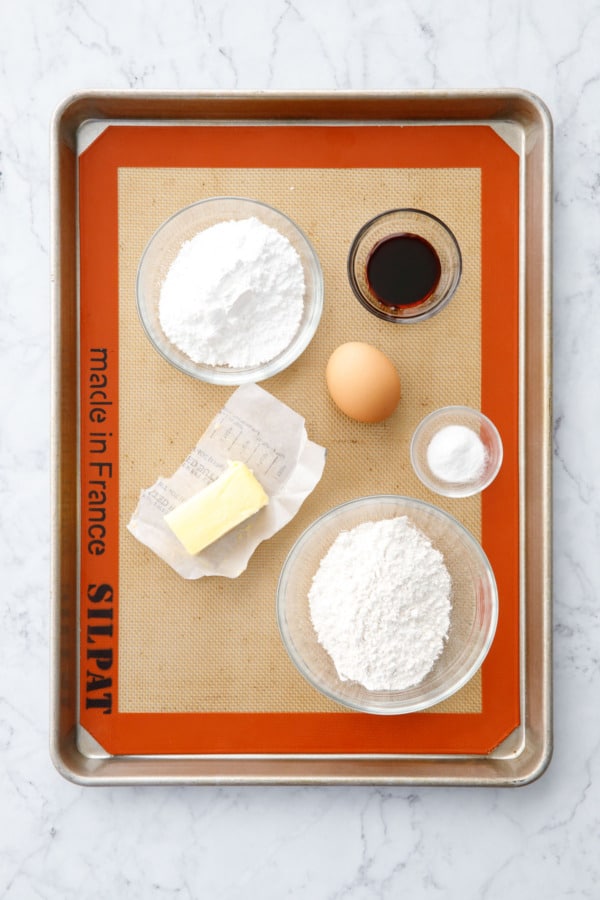
There are a number of feuilletine recipes floating around on the internet, most of which are sort of like thin ice cream cones or tuile cookies, made with egg white, powdered sugar, flour and butter for an overall pale color and generic sweet flavor.
Contrast that with Bravetart’s feuilletine recipe, which is more like a gingerbread cookie dough flavored with molasses and with a bit of baking soda for lift and added browning. (While Bravetart’s recipe is no longer accessible on her now-defunct site [sad face], you can still access it on Wayback Machine if you’re interested). While I loved the rich toasty flavor notes of the molasses, I found the thick dough very frustrating to work with.
Ultimately after a number of tweaks and tests, I landed on something somewhere in between the tuile-style feuilletine and Bravetart’s molasses-forward version. The dough is thin enough to spread easily, but with a small amount of molasses for flavor and some baking soda for added lift and a light and airy crunch that practically melts in your mouth. I also opted to use a whole egg instead of just egg white for more flavor and richness and also so you aren’t left with a stray egg yolk that will inevitably go to waste.
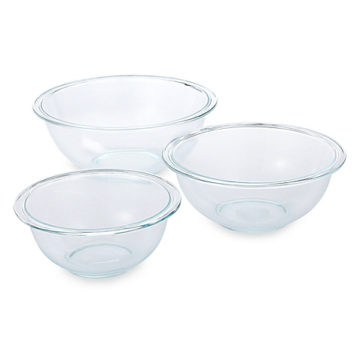
Whipping up the batter can be done by hand with a spoon or spatula and a whisk, but you can also use an electric hand mixer or stand mixer as well.
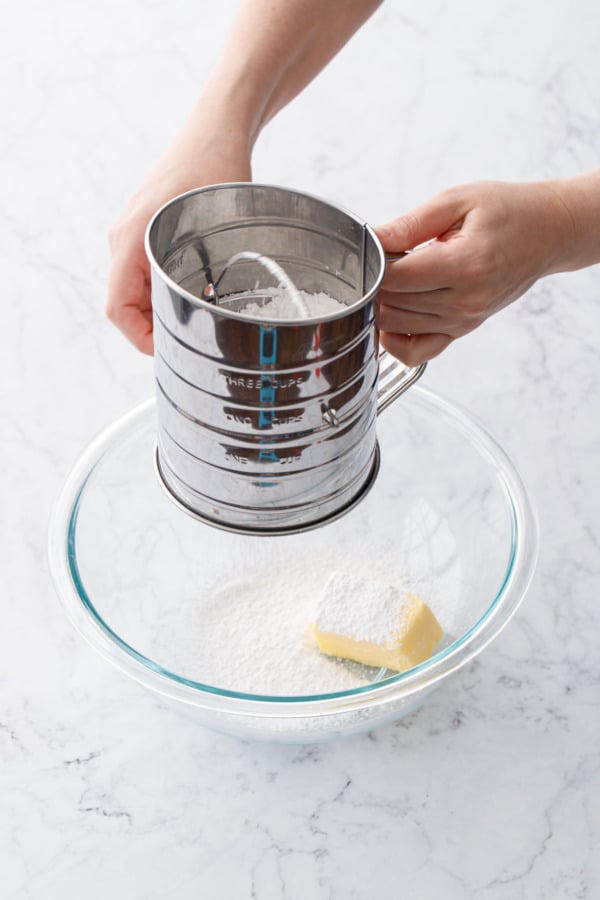
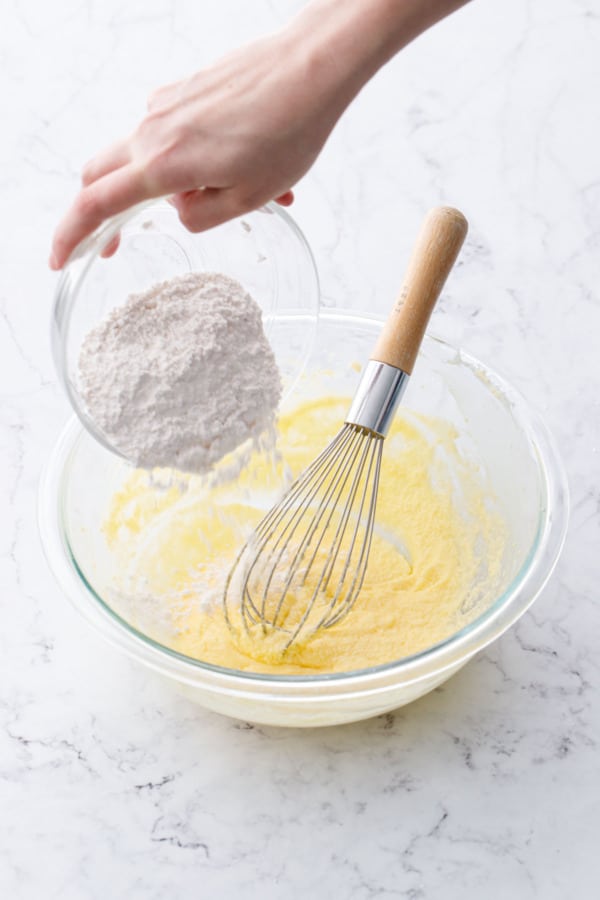
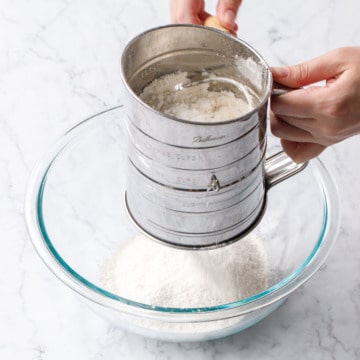
One tip I’ll emphasize again here is that sifting the ingredients (both the powdered sugar as well as the flour) is not an optional step here. Trust me, not sifting will leave you with small, nearly invisible flour lumps in your batter. While this may be ok for cookies and the like, once you start trying to spread the batter into a paper-thin layer, those lumps end up pulling and gouging out streaks of your otherwise smooth batter.
Trust me on this one: sift now so you don’t regret it later!
Silicone vs Parchment Paper
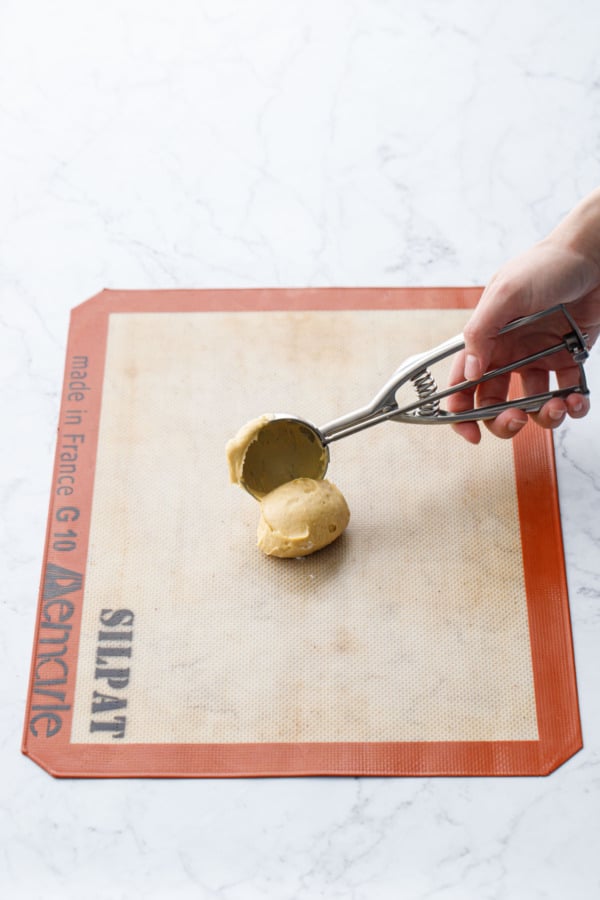
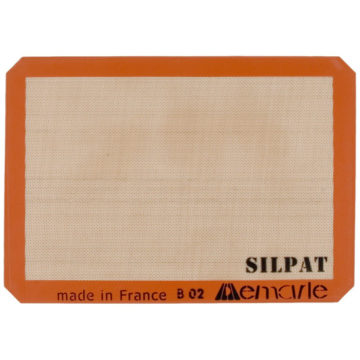
While this recipe will work with both, I found the silicone mats far easier on which to spread the batter (since they are thicker and ‘stick’ to the work surface as opposed to the parchment which slides around). The silicone is also thicker and offers some additional insulation from the heat of the oven, resulting in a more even bake. The parchment paper batch also baked quicker and wasn’t as even in color, probably because it was harder to spread an even layer when the paper kept bunching and sliding.
My feuilletine was done in about 4 to 6 minutes (the first batch took slightly longer than subsequent batches), but yours may vary depending on a number of factors including how thinly you spread the batter, baking sheet material and thickness, oven calibration, and so forth.
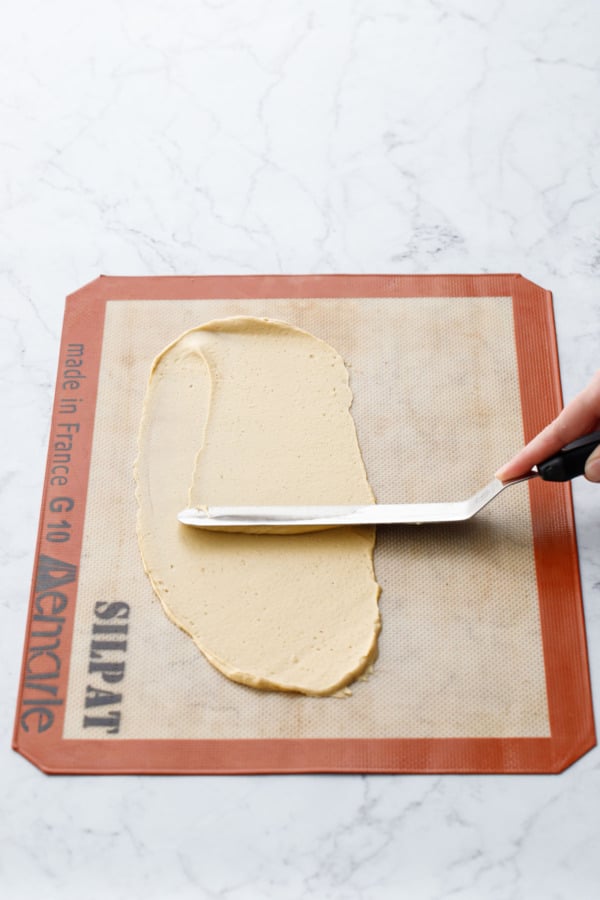
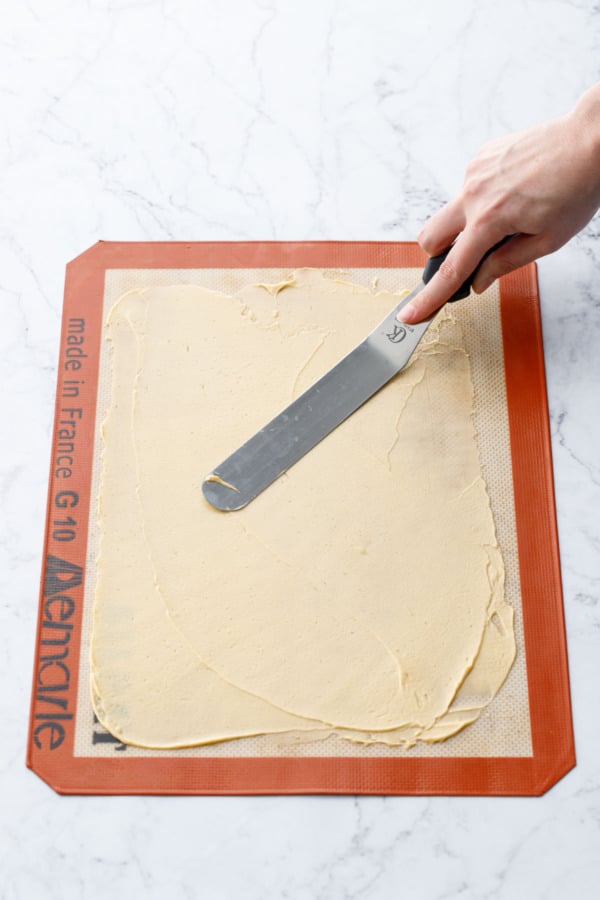
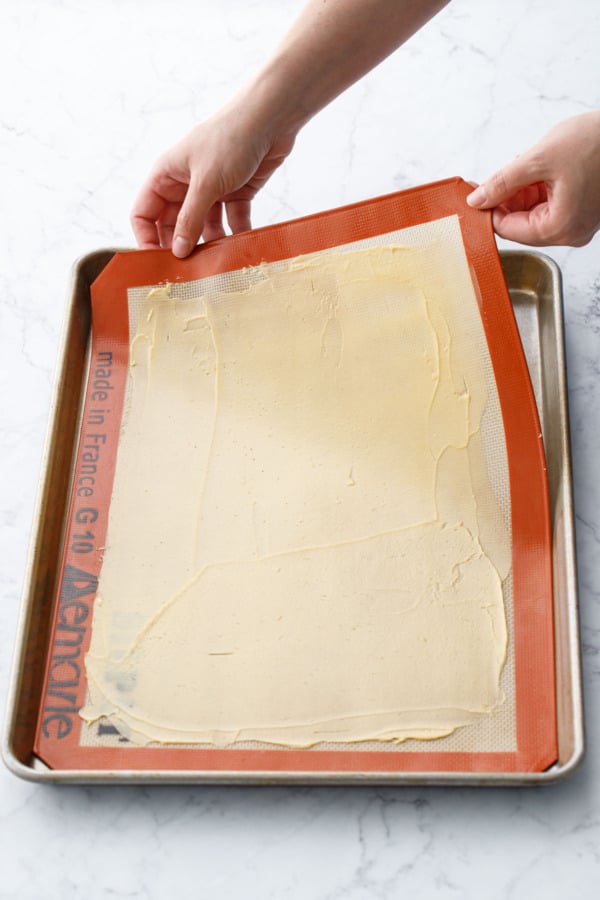
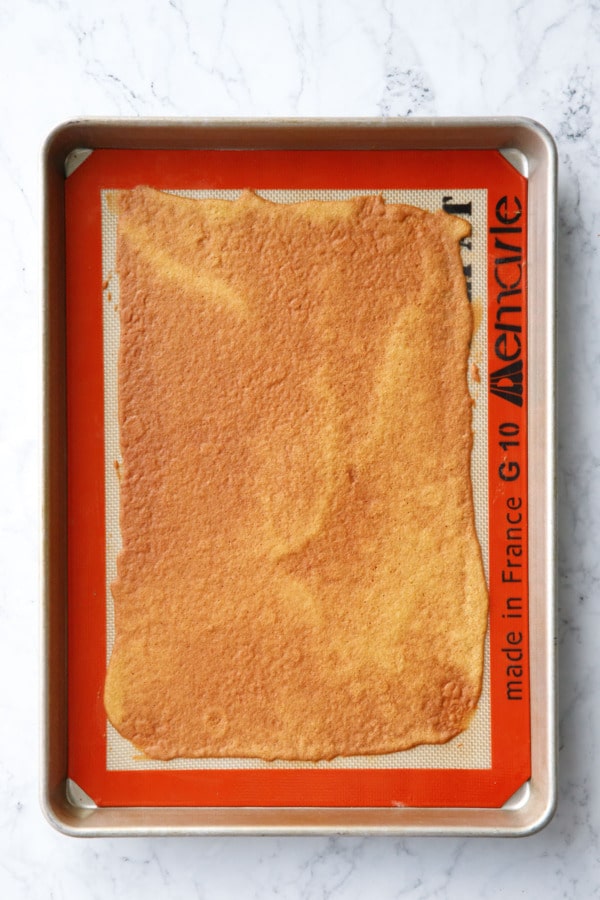
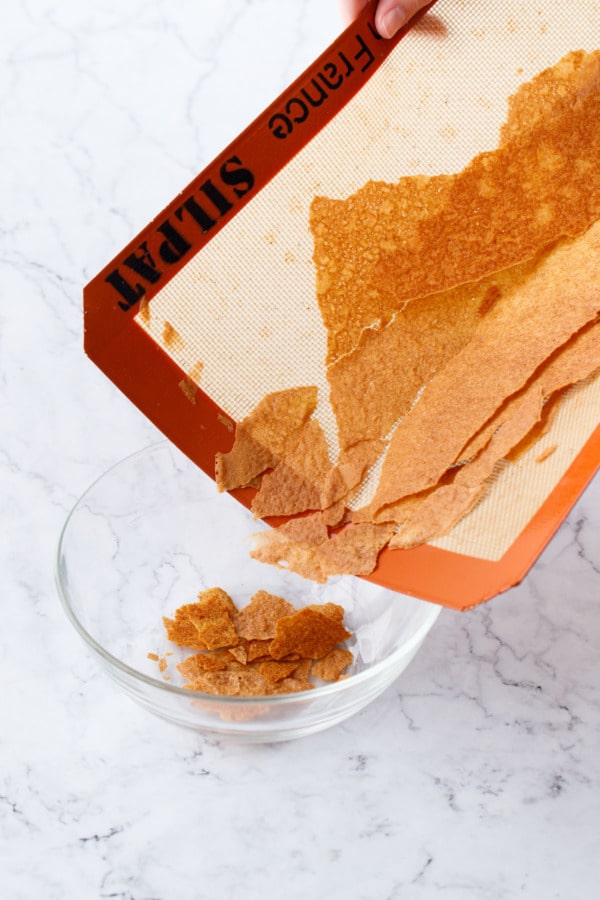
This is not something to pop in the oven and walk away. Set a timer yes, but also stay close by and keep an eye on it, especially after about the 3 minute mark, as it will go from perfectly golden to dark and burnt in what seems like seconds. After your second pan bakes you should have a better idea of the exact bake time you need.
An unexpected bonus perk of this recipe is it is a great way to check for hotspots in your oven. As it browns, the thin batter will show you exactly where your oven is slightly hotter (back right corner for me). For this reason I also recommend rotating the pan part way through to ensure even baking.
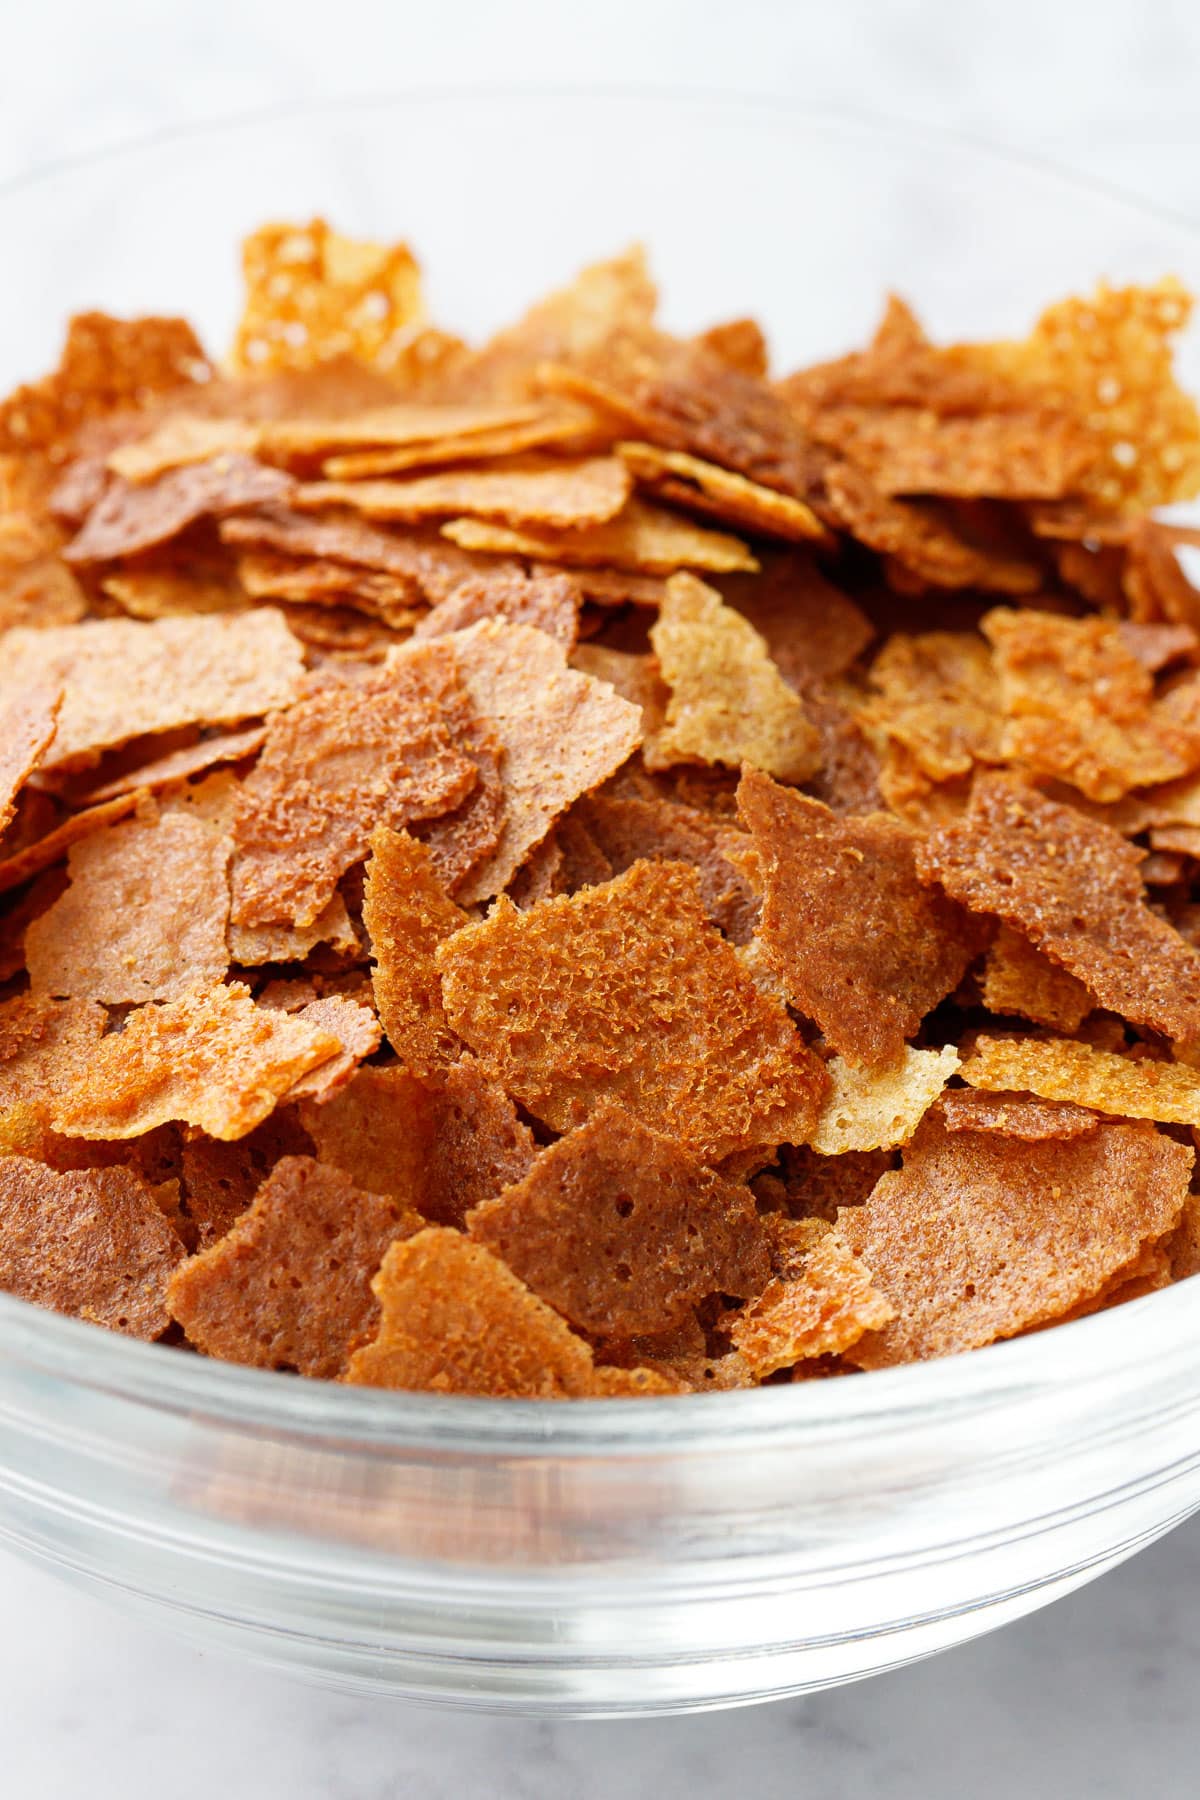
Once the feuilletine is cool, lift the silicone/parchment and break it up into flakes, then dump into a bowl or container. I generally leave it in fairly large flakes, as it’s inevitable that the delicate pieces will break apart even more once it gets mixed into its final concoction.
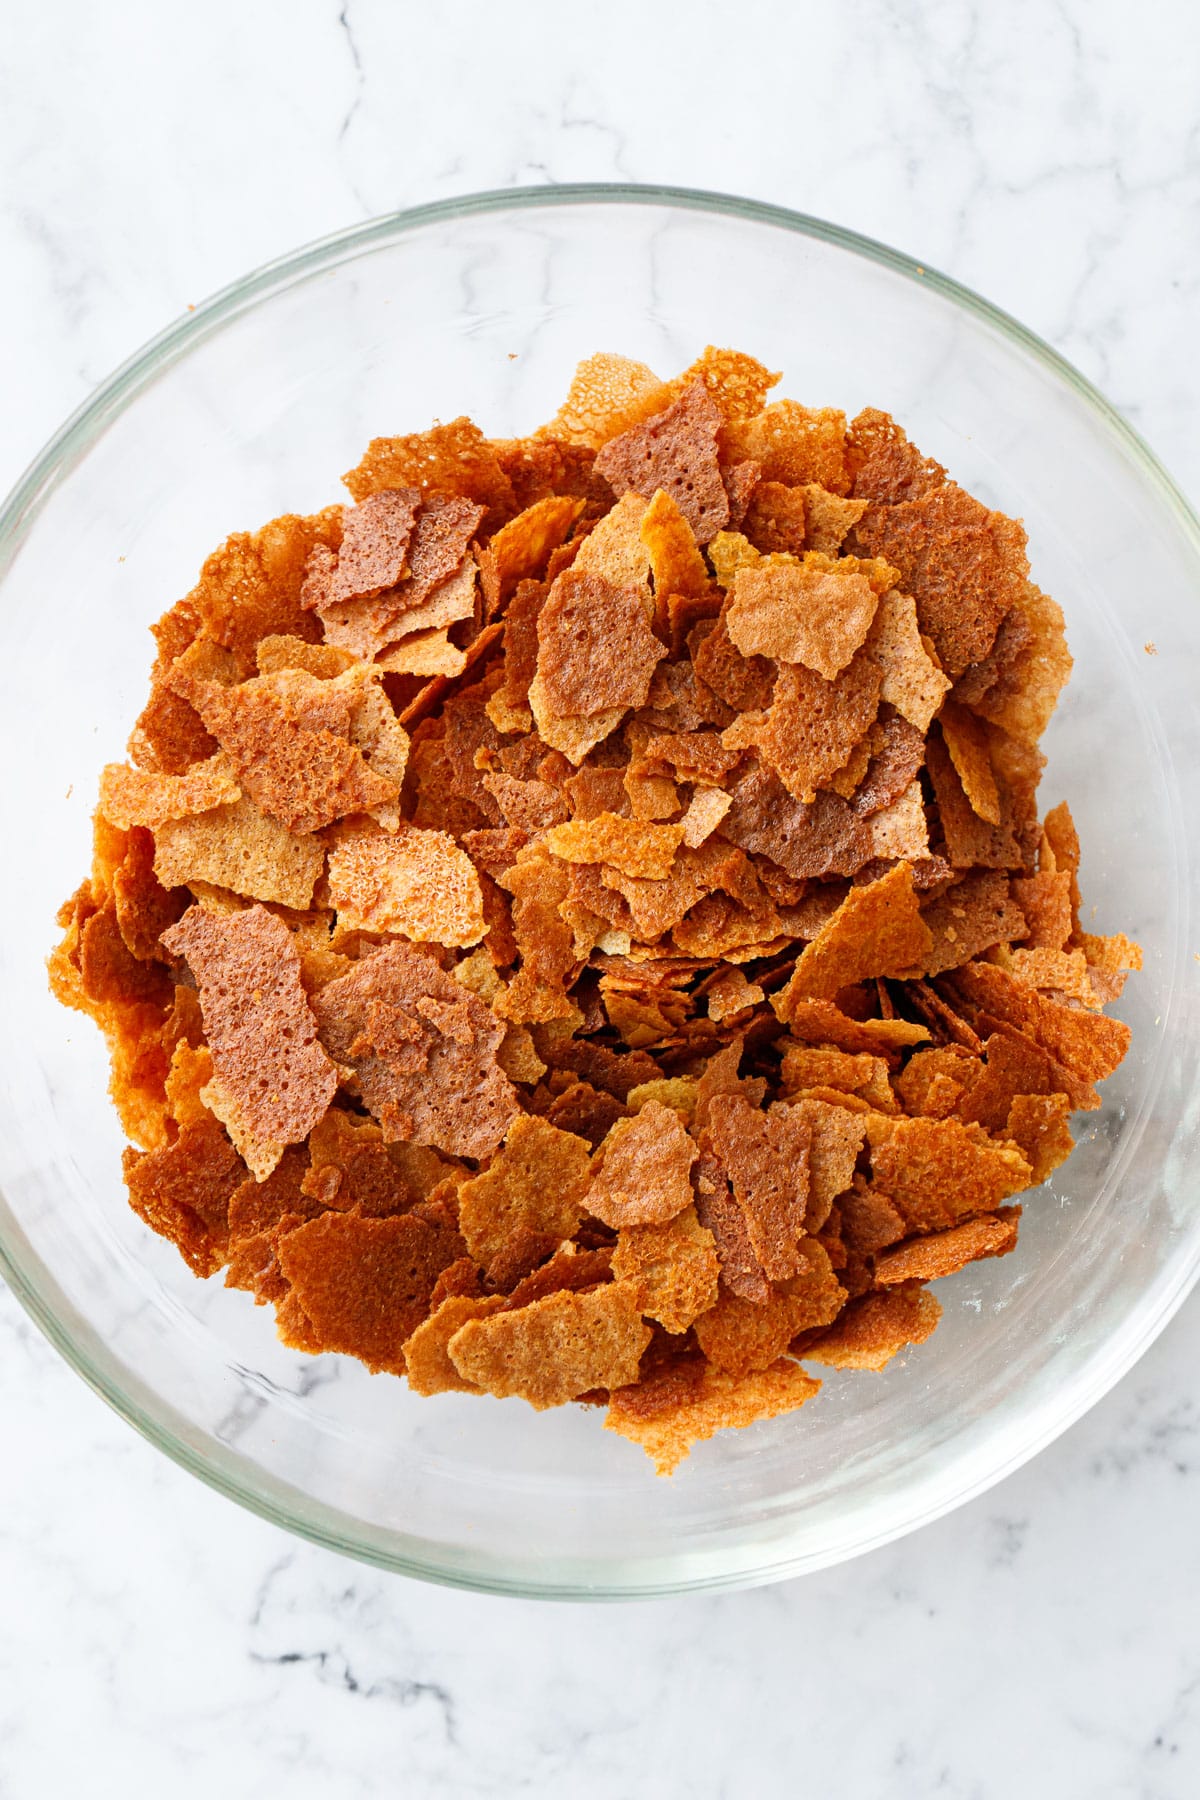
How to Use Feuilletine
Made to stay crispy, feuilletine shines when combined with fat-based ingredients like chocolate, nut butter, or praline paste as it retains its signature snap. (Unfortunately that’s not the case with more liquidy preparations like ice cream for example, while you could certainly use it as a finish or topping added right before serving I wouldn’t recommend mixing it in).
Homemade chocolate crunch bars: Simply combining chocolate, Nutella or praline paste, and feuilletine results in one of my favorite quick and easy chocolate treats. Like an upscale Crunch bar that’s ridiculously satisfying.
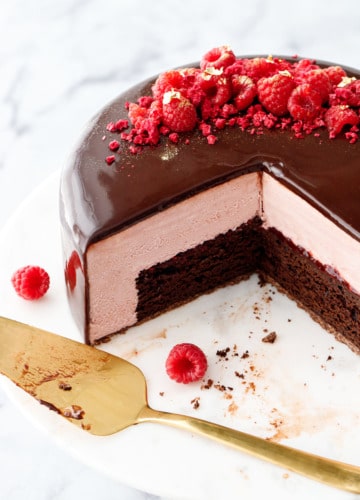
Entremet cakes: I used feuilletine in the base layer of my Chocolate Raspberry Mousse Cake, where it gives a solid foundation and delightful crunch that contrasts beautifully with the softer textures of the cake.
Layer cakes: Milk Bar has a famous chocolate crunch cake recipe that uses feuilletine, enhancing its popularity of late. But really you can simply sprinkle a bit of feuilletine in between the layers of your cake for a lovely textural contrast.
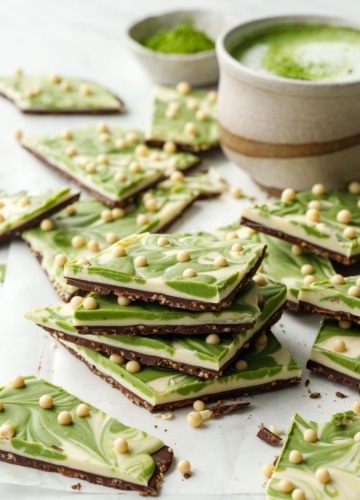
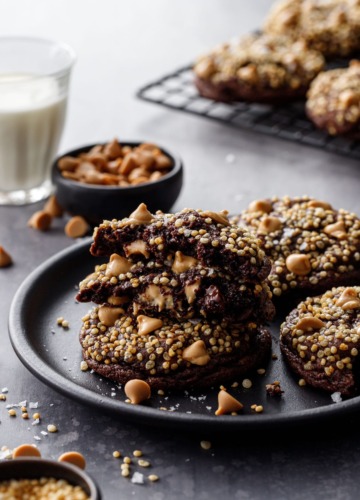
Cookies, candies & more: The truth is you can really use feuilletine in so many ways, wherever you might want a little extra crunch; try throwing some in cookie batter or sprinkling over brownies, folding into chocolate mousse or ganache, or sprinkling over a batch of freshly made English toffee or chocolate bark.
Ingredient Notes
Flour: I tried both cake and all purpose flour, and didn’t notice a huge difference between the two. Either way, don’t skip the sifting for this recipe (both the flour and powdered sugar) or you will end up with small chunks of flour that will make it harder to spread into an even layer.
While I have not tried this with gluten-free flour blends I imagine it would work pretty well, since the flour isn’t needed for structure or rise or anything. Try it first with a basic GF flour blend, or do as Bravetart recommends and make your own mix of sorghum flour, tapioca starch, corn starch and white rice flour.
Molasses: this is optional, I loved the depth of flavor it added. But you can also use honey or maple syrup, or leave it out completely.
Other flavorings: The neutral flavor profile makes this feuilletine recipe extra versatile, but feel free to add other flavorings such as orange zest, spices, vanilla or other extracts.
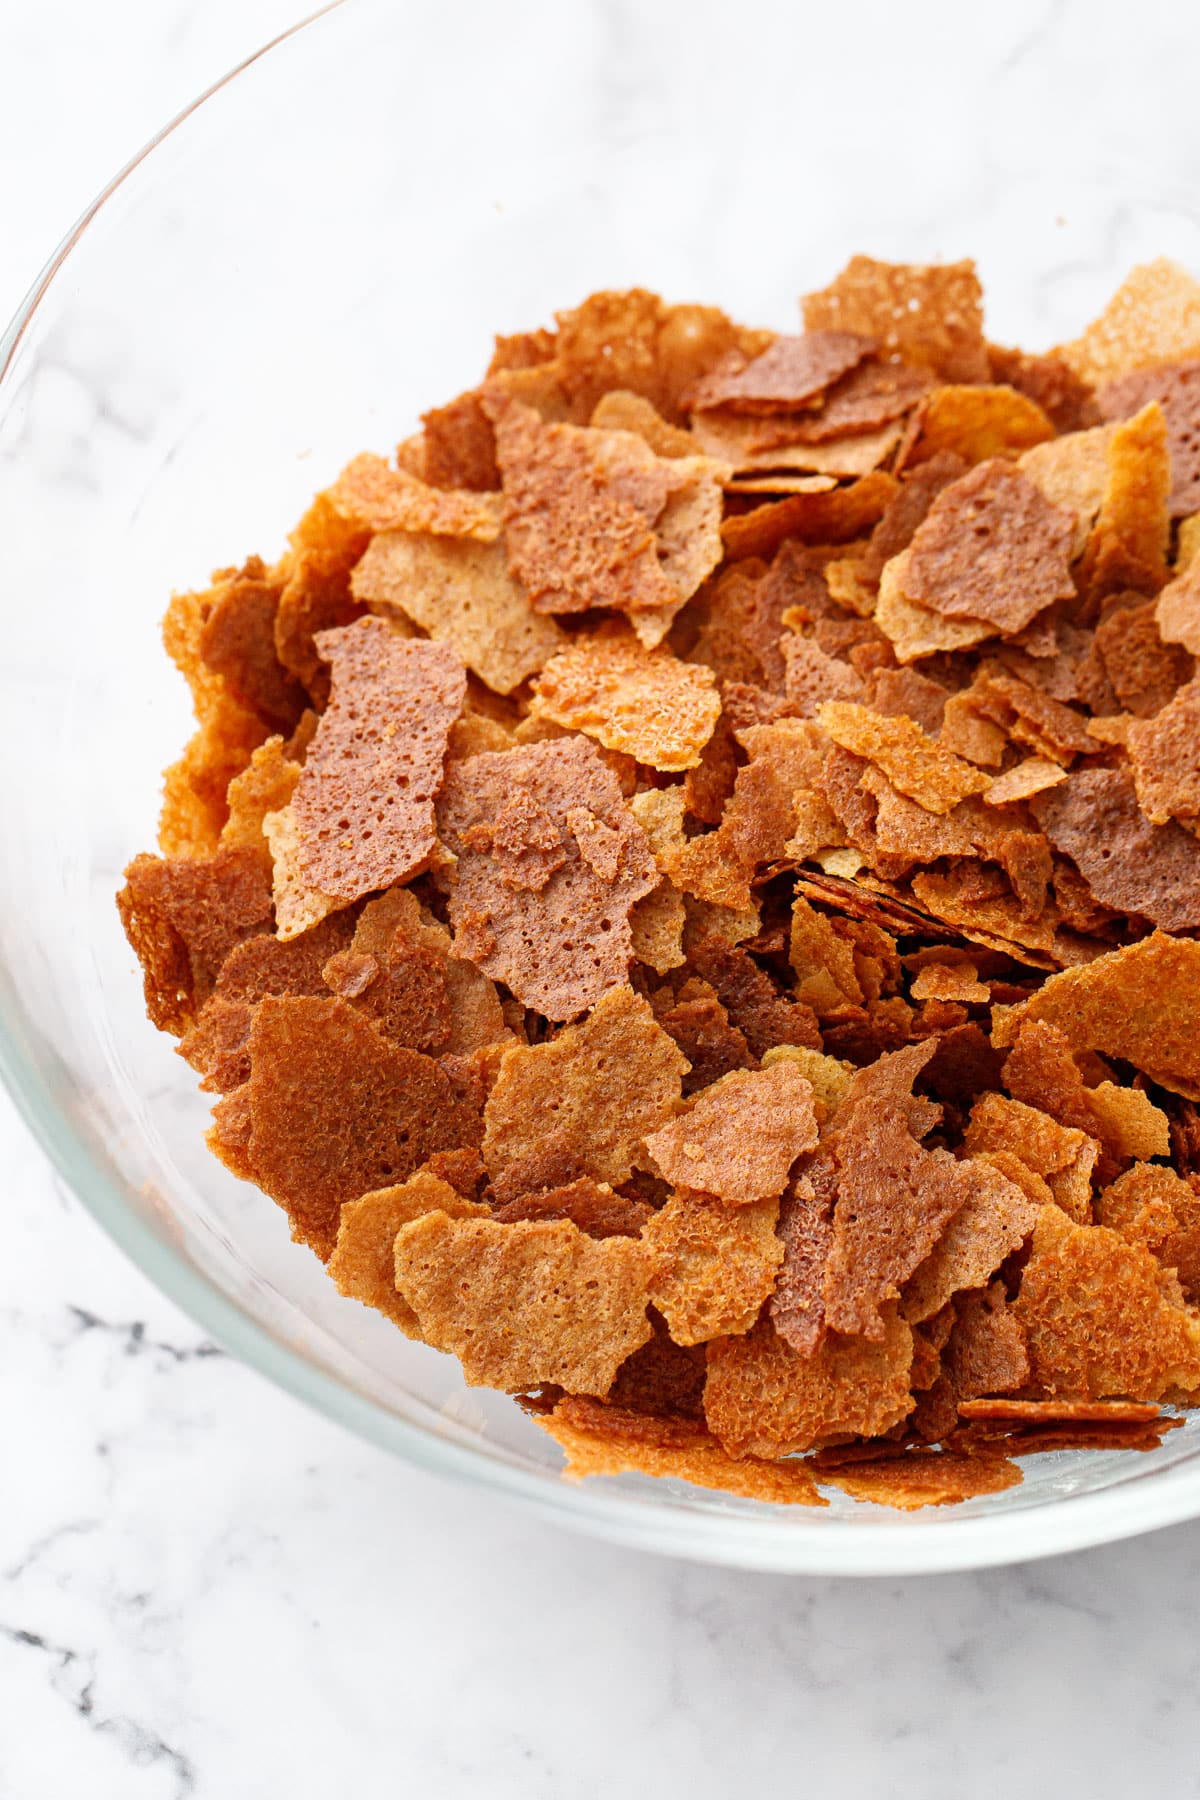
This recipe makes about 3 cups worth of feuilletine (that’s about 120-150g, approximately), but feel free to double or triple it to make an extra large batch. It keeps reasonably well for a few weeks in an airtight container at room temperature, although in humid conditions may lose some of its crunch.
Homemade Feuilletine
Ingredients
- 4 tablespoons / 56 g unsalted butter, at room temperature
- ½ cup / 60 g powdered sugar, sifted*
- 1 large egg, at room temperature
- ½ cup / 60 g all purpose or cake flour, sifted*
- ¼ teaspoon fine sea salt
- ¼ teaspoon baking soda
- 2 teaspoons / 14 g molasses, optional
Instructions
- Preheat oven to 350 degrees F. Line two half sheet baking pans with silicone baking mats (parchment paper will work, but I find silicone to be easier to spread on and it bakes more evenly as well).
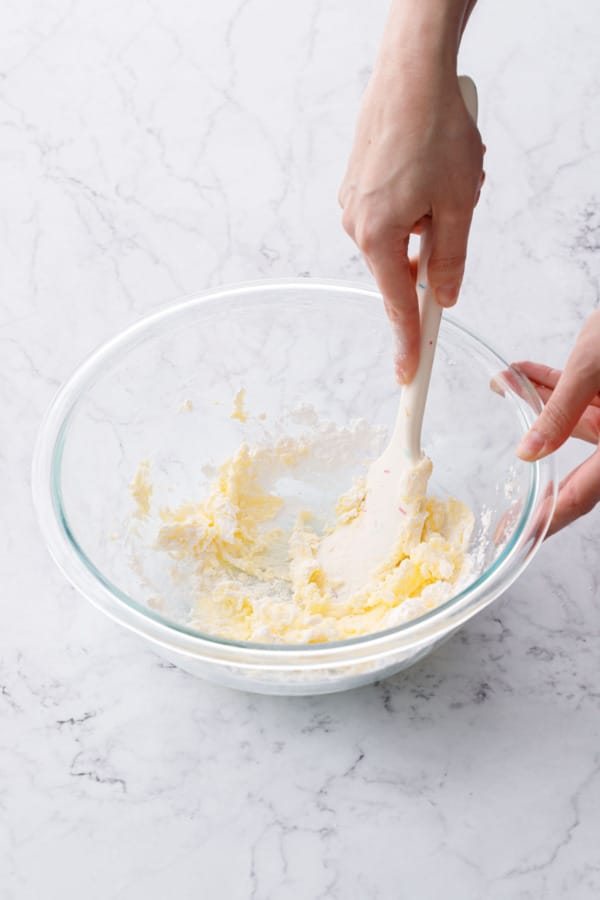
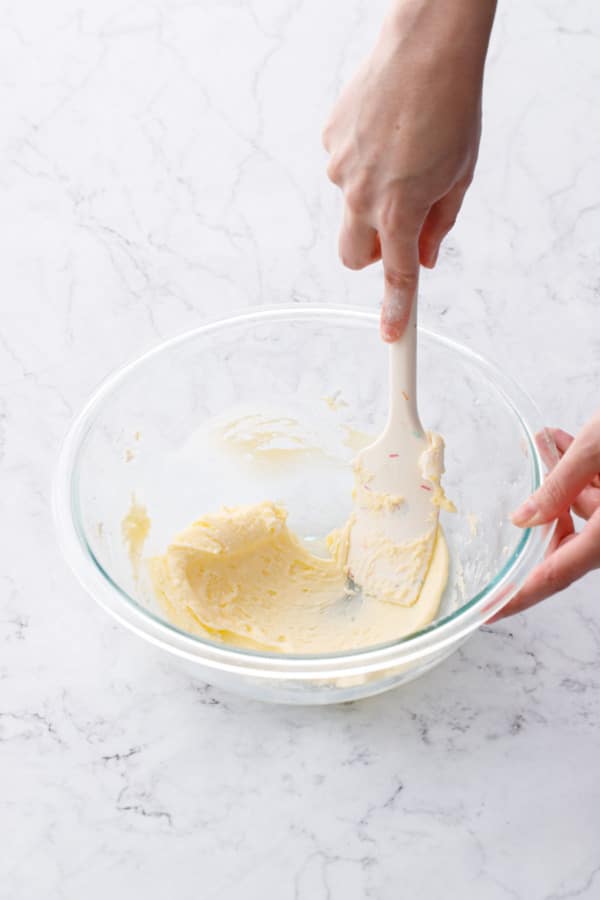
- Cream butter with powdered sugar until smooth. You can use an electric mixer if you'd like, or do it by hand with a spoon or spatula.
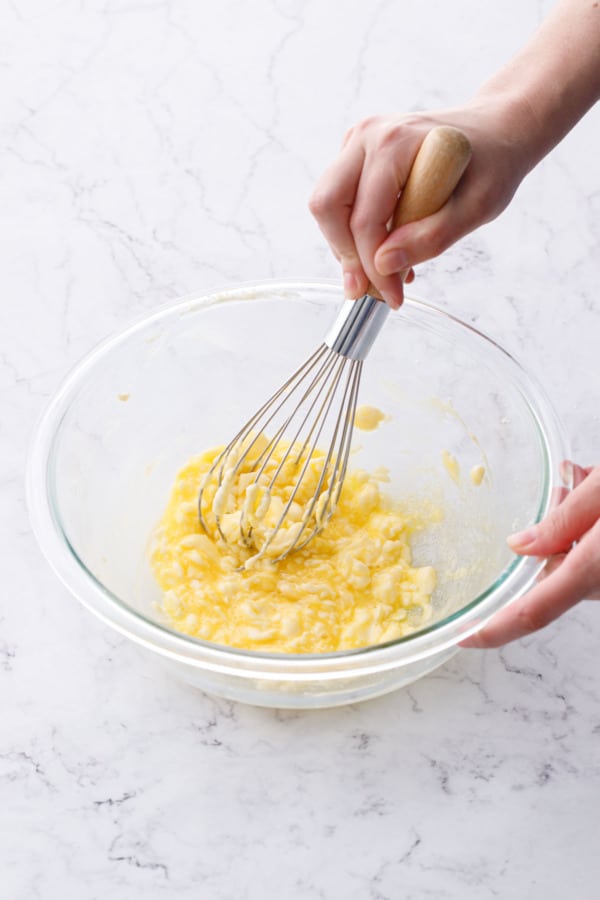
- Add egg and beat or use a whisk until incorporated and mostly emulsified.
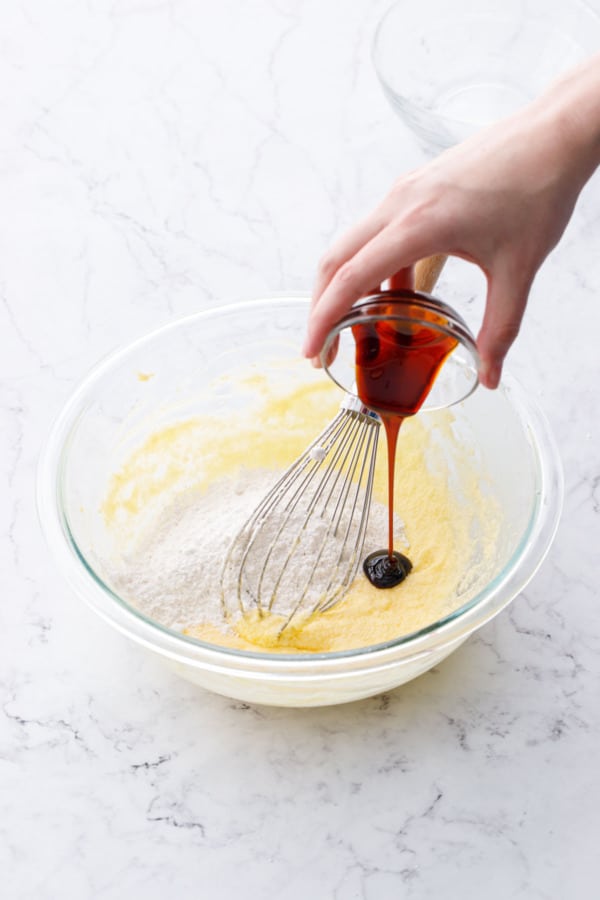
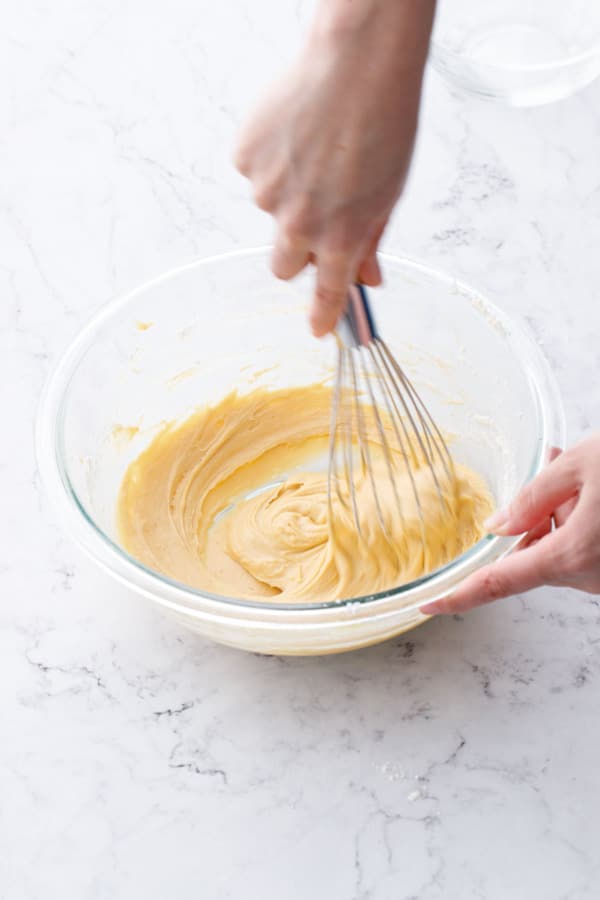
- Sift flour, salt, and baking soda. Add molasses, then mix until smooth and no streaks or chunks of dry flour remains.
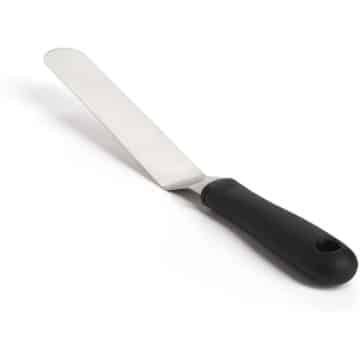
- Drop 1/4 of batter (about 50-60g worth or a large cookie scoop) onto prepared baking pan. Use an offset spatula to spread batter into a very thin, even layer over the entire surface. (I find it easiest to do this on a silicone mat outside of the baking pan, and then transfer the silicone mat to the baking sheet before baking.)
- Bake for 4 to 6 minutes, rotating baking pan halfway through, and keeping a close eye on it during the last couple minutes especially as it will burn rather quickly. If you are using parchment paper or baking on thinner baking sheets, it will likely bake quicker, so start checking at 3 minutes. The finished feuilletine should be an even golden brown color across the entire surface.
- Remove from oven and let cool on baking sheet for 10 to 15 minutes; it will crisp up as it cools. Once cool, break into pieces and pour into a bowl or storage container.
- Repeat with remaining batter on cooled sheet pans (this recipe makes enough for 4 sheet pans worth). You can wipe and reuse the silicone mats or even parchment sheets, just wipe off all the crumbly bits leftover from the previous batch first.
- Store at room temperature in an airtight container for up to a week or two; in more humid climates it may not stay as crispy quite as long.
Notes
- Don’t skip the sift! Sifting both the powdered sugar and the flour is a necessary step to ensure the batter is super smooth without any lumps whatsoever.
I made this for the Pecan Crunch layer of Milkbar’s German Chocolate Jimbo Cake. I used silicon baking mats, and it was super easy to lift off the feuilletine and break into pieces. However, I ended up baking it for twice as long as the recipe described because it wasn’t crunchy enough.
Because it is so thin, this recipe is very sensitive to variances. The times listed are just estimations based on my own test batches, but yours may vary depending on factors like oven calibration, pan thickness, how thick you spread the batter, etc.