
Homemade pasta is something I’m going to try to do more of in 2018. It’s really not all that hard and, even when you’re just making plain pasta, the result is so worth the effort. But throw into the mix the fact that you can go wild with different shapes, flavors and colors and, well, the benefits of homemade fresh pasta become even more pronounced.
And while it might take a little time and effort to make, the process is surprisingly easy. You can also make a big batch and freeze it for later use (we get two whole dinners and two leftover lunches out of one batch of pasta, making it well worth the initial effort).
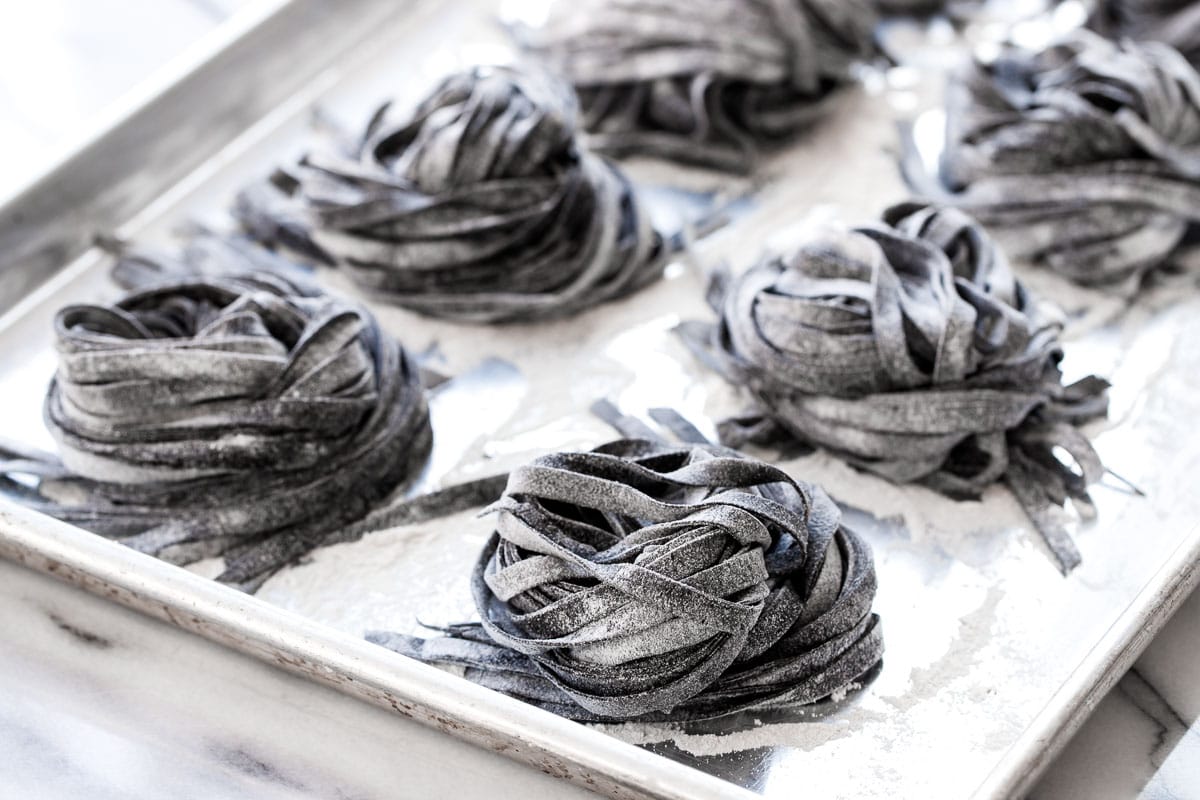
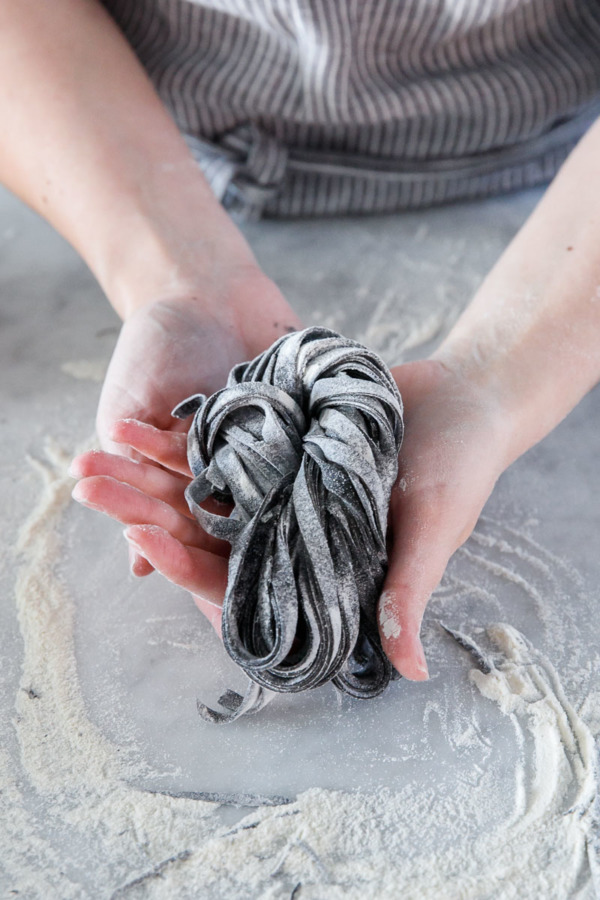
Dramatic black squid ink pasta is one of my favorite kinds of pasta, and something I usually only see on fancy restaurant menus. You can often find dried squid ink pasta in Italian specialty shops or gourmet grocery stores, but, like regular pasta, it’s so much better when it’s fresh.
The squid ink is not flavorless, but rather lends a subtle brininess to the pasta in addition to the dramatic black color, so sauce accordingly. I find it’s best served with some sort of seafood, such as shrimp, crab, or calamari. And, might I add, stay away from the cheese: it’s Italian culinary doctrine that cheese and seafood shall not mix. I’d argue there are some situations where that rule can be broken, but in this instance, I think it’s valid.
If you have flour and eggs, then technically you can make pasta at home. That said, there are a few tricks, strategies, and special ingredients that will make your pasta even better.
Tips for making homemade pasta:
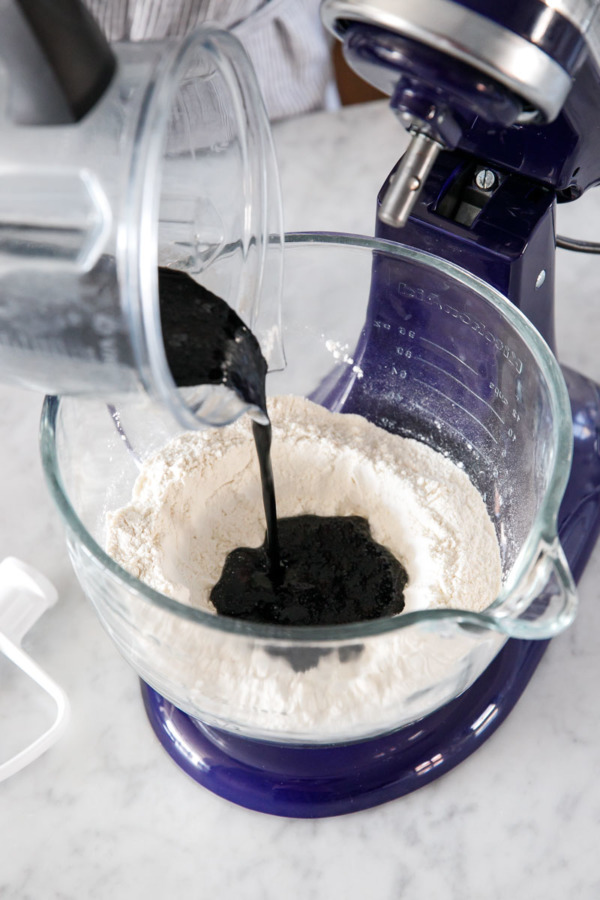
– The easiest way to get an even color throughout the dough is to blend the squid ink with the eggs and then add that liquid to the dry ingredients. This ensures the color is distributed evenly and you don’t end up with a streaky dough.
– One thing that is not optional when making homemade pasta is the rest period. Resting your dough allows the flour to fully hydrate and the gluten to relax, making for a pasta dough that’s much smoother and more workable than if you tried to roll it out immediately. You need to let it rest for AT LEAST 30 minutes, ideally more like an hour. You can also pop it in the fridge overnight to rest, just be sure you take it out at least 30 minutes before rolling to let it come to room temperature.
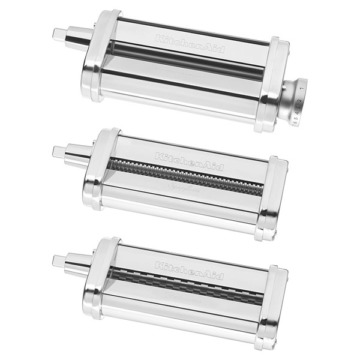
– Traditionally, noodles are cut using a chitarra or guitar string cutter, but you can use a pasta cutter (the KitchenAid attachment I use comes with both fettuccine and spaghetti cutters), or you can cut it by hand with a sharp knife (say if you want luxuriously wide pappardelle noodles). Just know that the noodles will expand when cooked, so for pappardelle I recommend cutting your noodles about 1/2-inch wide.
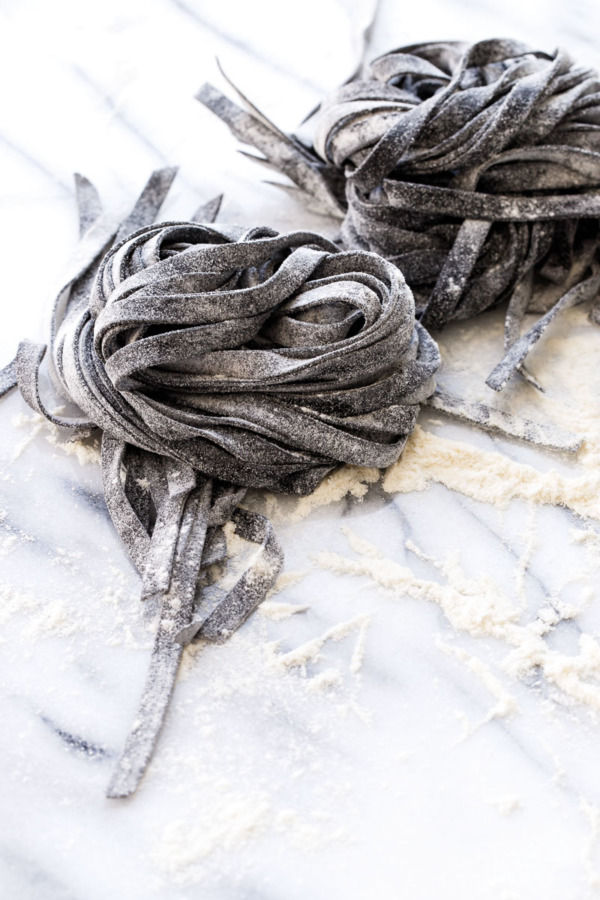
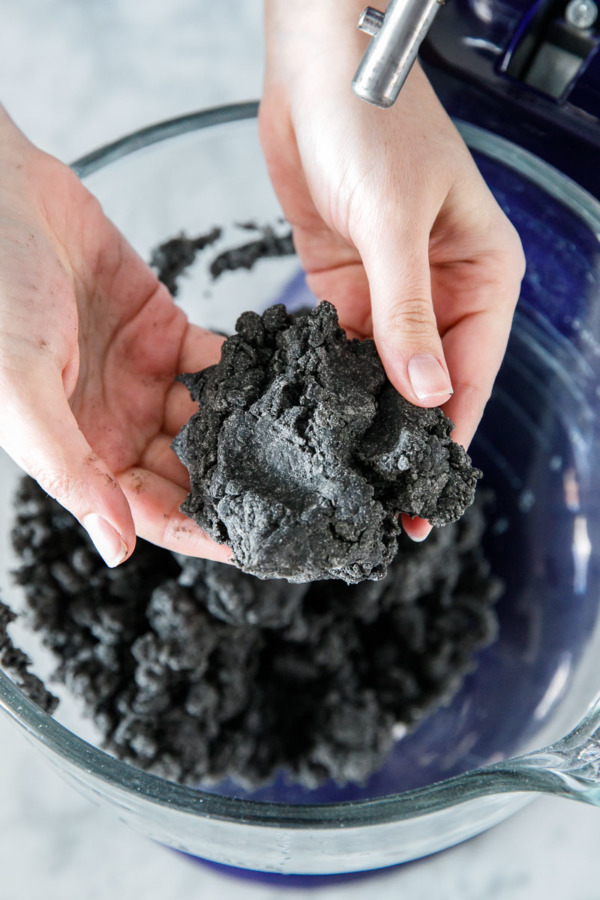
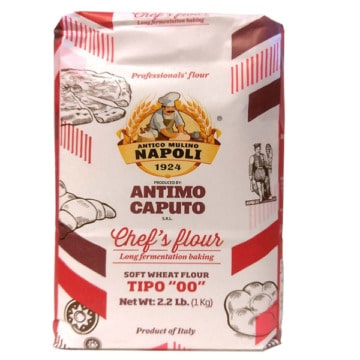
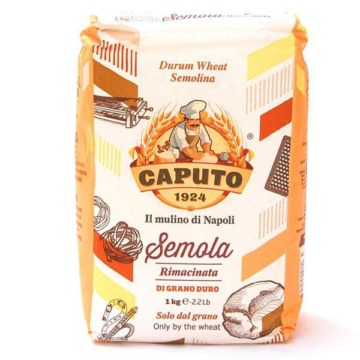
– I prefer a combination of Italian-style 00 and Semola flour in my pasta, as I like the flavor/texture that the semola adds (you can see below that the dough looks a bit sandy; if I had used entirely 00 flour it’s look much smoother and silkier).
I used Antimo Caputo brand 00 chef’s flour and fine semola flour, both of which are easily acquired online. You can read more about the different kinds of flours, and how they differ from regular AP flour below.
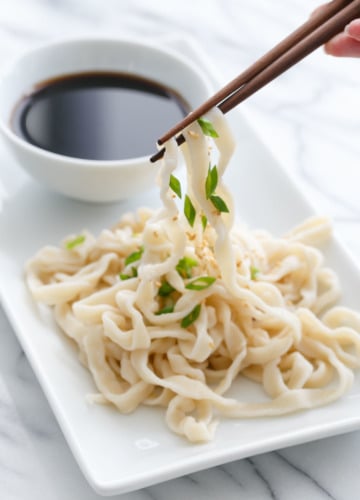
Italian 00 flour is the same protein-rich, finely milled flour we used for our homemade udon noodles. It’s also my favorite flour to use for pizza crust. Technically, 00 refers to the fineness of the grind and not the protein content, but most Italian 00 flours are higher in protein anyway. Note that there’s a popular flour brand (let’s just say it rhymes with Shming Shmarthur) that sells a 00 flour that is actually lower protein than regular all-purpose. Don’t use this. For pasta, you want higher protein to aid gluten development, otherwise your noodles will fall apart. (If you insist on ordering from Shming Shmarthur, buy their pasta flour blend instead).
If you don’t have 00 flour, bread flour would be your next best bet because of the higher protein content. And while you can use regular old all-purpose flour, just know you might need a bit of extra water to get your dough to come together.
Fine semola flour adds a lovely yellow color (well, when you’re not making black pasta at least) and also a slightly coarser texture that helps sauces stick.
It’s important to note that Semola flour and Semolina are NOT the same. Semola (note the missing -lin-) is a very finely ground flour perfect for pasta, while Semolina is much coarser, more like cornmeal. Look for a product that says semola or fine semolina pasta flour (Bob’s sells this and it’s the finer variety despite the -lina in the name, confusing I know!) If you’re not sure what you have, rub some between your fingers: it should feel like flour rather than cornmeal.
If you want to use all 00 flour, just swap it out cup for cup by volume, not weight, as semola is much heavier by weight than 00). Adjusted measurements are in the recipe below.
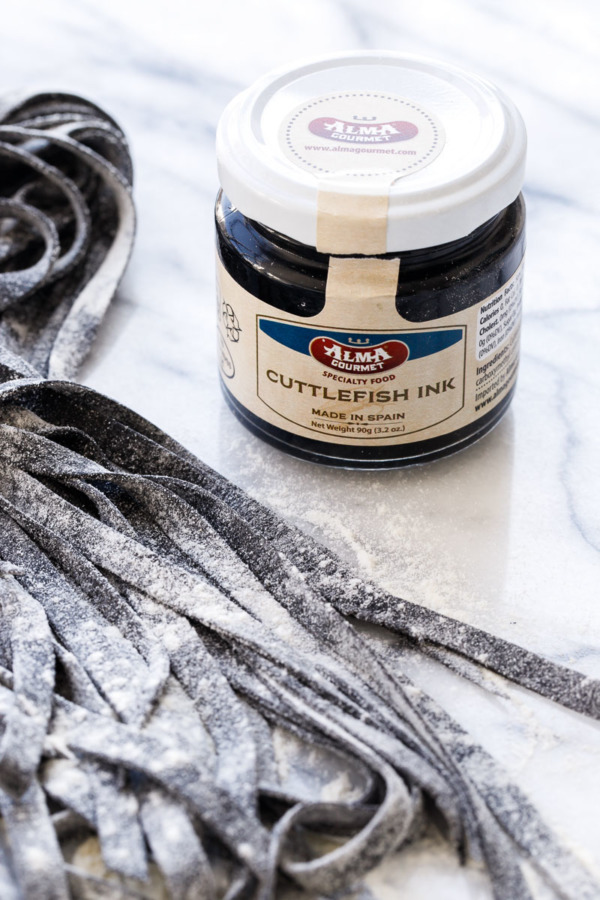
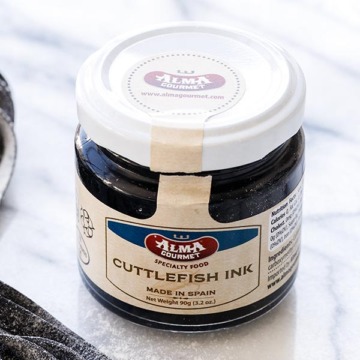
The other special ingredient you’ll need here is squid ink (also called cuttlefish ink), which provides both color and flavor to this pasta. It’s very potent: 1 tablespoon is more than enough for 8 whole servings of pasta. I used this brand available on Amazon, but I’ve also seen convenient packets available as well.
Squid ink is naturally salty, so I omitted any additional salt in the dough lest it start tasting like Play-Doh.
Did you know: while it looks black, squid ink is actually a very very dark brown. Chew on that for a while.
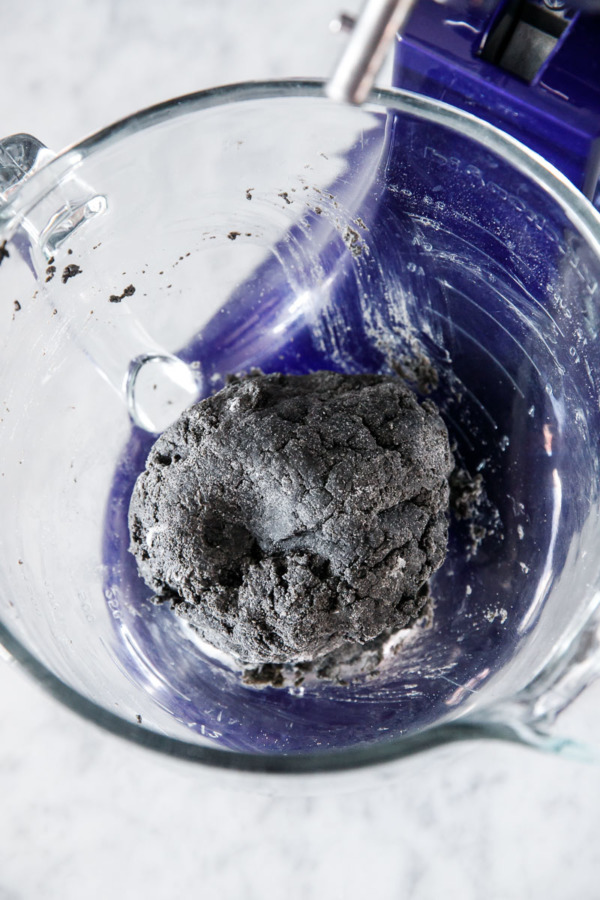
(See how smooth the dough above is compared to just after mixing? That’s the difference a good rest period will make.)
While you can make pasta the old fashioned way, I had a hard time getting a nice smooth dough (that and I can never seem to keep the flour dam from breaking, which makes for a messy scene when you’ve got squid ink in the mix) so I opted to use my stand mixer. If you do it by hand, just be sure you incorporate enough flour into your dough so it is nice and smooth and not sticky (as sticky dough will make a mess of your rollers when you go to roll it out).
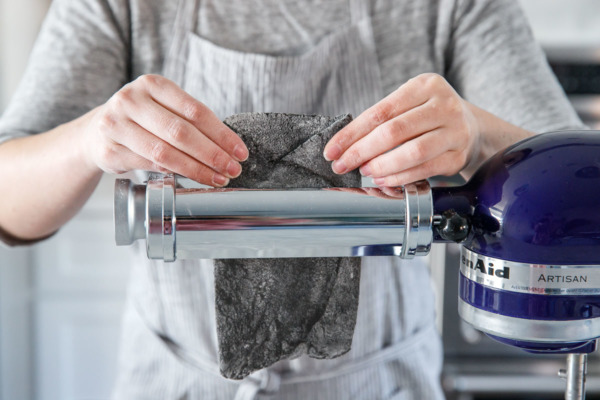
I run my pasta dough about 3 times through the thickest setting on my roller, folding in the edges of the dough after each pass. This, in essence, is further kneading the dough, creating a smoother and more pliable dough. You’re not folding it entirely in thirds, rather folding the rough edges in to the center where they overlap a bit but not entirely. You’re essentially defining the shape/size of the dough, with the ultimate goal being a piece of dough the width of your roller with nice square edges (although, as you can see, my dough usually develops a ‘tongue’ on one side… that’s hard to avoid).
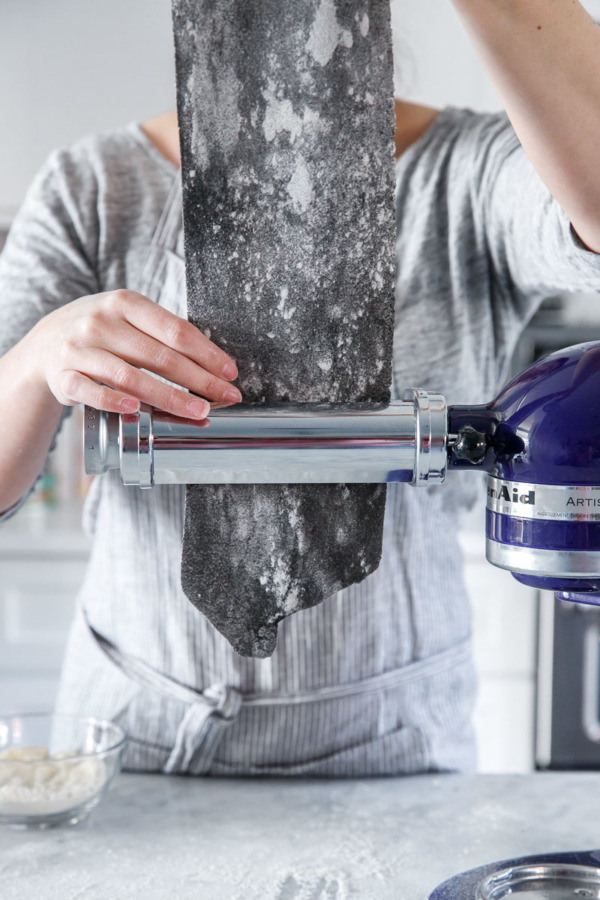
After about 3 passes and folds, you’re ready to start thinning the dough. Run it through the roller once on setting 2, then reduce it one click to 3, then to 4, and so forth. This gradually thins the dough in an even manner; if you jumped right up to 6 or 7 you’d likely jam your machine since the dough is quite firm.

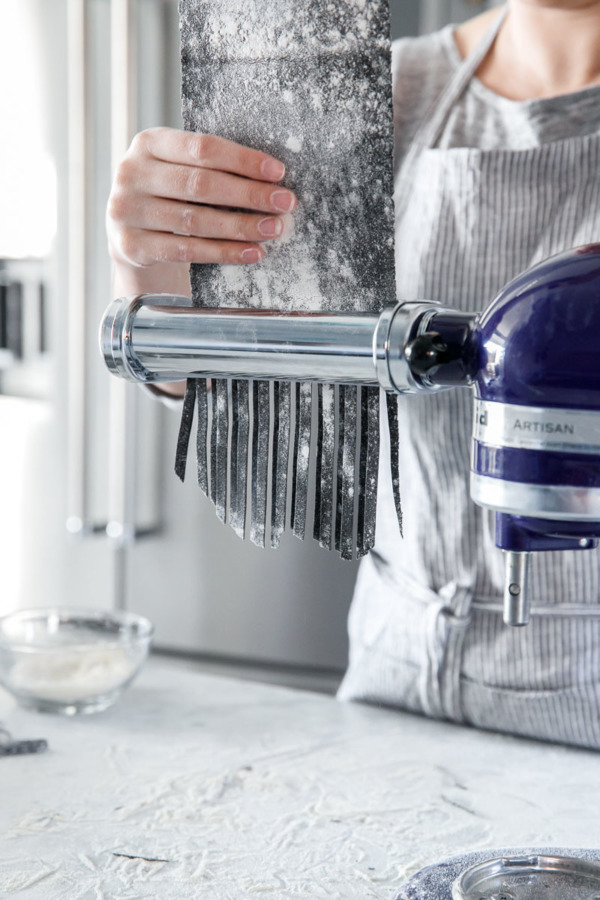
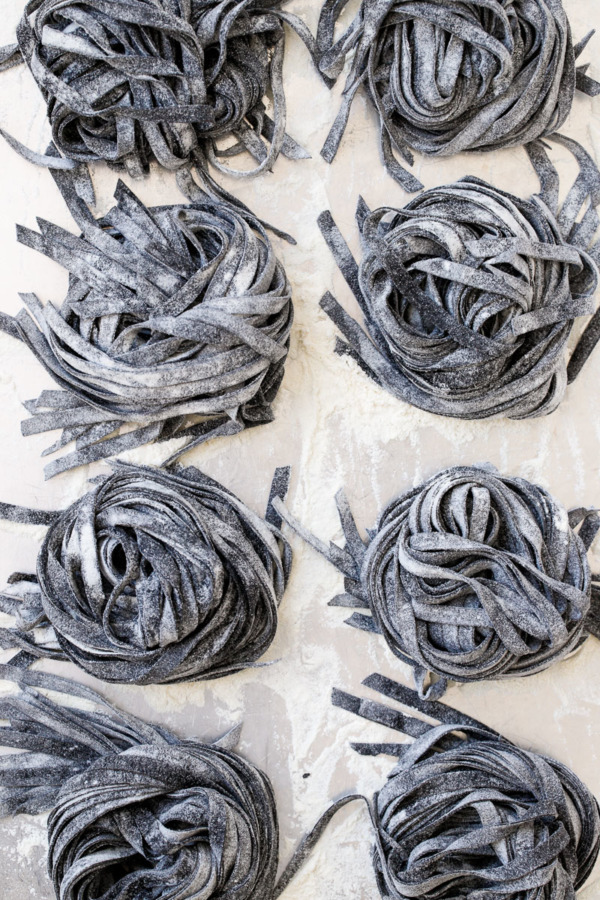
I cut my pasta into fettuccine noodles this time, although I’m a huge fan of the wider pappardelle noodles, which need to be cut by hand. You could also use the uncut pasta sheets to make ravioli (I’m thinking lobster. How lovely would that be?)
Now, what should we do with this lovely squid ink fettuccine we’ve just made? Well, stay tuned later this week for a recipe that you’ll simply adore!
Homemade Squid Ink Pasta
Homemade squid ink pasta has a mildly briny flavor and dramatic black color, making it perfect for seafood pasta recipes. This dough can be rolled and cut with a pasta cutter into thin spaghetti or fettuccine, or cut by hand into wide pappardelle noodles, or even shaped into ravioli.
Ingredients:
- 4 large eggs (about 7/8 cup)
- 1 tablespoon squid ink
- 2 1/4 to 2 1/2 cups (10 to 11 ounces) Italian 00 flour
- 1 cup (5 1/2 ounces) fine semola flour*
Directions:
- Place eggs and squid ink in a blender and mix on low speed for a second or two until uniformly colored.
- Combine flours in the bowl of a stand mixer fitted with the paddle attachment and mix briefly to combine. Make a well in the center of the dry ingredients and pour in egg mixture. Turn mixer to low speed until combined. Remove paddle and attach dough hook; knead on low speed for 3 to 4 minutes or until dough, while it might appear crumbly, will stick together when squeezed. If your dough seems particularly, add a teaspoon or two of water until dough just comes together. Alternatively, if it’s still sticky, knead in some more flour until it’s nice and smooth.
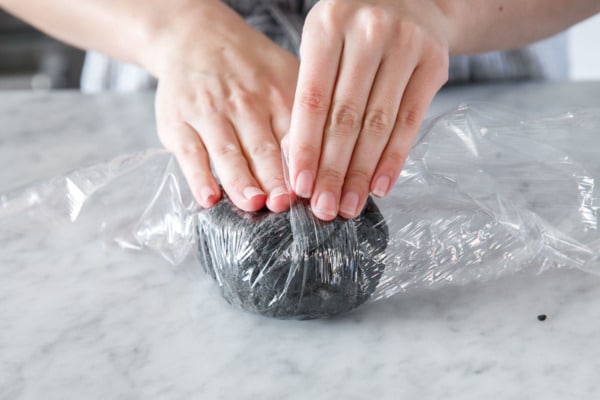
- Press dough into a ball; split in half and shape each half into a squashed ball. Wrap tightly in plastic wrap and allow to rest at cool room temperature for an hour, or in the fridge for longer (let return to room temperature for 30 minutes prior to rolling).
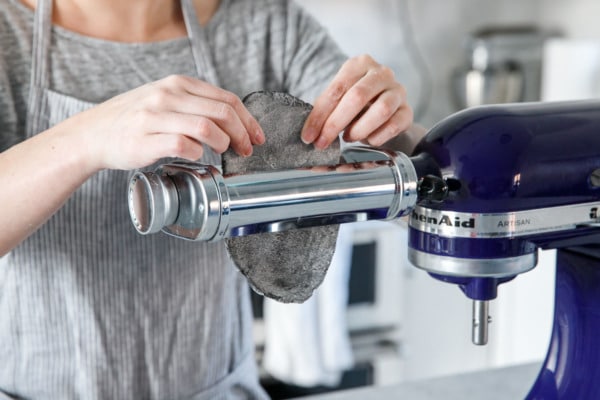
- Attach the flat roller to your mixer (or follow manufacturer’s instructions for other pasta rollers). Adjustment roller thickness to 1 (the thickest setting).
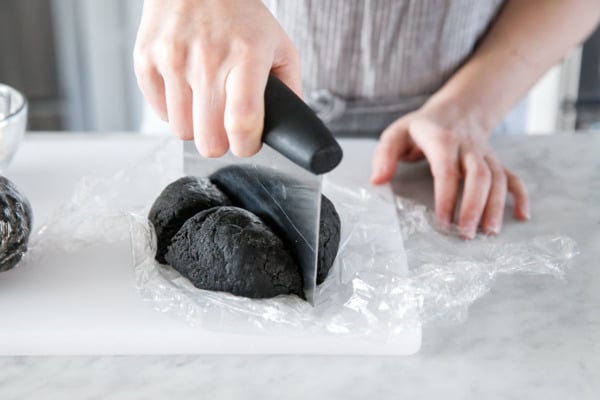
- Cut each dough ball into quarters. Using your hand, press and flatten one piece of dough to about 3/8-inch thick. Turn on the mixer to low speed and feed dough through rollers.
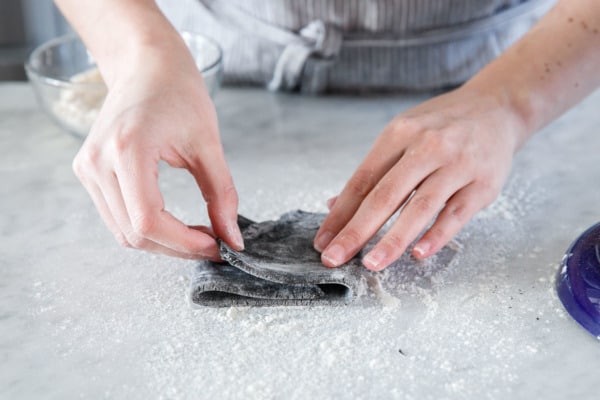
- Dust of excess flour and then fold the rolled dough into thirds, keeping the width of the piece approximately 4-5 inches. Lightly dust with more flour as needed, then feed the dough through again. Repeat this rolling and folding process once or twice more until the dough is smooth (you are basically kneading the dough and establishing the shape/width of the dough).
- Once smooth, stop folding, and start increasing the roller settings one notch at a time until the desired thinness is achieved. For fettuccine noodles, I recommend going up to 6 or 7.
- Lightly flour rolled strip of dough and set aside while you roll out the remaining dough.
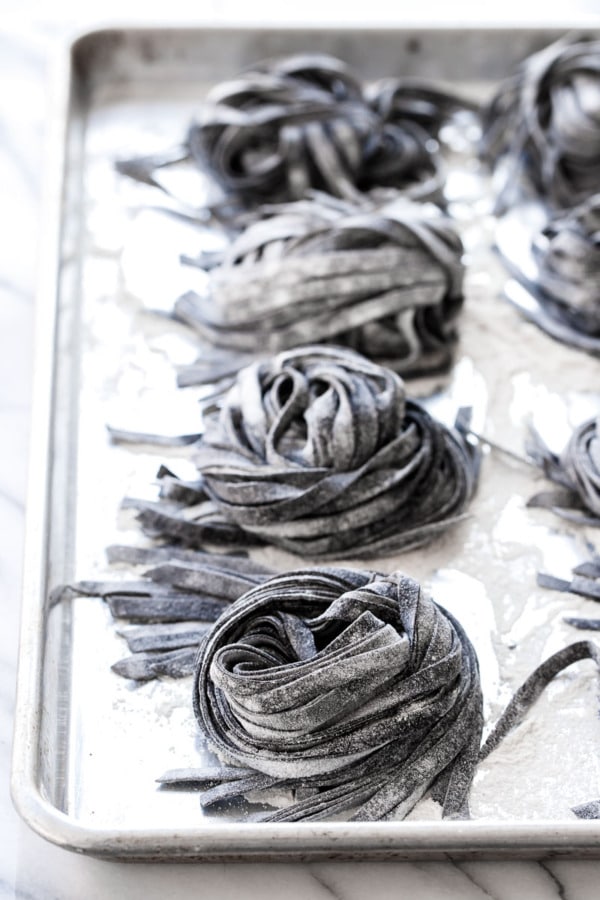
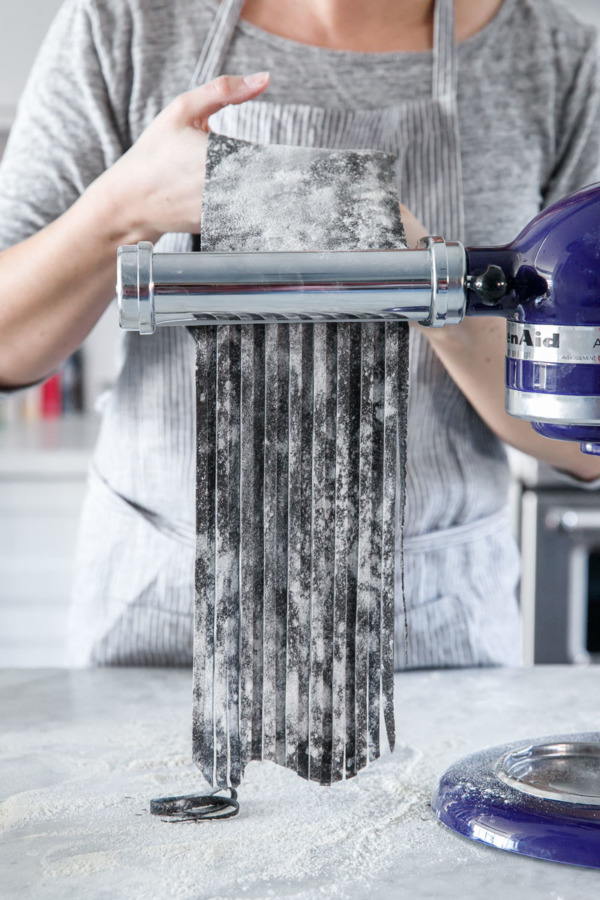
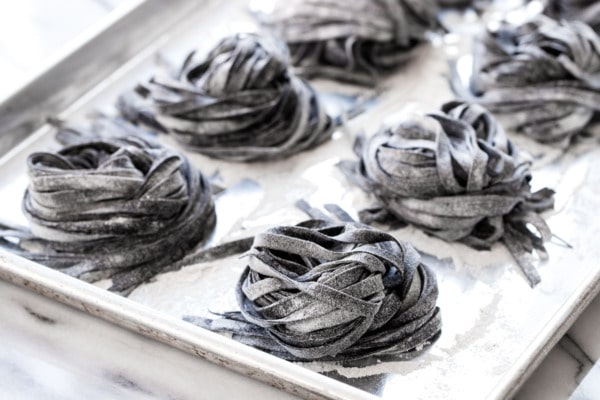
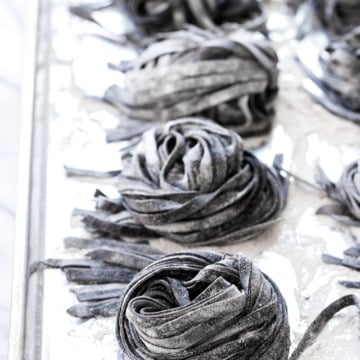
- Remove roller attachment and attach desired cutting attachments (I used the fettuccine cutter). On medium-low speed, feed each rolled piece of dough through the cutter. Dust noodles liberally with a mix of flour and semolina flour, then either spread pasta out on a pasta drying rack, or gather into loose bundles. Pasta can be used immediately or frozen for up to 1 month.
- Cooking instructions: fresh pasta cooks very quickly compared to commercial dried pastas. Cook in a pot of boiling salted water for about 2-3 minutes or until al dente (slightly more or less if you used a thicker/thinner setting).
*If you want to use all 00 flour, use 3 1/4 cups (or about 14 1/2 ounces). It’s slightly less flour by weight since the semola flour weighs quite a bit more than the 00 does.
Did you make this recipe?
Let us know what you think!
Leave a Comment below or share a photo and tag me on Instagram with the hashtag #loveandoliveoil.


Loved the instructions here! Helped me make my pasta better overall and the squid ink made this perfect!
Water amount to make it stick is so low in this recipe I end up using at least 3rd of a cup and I always use water infused with saffron makes it super tasty
This was a great recipe for pasta – the first I’ve tried without a crumbly or sticky mess. I searched high and low and could not find squid ink so I extracted the ink from one lb of squid – not nearly as daunting as it sounds. It was only 1/2 tablespoon of ink but the flavor was still delightful. I used this with your spicy squid ink fettuccine recipe, added the calamari too, and it was wonderful. Looking forward to using the left over pasta for lobster ravioli.
You can find it on Amazon!😊
”Cheese and seafood shall never mix” …said no Italian ever.
This, is an American myth, and a sign of limited experience on the part if the author (the recipe is however excellent).
Many regions of italy mix dairy with seafood. I guess Lindsay has never had crab ravioli fra diavolo, anongst other dishes.
Spent forever searching for the perfect squid ink pasta recipe, and this one was it! I only had AP and 00 flour so I substituted for the semolina, and it came out amazing, thank you!!
Can the noodles be frozen once cooked? Or what is the best storage method? Great recipe, by the way!
This recipe is fantastic. We made 14 batches (actually 7 double batches) to serve to 100 people for my son’s wedding. We made it and froze it raw and then cooked it on the day of the wedding. It was a hit with everyone. Thank you for sharing your pasta making knowledge!
Color me impressed! I’m so glad you enjoyed and huge congrats to your son!
Can o ask if you froze the dough as a ball or after you cut it? Thanks!
I’d freeze it after cutting. Shape loose ‘nests’ on a parchment-lined and flour-dusted baking sheet, then freeze overnight. Once frozen you can transfer them to a ziplock bag.
Can we use fresh squid ink??
I assume so, it shouldn’t be any different than jarred ink although I’ve never tried it myself.
hi! is it possible to avoid the eggs? I usually use 2 tablespoons of extra vergine olive oil as my grandma taught me and don’t use the egg for a plain but still delicious pasta. can I do the same with this recipe
This is an egg-based pasta. I assume you could add squid ink to an eggless pasta, I’d start with that instead of trying to convert this one.
wonderful recipe, I understand that squid ink has some unique nutritional benefits too, just don’t remember what they are! Thank you for the recipe though!
Oh, fun! I’m also trying to make more homemade pasta this year – especially since I got the pasta roller for my kitchenaid for Christmas. :) This looks like fun once I figure out the basics.
Hello Lindsay ! Few weeks ago, my mother and I have decided ti clean the basement and have found some wooden shapes my grandmother used to make pasta dozens of years ago. I really thought it belongs to Victorian ways but now I bumped to your “place” and found out it’s easy… I thank you so much for detailed instructions and chasing away the idea of not making it . Ever ! You’re the best !