Funny how 12 days in Japan can change your entire culinary outlook, which you’ve probably noticed from the shift in recipes I’ve been posting lately. What can I say, I get inspired by my culinary travels.
For example, before this trip, my ultimate comfort food was pasta with butter and parmesan.
Now? Well, you’re looking at it.
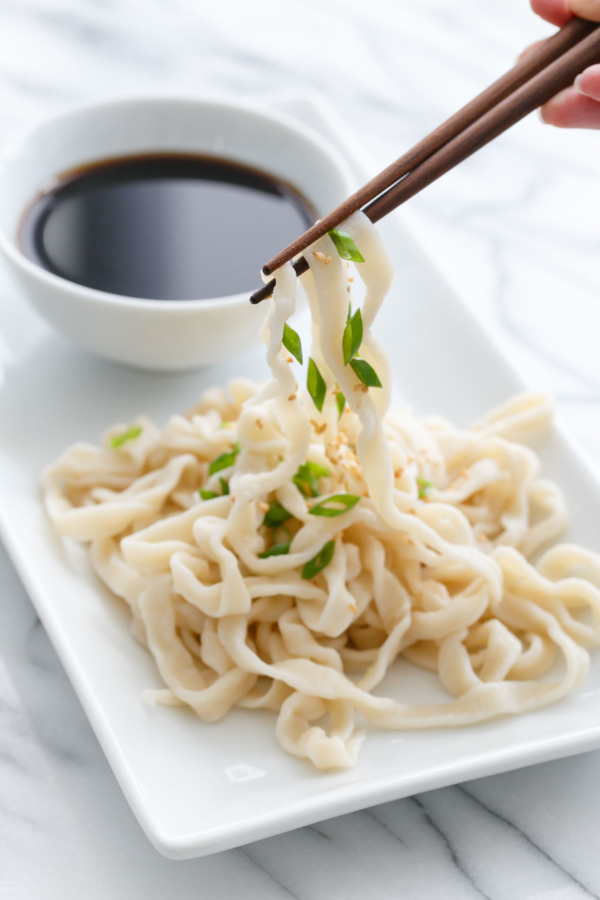
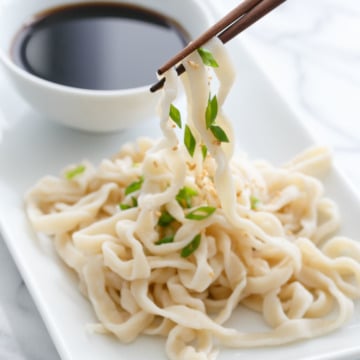
Cold udon noodles served with Mentsuyu, a flavorful soup base used as a dipping sauce for noodles. It’s made from soy sauce, mirin, sugar, and steeped with bonito (dried fish flakes) and kombu (dried kelp), which give it an incredible richness and umami. You can buy pre-made mentsuyu concentrate, or make your own with a few specialty ingredients that you can easily find at an Asian market or online.
After enjoying some amazing fresh udon noodles in Japan, like, seriously mind blowing, we set out to make our own udon noodles at home. Turns out, it’s really quite easy!
Udon noodles are distinctive in their thickness, their bounce and their chew. Traditional Japanese udon is actually kneaded by foot. That’s right, not by hand, by foot. Trust me on this one: I made multiple batches using just the stand mixer and by hand, and none turned out as well as the one I kneaded with my feet. There’s a reason the Japanese have been doing it this way for centuries.
Simply put the dough in a plastic bag, wrap it in a clean kitchen towel and smush it with your feet until it’s flat. Open up the bag, fold it up into a ball again, and repeat 3-4 times until you have a dough that’s as smooth as your earlobe.
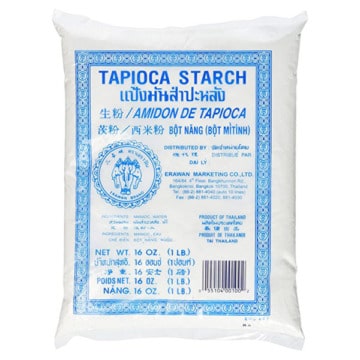
If you want to make homemade udon noodles, you just need flour, salt, water, and a little tapioca starch for good measure (though I’ve seen plenty of recipes without this last ingredient, but I found noodles made with it to be smoother and bouncier overall). I also used 00 pizza flour for my noodles, which is slightly higher in gluten and more finely ground than standard AP flour and better approximates the flour that Japanese cooks would use. If you can’t find 00 flour, you can use a mix of bread and AP flour instead, though your dough won’t be quite as smooth.
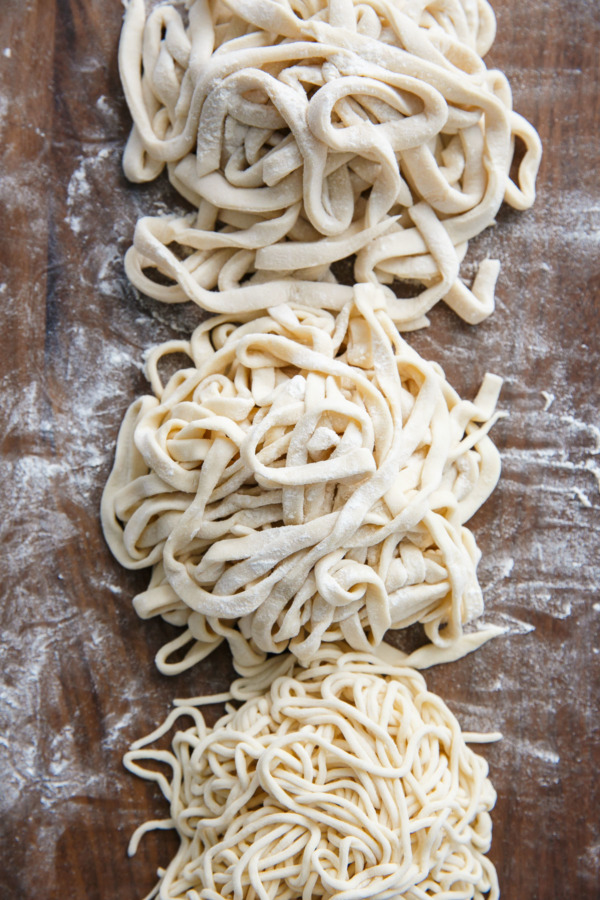
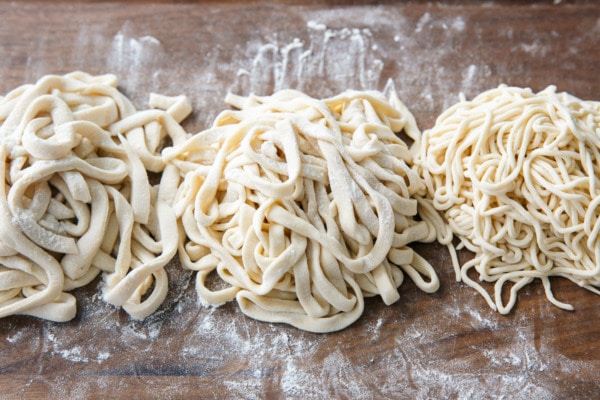
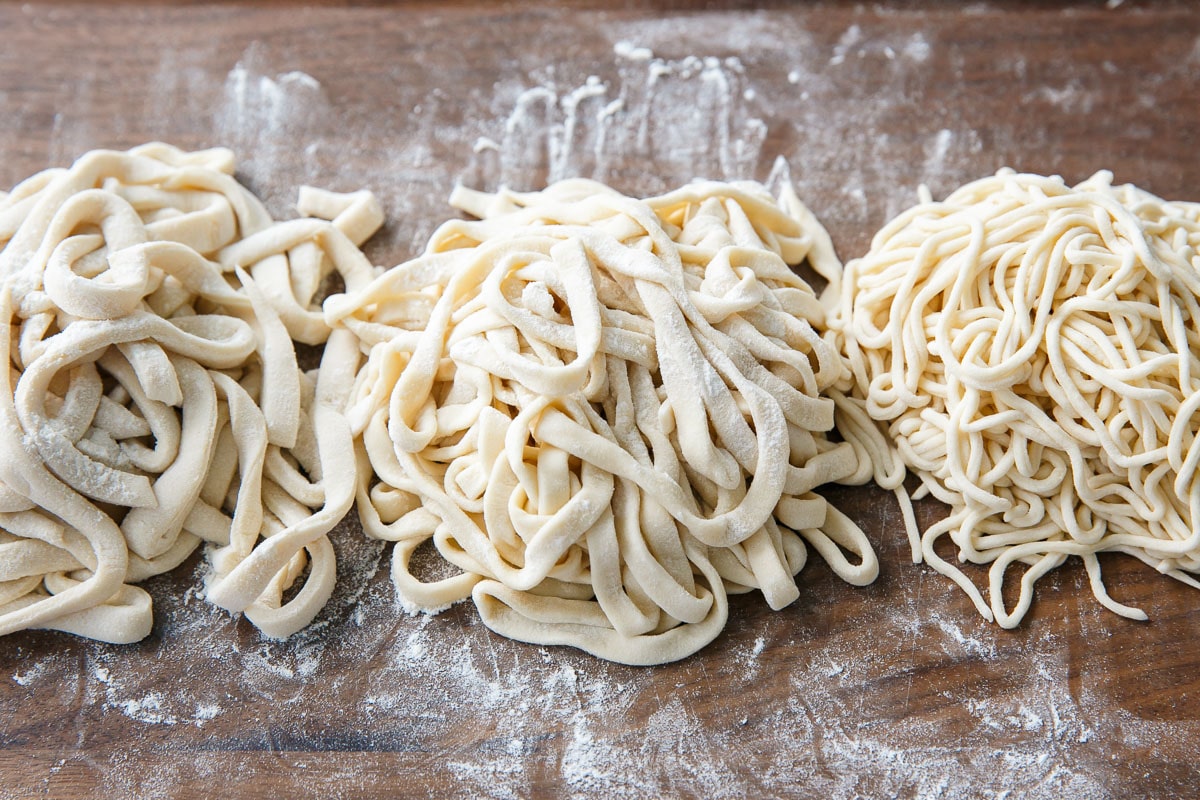
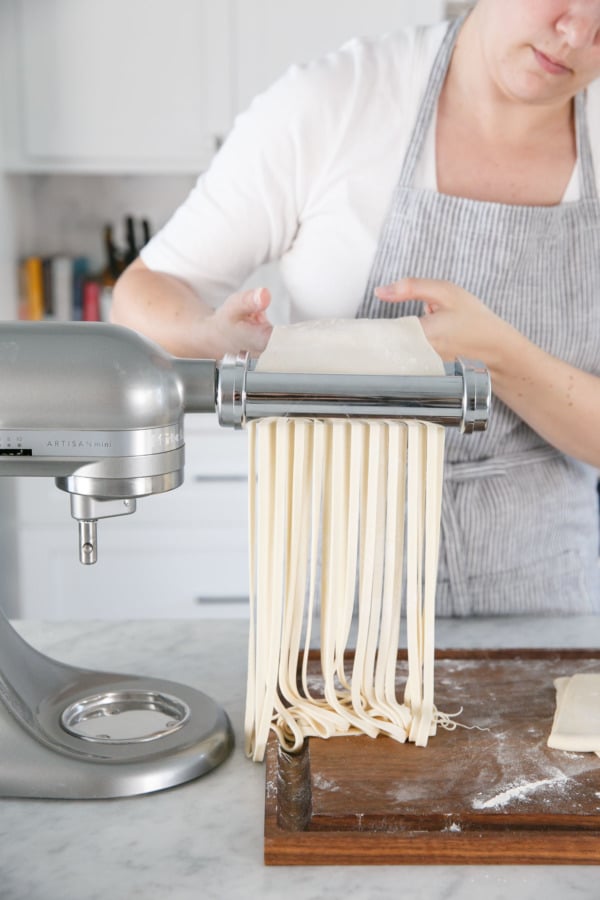
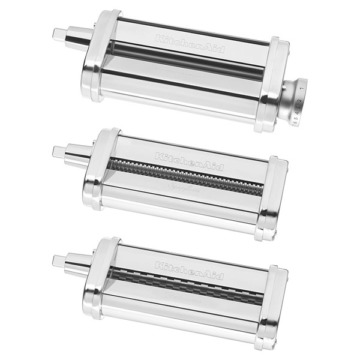
While udon noodles are traditionally hand rolled, we sped up the process a bit using the KitchenAid® Pasta Roller & Cutter attachment. For thicker noodles, you can roll them out to thickness 1 and then cut by hand. Or, if you prefer thinner noodles, roll to thickness 2 or 3 and then use the fettuccine or spaghetti cutters to quickly cut them into perfectly even noodles. They do swell quite a bit when they cook, so even the spaghetti size noodles are delightfully thick and chewy once cooked.
Homemade Udon Noodles with Mentsuyu Dipping Soup
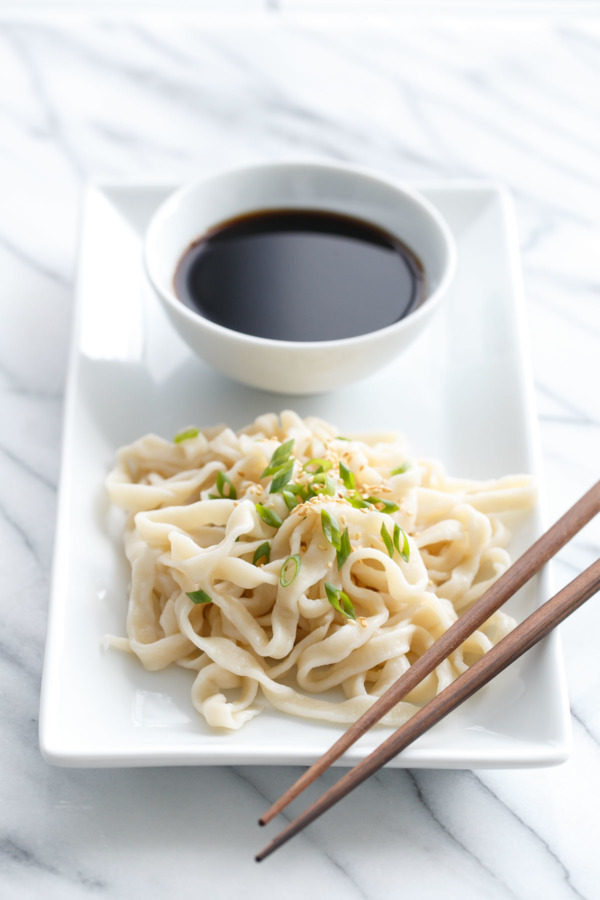
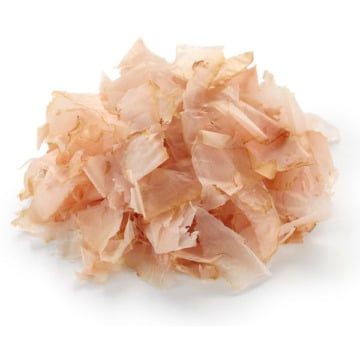
Serve your homemade udon noodles cold with mentsuyu dipping soup: a flavorful broth made from bonito flakes, sake, soy sauce, mirin, and sugar.
Ingredients:
For Noodles:
- 2 cups (255g) 00 pizza flour
- 1/4 cup (28 grams) tapioca starch
- 1 1/2 teaspoons fine sea salt
- 1/2 cup lukewarm water, plus more as needed
For Soup:
- 1 batch homemade udon noodles or 1 package fresh or frozen noodles
- 1 cup mirin
- 1 cup soy sauce
- 1/2 cup sake
- 1 2-inch piece kombu (dried kelp)
- 1 cup dried bonito flakes
- sesame seeds and thinly sliced green onion, for garnish.
Directions:
For Homemade Noodles:
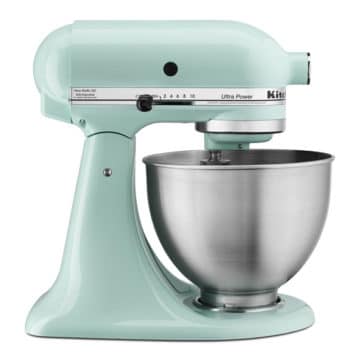
- Combine flour, tapioca, and sea salt in the bowl of your KitchenAid® Stand Mixer fitted with the dough hook attachment. Mix to evenly combine. Slowly drizzle in lukewarm water, scraping down the sides of the bowl as needed, until dough comes together into a shaggy dough. The dough should be fairly dry and stuff, but still come together into a loose ball. If necessary, add an additional 1-3 tablespoons of water, 1 tablespoon at a time, until dough comes together.
- Knead dough on speed 1/2 for 5 minutes.
- Transfer dough ball to a gallon-sized zip top bag and partially seal (don’t fully seal as the air needs to be able to escape. Place bag between layers of clean kitchen towels, then set on the floor and knead with your feet until dough has flattened. Open bag and fold flattened dough into quarters, then partially seal, wrap in the towel, and repeat again. Repeat 3-4 times until dough is very soft and smooth.
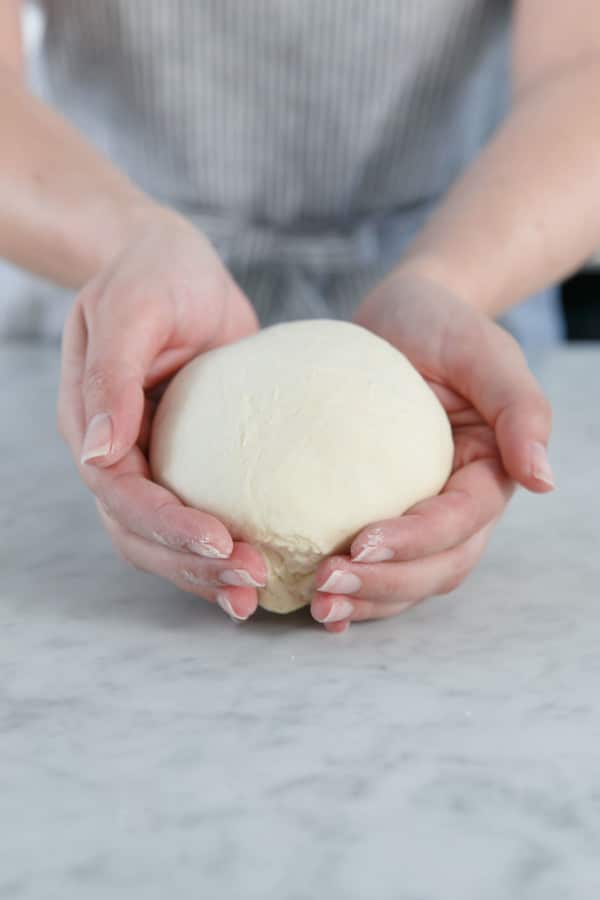
- Shape dough into a smooth ball, folding the edges under towards each other and pinching bottom to seal. Place in a clean plastic bag and seal, removing as much air as possible. Let sit at room temperature for 3 to 6 hours, or refrigerate overnight. If refrigerated, bring the dough to room temperature for 1 to 2 hours prior to rolling.
- Cut dough ball into two even pieces, and flatten each piece to a rectangle roughly 3/4-inch thick. Lightly dust with flour.
- Fit your KitchenAid® Stand Mixer with the pasta roller attachment set to thickness 1. With your mixer set to speed 2, slowly feed one piece of dough through the roller. Feed it back through thickness 1 a second time. Repeat with second dough ball.
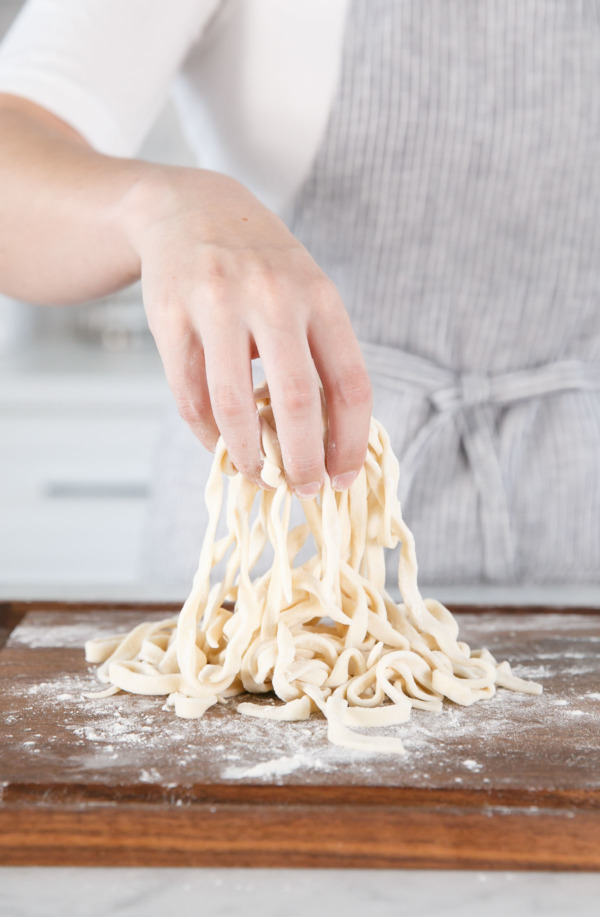
- For handout noodles, stop at 1. Generously dust with flour and fold dough into thirds, then slice into noodles with a sharp chef’s knife. Unfold noodles and toss with more flour to keep noodles from sticking together.
- For machine cut noodles, run your dough through the roller again to thickness 2. Swap roller for the fettuccine cutter. Dust dough sheets with flour and then run through the cutter with the mixer set to speed 3/4. Sprinkle noodles with flour and toss to coat.
- For thinner “somen” noodles, run dough again through the roller set to thickness 3, then swap roller for the spaghetti cutter. Dust dough sheets with flour and then run through the cutter with the mixer set to speed 4/5. Sprinkle noodles with flour and toss to coat.
- To cook noodles, bring a large pot of water to a gentle boil. Separate noodles a bit to keep them from sticking too much, then add to boiling water. Cook for about 5 minutes or until noodles float to the surface (thinner noodles will take less time to cook). Serve warm or, for cold noodles, rinse with cool water to stop the cooking process and keep noodles from sticking together. Drain well before serving.
- Fresh, uncooked noodles can also be frozen: simply spread the noodles out on a lightly floured cookie sheet and place in the freezer for 6-12 hours, then transfer noodles to a zip-top freezer bag. Cook the noodles directly from frozen, just add 1-2 minutes to the cook time.
For Noodle Soup:
- In a medium saucepan, add sake and bring it to a boil over medium high heat for a few seconds to evaporate some of the alcohol.
- Reduce heat to low; add mirin and soy sauce, followed by kombu and bonito flakes. Cook for 5 minutes to allow the flavors to absorb.
- Turn off the heat and set aside until cool down. Strain through a fine mesh sieve to remove solids.
- Cook noodles according to package instructions (or, for homemade noodles, cook for 3 to 5 minutes until noodles float to the surface.) Rinse under cool water.
- Spoon soup base into serving bowls. Serve alongside cold noodles for dipping. Sprinkle with sesame seeds and thinly sliced green onion, if desired. Extra soup base will keep, refrigerated in an airtight container, for up to 3 days.
Soup base adapted from JustOneCookbook.
All images and text ©Lindsay Landis / Love & Olive OilDid you make this recipe?
Let us know what you think!
Leave a Comment below or share a photo and tag me on Instagram with the hashtag #loveandoliveoil.
This recipe was created in partnership with KitchenAid®. All opinions are my own. Be sure to share your take on this recipes on Instagram using #MadeWithKitchenAid for a chance to be featured on the @KitchenAidUSA account!




This looks great! I am assuming from your description that you cannot use the fettuccine cutter if rolling out only to thickness 1 on the KitchenAid? Is the maximum thickness for the cutter 2?
I can’t recall… I’d recommend consulting the manual on your pasta attachment, it’ll tell you if there is a minimum thickness.
I can’t wait to try this. The udon I had in Japan was life-changing but I didn’t ever think to try making my own. Loving all your Japan-inspired recipes!
This looks delicious, Lindsay! Can’t wait to see some more recipes inspired by your travels.
NEED THIS IMMEDIATELY.