(This is a sponsored post in partnership with the Cherry Marketing Institute)
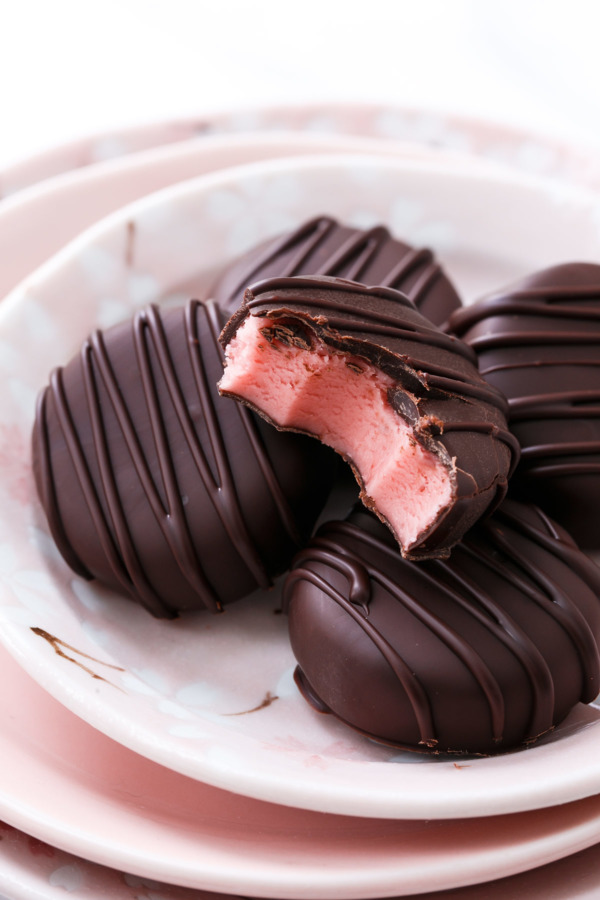
I’ve been dreaming of these candies. Ever since I got back from Victoria with two of Rogers’ famous Victoria creams, promptly devouring them and wishing I had bought more. Without plans to return to Victoria in the near future, I set out to recreate these dreamy candies at home.
Easier said than done, of course. After hours of research, it seemed that the candies most closely resembled a fondant cream, or cream fondant candy filling. Don’t mistake this fondant for the same tasteless stuff that enrobes wedding cakes: fondant candy filling is sweet and creamy and can be flavored in an infinite number of ways. It’s little more than cooked sugar, cooled and worked just so so that the sugar crystals form a smooth and pliable consistency.
It’s the just so part that really threw me for a loop.
Turns out fondant is not so easy, at least the traditional cooked kind. No matter what method I tried, I couldn’t seem to get that velvety smooth texture. It was either too soft and wouldn’t set, or it turned grainy and crumbly no matter how much I kneaded it. Not wanting to accept defeat entirely, I blame the humidity. It’s ruined my fudge before, and definitely doesn’t play well with macarons, so it makes sense that it’s the reason I couldn’t get my fondant to set. Right? Right.
Anyway, after a handful of tries with varying degrees of success, I turned to an uncooked fondant recipe instead. I like to call it cheater fondant (much like you can make cheater fudge also with mass quantities of powdered sugar), but in reality it’s just as legit as the cooked stuff, just a different method. I found plenty of old-fashioned and traditional candy recipes that call for an uncooked fondant. I’ll probably give cooked fondant another try this fall or winter when the humidity is less of an issue (although then I won’t really have an excuse if it still fails).
But for now, the uncoooked fondant is as easy as it is delicious, with the added bonus being that you don’t even have to turn on the stove.
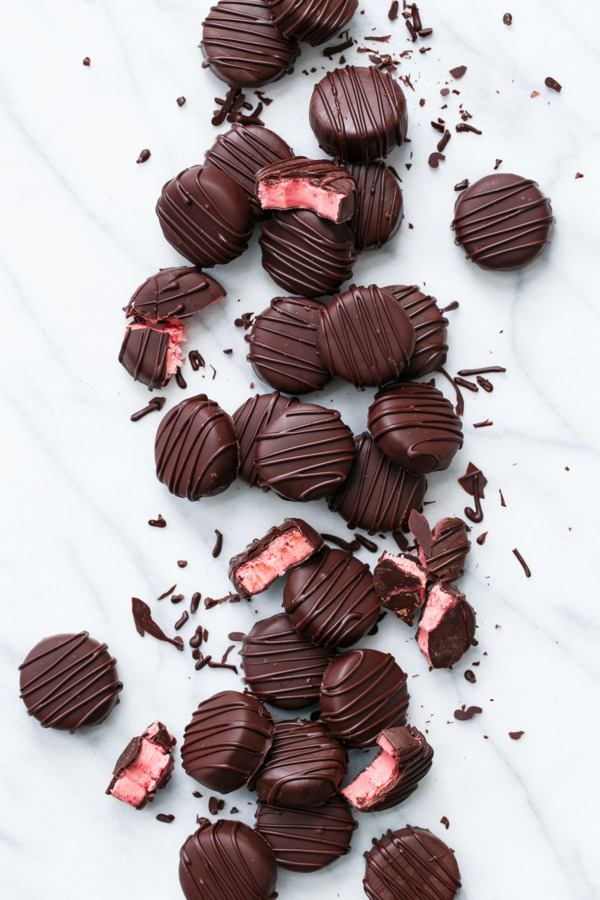
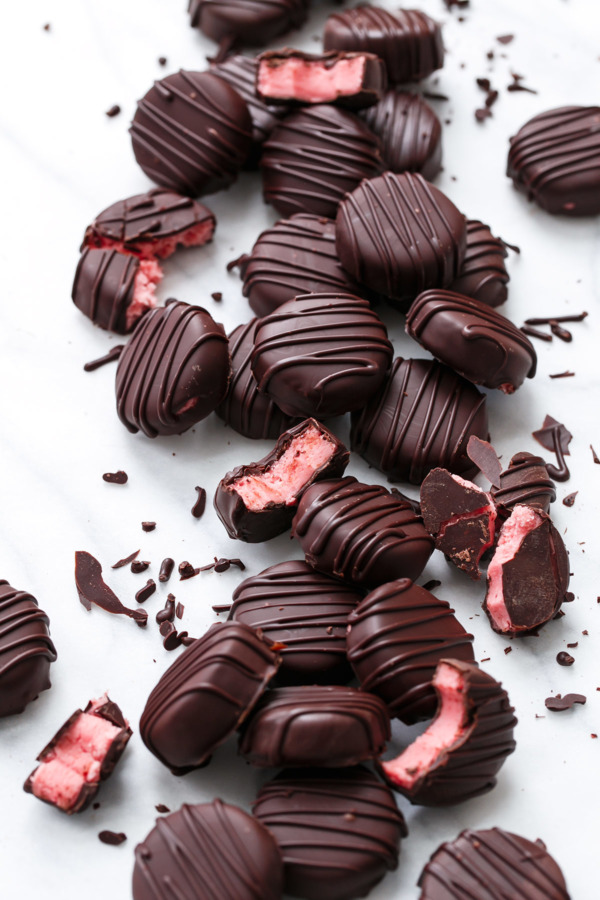
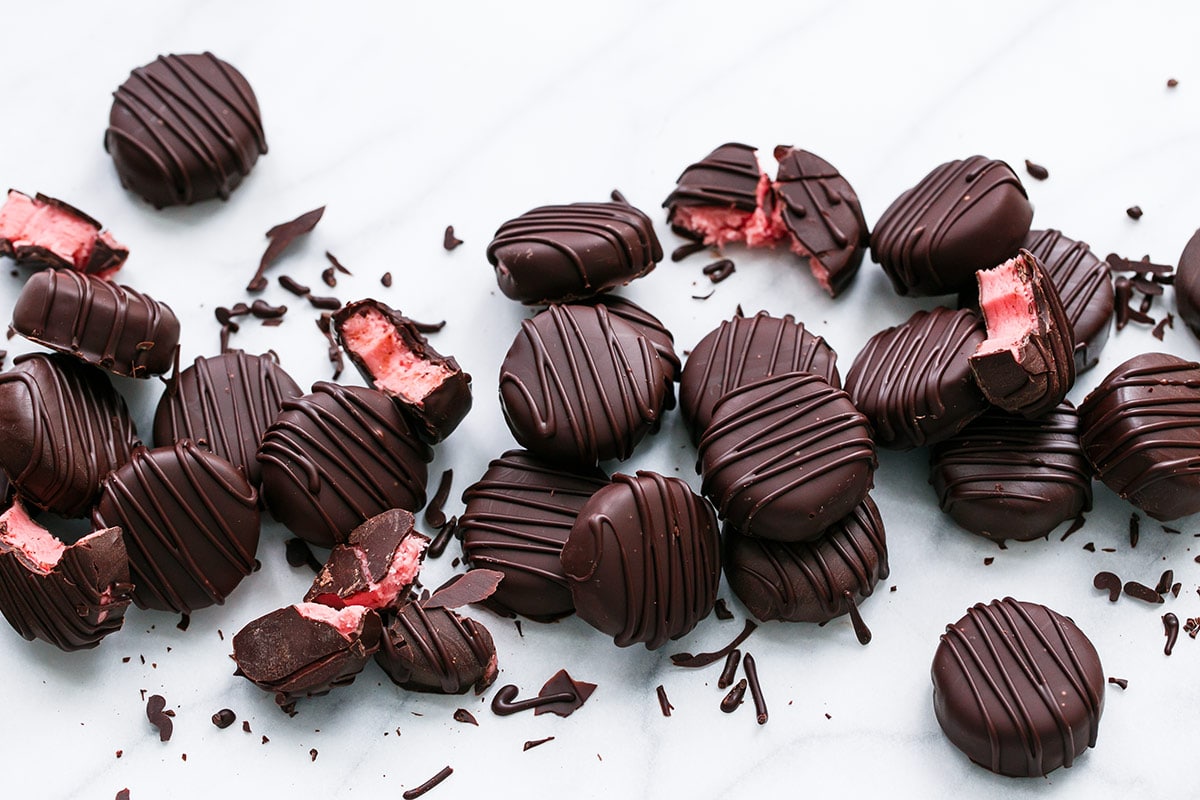
While my version of the famous Victoria Cream is certainly sweeter than the original (the powdered sugar base pretty much ensures that), the texture is a delightful surprise in the center of the chocolate. Like a thick buttercream. Might I suggest letting your candies come to room temperature before eating (if you can wait, of course), when the filling is soft and luxurious and literally melts in your mouth.
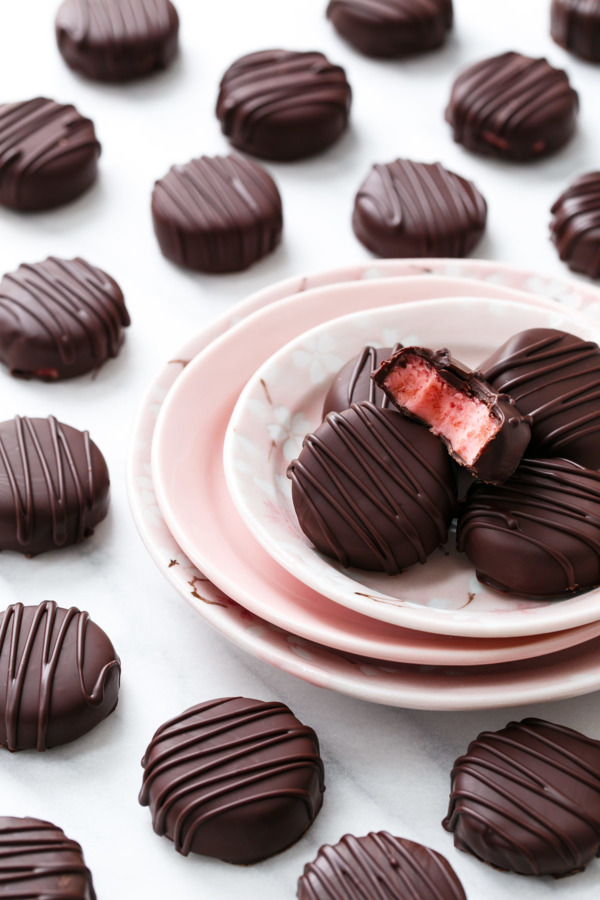
The basic fondant filling is only the beginning; the real fun happens when it comes to flavoring. I chose to use whole tart cherries, pureed and folded into the filling. The resulting filling is soft and sweet and faintly fruity, with little specs of tart cherry throughout. The tangy fruit does a nice job of cutting through some of the saccharine sweetness too.
You could certainly use other flavorings as well, just adjust the powdered sugar accordingly (with a dry flavoring or a very concentrated extract you’ll likely only need 2 1/2 to 3 cups of sugar instead of 3 to 4 cups).
If you are lucky enough to live near where tart cherries are harvested, you may be seeing fresh ones in the markets right around now, July being the peak harvest season for these short-seasoned fruits. And you can certainly use fresh tart cherries in this recipe if you can find them (send me some!)
However, for the rest of us, frozen tart cherries work equally as well. The bonus being the pits are already removed for you. :) Just be sure to let them thaw completely in a colander or sieve, allowing the excess juice to drain off into a bowl. You want as much cherry flavor as you can get with as little moisture as possible. But don’t toss the juice – gulp it down, it’s too good (and good for you!) to waste.

There are a number of options for shaping and coating the candy. You could do like I did and rollout the filling, then cut out disks (or other shapes) with a cookie cutter. You could also simply roll the filling into balls, or even press it into molds for fancy schmancy shapes. Either way, as long as your filling is sufficiently chilled you should have no problem dipping it (and for that reason I recommend working in batches. I was able to dip about 10 candies before it started to soften. Then again I made these on one of the hottest days of the year. If it’s cooler where you are you can probably do more at once.)
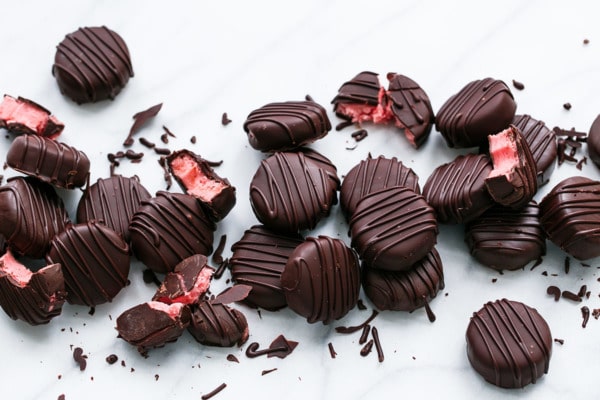

Tart Cherry Fondant Creams
Inspired by the famous Victoria Creams, these homemade candies feature a tart cherry fondant filling and rich dark chocolate coating.
Ingredients:
- 1/4 cup unsalted butter, softened
- 3 tablespoons corn syrup
- pinch salt
- 3 to 4 cups powdered sugar, or as needed
- 2 tablespoons tart cherry puree (from about 1/4 cup fresh or frozen tart cherries*)
- 1/2 teaspoon vanilla extract
- 2 drops red food coloring (optional)
- 1 pound finely chopped semisweet chocolate or chocolate candy coating, for dipping
Directions:
- In a large mixing bowl or the bowl of a stand mixer, beat butter, corn syrup, and salt until smooth. Add 2 cups of powdered sugar, 1/2 cup at a time, mixing well until incorporated.
- Add 2 tablespoons cherry puree and mix well, scraping down the sides of the bowl to be sure no white filling remains. Mix in vanilla and food coloring, if desired (note that while the food coloring is optional, your filling will be more of a pale mauve without it).
- Add remaining powdered sugar, 1/2 cup at a time, until filling is thick and pastelike. Depending on the temperature/weather/alignment of the planets, you may only need 3 cups of powdered sugar, or up to 4. Less sugar will result in a softer filling; more sugar will be easier to dip but also quite a bit sweeter, so use your judgement to find a balance.
- Dump filling out onto a piece of plastic wrap and shape into a 1-inch thick disk. Wrap tightly in two layers of plastic wrap and refrigerate for 2 to 4 hours.
- Unwrap filling and lightly dust with powdered sugar. Sandwich between two layers of plastic wrap and roll into a 1/2-inch thick sheet, flipping over part way through the process and dusting with more powdered sugar as needed so filling doesn’t stick too much.
- Cut out 1 1/2-inch rounds using a cookie cutter and arrange on two parchment-lined baking sheets. Alternatively, instead of rolling/cutting the candy centers, you can also simply roll into 1-inch balls, or even press into silicone candy molds for fancier shapes.
- Chill shaped filling for at least 4 hours or overnight if possible. If it is really warm in your kitchen you may even want to pop them in the freezer for 15 minutes just prior to dipping.
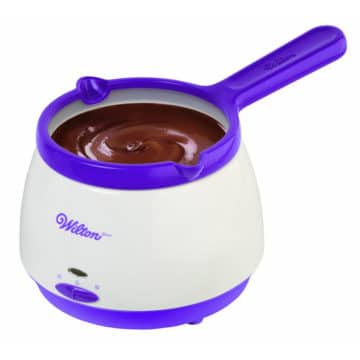
- Melt your chocolate or chocolate candy coating. If using straight chocolate, try to melt this very gently. I love my little chocolate melter, but you can also use a double boiler or the microwave, heating your chocolate in short bursts at half power. If you can melt the chocolate without allowing the temperature to exceed 88 degrees F, it should hold its temper and produce a nice shiny, snappy shell. Otherwise, your candies will need to be refrigerated for the chocolate to stay set.
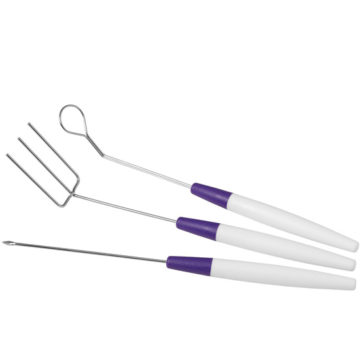
- Remove half of the candy centers from the fridge/freezer. Using a fork or dipping tool, dip each center in the melted chocolate until fully coated (try not to let it sit too long in the warm chocolate or it will start to soften). Tap off excess chocolate, then transfer to a new parchment-lined baking sheet, using a toothpick if necessary to help remove the candy from the fork. Repeat with remaining candy centers, keeping centers chilled until you are ready to work with them.
- Refrigerate dipped chocolates for 10 to 15 minutes or until set. If you have leftover chocolate, feel free to transfer it to a squeeze bottle or piping bag and pipe squiggles on top of your candies for a decorative touch.
- Candies will keep in an airtight container (refrigerated if it’s too warm or your chocolate isn’t properly tempered) for up to 1 week.
*If starting with frozen cherries, place cherries in a sieve or colander over a bowl and let sit at room temperature for 2 to 3 hours or until completely thawed and most of the juice has drained off. Pat dry, then puree.
Did you make this recipe?
Let us know what you think!
Leave a Comment below or share a photo and tag me on Instagram with the hashtag #loveandoliveoil.

 Disclosure: This post was sponsored by the Cherry Marketing Institute. As always, all opinions written are purely our own. We’re incredibly grateful for opportunities like these that allow us to continue sharing delicious recipes with you, so thank you for supporting us and the brands we love.

Hello! how are you? I would like to ask you something. Can I use cherry jam instead of frozen cherries? Thank you
You probably could, though you’re going to get less cherry flavor and more sweetness from the sugar in the jam. Don’t add too much jam or it’ll affect the consistency of the fondant.
Made these today! They are soooooo good! I couldn’t find frozen tart cherries so I had to use canned. They worked pretty well. I added extra puree and a little bit of cherry flavoring and a tiny bit of almond extract.
am wondering how to go about using this recipe to make other kinds like orange cream, strawberry and raspberry or chocolate cream centers to make them. got any tips on how to go about it?
I haven’t tried any other flavors personally, so I can’t say. The key would be making sure the total quantity of liquid remains the same so the candies would keep the same consistency. I would think other berries would be very similar to the cherries in this case, but orange juice would be much waterier.
I did strawberry and they turned out lovely. The flavor is so delicious so yes, for me, strawberry was a success.
how would you go about making orange creams using this recipe? and raspberry too or chocolate cream ones? am a little rusty in making chocolates like I used to do in the past but I love this recipe and want to try strawberry creams as well using this recipe? got any tips on how I go about it?
Do you think I could make these less sweet by subbing in some tapioca starch for some of the sugar? I love the idea of these, but the person I want to make them for has no sweet tooth!
I’m not sure this is the right recipe for you. Since the filling is uncooked, tapioca starch would likely be very unappealing in texture and flavor. It’s really not comparable. You might be better off finding a recipe that’s less sweet to begin with.
Hello. For a less sweet version I use dried fruit pulsed to a powder. Add it to the corn syrup and butter to moisten, but only 2 tbl syrup. This allows u to use far less pd sug. Hope this helps someone. Example: for raspberry if I can’t find raspberries I use strawberries with raspberry extract.
Well, these still have potential. I am an expert in the kitchen and decided with my daughter to make these. We picked the cherries in the summer and froze them. We followed all the instructions but it didn’t taste cherry-like at all; very sweet from the sugar. We added an additional 1/4 cup of puree and more sugar, then a drop, literally a drop, of lor-ann cherry flavor. Finally we got a cherry flavor. We will roll out an see how it goes.
About the hit or miss nature of your cooked fondant- do you happen to use a candy thermometer? Not to sound like the IT guys who ask if the computer is plugged in, but you didn’t mention anything about using one in your post. If you aren’t I highly recommend getting one. Ever since I started using it, my candy making has been far more consistent in the results. They can be pretty cheap, too. I got mine as a gift, but I’m positive you can find some pretty good ones for about $20. Hope your next cooked fondant adventure goes well (especially with those pesky planetary alignments). I plan on trying your uncooked recipe, it seems so much easier, or maybe less labor-of-love intensive.
This is a dangerous recipe. I LOVE Victoria Creams. Such a treat.
I made these this morning and they turned out perfectly!!! I made the following subs:
* I used fresh puréed blueberries 3 TBLS. Plus the zest of a whole lemon.
* total of 4 + 1/2 Cup of sifted powdered sugar because I added an extra tablespoon of purée.. (I wanted as stiff a texture as possible & lots of fruit flavor.)
1/2 tsp vanilla instead of 1.
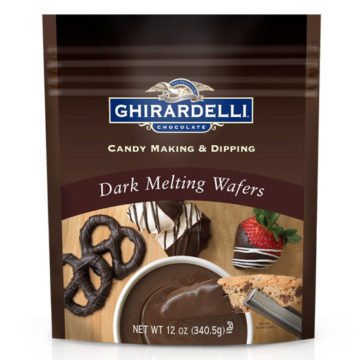
AMAZING. The candies are cloyingly sweet, however everyone loved them. I’m planning to try peppermint, lemon or lime, and maple flavored experiments next. Substituting the corn syrup for maple syrup in the maple flavored batch. And I will be looking for a very dark chocolate melting option; the Ghirardelli is wonderful, had perfect texture, but was too sweet for my version.
On a fair note, I am a professional culinary (not pastry) chef, but I never make candy, especially at home, because it’s a pain. This recipe was a cinch!! Try it! You will not be disappointed. I tried to add a photo, but couldn’t. Mine look identical to yours!!! So fast & fun to make. Thank you for the great post. I can now whip up fast cremes without wanting to punch something by the time I’m done with the Fondant. : )
These look delicious! Beautiful photos.
Latest Post – Simple Diet Wisdom, Margaritas & Chocolate: Tips From Annie at Collective Passions
I can’t believe how beautiful these are! You’re so pro! I’d love to try some different flavors with these too, maybe blueberry. Love!
What cute candies! I love cherry flavored treats like this so I’d totally be all over these :)
Cherry and chocolate.. match made in heaven (or your kitchen, kind of same thing) :D
The little circles of pink are so cute!! These sound delicious and I’m sure I wouldn’t even have a refined enough palette to tell the difference between “real” and “cheater” fondant. They look and sound incredible :D
These treats are GORGEOUS Lindsay, and your photographs are perfection. What a creative, sweet treat. That pink color!!! <3
Seriously, SO IMPRESSED by these. I remember making fondant back in culinary school, and it really is a pain in the butt and so temperamental. I haven’t done it since :/
Hence my ‘cheater’ version. Heh. :)
That’s good to know though… makes me feel a little bit better about my failure though!
Wow! I’ve never heard of these, but they look wonderful! Your chocolate coating is so perfect too. I need to try these! :)
I love how sky-high these candies are! Chocolate + cherry might be my favorite fruit flavor combo, so I could not be trusted near these!
Gorgeous – pinned! :)
They are so PERFECT!!! They are candy shop quality perfection, all uniform, and just beautiful!! The fondant trials and tribulations you went through were worth it create these beauties! Love the step shot collage, pinned! Would love to gobble up a dozen of these :)
These are so pretty! Love how soft that pink is!
Wow, these sound so good and your pictures are flawless!