
Save this recipe for later!
One caveat of all this canning I’ve been doing is the inevitable excess: the partially-filled and improperly-sealed jars that gather on the top shelf of the fridge, along with that solitary jar of last year’s strawberry preserves that must be used before this year’s can be touched. Once opened, they don’t last indefinitely, and considering that we are not big jam eaters (go figure), I knew I had to find a creative way to use them.
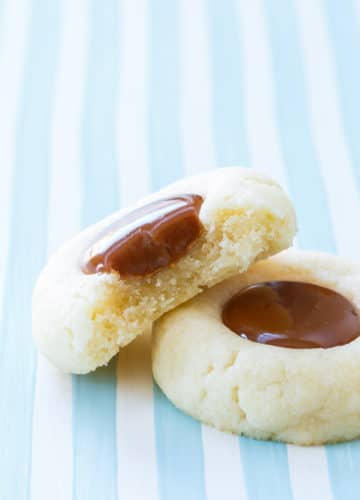
Enter: thumbprint cookies.
The base cookie recipe actually comes from our book, where they are filled them with a luscious lemon poppy seed curd. But the cookie is all sorts of versatile, and could be filled with just about anything: from jam to curd to caramel or nutella.
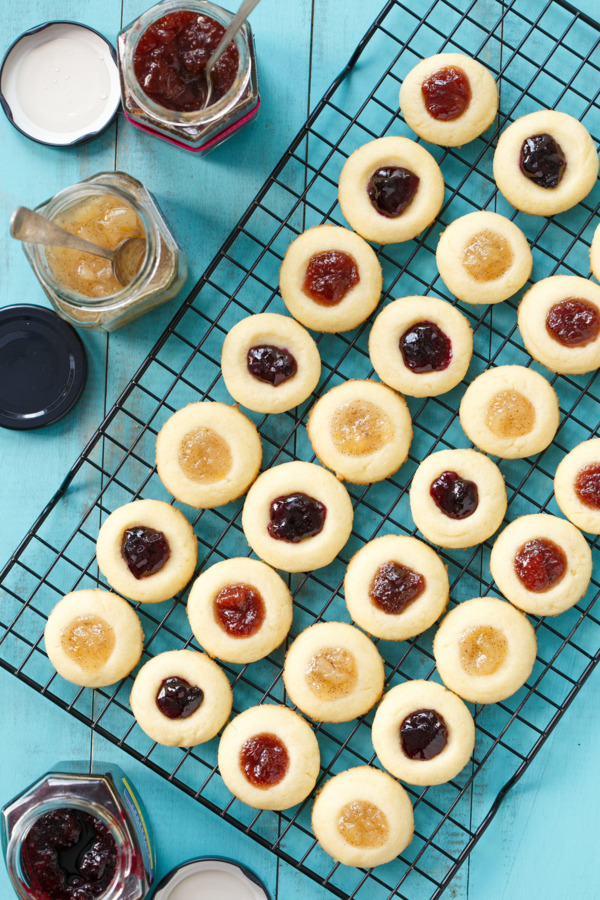
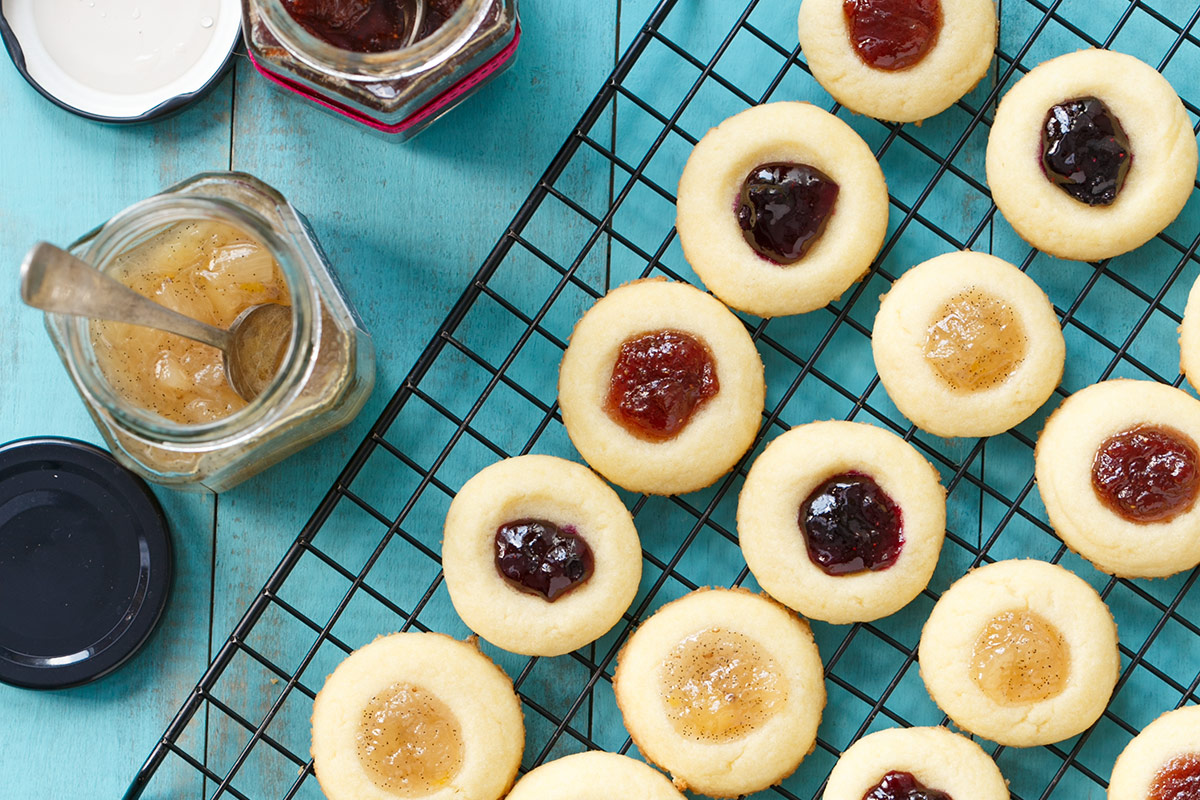
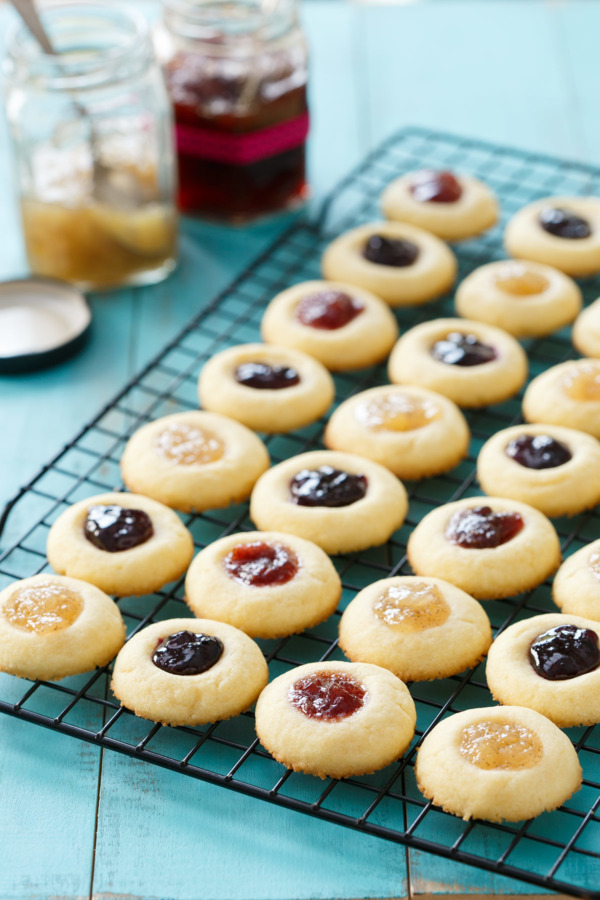
In this case, however, they were perfect with dollops of strawberry vanilla bean, blueberry honey lavender, and white peach vanilla jams.
Three measly jars, however, doesn’t even start to put a dent in my jam stash. I think I canned upwards of 3 dozen jars this year, not to mention the half dozen or so left from last year.
Oh whatever shall I do with it all?
No, seriously. I need ideas. Recipes. Creative uses, both sweet and savory. Do share!
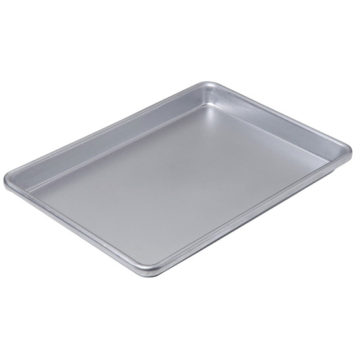
Note: This recipe has been re-tested and updated as of December 20, 2015, after receiving more than a few comments that the cookies spread too much when baking. This new version should resolve any issues! I do still recommend baking these on a light or medium colored heavy-weight baking sheet (they’ll look prettier than if baked on a flimsy or dark one, trust me).

Jam-Filled Thumbprint Cookies
Buttery shortbread thumbprint cookie recipe filled with homemade fruit jam (any flavor you choose!) These tasty little cookies are a reader favorite, for good reason!
Ingredients:
- 1 cup (2 sticks) unsalted butter, room temperature
- 2/3 cup granulated sugar
- 1 large egg yolk
- 1 teaspoon vanilla extract
- 2 1/4 cups (280 grams) all-purpose flour
- 1/2 teaspoon salt
- 6 ounces (or so) assorted jam
Directions:
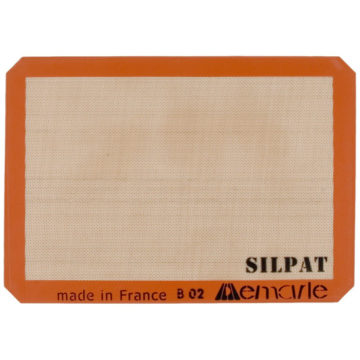
- Preheat oven to 375 degrees F. Line a light or medium-colored heavy-weight baking sheet with parchment paper or a silicone baking mat.
- Beat together butter and sugar with an electric mixer on medium-high speed until light and fluffy, about 2 to 3 minutes. Beat in egg yolk and vanilla extract. Add flour and salt and mix until incorporated and dough comes together in a ball.
- Form dough into 1-inch balls and arrange on prepared baking sheet. Flatten balls slightly with your thumb or the back of a small spoon, leaving an indentation in the center.
- Bake cookies for 8 to 10 minutes or until bottoms are just barely golden. Remove baking sheet from oven. If indentations look shallow, further define them with the back of a spoon and then fill each with approximately 1/2 teaspoon jam. Bake for an additional 3 to 4 minutes, or until jam melts slightly and edges of cookies are lightly golden. Transfer cookies to wire racks to cool.
Did you make this recipe?
Let us know what you think!
Leave a Comment below or share a photo and tag me on Instagram with the hashtag #loveandoliveoil.


Made these and really enjoy them. They definitely require chilling in the freezer on the pan for 10 minutes before baking. This is due to the butter content. They kept their shape nicely. I’ll make them again as they were easy to mix up and only a bit of a pain getting them on the pan and indented without them cracking. They need a strong flavored jam as the cookie itself is rather bland being that its shortbread.
Not as pretty as the picture but pretty close. I baked them for 10 minutes initially, then filled them and threw them in another 4 minutes. Cooking then any longer makes them more crispy rather than chewy, over baked in my opinion. Gave these as gifts. Didn’t see an option to post a picture so no picture attached. Thank you!
I’ve made these thumbprints 3 years on a row and I made a few tweaks with times because all ovens are different
Best thumbprints ever! I use the egg white with a bit of water as wash, roll in chopped almonds because hubby likes nuts on his thumbprints.
We have used blackberry jam, orange marmalade, raspberry jam and apricot preserves.
I’ve made many of these cookies before but these are the best as they keep their shape beautifully. Well done!
These are freakin’ awesome! Just tried with icing in some and Hershey kisses in some others. Fantastic!
These cookies were delicious! I used raspberry jelly and they tasted amazing. I did realize during my second batch that a little amount of jelly goes a long way. Overall, this recipe is a winner. Thank you for sharing!
These are DELICIOUS and very easy to work with!
Easy and delicious cookies, got it perfect on forest try 👌🏻
Cookies went out amazing with this recipe! I love canning so I gave way too many jams. I wonder if I can freeze this cookies?
I might recommend freezing the un-baked balls of dough, then baking them straight from frozen. I have a feeling the jam filling might do weird things if frozen after baking (I have not tried it personally).
Can I make the dough the night before?
Definitely! I’d let it come to room temperature again for 30 minutes or so before forming the cookies, otherwise the dough might crack when you try to press down the thumbprint.
My cookies didn’t hold their shall at all. After 8 minutes they were still now even close to being cooked
The bake time can vary depending on lots of factors including your oven (have you tested that it runs true to temperature? It may be too cool?) as well as baking sheets (dark colored sheets will bake quicker than light ones).
I always put my prepared cookies on the sheet and then into the freezer for 10 minutes. I do this with all my cookies that are drop or ball type. It’s the bomb! I’m about to make this recipe and will definitely be prechilling them. Cookies have so much butter/shortening/any kind of fat, that it melts quickly but chilling slows that down and lets them hold their shape.
Yes! Great luck with Thumbprint Cookies!
When do you add the jam, before or after baking?
You bake for 8 minutes, add the jam, then bake for a few minutes more. This helps set the filling a bit better than if you just added it when they were done.
Can we place tray of unbaked cookies in freezer or fridge for a short time to prevent spreading?
Are you using the recipe in the post? Because there’s an old recipe floating around pinterest that is prone to spreading (2 egg yolks vs 1). Use the correct recipe and you should be fine (that said, I don’t find refrigerating/freezing to make much difference in the final shape of the cookies).
These are my favorite cookie on other people’s cookie trays but I’ve never made them before. I finally made these cookies last night and while I love the taste of them I found the dough was pretty crumbly and most of my cookies cracked when I tried to press them down & make the well. They were also pretty tough/dense and I’m wondering if that was because I had to press them hard to roll into a ball. Should they be fairly dense or more light? And I don’t hear anyone else talking about their cookies cracking or the dough being ‘dry.’ What could I be doing wrong?
Thank you.
Did you weigh the flour, by any chance? Crumbly dough usually means too much flour, and I know it’s very easy to overmeasure that. If you make them again just try cutting down on the flour by 1/4 cup or so. :)
The dough was a little crumbly when I tried to roll them and cracked a lot!
I just made them tonight but I feel they needed a bit more baking maybe 15 minutes at list. The dough was separating in pieces wasn’t a whole ball of dough. Not sure what was wrong I did exactly what the recipe said. I don’t know how to put a photo it doesn’t allow me
If the dough felt crumbly, it’s likely because there was too much flour. Did you weigh your flour? It’s very easy to overmeasure. Next time just weigh the flour or if you don’t have a scale, just use a bit less overall and you should be good!
Wonderful pretty cookies. I made them with wild saskatoon jam. A very big hit. They are simple and quick as well.