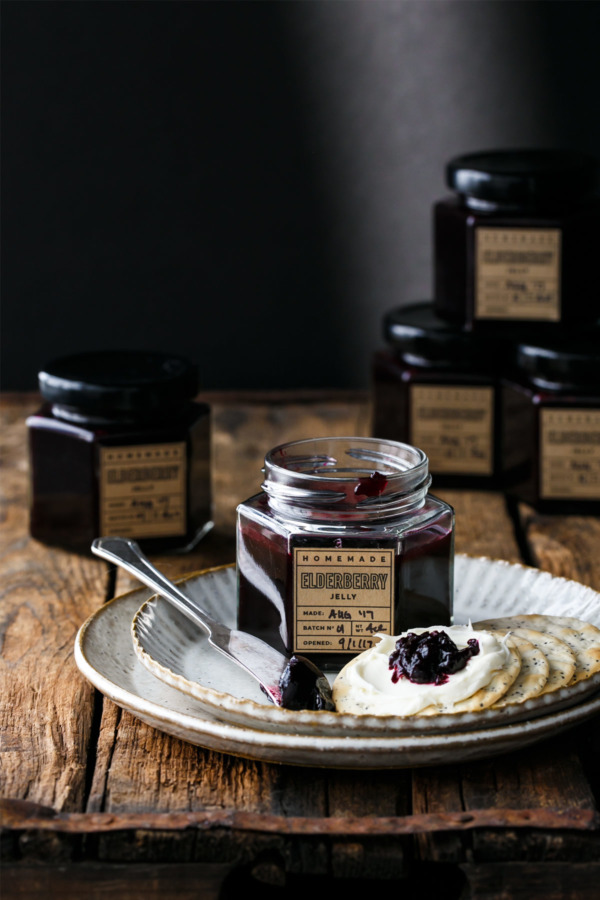
In case you were wondering, I know why they are called elderberries.
Because they take so long to prepare that you’ll be elder by the time you’re finished.
Seriously. These tiny berries are tedious, every step of the way. It might just be the most tedious fruit I’ve ever preserved, surpassing marmalade by an astounding margin.
That said, it’s also one of the tastiest preserves I’ve made, combining deep purple elderberry juice with lightly floral elderflower syrup and a splash of St. Germain elderflower liqueur (because why not?) for a multi-faceted jelly that’s anything but average.
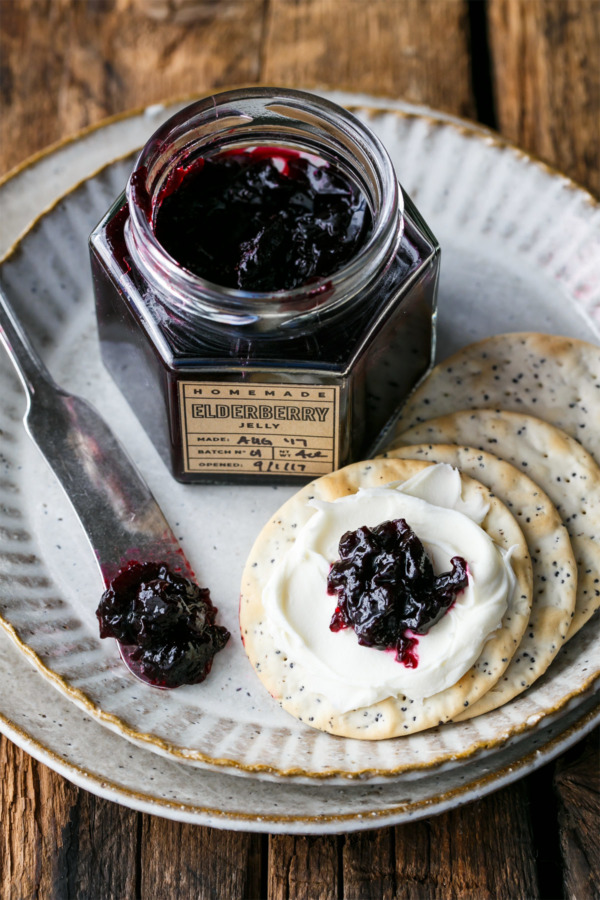
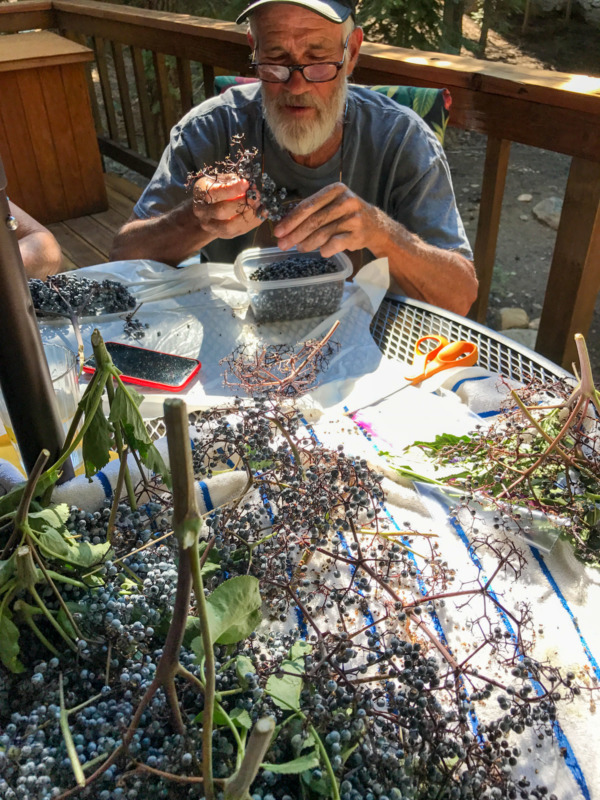
According to various sources, the raw seeds and stems of the sambucus plant are toxic, so you want to remove as many of the stems as you possibly can. Although I couldn’t seem to find a definitive answer as to just HOW toxic they are. Multiple members of my family and I all ate some raw berries before learning this, seeds and all, and we’re all still here. So while I don’t recommend going out and eating a bunch of raw berries, a few probably won’t kill you. And while cooked seeds are usually fine, they are small and very hard, so ultimately I decided to make a jelly vs a jam, despite the extra work involved.
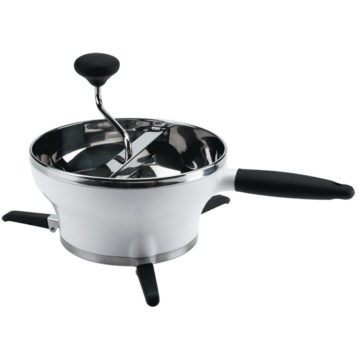
To make elderberry juice, simmer the de-stemmed berries until soft and juicy, then run them through a food mill to remove the seeds and skins. I found the food mill to be the most efficient here (though I’ve seen references to devices called steam juicers that are apparently the best tool for making a large quantity of juice. This is not the same as a regular juicer that you’d use for carrots, kale, etc.)
Once juiced, strain the resulting liquid through a fine mesh sieve to be sure no stray solids made it through. You could even go one step further and strain it through a muslin jelly bag if you prefer a super-clear, sediment-free jelly.
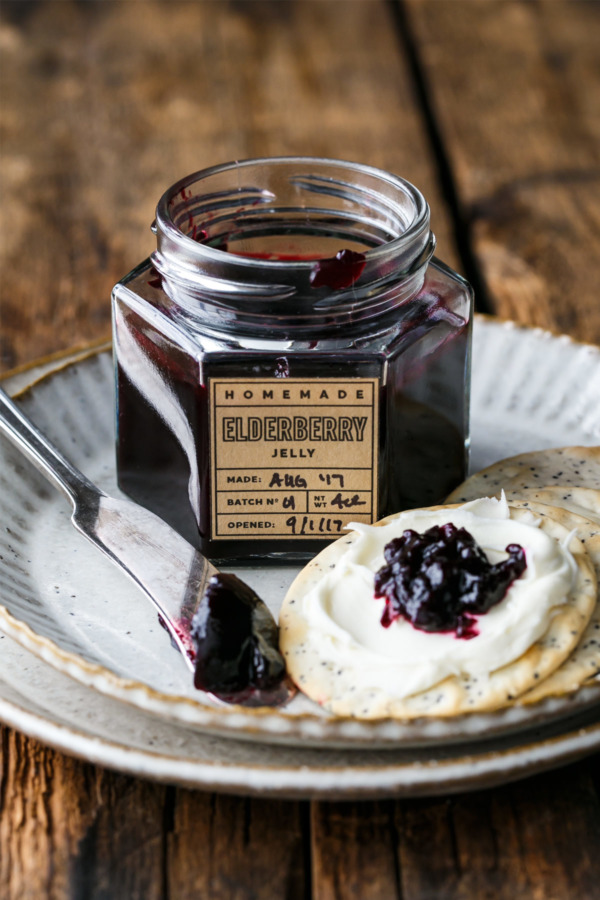
To keep yourself from going insane, I’d recommend splitting this time-intensive process into 3 days:
Day 1: Pick and de-stem your berries. Wash them well, then toss them with a bit of sugar and lemon juice and let them macerate overnight.
Day 2: Make the juice. Strain, then cover and refrigerate overnight in an airtight container.
Day 3. Make the jelly, pour into jars, and process in a boiling water bath.
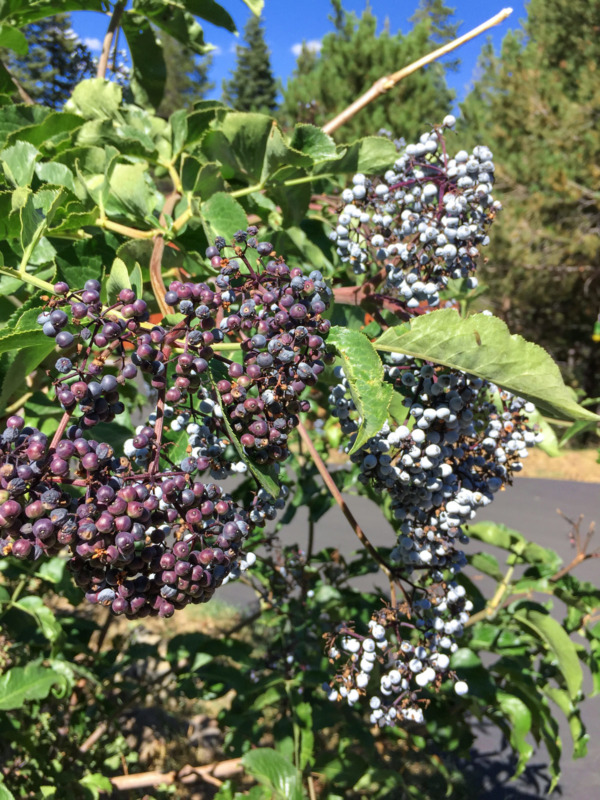
Elderberries grow wild in many areas of the US, including Tennessee (though I’ve never personally come across any myself – if anyone has any secret spots, do share!) Only the blue and black varieties are edible, and then only ripe berries (unripe berries as well as stems, leaves, seeds, etc are all toxic if consumed).
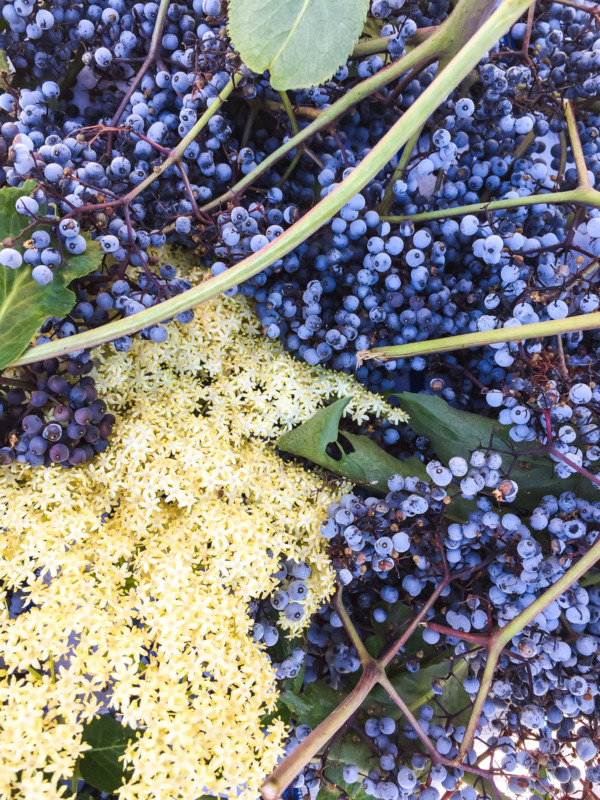
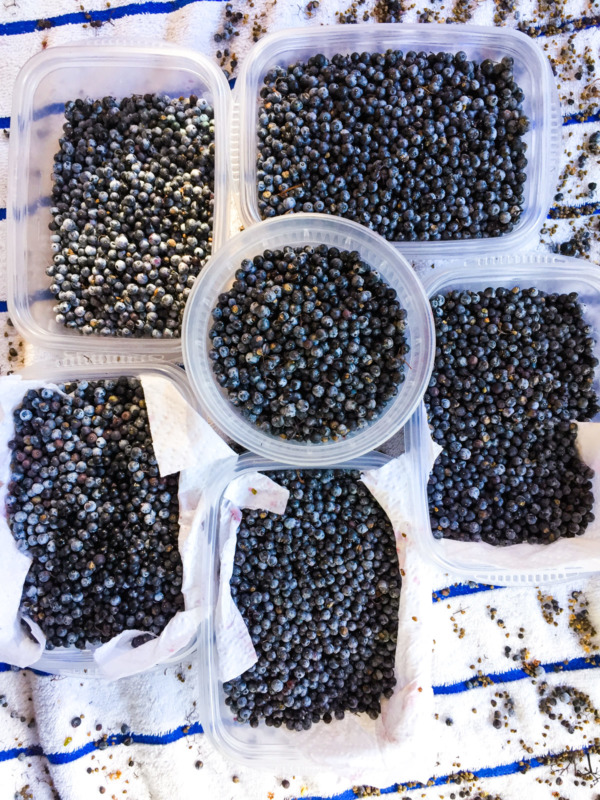
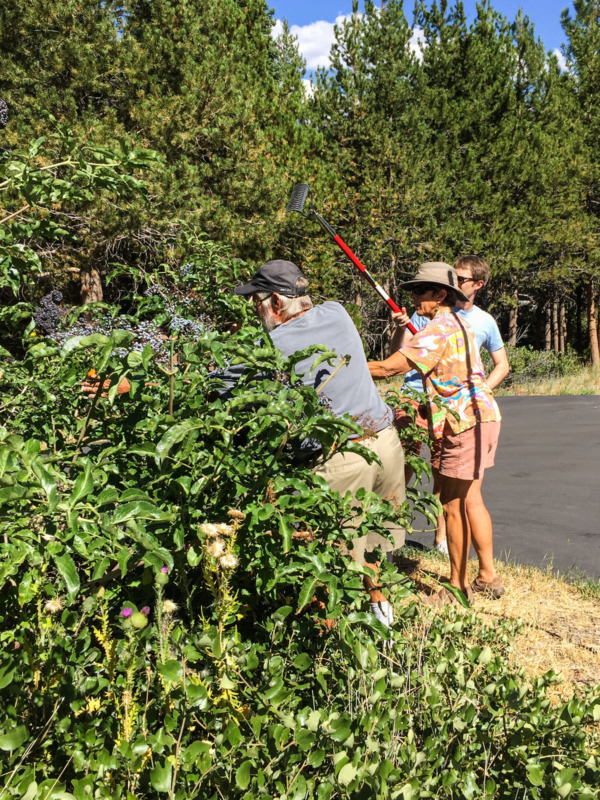
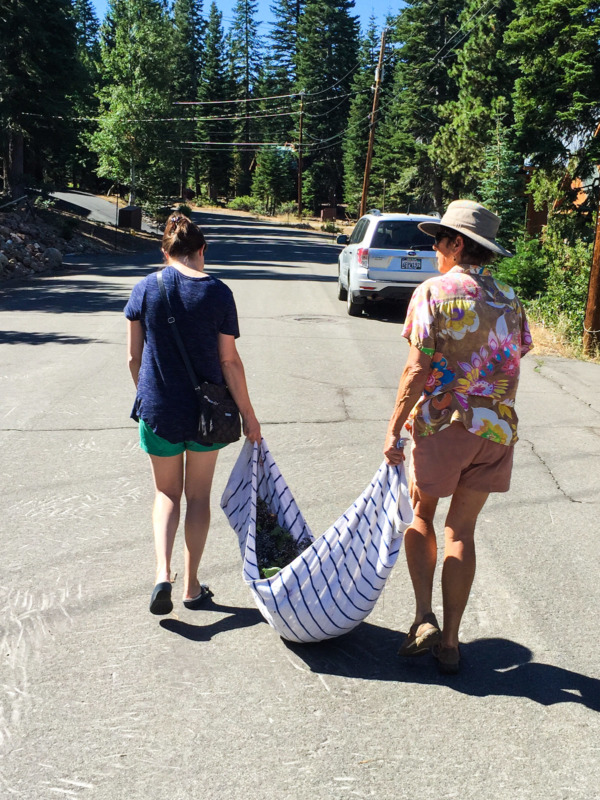
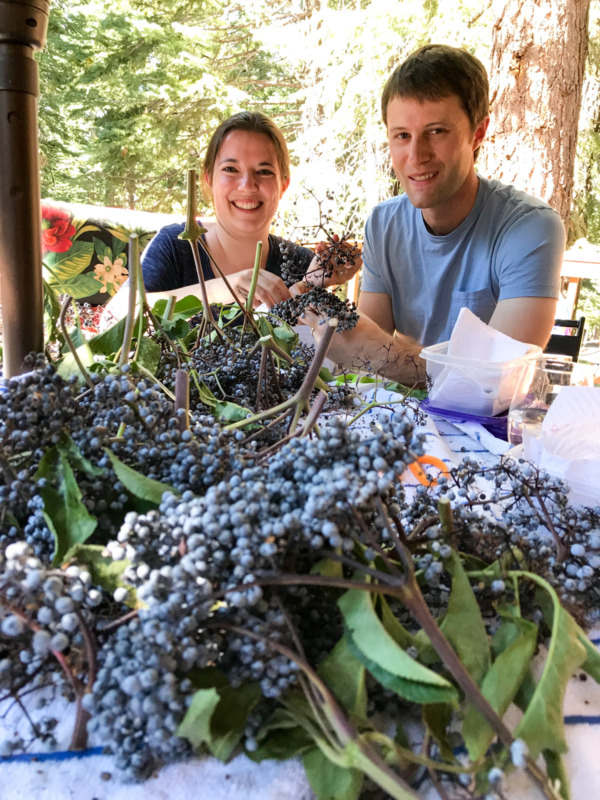
These berries in particular came from Truckee, California, where we discovered a large bush bursting with sprays of ripe berries outside my uncle’s rented cabin. Needless to say, I got pretty excited at the sight of them, and managed to convince several family members to help me pick the berries, then enlisted even more to help me de-stem the little buggers. We packed them into plastic containers and I carried them home with me on the airplane (this isn’t the first time I’ve traveled with fruit… it’s starting to become a pattern). The bush also had a few sprays of flowers as well, which are delicious when stepped into a fragrant syrup, so I took those home with me as well.
It took 5 of us a little over an hour to de-stem 4 pounds of berries, and we weren’t even being that meticulous about it. The berries still had lots of little bits of stems still attached. I figured they’d get strained out anyway when I ran the berries through the food mill.
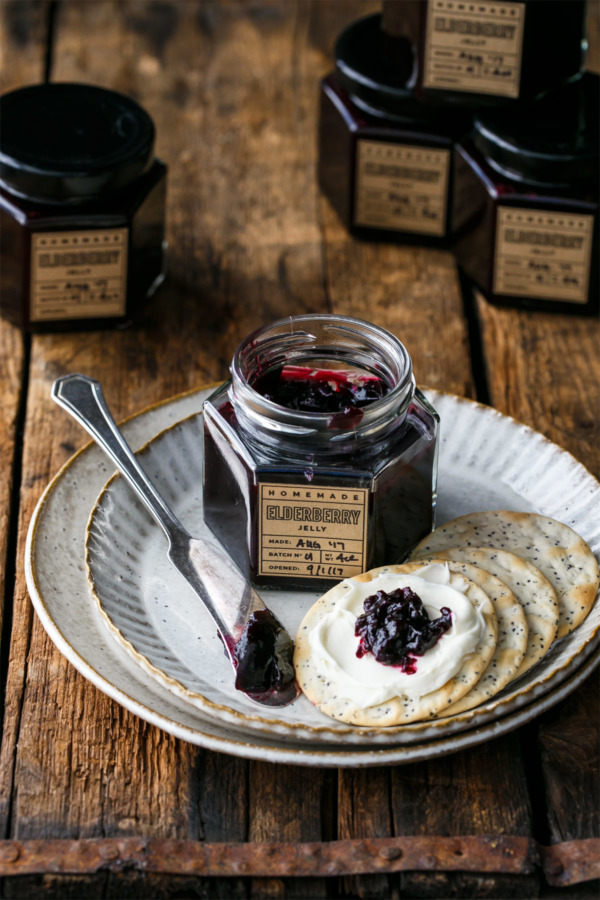
This particular jelly could be called triple-elder jelly, since it contains elderflowers and berries in 3 different ways: the berries, the flowers steeped into a syrup (recipe coming soon!), and elderflower liquer (such as St. Germain). I found the result to be a unique and intensely flavored jelly, with a deep berry flavor and delicate floral undertones from the syrup.
That said, you can also make plain elderberry jelly without the syrup, just add a bit more sugar and some water to compensate for the volume. I’d still recommend adding the elderflower liqueur (it really makes the jelly sing), although you can certainly leave it out if you like.
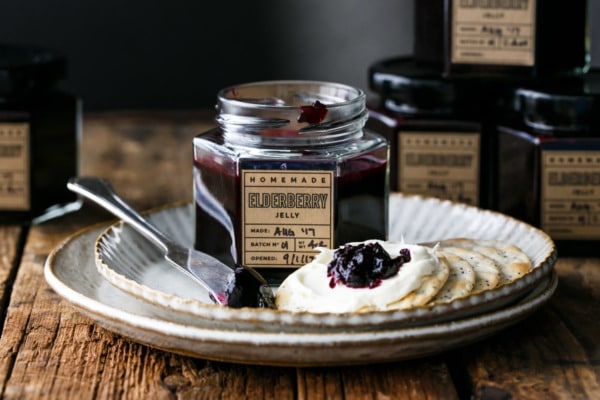
Elderberry Jelly
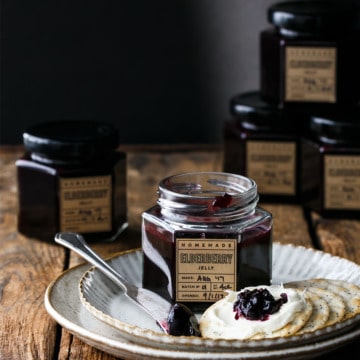
Elderberry jelly is not the quickest jelly to prepare, but the results are worth it: a deep purple jelly with a robust berry flavor and a hint of elderflower essence.
Ingredients:
For Elderberry Juice:
- 1 1/2 pounds pound (heaping 4 cups) fresh or frozen elderberries, picked over and all stems removed
- 1/4 cup granulated sugar
- 1 lemon, juiced (about 2 tablespoons)
For Jelly:
- 1/2 cup granulated sugar
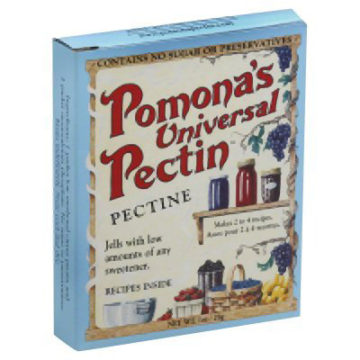
- 2 1/2 teaspoons Pomona’s Universal Pectin
- 3 tablespoons lemon juice
- 2 1/2 teaspoons calcium water*
- 1/2 cup elderflower syrup**
- 2 tablespoons elderflower liqueur (such as St. Germain)
Directions:
- In a bowl, combine elderberries with 1/4 cup granulated sugar and the juice of 1 lemon. Toss until evenly coated. Cover and refrigerate overnight to let the berries soften.
- To make juice, place berries in a large, heavy saucepan. Cover and bring to a simmer for 5 to 10 minutes, mashing berries with a potato masher until they soften and release their juices.
- Press berries through a food mill. Discard solids. Strain juice through a fine mesh sieve to remove any leftover solids that may have gotten through. If you want an even clearer jelly, strain the juice another time through a muslin jelly bag.
- Measure out 2 cups of prepared fruit juice. Any leftover juice can be refrigerated and saved for another use. Juice can be made ahead of time and refrigerated in an airtight container until you are ready to make your jelly.
- Fill a large stock pot or canning pot 2/3 full with water; place a rack of some sort in the bottom and place over medium-high heat. Wash/sterilize your jars and submerge in water bath as it heats. The pot should be just about boiling by the time the jam is ready to go. Keep jars in hot (not boiling) water until ready to use.
- In a bowl, whisk together sugar and pectin until evenly distributed.
- Pour 2 cups of prepared juice along into a saucepan along with lemon juice and calcium water. Bring to a boil, stirring occasionally to prevent scalding.
- Whisk in sugar and pectin, stirring until completely dissolved and mixture returns to a full rolling boil. Add elderflower syrup and liqueur and return mixture to a full rolling boil once more.
- Remove from heat and ladle jam into hot jars, leaving 1/4-inch of head space. Wipe jar rims and screw on lids. Process in boiling water for 10 minutes, then transfer to a wire rack to cool completely. Check seals. Any unsealed jars should be refrigerated and used within 3 weeks.
*Calcium powder to make calcium water is included with the Pomona’s brand pectin. If you are substituting another pectin brand/type, please follow the instructions inside your pectin package, paying attention to the process and the proportion of fruit to sugar required by that type of pectin (different kinds of pectin will require different amounts of sugar to properly set).
**Elderflower syrup can be made by steeping fresh or dried elderflowers in a 1:1 sugar syrup with a splash of lemon juice for 3-5 days. Strain before using. If you want to make this jelly without elderflower syrup, simply increase sugar to 3/4 cup and add 1/4 cup water.
Did you make this recipe?
Let us know what you think!
Leave a Comment below or share a photo and tag me on Instagram with the hashtag #loveandoliveoil.

Bonus Printable Labels
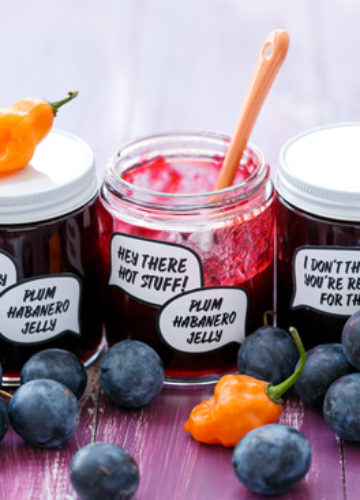
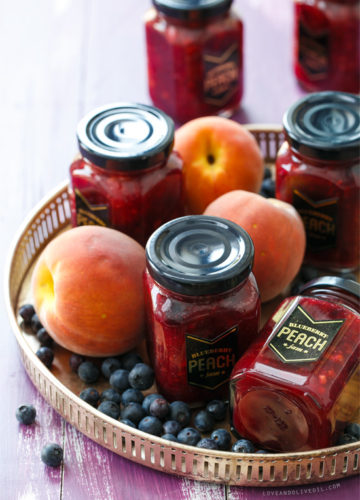
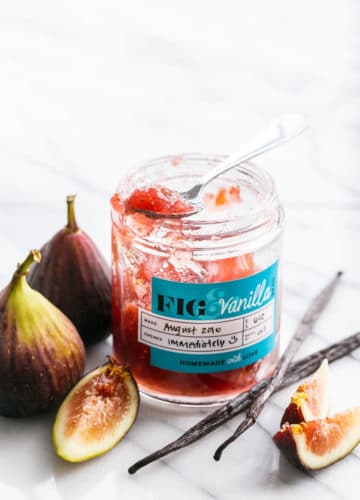
What good is a jelly recipe if you don’t have a pretty label to go with it?
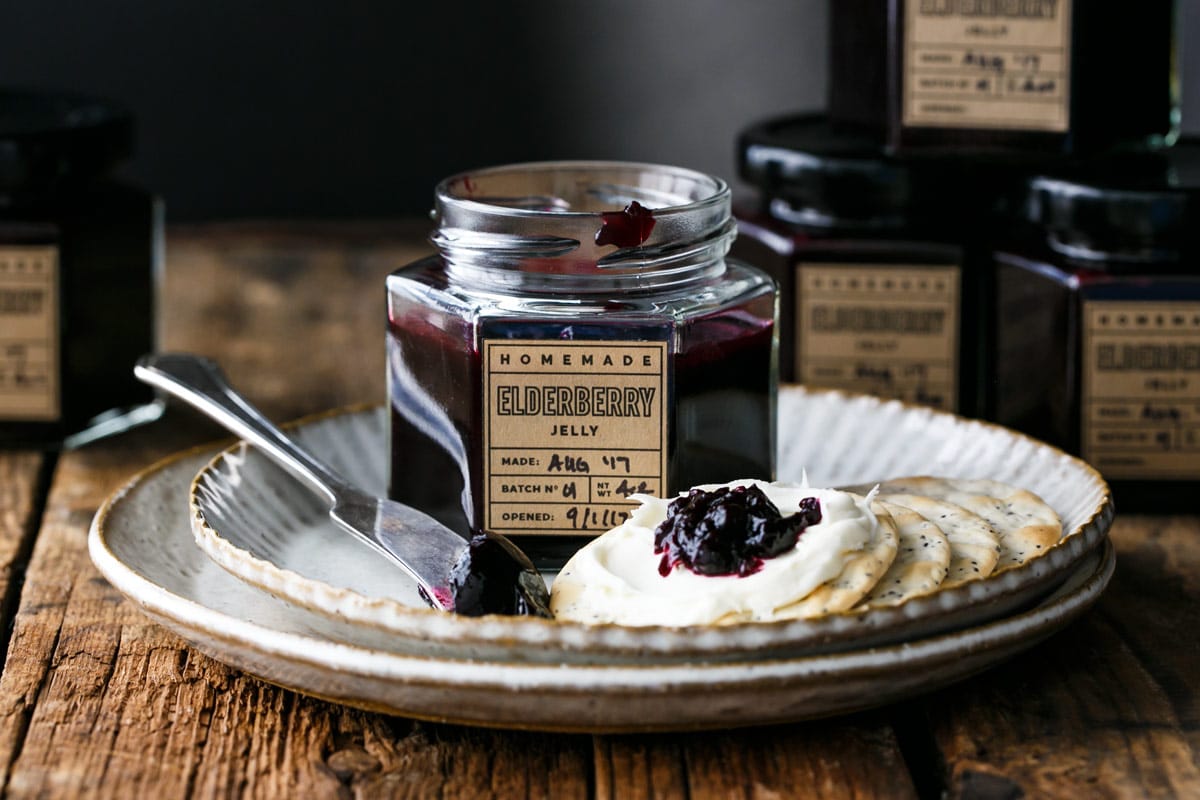
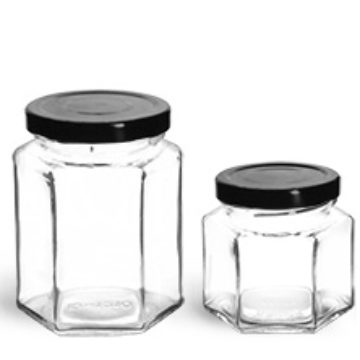
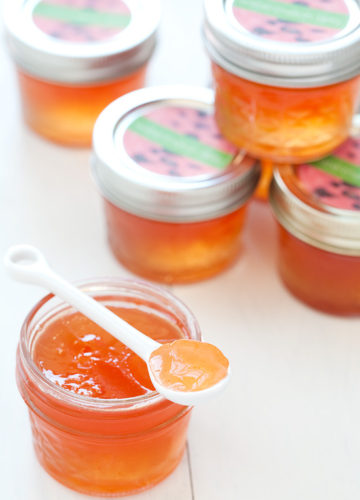
I designed these rectangle labels for these 4oz hex jars, but they’d also work on smooth-sided mason jars or lids as well. Each label has space to fill in the made/opened dates as well as batch number and net weight.
The downloadable PDF file contains 30 labels per page.
To use, simply download the printable file by completing the form below. Print your labels onto full-sheet sticker paper (I used this brown Kraft label paper), cut out shapes, and apply directly to the (canned and cooled) jars.
If someone has a secret spot for picking elderberries, I doubt they want to share, especially on the Internet. People need to do the homework, research their habitat, and get out hunting for themselves. That’s half the fun.
Do you have labels for strawberry jam? Love the labels!!
Check out my ebooks, they’ve got lots of strawberry recipes with labels: https://www.loveandoliveoil.com/thats-my-jam. You can also see all the available freebies and printables I have available here: https://www.loveandoliveoil.com/category/printables :)
How much elderberry jelly does this recipe yield?
About 22 ounces, give or take depending on actual cook time/etc.
How do you prepare the calcium water? Or do I just use the powder? Wondering why it is called water?
Calcium powder comes with the Pomona’s brand pectin and is mixed with water to make the calcium water.
I just picked a 5 gallon bucket full of Elderberries on my farm in Tennessee this week before the rains came. Gave them to a neighbor who made the jelly the same day, She indicated that now she remembers why she stopped making elderberry jelly as it took a while to clean the berries. Today she presented me with 6 pints and kept one more for her family. Tasted wonderful. Don’t think I’ll pick any more berries this year.
This is so, so pretty!! And those Japanese plates are so gorgeous.
? Love it!
Someone once shared a little tip with me about de-stemming elderberries. If you put them in the freezer, the berries come off of the vines easily.