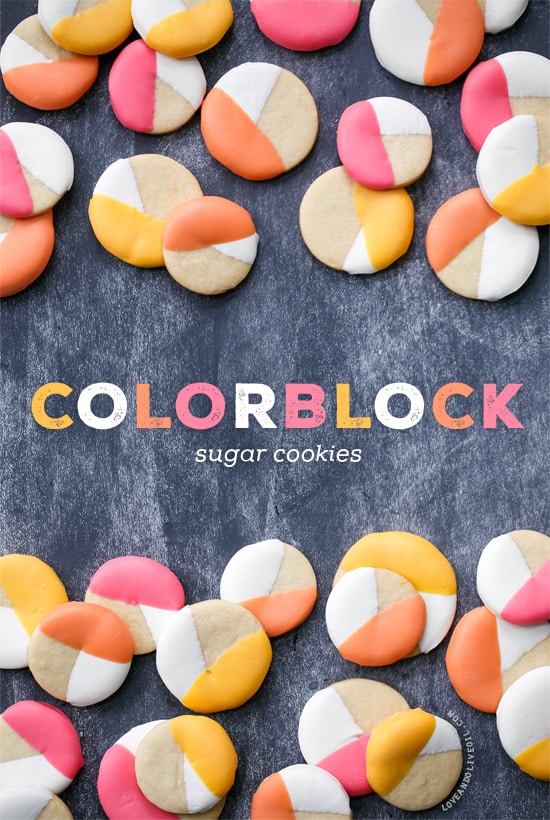
Spring is here.
Finally.
At least, it was when I wrote that sentence. And hopefully it’ll be back by the time this post publishes, but right now the heat is running and I’m having chilly flashbacks to February. I should have published this recipe last week.
Regardless of the bipolar weather, it IS spring now, technically, and I thought these bright and cheery dipped cookies would be the perfect way to celebrate.
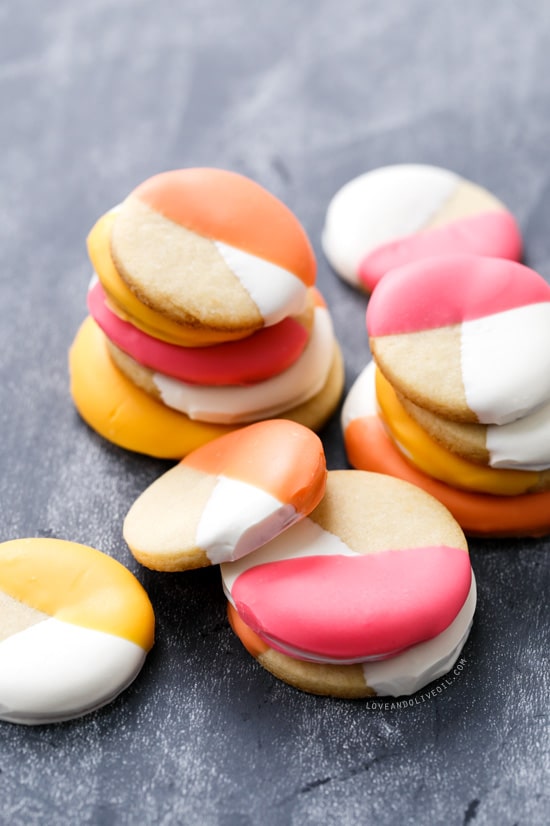
Colorblocking may be the latest fashion trend, but I’m out to make it a food trend as well.
Rather than tediously piping and flooding royal icing as is typical with decorated sugar cookies, I chose to simply dip them in colorful melted candy wafers.
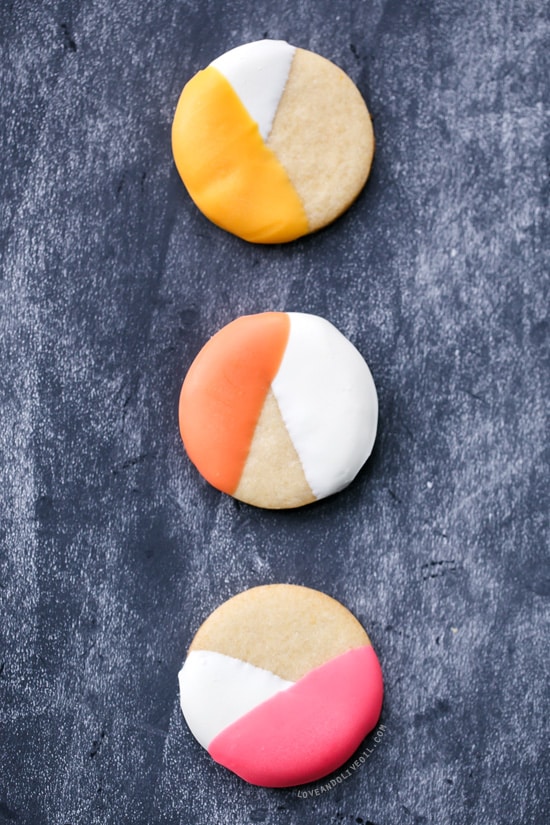
The base cookie recipe comes from Bake at 350, with a bit of lemon juice and zest added instead of the almond extract (as much as I love almond, I wanted something a bit more springy). The lemon flavor is very subtle, but gives the cookies a little extra something something.
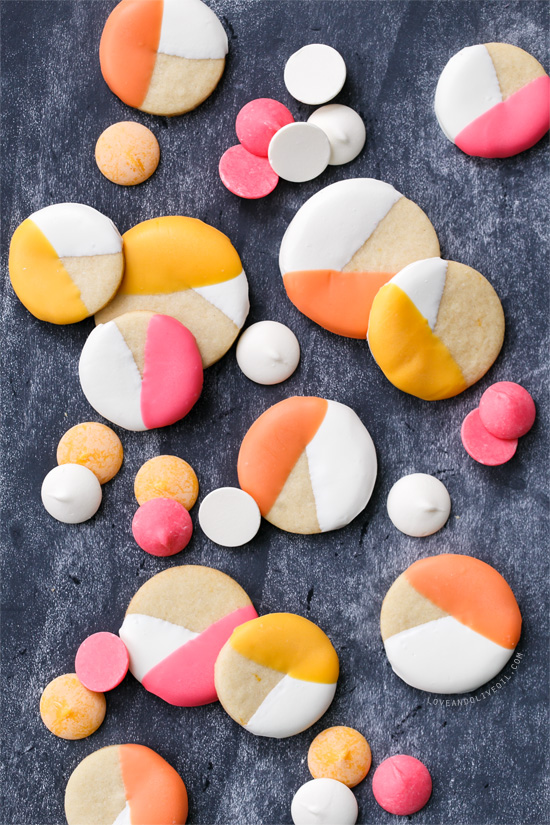
I used Bakerella’s party pink and sunny yellow candy wafers, and then melted and mixed equal parts of each to create a third, pretty salmony orange color. Mixing the two colors to create a third gives the whole color scheme a cohesiveness that you often don’t find with three completely separate colors.
You could certainly also use chocolate or white chocolate for your dip if you prefer, or even a simple powdered sugar glaze or loose royal icing. Note that while coloring white chocolate is possible, you will need oil-based or powdered food colorings. Most liquid/gel food coloring is water-based and will cause your white chocolate to seize up on you. Trust me, it’s not pretty.
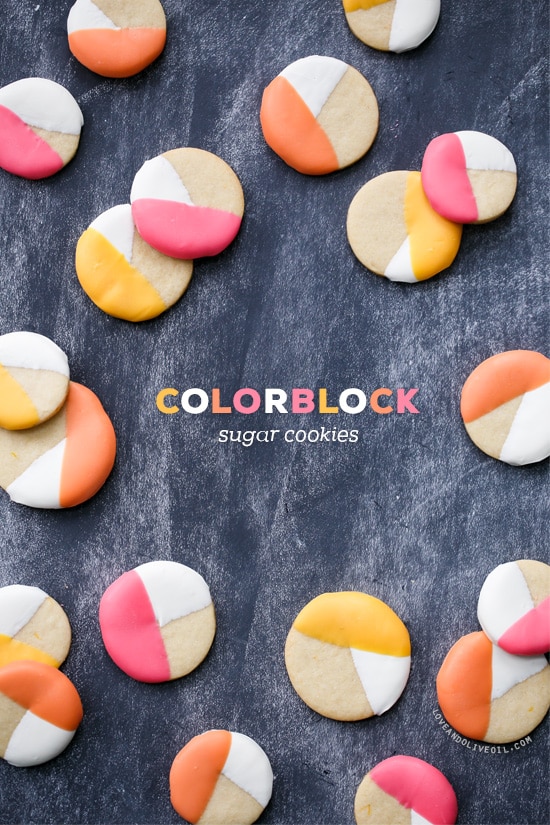
Colorblock Sugar Cookies
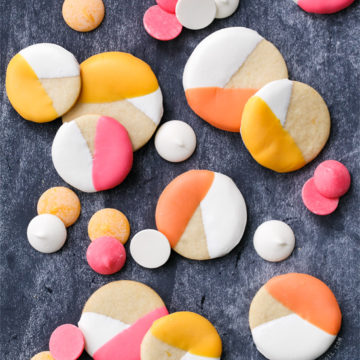
Ingredients:
- 3 cups all-purpose flour
- 2 teaspoons baking powder
- 1 cup (2 sticks) unsalted butter
- 1 cup granulated sugar
- 1 large egg
- 1 tablespoon lemon zest
- 1/2 tablespoon lemon juice
- 1 teaspoon vanilla extract
- 12 ounces white candy coating
- 12 ounces colored candy coating (about 4 ounces each of 3 different colors)
Directions:
- Preheat oven to 350 degrees F.
- Combine the flour and baking powder, set aside. Cream the sugar and butter. Add the egg, lemon zest, lemon juice, and vanilla and mix to combine. Gradually add the flour mixture and beat just until incorporated, scraping down the bowl as needed. The dough may be crumbly, so knead it together with your hands until it comes together in a smooth ball.
- On a floured surface, roll out dough to 1/4″ thick sheet, and cut into desired shapes. Place shapes on parchment or silpat lined baking sheets. Bake for 10 to 12 minutes or until edges are just barely starting to turn golden. Allow to cool for a few minutes on the baking sheet, then transfer to a cooling rack and cool completely prior to decorating.
- For colorblock effect, melt white candy coating according to package instructions. Dip each cookie a third to one half in the coating, letting any excess drip off, then place on a parchment lined baking sheet until completely set.
- Melt your other 3 colors in separate bowls. Dip each cookie a second time in one of the colors, overlapping the white at varying angles. Replace on parchment-lined baking sheet to set.
- Cookies will keep in an airtight container for up to 1 week.
Adapted from Bake at 350.
All images and text ©Lindsay Landis / Love & Olive OilDid you make this recipe?
Let us know what you think!
Leave a Comment below or share a photo and tag me on Instagram with the hashtag #loveandoliveoil.
saw this on your home page in search of holiday cookies, had to thank you for posting this recipe, a nice change to other holiday cookie recipes I’ve read!
Why can’t you use metric measures as well as cups?
I always end up back on this post when I look at your cookie recipes. They’re just so darn beautiful!!
Thank you so much!
Where do you buy the candy coating? A grocery store, baking supply store, online? I MUST make these adorable cookies!
You can buy Bakerella’s line online: http://shop.makenmold.com/Category/150_1/Candy_Wafers.aspx, or at ACMoore craft stores if you happen to have one where you are. There are other brands of candy coating sold at craft stores and cake decor stores, but they don’t come in quite as cute colors. :)
These cookies are gorgeous, Lindsay, and your photos are stunning! I love the vibrant colors… so pretty.
I am so in love with the cookies!
These cookies are perfect for Spring and so pretty!
The best idea ever! I love it!
These are adorable! I have the same feelings about this spring. It makes it very difficult to get dressed in the morning when you look out to see flurries only to have the temperature be a high of 50. I’m so tired of socks and winter coats. I can’t wait for mother nature to figure out what season it really is. In the meantime, I’m going to have to make a batch of these!
Love these!!!!!
these are so gorgeous! I love them!!
These look amazing! I love the use of the wafers. So fun.
So cute! I love color blocking with my clothing, and now I’m thinking maybe I should make some matching cookies! Kidding…or am I?
Whoaaaa! These look so cheerful & happy! I’m putting these on my list of need to make asap.
Totally gorgeous and creative!! Love these!
Neat!!!
How much baking powder?
Oh snap. These are SO CUTE! I. CAN’T. EVEN. Fabulous!!! :)
xo Michael
These are beyond adorable! So cute and colorful–I want to rush right home and bake some NOW! Perfect antidote to the gloomy gray blahs outside my window.
These are so beautiful! I LOVE all things color blocked… especially edible things :)
HOLY BUCKETS! these are insanely gorgeous.
They look like a Kate Spade handbag design! However, unlike one of those bags, I can afford and enjoy these cookies. Awesome!
Bipolar is SO the word to describe this “spring” we’ve been having. Love that you made color blocking edible!
Seems great! I am sure kids will love ’em…
These are fabulous cookies! I am in love!