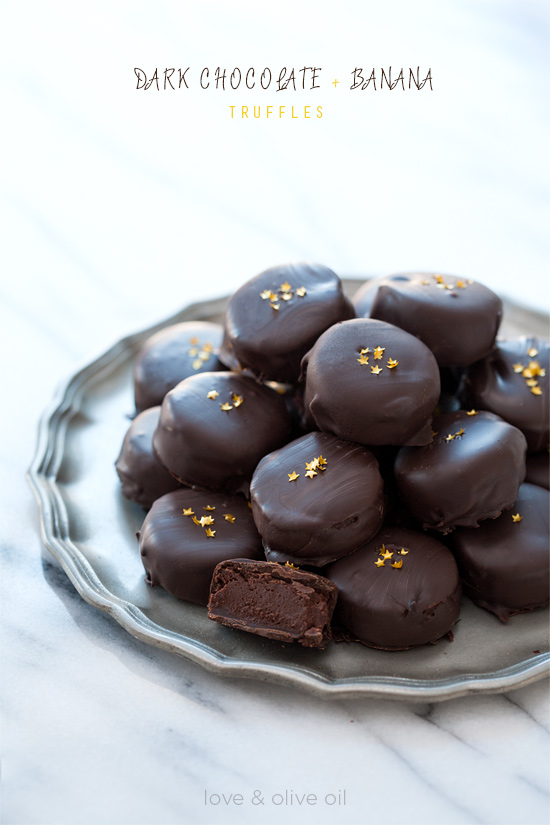
Chocolate and banana make one amazing combination. And these truffles are no exception, with a silky smooth, creamy center that has just enough banana flavor to be absolutely dreamy but not overpowering. You could even roast or caramelize the bananas first if you wanted more of a bananas-foster-like flavor. And with some rum or brandy? Why, that’d be just dandy.
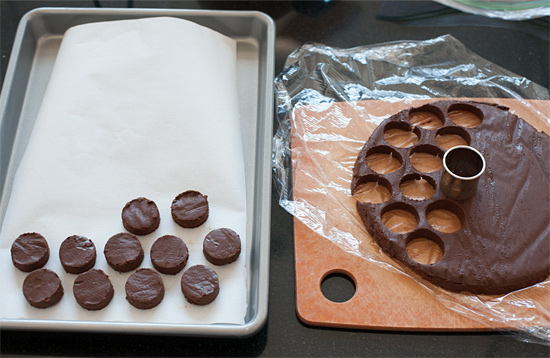
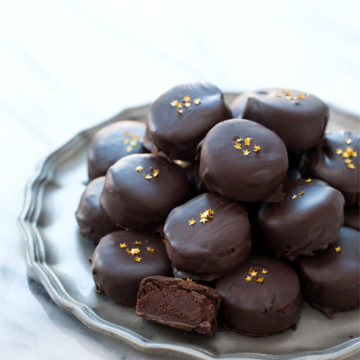
I wanted them to look a bit different than your run-of-the-mill roll-in-a-ball truffle. The centers are rounds cut from a solid piece of ganache, spread and chilled in in a cake pan that allows you to easily remove the entire piece and then cut out shapes with a cookie cutter. I did circles (which, looking at them now they somewhat resemble banana slices), but you could certainly do something more novel.
Or go the traditional route and simply roll the centers into balls.
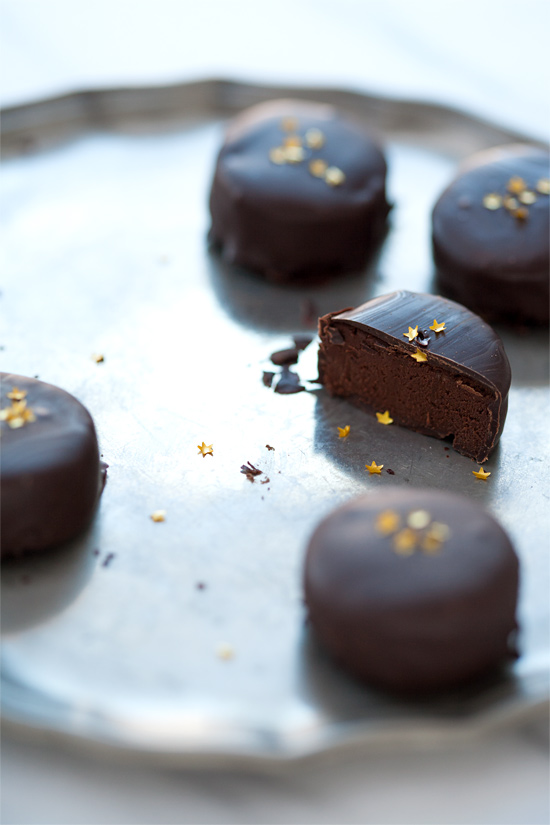
Granted, they didn’t turn out quite as “perfect” as I had imagined after being dipped. I really need one of those fancy chocolate conveyor belt/waterfall contraptions to pull that off, I think. Luckily these truffles taste just as good no matter how lumpy and bumpy and lopsided and streaky they may be.
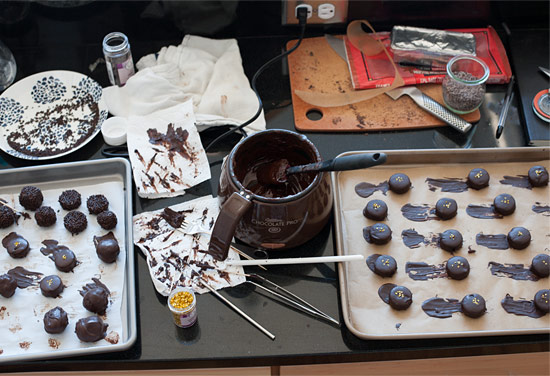
Making truffles is a messy job, but somebody’s gotta do it.
Dark Chocolate and Banana Truffles
Ingredients:
For Centers:
6 ounces dark chocolate, finely chopped
1/2 cup heavy cream
1/2 cup mashed ripe banana (from about 1 small banana)
1/2 teaspoon vanilla extract
For Coating:
8 ounces chopped dark chocolate or chocolate candy coating, finely chopped
1-2 teaspoons unflavored vegetable shortening or cocoa butter, optional
Directions:
Line an 8-inch-round cake pan with aluminum foil or plastic wrap. Place finely chopped chocolate in a heat-proof bowl.
Warm cream in a saucepan over low heat until it starts to steam (do not let it boil). Pour cream over chocolate; let sit for 30 seconds and then stir until smooth.
Pour chocolate mixture into a food processor and add banana. Pulse until smooth. Stir in vanilla. Pour into prepared cake pan. Press a piece of plastic wrap down onto the surface, smoothing out the top as much as possible. Refrigerate until set, at least 4 hours or overnight.
Remove pan from refrigerator. Gently lift the chocolate out of the pan using the plastic wrap or foil and carefully peel away top layer. Using a 3/4-inch round cookie cutter, cut rounds of filling from block. Arrange on a parchment lined baking sheet. Scraps can be rolled into balls. Refrigerate until ready to use, or freeze for 15 to 20 minutes.
Meanwhile, gently melt chocolate or candy coating, taking care not to overheat the chocolate. If desired, add a little vegetable shortening to thin out the chocolate a bit. If you can manage to keep the chocolate under 88 degrees, it should retain its temper. You can also use the seed method if you like. Otherwise the truffles will need to be refrigerated to retain their hard shells.
Using a fork or dipping tool, dip each truffle into the melted chocolate, tapping off any excess. Place dipped truffles on a second parchment-lined baking sheet. Top with sprinkles or decorations, if desired, before chocolate has a chance to harden.
Store truffles, refrigerated in an airtight container, for up to a week.
Did you make this recipe?
Let us know what you think!
Leave a Comment below or share a photo and tag me on Instagram with the hashtag #loveandoliveoil.
Wonderful recipe ! Although the tempering is obviously not quite a success considering the many streaks on top of the chocolate, but paradoxally enough that gives a very interesting visual aspect ^^
Tried making these and got a cake pan full of chocolate banana soup :( I left it in the fridge for 24 hours and it’s still runny. What did I do wrong?