
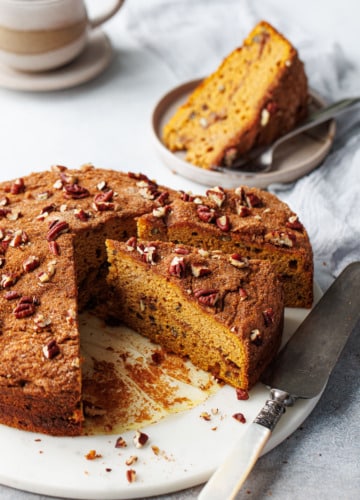
Pumpkin Pecan Coffee Cake
This fabulous fall coffee cake will satisfy your seasonal cravings, with a tender, moist crumb packed with pumpkin flavor and fragrant fall spices, with crunchy...
This fabulous fall coffee cake will satisfy your seasonal cravings, with a tender, moist crumb packed with pumpkin flavor and fragrant fall spices, with crunchy...
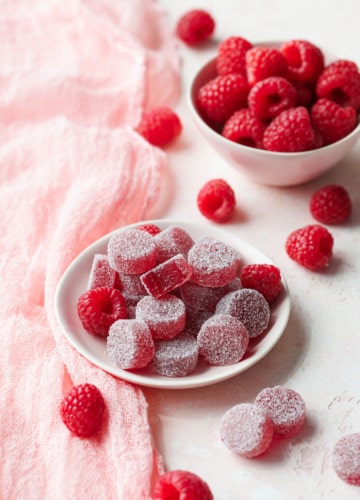
These delightfully chewy raspberry gummies are made with real fruit and set with pectin (indeed, there’s no gelatin required for this recipe, meaning they are...
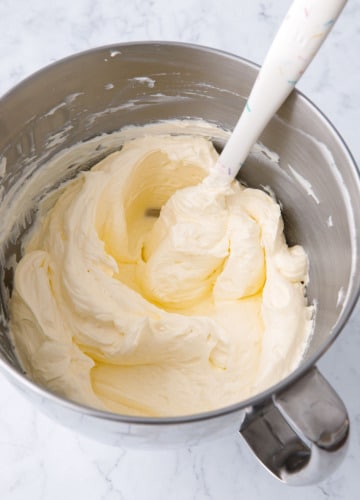
Creamy, fluffy, and silky smooth, Swiss meringue buttercream is perhaps the queen of all buttercream frostings. While it takes a little bit more time than...
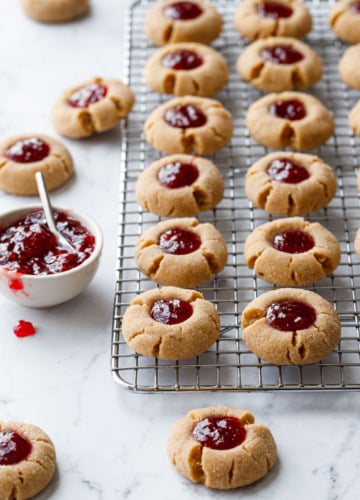
Your favorite peanut butter and jelly sandwich meets thumbprint cookie: a soft and buttery cookie packed with peanut butter flavor and filled with a bright...
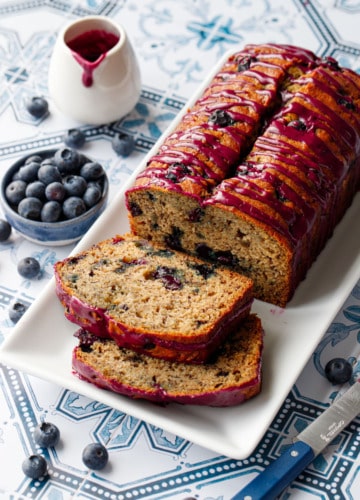
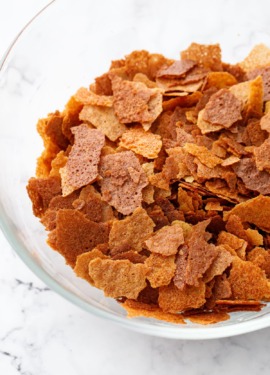
Banana bread meets blueberry muffin in this fabulously fruity morning mashup that’s quick and easy (there’s a reason they’re called quick breads after all, no...
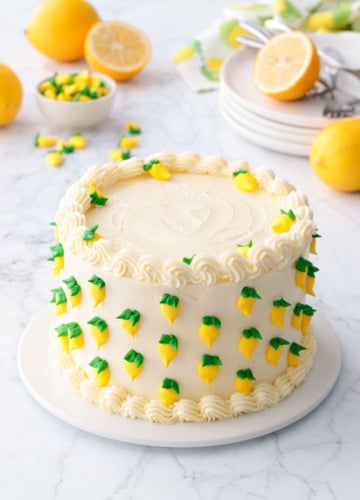
Lemon lovers: this one’s for you! Layers of light and buttery lemon cake (the reverse-cream method produces a particularly cotton-soft texture that’s perfect for layering),...
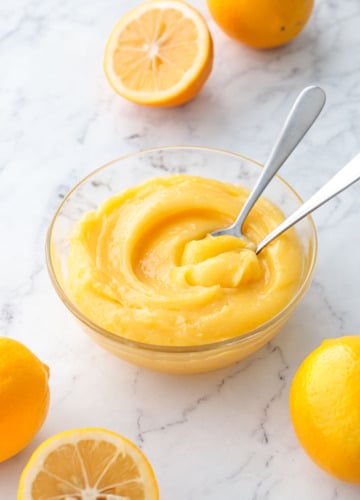
This tart and tangy Meyer lemon curd is extra thick (thanks to the extra thickening power of cornstarch), with a smooth and creamy mouthfeel and...
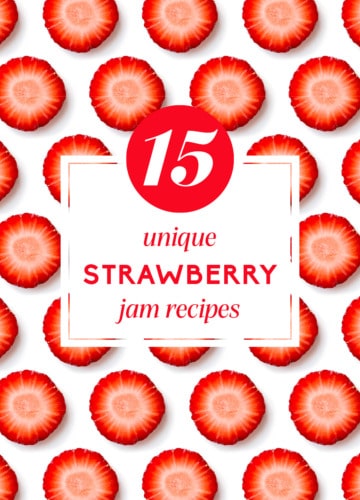
Looking for something more exciting than plain ol’ strawberry jam? I’ve got you covered! These 15 unique recipes include multi-fruit mashups and fabulous flavor combinations...

Homemade strawberry jam is perfect in its simplicity, bright and sweet and bursting with strawberry flavor, no matter if you water-bath process it for shelf...
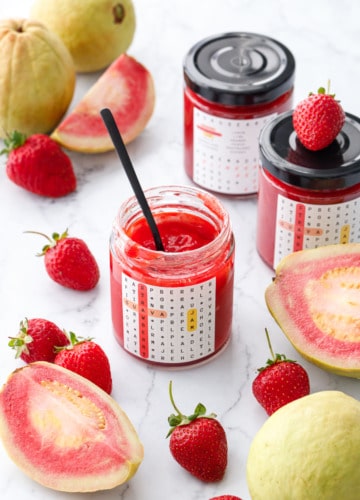
Strawberry and guava come together in one fruit-packed preserve that’s bright, fruity, and vibrant, with a perfect amount of sugar and plenty of acid to...
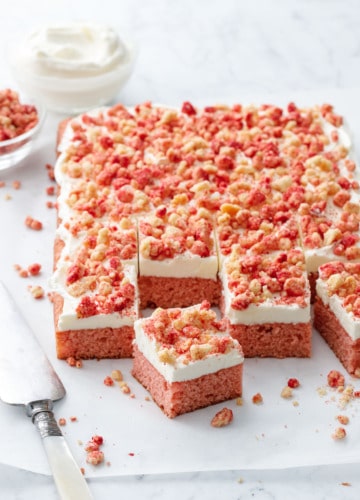
This pretty in pink sheet cake tastes like pure nostalgia, with a moist and tender strawberry cake, tangy buttermilk frosting, and a generous sprinkle of...
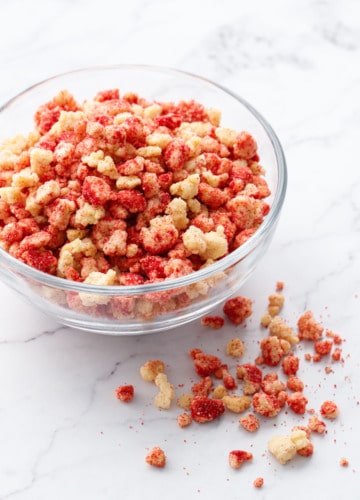
With a crunchy texture and a bright strawberry flavor from freeze-dried strawberries, this strawberry crunch topping is as versatile and delicious and a cinch to...


©2007-2026 All Rights Reserved.
Love & Olive Oil® is a registered trademark of Purr Design, LLC.
Privacy Policy