
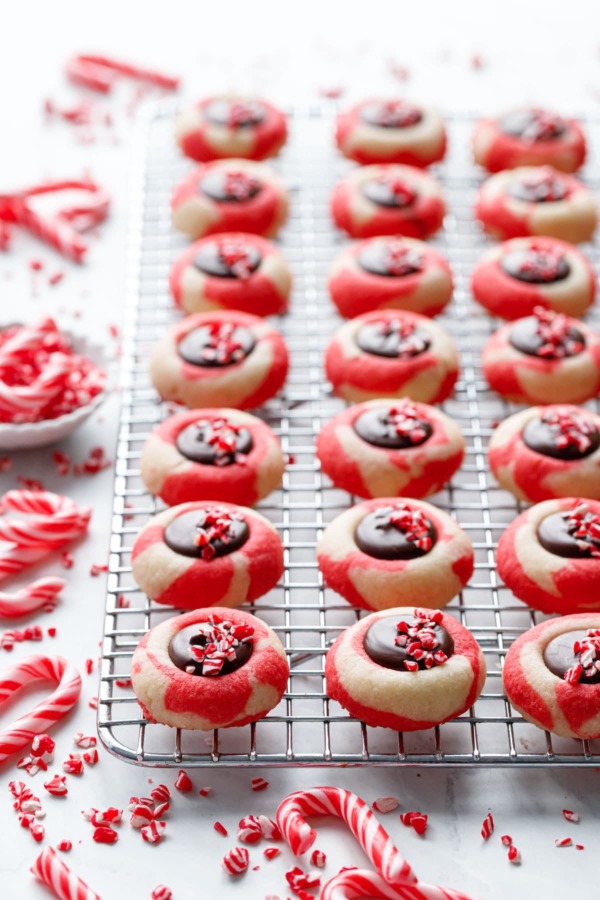
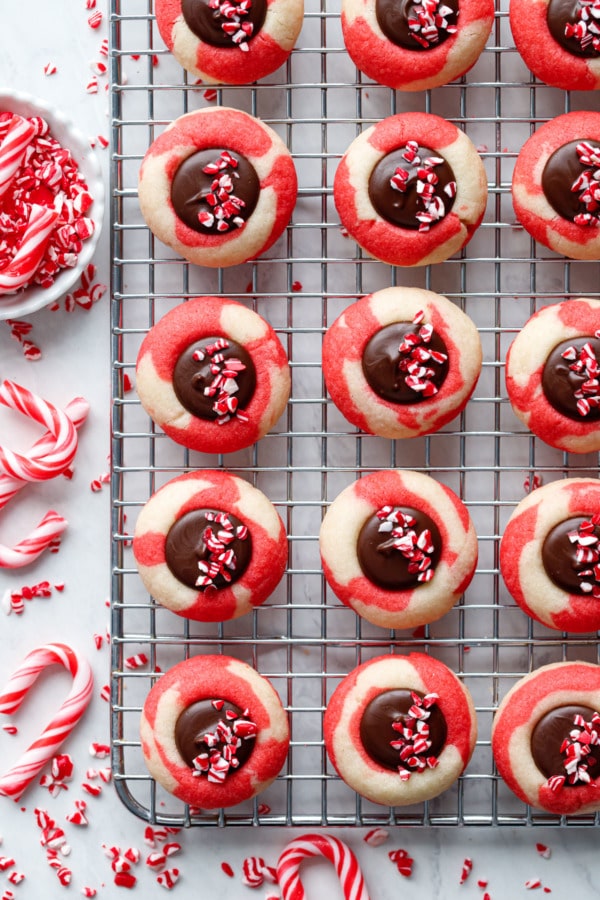
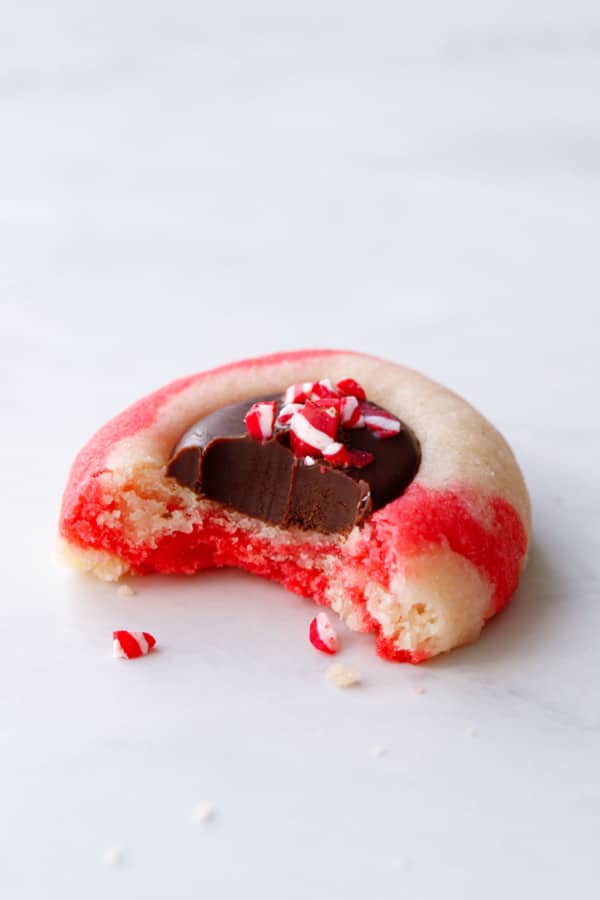
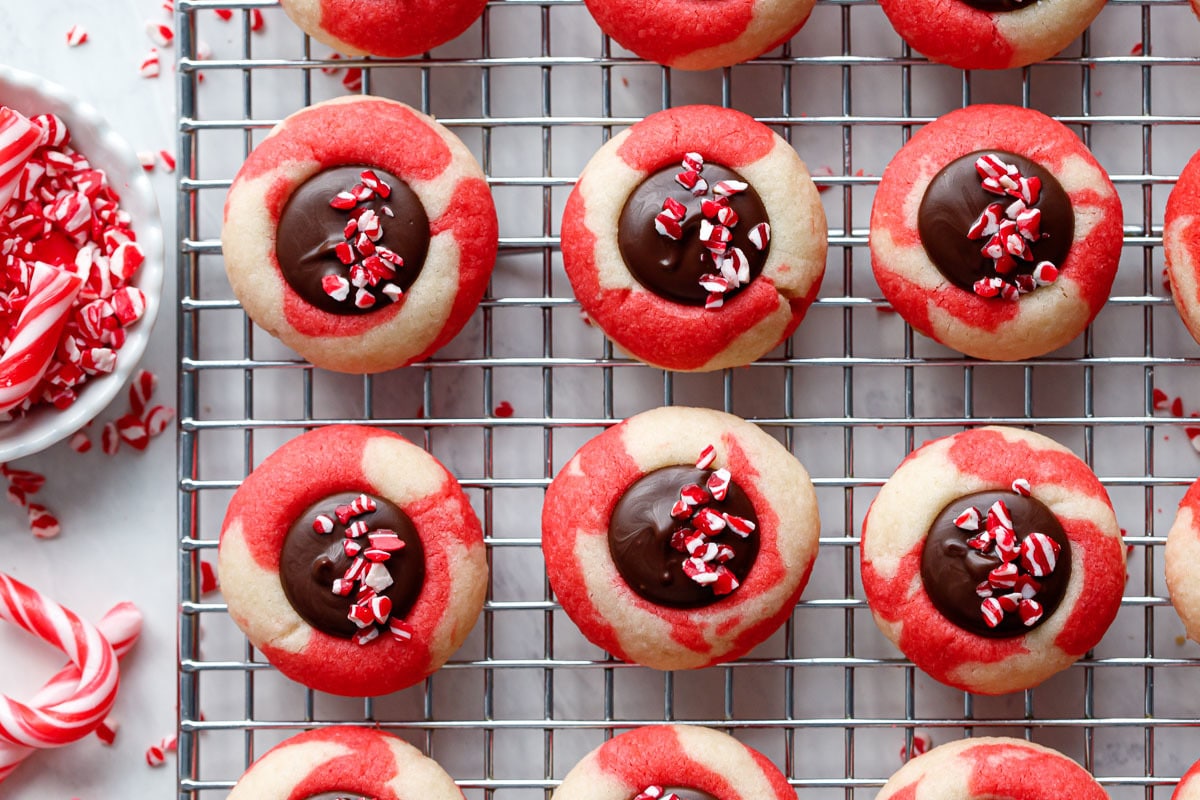
Chocolate peppermint thumbprint cookies are sure to be a new holiday favorite, with a red and white marbled shortbread, dark chocolate filling with a hint of peppermint, and crunchy candy cane bits sprinkled on top.
I can’t speak for Santa, but classic thumbprint cookies are one of my all-time favorite cookies, the buttery shortbread serving as the perfect foundation for myriad filling possibilities. This festive take pairs dark chocolate with peppermint, plus a sprinkle of crushed candy canes for decoration and crunch.
Save this recipe for later!
Along with gingerbread, spritz, and, obviously, amaretti, thumbprint cookies are a necessity for any holiday cookie box.
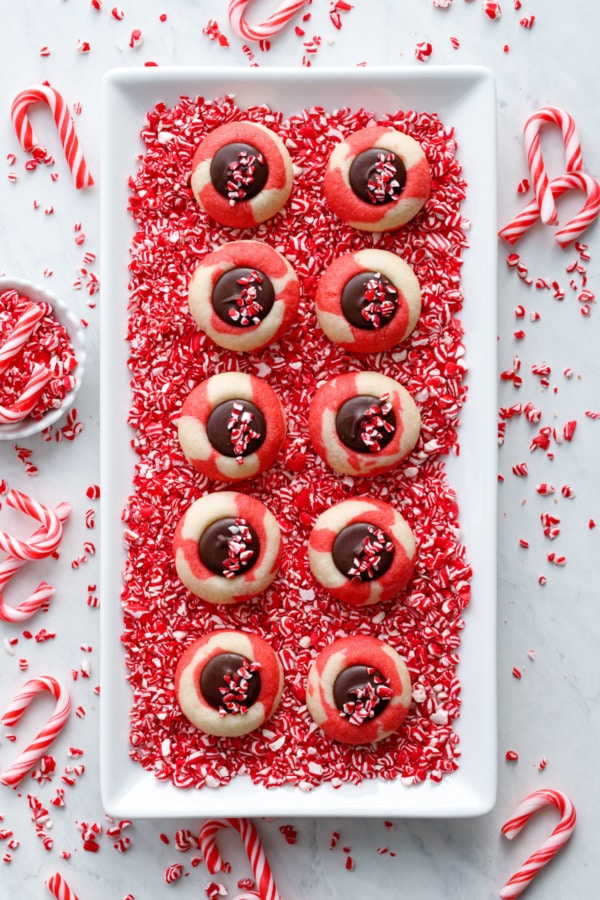
And these festive, candy-cane inspired thumbprints are no exception. In fact, I’d argue these chocolate peppermint thumbprints are perhaps the ultimate holiday cookie.
I mean, just look at them!
I’ve been wanting to do a chocolate peppermint thumbprint cookie for some time now, but it’s taken me until now to actually nail down the details. I mean, it could have gone in so many different directions, I just couldn’t decide. Should it be a chocolate cookie with a white chocolate peppermint filling? Or double chocolate with a chocolate cookie and a dark chocolate filling? Or should I stick with a traditional shortbread cookie, and if so, should the cookie itself be left natural, infused with peppermint extract, mixed with crushed candy canes, or marbled with multi-colored dough?
This is how my brain works when I’m developing a recipe.
Ultimately, after a number of tests, I opted for a traditional shortbread with a hint of almond, with a striking marble effect with a swirl of red and white dough, and a dark chocolate filling with a hint of peppermint extract.

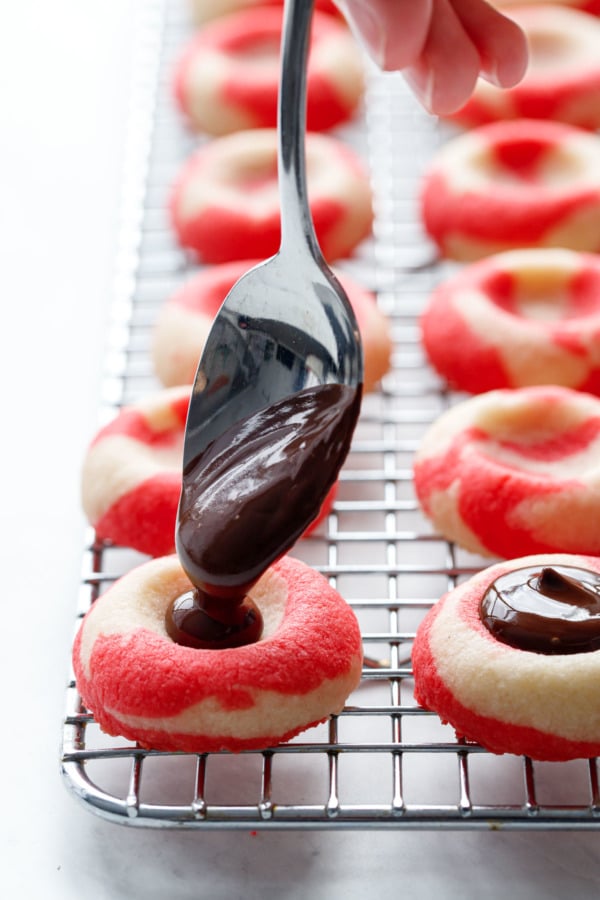
The filling is a simple mixture of dark chocolate and peppermint extract, softened by a bit of butter and corn syrup so that, while the chocolate still sets so you can stack and pack the cookies, it’s softer than say, a chocolate bar, easily yielding under your teeth as you bite down (it’s actually nearly identical to the filling of my chocolate gingerbread thumbprint cookies).
The peppermint flavor is subtle, just a hint in the rich chocolate filling and within the crunch of the candy cane topping. Because we all know that too much peppermint flavor is… not a good thing.

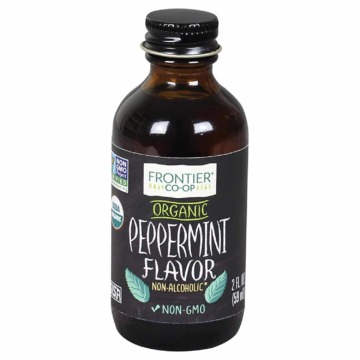
I used an oil-based peppermint extract here, and I’d recommend you do the same so as not to seize up the chocolate. I sampled a few different brands of peppermint extract and found this Frontier organic peppermint flavoring to be the best, most natural tasting minty flavor. Some were straight up dental floss, which is not a flavor you want in a sweet holiday cookie.
You could also use regular mint extract or, my favorite minty flavor, creme de menthe, which you can get in a highly concentrated flavoring oil (you’d just need a few drops here rather than 1/2 teaspoon.)
Because mint flavor can be so potent, and different brands of mint extract can vary so much in intensity, I recommend adding a little bit at a time to the filling. Give it a taste, then add more if you think it needs it. You can always add more extract, but you certainly can’t take it away if you’ve added too much.


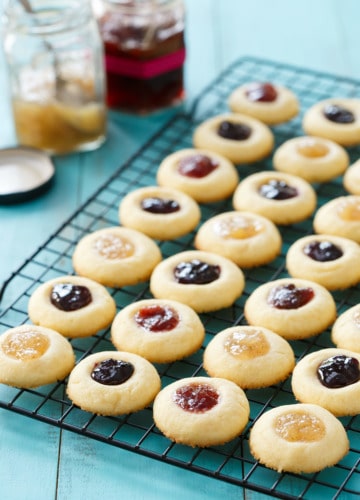
This shortbread thumbprint recipe is markedly similar to my popular jam thumbprint cookies, with one notable exception: no egg yolk. I tested it both ways, with and without the yolk, and the results are surprisingly similar. The yolk-based cookies are a bit more toothsome and slightly richer, while the yolk-less version is a bit lighter in texture, with delicately crispy bottoms. They do spread a bit more than the yolk versions, guessing the increased protein from the egg helps bind the dough more thoroughly, so the recipe calls for you to shape the dough at room temperature (when it’s less likely to crack), then freeze the shaped dough balls for 10 minutes before baking to help prevent them from spreading too much.
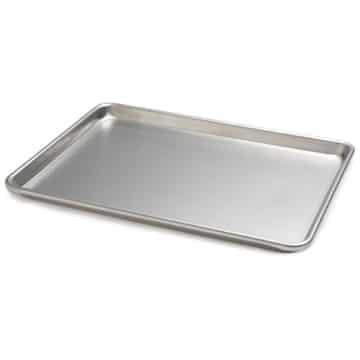
That said, the cookie sheet you use for these matters quite a bit. I recommend a commercial aluminum cookie sheet lined with parchment. Cookie sheets that have nonstick coatings, even light-colored ones, will brown the bottoms of these cookies noticeably faster, so much so that you’ll feel like you need to take them out of the oven before they’re really fully cooked.
If all you have are non-stick or medium/dark finish cookie sheets, you can always try the double stack trick I use with my amaretti cookies: stack two identical cookie sheets on top of each other and bake your cookies there. The extra layer of air between the sheets adds insulation that keeps the bottoms of the cookies from browning too quickly.

For the marbled effect, I split my dough into two portions, one slightly less than half gets colored red (I used two drops super red and one drop electric pink gel food coloring to achieve this color). I also added an extra spoonful of flour to the red dough since it gets worked more and ends up being softer than the natural dough.
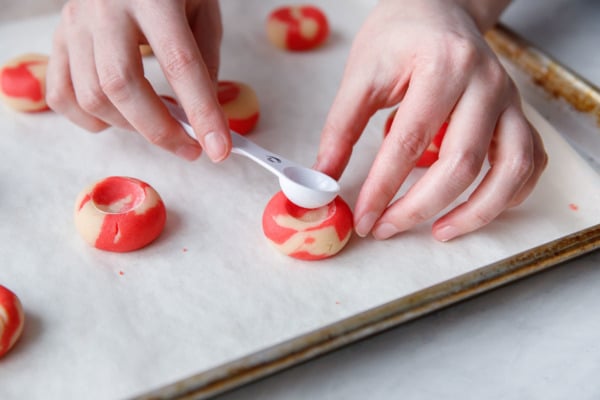
Baking Tip: for perfect thumbprints, don’t actually use your thumb! Instead, I find a round measuring spoon (about 1/2 teaspoon in size) to be the best tool for making perfect indentations, though something like a melon baller or a glass marble would work too.
When making the indentations, work with room temperature dough. First flatten the dough balls slightly with the ball of your hand. Dip the back of the spoon in flour, then gently press it into the center of the cookie. You don’t need to make a deep hole, just enough to define the shape of the cookie without it cracking (and if it does crack, just gently smoosh the cracks back together).
Once you take the cookies out of the oven, you’ll notice the indentations have puffed and filled in, so, while the cookies are still warm, quickly re-form your thumbprints using the same round spoon or tool you used initially (another reason why I prefer a measuring spoon here as opposed to an actual thumb, because the cookie is hot!)
You may also notice some ruffly edges around the bottom of the cookie, which you can easily tuck back in using the edge of a spoon or offset spatula. Once cooled you can also gently rub off the ruffles using a microplane grater as well, which will help your cookies to look smooth and picture-perfect.
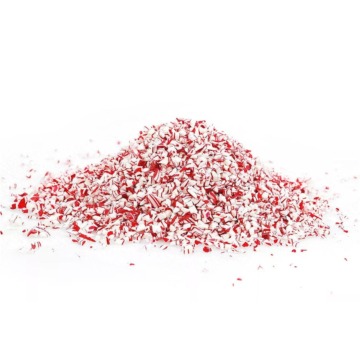
The crushed candy canes on top are actually candy cane crunch, which I like for the convenience of not having to crush my own but also for the intensity of color and stripes. Actual crushed candy canes are predominantly white with very little of the stripe pattern actually showing on the small pieces. Since the crunch is made to be in tiny pieces, the pattern is more apparent and the end result is more festive. But you can certainly used crushed candy canes here too (it’d be a great way to use some of them up after the holidays since I can’t say I know anyone who actually eats the things straight).
Chocolate Peppermint Thumbprints
Ingredients
For Cookies:
- ½ cup / 113 g (1 stick) unsalted butter, at room temperature
- ⅓ cup / 67 g granulated sugar
- ½ teaspoon vanilla extract
- ¼ teaspoon almond extract
- 1 ⅛ cup / 141 g all-purpose flour, that's a generously measured cup or 1 cup + 2 tablespoons
- 1½ tablespoons / 15 g cornstarch
- ¼ teaspoon kosher salt
- red food coloring
For Chocolate Filling:
- 3½ ounces / 100 g dark or semisweet chocolate, finely chopped
- ½ tablespoon / 7 g butter
- ½ tablespoon corn syrup
- ½ teaspoon oil-based peppermint extract, more or less to taste
- candy cane crunch or crushed candy canes, for topping
Instructions
- Preheat oven to 375 degrees F. Line a light-colored aluminum cookie sheet with parchment paper. If using non-stick cookie sheets with a coating or darker finish, I recommend stacking two cookie sheets on top of one another to provide some extra insulation against browning.
- In a large mixing bowl or the bowl of a stand mixer, beat butter and sugar together until fluffy, 1 to 2 minutes. Mix in extracts.
- Add dry ingredients and mix on low speed until incorporated. The dough may appear crumbly at first, keep mixing or give it a knead to bring it together into a soft dough.
- Remove approximately half the dough from the bowl. To remaining dough, add red food coloring and mix until color is evenly distributed.
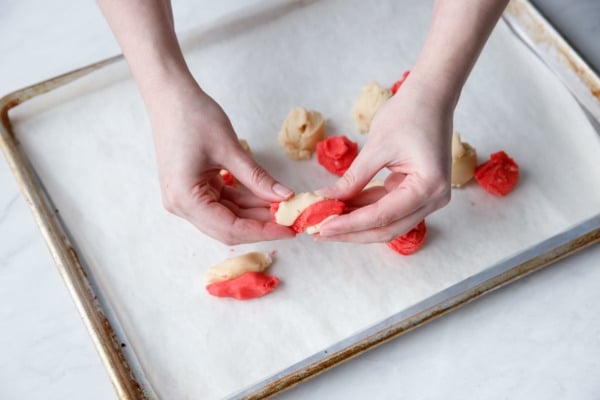
- Use a small cookie scoop to divide both colors of dough into 1-inch balls. Split balls in half, combining half a red ball with half a white one to create a swirled effect. Roll into a smooth ball and arrange on prepared baking sheet, leaving 2 inches of space between balls.
- Gently flatten the dough balls slightly with the ball of your hand. Make an indentation into each cookie using your thumb or the back of a rounded 1/2 teaspoon (something like a melon baller, or even a marble would also work well). Don’t press down far enough for the dough to crack; you just need an indentation about half the depth of the cookie to start with. Place entire baking sheet in freezer for 10 minutes.
- Bake for 10 to 12 minutes or until cookies are puffed and bottoms are just barely starting to brown. Remove from oven, and while the cookies are still warm, use the same measuring spoon to re-form the thumbprint. Let cool for 10 minutes before transferring to a wire rack to cool completely.
- To make filling, gently melt chocolate together with butter and corn syrup in a double boiler, a saucepan over the lowest heat setting possible, or in the microwave on 50% power in 30 second intervals. Stir in peppermint extract.
- Spoon or pipe filling into the thumbprints, then sprinkle with crushed candy canes. Let sit at cool room temperature or refrigerate briefly until chocolate is set.
- Cookies will keep in an airtight container for up to 5 days.


What brand of flour did you use? With the different protein level in flour I have learned to use different brands for certain recipes. I stock King Arthur, Pillsbury and White Lilly. Thank you in advance for your help. I’d like to make as soon as possible.
I typically bake with King Arthur or Trader Joe’s, though I can’t remember exactly which one I used for this recipe.
Thank you
Can you do these w/out freezing first? My baking sheet (or anything that holds cookies) won’t fit in our freezer :(
You can freeze them on a parchment covered dinner plate or smaller pan (they can be very close together, just not quite touching), then arrange them on the baking sheet with more spacing just before baking. Chilling in the fridge for 20-30 minutes would work as well, it just keeps the cookies from spreading too much.
Your cookies are just gorgeous. I also really appreciate when you taste test and recommend certain products. It is so very helpful!
Hi, my name is Sally and I made the world’s ugliest thumbprint cookies!
You would be very disappointed at my performance, none of them turned out beautifully round and perfect like yours.
BUT they taste amazing so I just need to work on my skills…. something went wrong with my shaping, that’s for sure
Hahaha, mine did too Sally, but I agree, they taste so good!
Me, too Sally. What do we do differently next time!?!? They are tasty, though.
Did you have issues with the dough cracking? That’s usually the most common issue with thumbprints, and can be a result of too much flour (definitely use a scale for this one as even an extra tablespoon or two of flour makes a big difference.). I also find the dough a bit crumbly to begin with, but give it a good knead or two which helps a lot.
When shaping, roll the dough into smooth balls. Then use the back of a round measuring spoon or even a marble to gently press an indent, but you don’t need to go very deep with this at all (see the photos for how mine looked before baking). The indent gets deepened slightly after the cookies are out of the oven you can press them down again with the same round measuring spoon while they are still warm and pliable. That’s what I’ve found to work best to get really nice, crack-free thumbprints (no thumbs actually involved lol).
These cookies are SO cute and taste great! I had a problem with cracking…what could have gone wrong? They were crumbly when I was rolling them into balls too and as soon a I made a dip for the chocolate they cracked.
Crumby dough can mean too much flour… I also find the dough to be quite crumbly at first but once it fully mixes it should be soft and smooth. Sometimes kneading it a few times with your hands can help bring it together! And shape the dough right away, you’ll have a much harder time shaping cold dough.
Can I use mint extract instead?
Definitely. It’s a slightly different flavor than peppermint but will still taste great!
Wow, looks so gorgeous and curious to try this.
What a perfect recipe for Christmas~ so pretty!
I had the rest of my christmas baking planned out for this week but I’m going to have to add in these cookies somehow because they are just beautiful!
Can these cookies be adapted to gluten free? They are just gorgeous & sound delicious!
A GF flour blend may work, but I have not personally tested it so I cannot say for sure. Let me know if you try it though!
just gorgeous, thought I was done with Christmas cookies until this! good flavors too, thank you