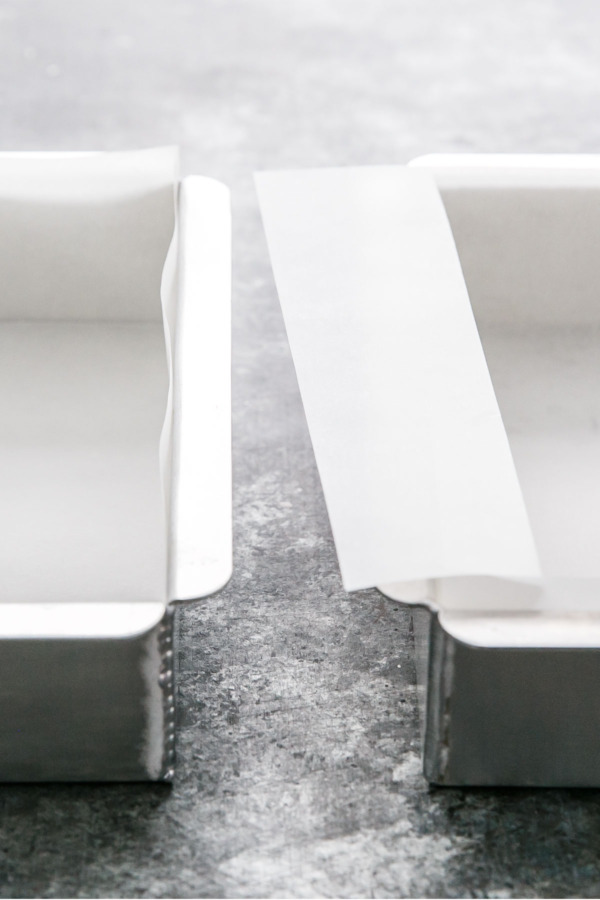
Lining a square pan with parchment paper is a lot like sticking a square block through a round hole… or at least it seems so.
I line just about everything I bake with parchment paper, whether I’m making brownies or pumpkin pie bars or ice cream sandwiches. Not only does it make cleanup easier, but it also makes for a better presentation: you can easily ‘lift’ the baked good out of the pan using the parchment paper as a sling of sorts. Set it down on a cutting board and you can much more easily slice your dessert into clean bars for serving.
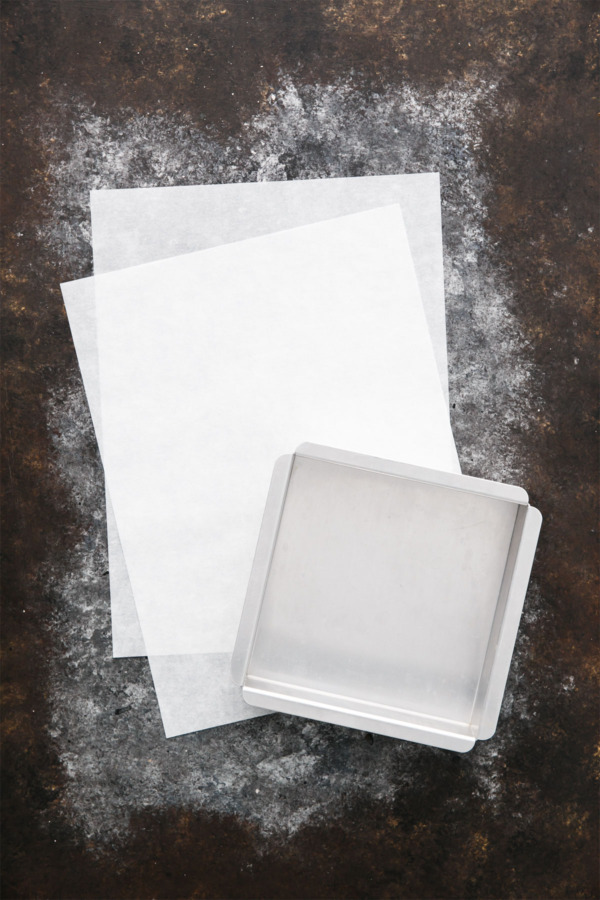
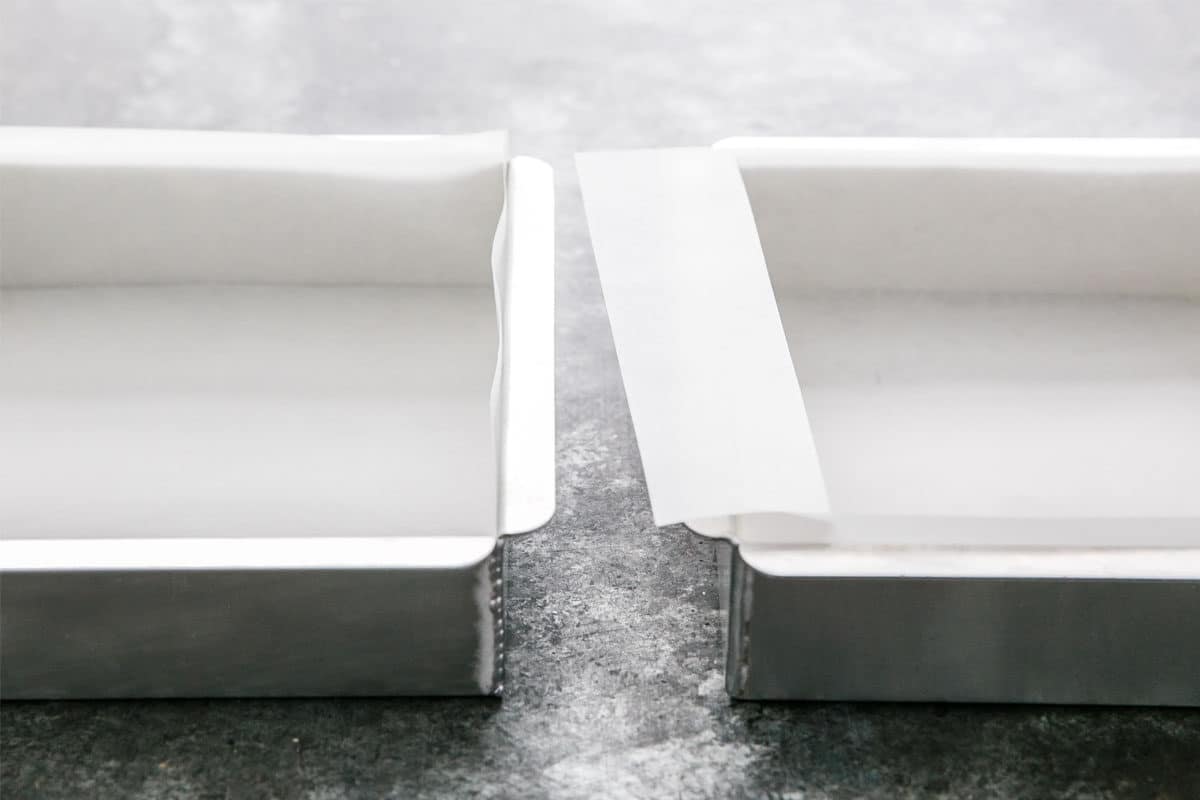
I have two methods that I’d like to share with you, the first is most definitely the easiest. But for some reason, I’ve always done it the second way, which might seem like origami magic, but I find it produces crisp clean edges and corners with minimal leakage.
Try them both, and go with whichever method you find the easiest.
Method 1: The bikini method
(because it’s two pieces, get it?)
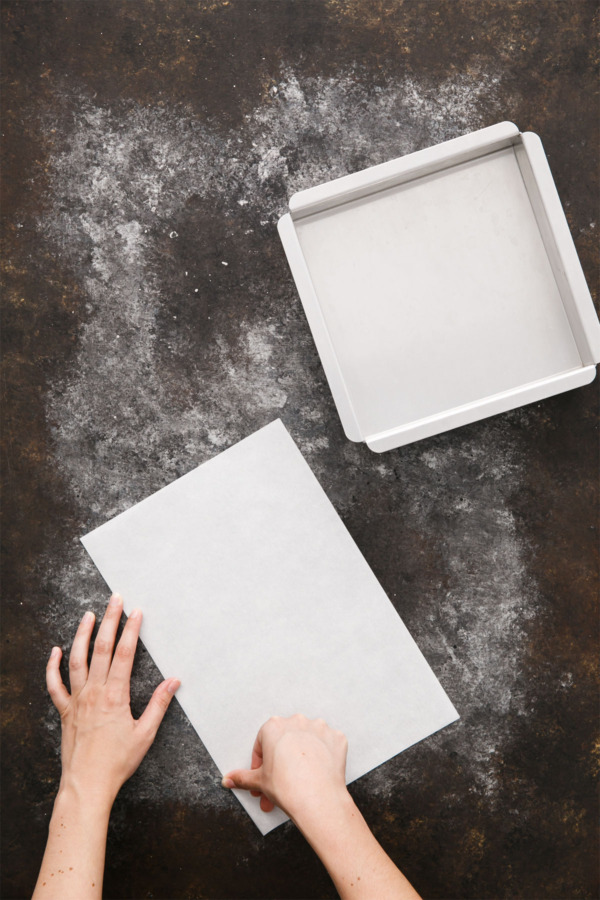
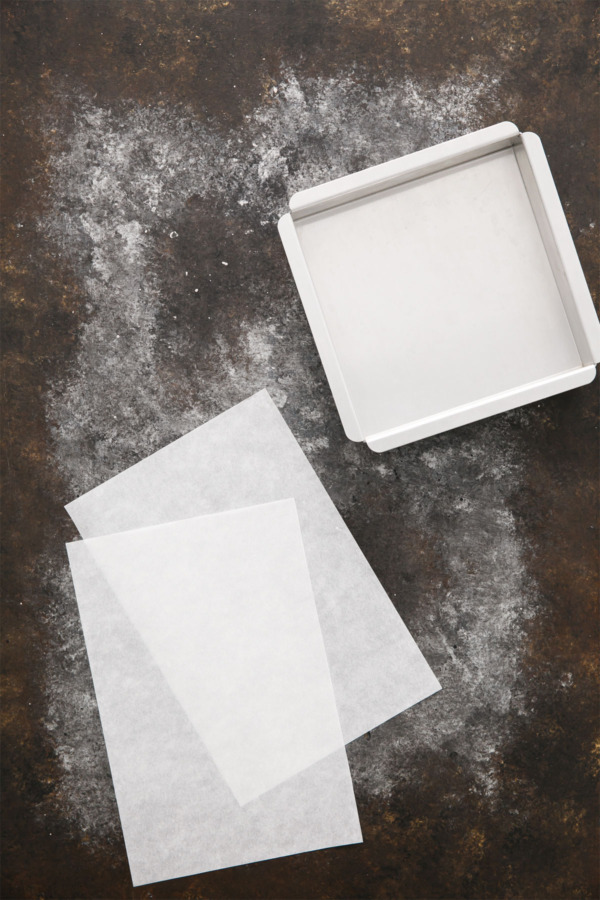
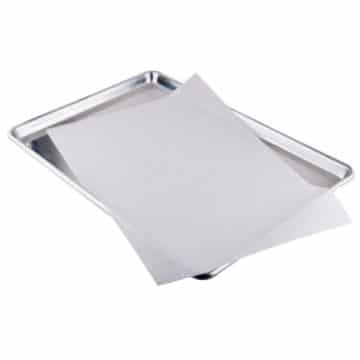
Start with a sheet of parchment paper. I love these pre-cut parchment sheets, which are exactly 16″ long (to fit perfectly into a half sheet pan), making it pretty darn easy to cut the sheet in half for an 8-inch pan. (You may need to shave off just bit so the parchment will fit perfectly inside the pan without folding at the edges, as we all know 8-inch pans are rarely exactly 8 inches.)
Fold the sheet of parchment in half short ways, and crease well.
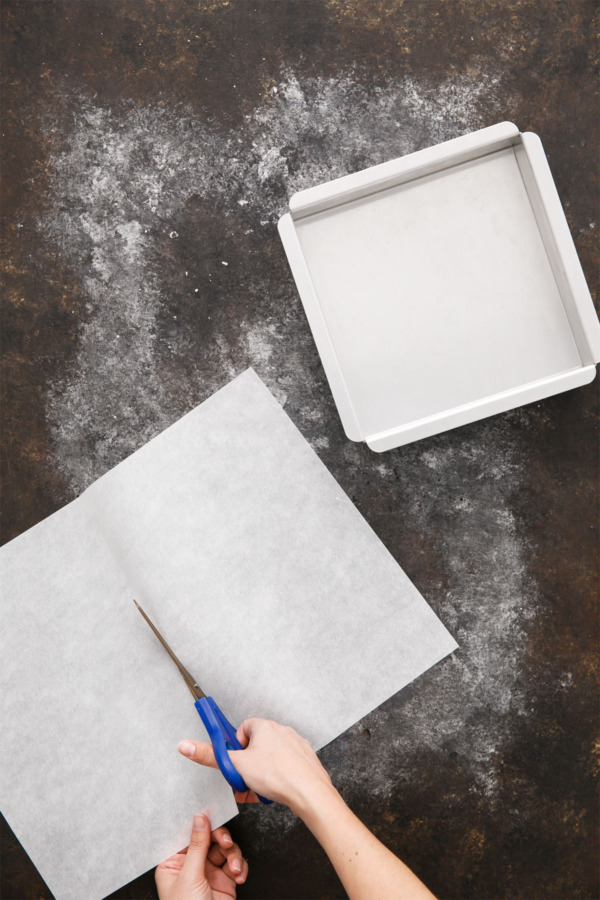
Cut the parchment in two pieces along the crease.
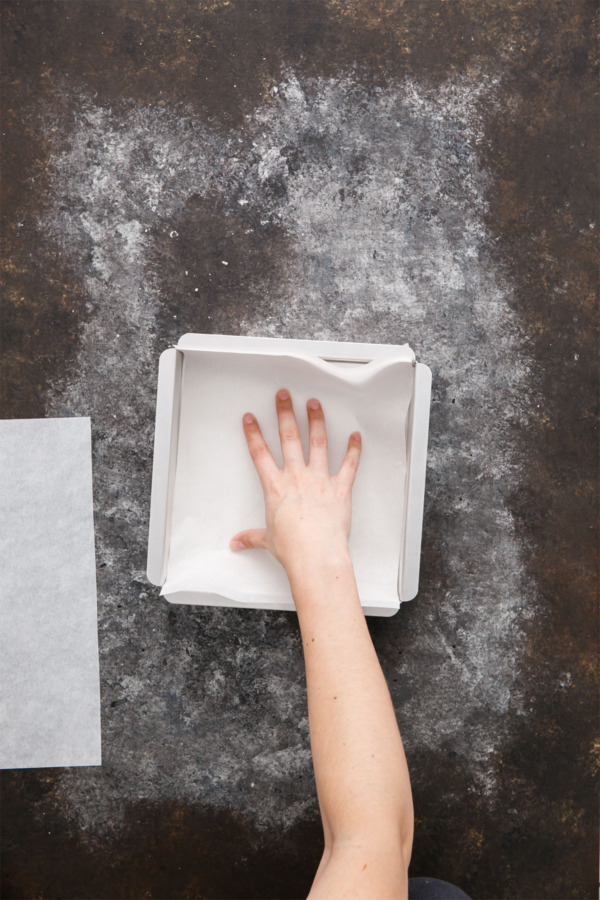
Place one of the pieces down into the baking pan, creasing in the corners so it sits in place. If it helps, rub a bit of butter on the bottom of the baking pan so that the parchment will stick and won’t slide around.
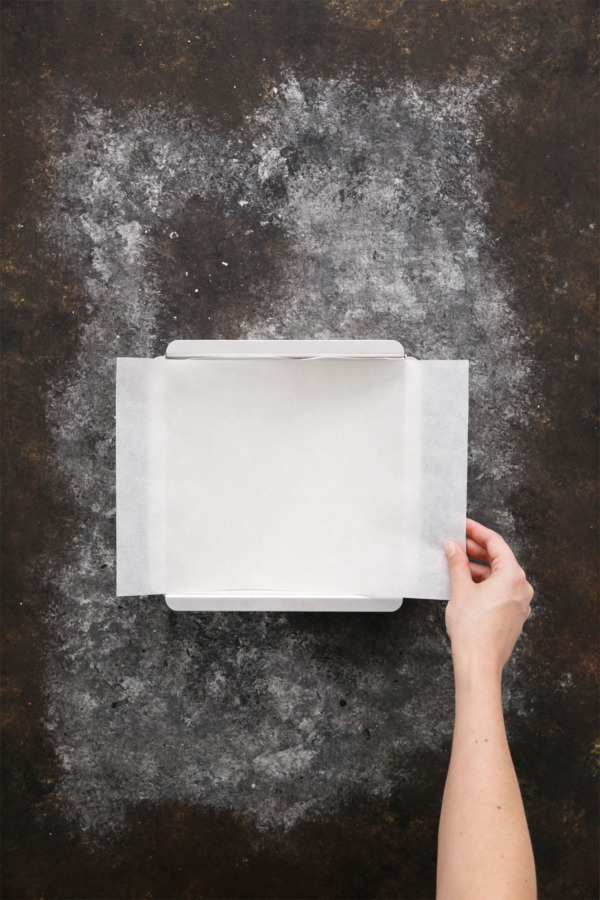
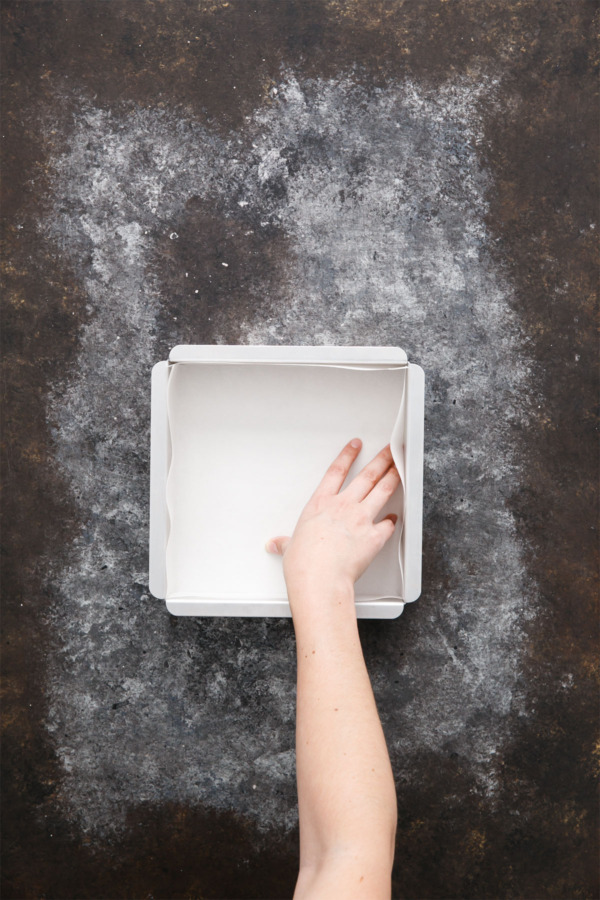
Place the second piece of parchment in the baking pan, perpendicular to the first piece, so that all 4 sides are covered. Crease this piece down as well (again, use a bit of butter if you have to).
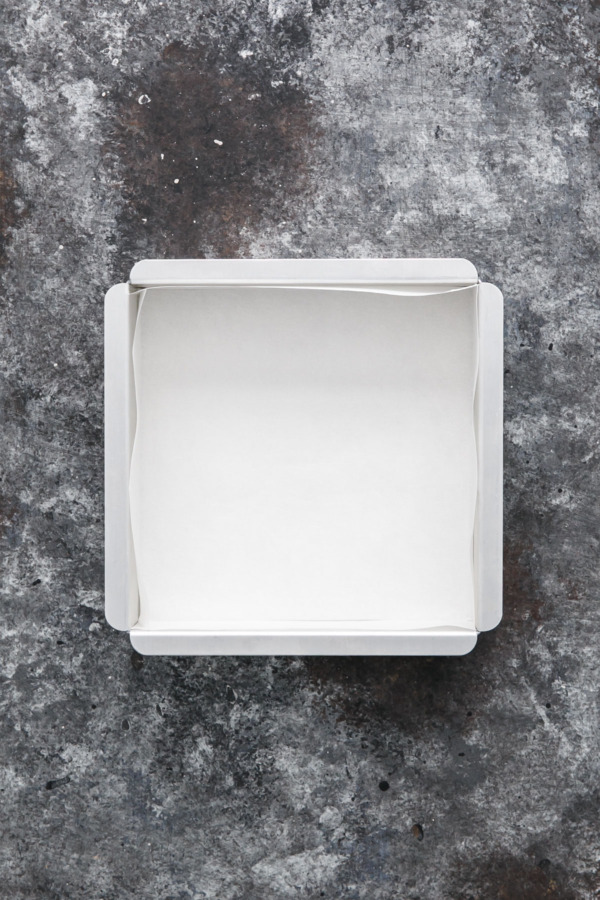
And that’s it.
Nice and easy!
Method 2: The origami method.
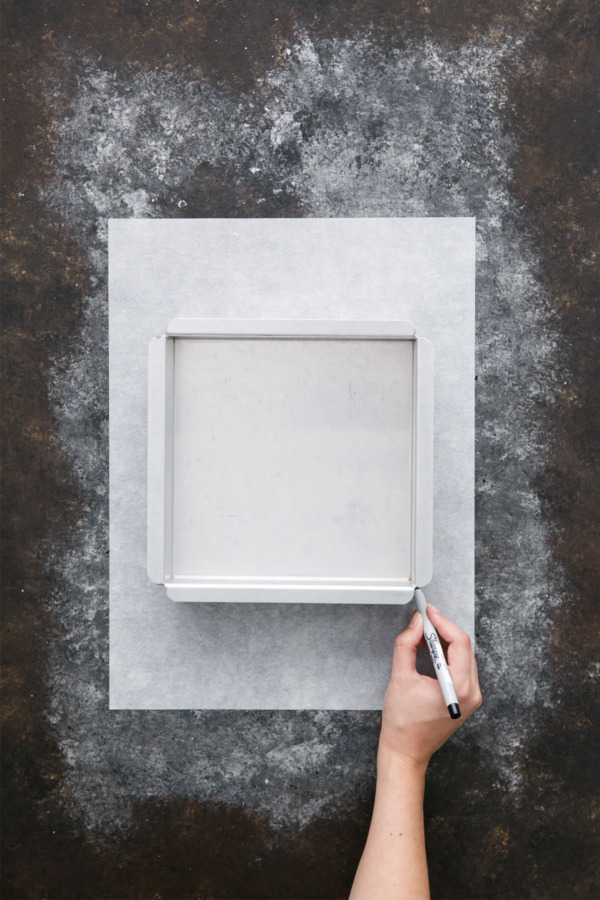
Place your sheet of parchment down on your work surface, and center your baking pan on top of it.
Using a pencil or marker, mark each of the 4 corners of the pan.
Set the baking pan to the side.
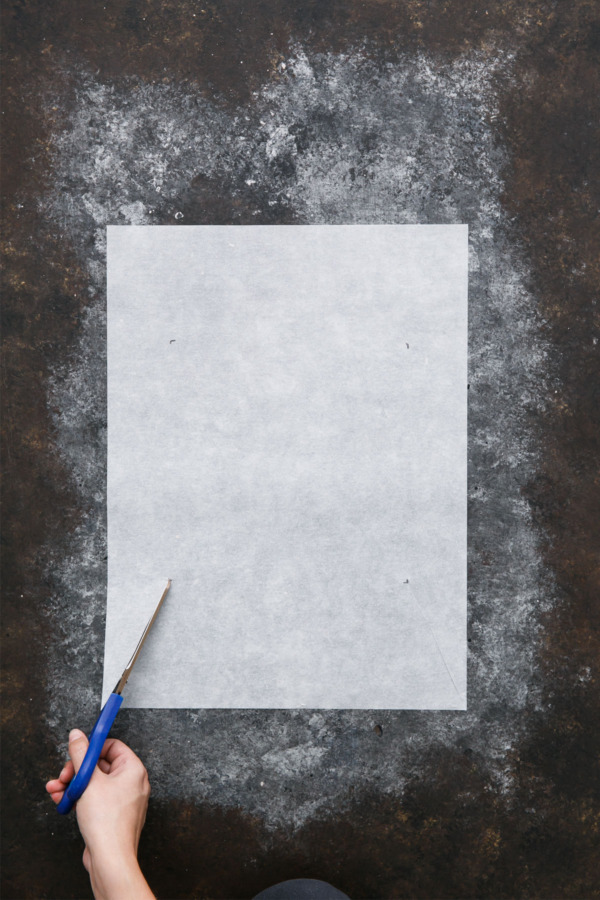
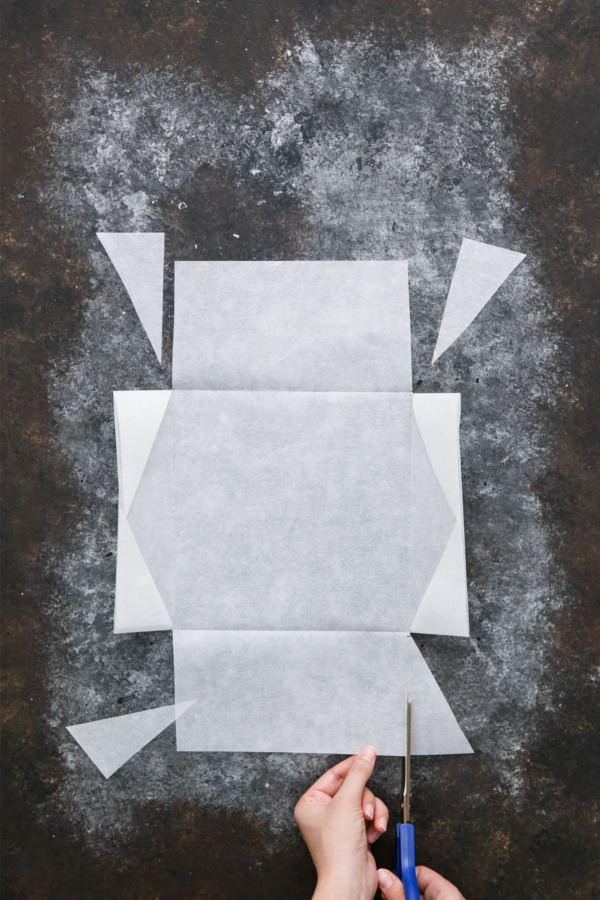
Using scissors, cut from each corner to the corresponding mark. If anything, cut in a tiny bit deeper than your mark to account for the thickness of the pan.
You should end up with 4 diagonal cuts.
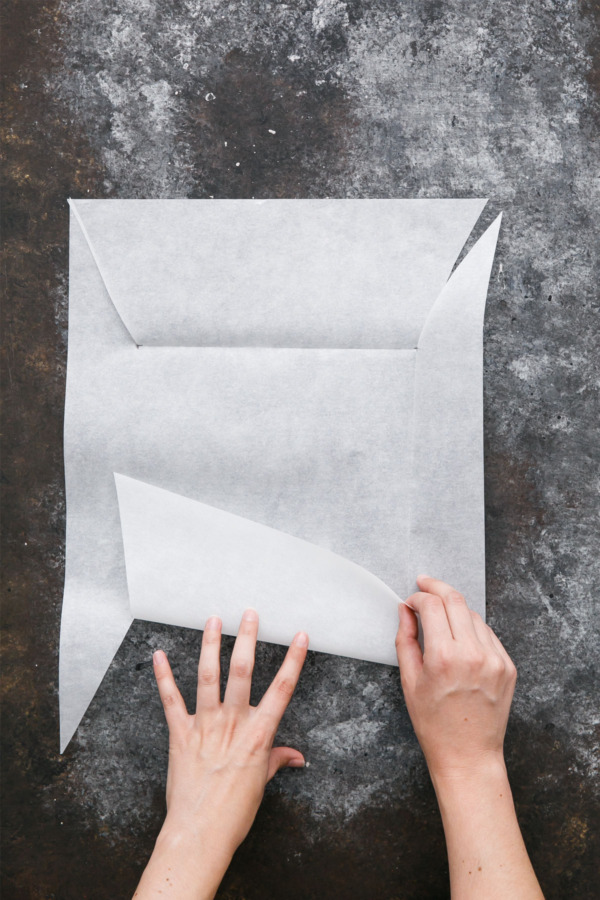
Fold in each of the 4 side pieces, from the end of one cut to the other.
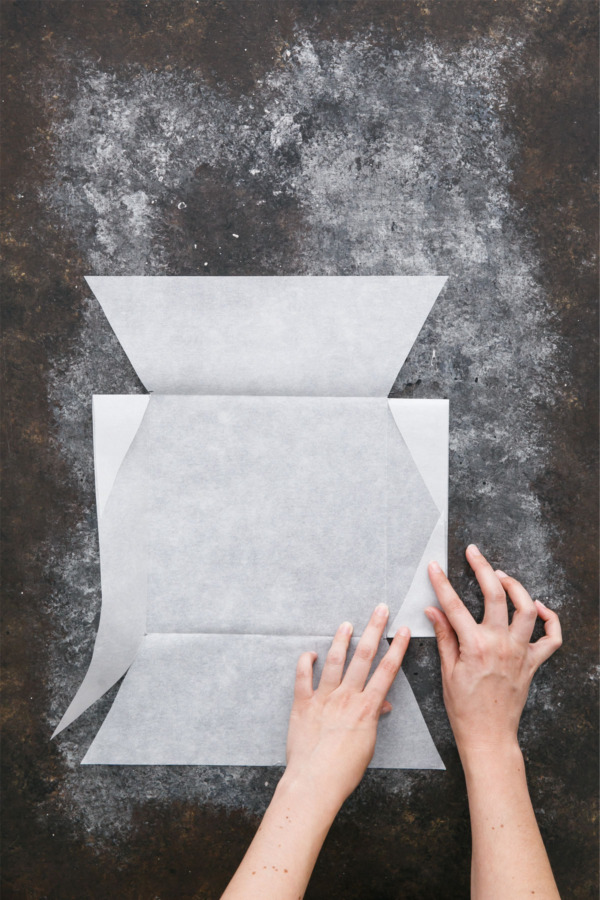
On the shorter sides, fold the triangles in on to each other, forming a 90 degree angle with the previous folds.
On the longer sides, cut off the 4 corner triangles to make straight edges.
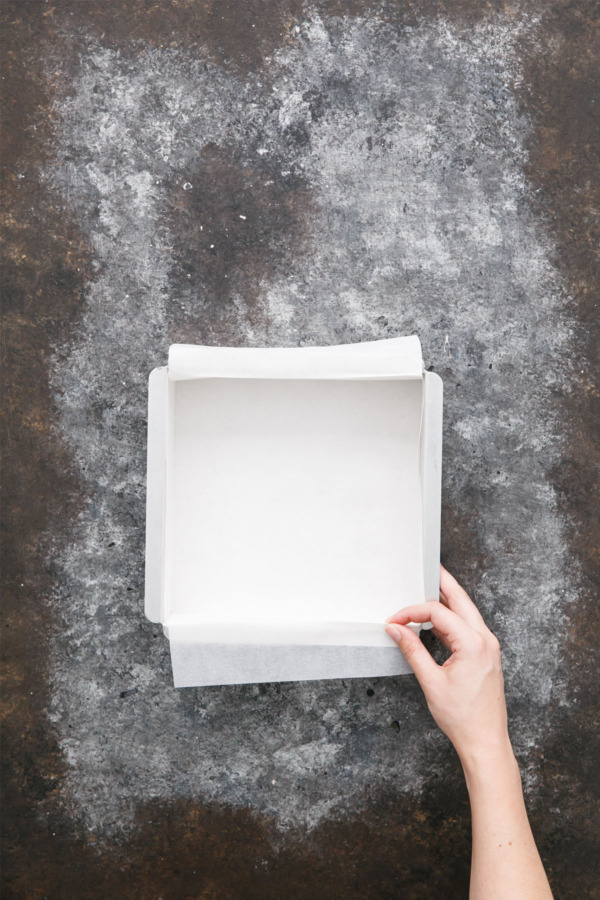
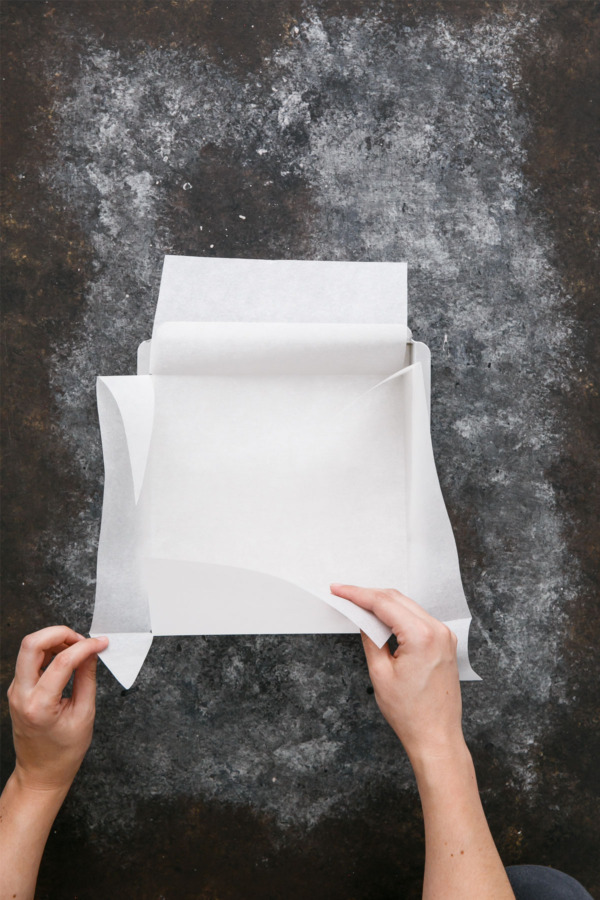
Lower the parchment into the baking pan, tucking the 4 folded triangles behind the straight edges. Crease the straight edges as needed to keep the parchment from folding back in on itself.
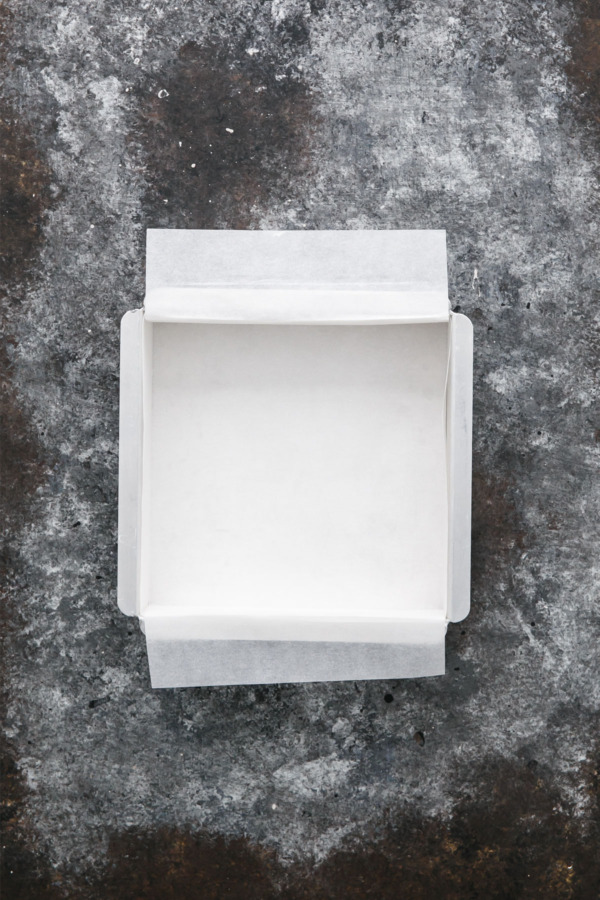
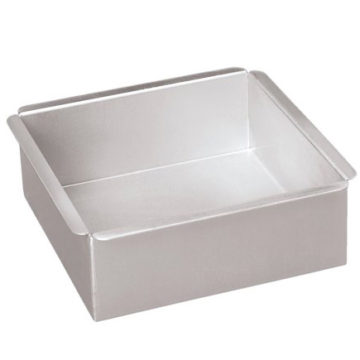
And that’s it. Yes, it’s a bit more complicated than the first method, but it is less prone to sliding and, if cut and folded accurately, will produce a very crisp edge with little to no leakage. You also have more of a ‘handle’ available to lift out the final product. Note that this method won’t work as well if your baking pan has angled sides, or if it has gradual rounded corners, which is why I prefer a straight-sided pan with crisp square corners, like this one.
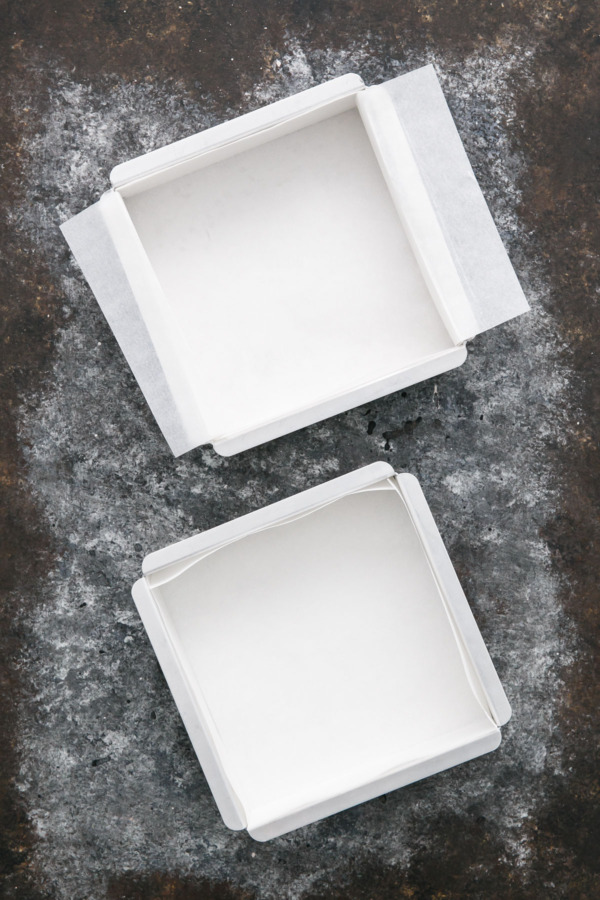
For either of these methods, if you are using rolled parchment instead of sheets, be sure to assemble your lining so it curls outwards, otherwise the sides of the parchment may fold back in on whatever you are baking inside.

Omg, I have been frustrated with this for YEARS. I did your 2nd method and WOW it worked and looks so neat and tidy. Thanks for making this post! ♥️
I buy my parchment by the roll at Sam’s it is great quality and incredibly reasonable especially for the amount you get.
I found this very helpful-thanks
Oo very pretty technique. I usually go for the Jamie Oliver crumple up the paper and run it under water for a second technique. Then the paper is flexible enough to mold to the pan once the batter is poured in.
Interesting, I’ve never heard of the crumple technique! I imagine that would work well for pans without straight sides or sharp corners.
Love this tutorial! I’ve always used the origami method; for some reason, the bikini method has never occurred to me. It seems so much simpler! Thanks for the great tip!
xx Allison
alwayseatdessert.com
The little things make such a difference! I love this post. Thank you so much for sharing! I’m going to give this a try making your vegan pumpkin bread! Keep the kitchen hacks coming!