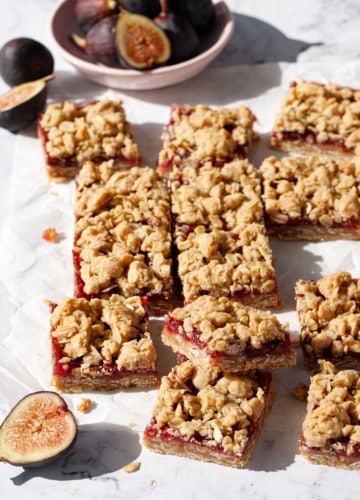
Fig, Apple & Vanilla Oat Crumb Bars
Fall in love with these autumn-inspired crumb bars featuring a ruby red fig, apple, and vanilla jam between layers of a sweet and salty oat...
Fall in love with these autumn-inspired crumb bars featuring a ruby red fig, apple, and vanilla jam between layers of a sweet and salty oat...
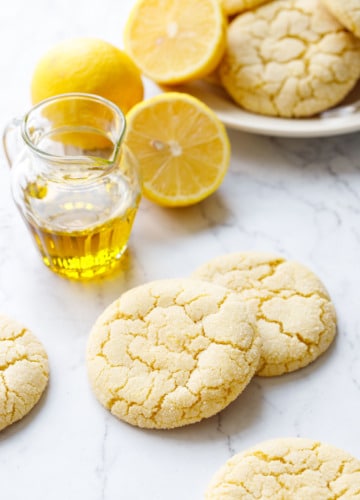
Soft, chewy, and lemony sugar cookies made with extra virgin olive oil instead of butter for a unique flavor and a delightful chewy texture—with a...
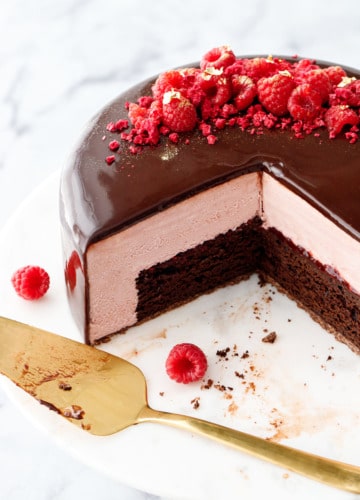
This gorgeous layered dessert features a brownie-like chocolate cake, luscious chocolate raspberry jam, and a light and fluffy raspberry and ruby chocolate mousse all enrobed...
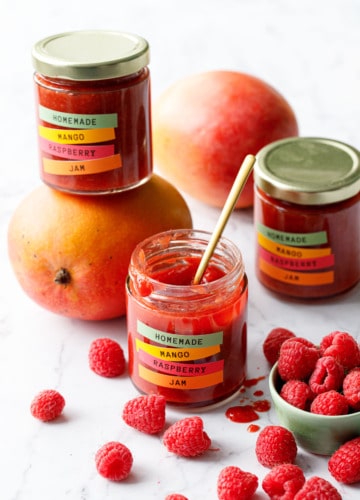
The unexpected combo of mango and raspberry results in a jam with a candy-like fruit flavor, like one of those mystery dum-dums that’s impossible to...
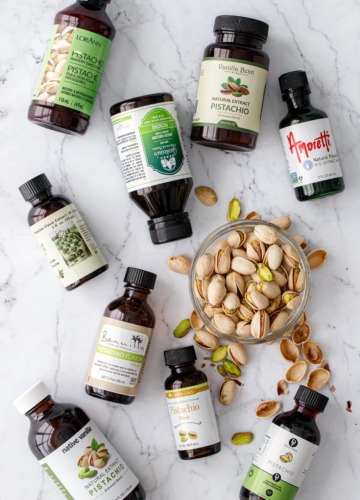
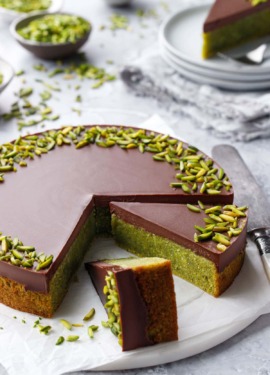
Pistachio is a flavor we all love and know, or, at least, we think we know—because, in reality, pistachio is one of the hardest flavors...
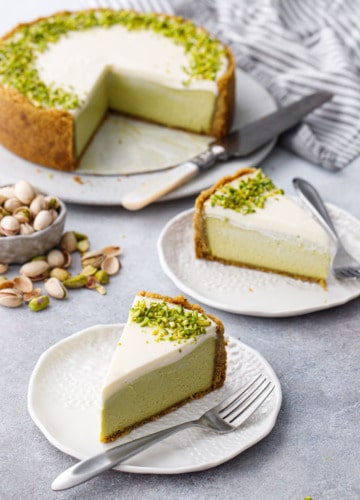
Pistachio lovers… this one’s for you: with a green and nutty pistachio flavored filling, creamy sour cream topping, and a sweet and salty pistachio cookie...
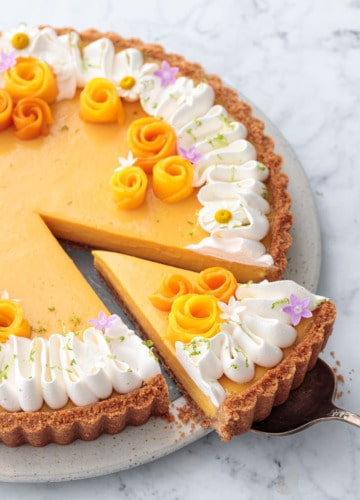
A classic key lime pie with a mango twist, tart and tangy and velvety smooth, nestled in a sweet and salty graham cracker crust (with...
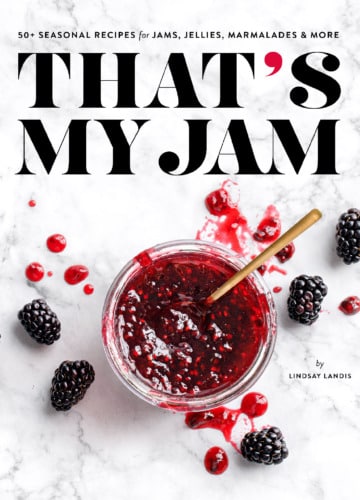
Can you believe it’s been 7 years since I first released That’s My Jam? (The fact that it’s been 11 years since Cookie Dough Lover’s...

Pistachio butter may not be as ubiquitous as peanut or almond butter, but it is by far my favorite of all the nut butters, with...
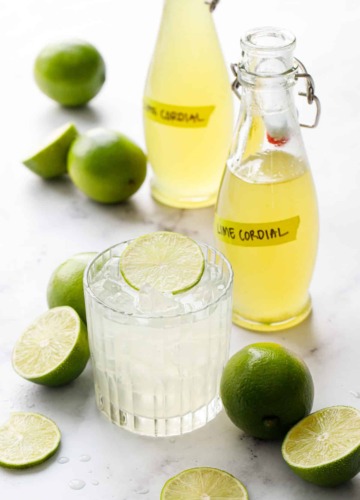
When the heat of summer finally hits, I know it’s cordial time. Specifically, lime cordial, a tart and refreshing mixer that’s perfect for summertime sipping....
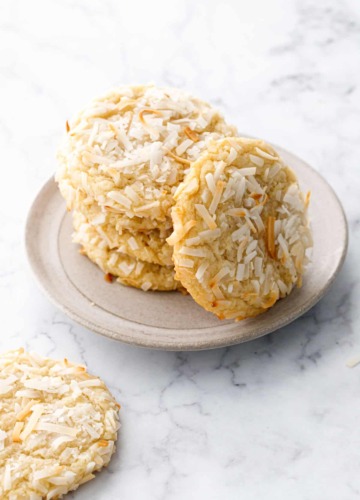
Coconut lovers, this one’s for you: these toasted coconut sugar cookies are soft, chewy, and coconutty to the max, packed with a triple dose of...
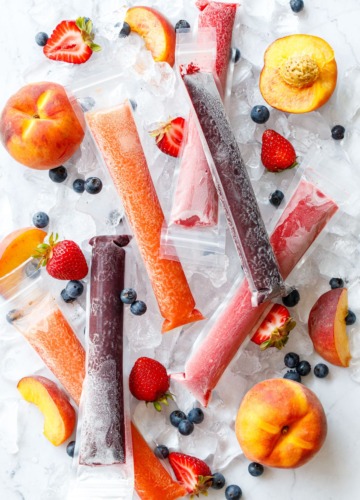
These summery fresh fruit freeze pops are made with pectin for a less icy, more pleasing mouthfeel; they’re essentially a quick freezer jam in popsicle...


©2007-2024 All Rights Reserved.
Love & Olive Oil® is a registered trademark of Purr Design, LLC.
Privacy Policy