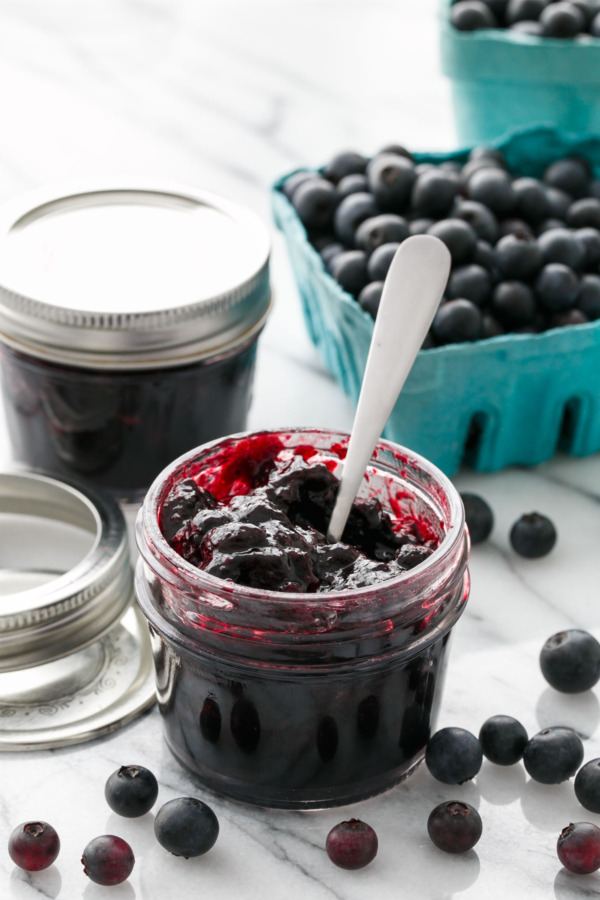
For someone who doesn’t eat much jam, I sure make a lot of it. It’s safe to say I am addicted to canning, and I know once you get started you will be too. It’s the best way to preserve a little bit of summer sunshine for year-round enjoyment. I love making unique flavors of jams and jellies, adorning them with pretty labels and packaging, and then giving them as gifts during the holidays (forget wine, a jar or two of homemade jam is a MUCH better hostess gift in my mind!)
Canning might seem intimidating at first. All this talk of contamination and botulism and the like is enough to make anyone nervous. But you should know that, armed with a bit of knowledge and safe canning practices, you’ll be whipping up delicious (and safe) jams in no time. Trust me, once you start it won’t take long before your pantry is piled high with a rainbow of glass jars filled with delicious jams, jellies, and preserves.
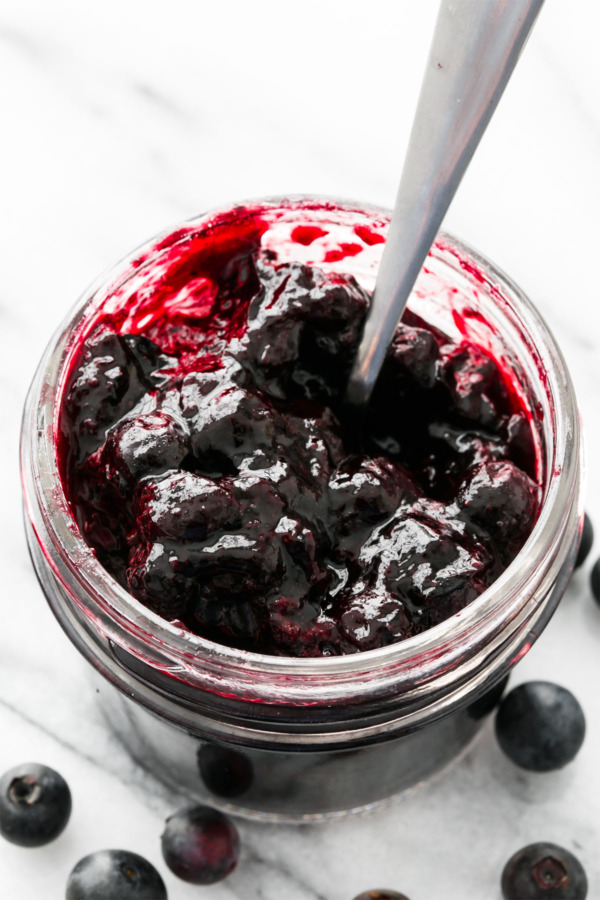
The key to safe canning is twofold: acid and heat. Botulism simply can’t live in an acidic environment. The acid in jam comes from the fruit itself as well as added acid like lemon juice (some fruits are acidic enough on their own, but some need a bit of extra help in the form of lemon juice or other added acid). Some foods are not recommended for water-bath canning, including vegetables and some starchy fruits like bananas and melons. To check for yourself, the FDA has a chart of average pH values of fruits and vegetables. Anything with a pH lower than 4.6 is considered high acid and safe for water-bath canning on its own; anything higher than 4.6 and you’d need added acid or a pressure canner to process it safely. I usually stick to fruit jams and jellies, since most fruits are plenty acidic on their own, which makes blueberry jam (with a confidence-inspiring 3.7 pH) a great place to start for beginners.
This focus on acidity also means you shouldn’t go adding things to your jam willy nilly. Sure, a milk chocolate blueberry jam sounds amazing, and if you’re just making a batch to eat immediately or refrigerate for a short period of time there are no limits to your creativity. But when canning, additions of any kind will change the overall pH of a jam and could affect its long-term safety, and so it is best to stick with tested recipes that you know are sufficiently acidic to prevent spoilage.
The second part of canning safety is heat, which comes in the form of a hot water bath: by holding the jam at 212ºF/100ºC for a specific length of time, any spores that might harbor botulism are killed and the jam is essentially sanitized from the inside out. Note that for anyone at higher altitudes, since water boils at a lower temperature, the processing time needs to be increased accordingly (add 1 minute for every 1,000 feet). The boil is also what creates the seal: forcing out any remaining air in the jar and creating a vacuum that sucks down the lid (creating the telltale ‘pop’ that lets you know your jars have properly sealed).
With proper practices and tested recipes, you can be confident in your canned goods being a safe and delicious way to save the best of seasonal produce to enjoy year-round.
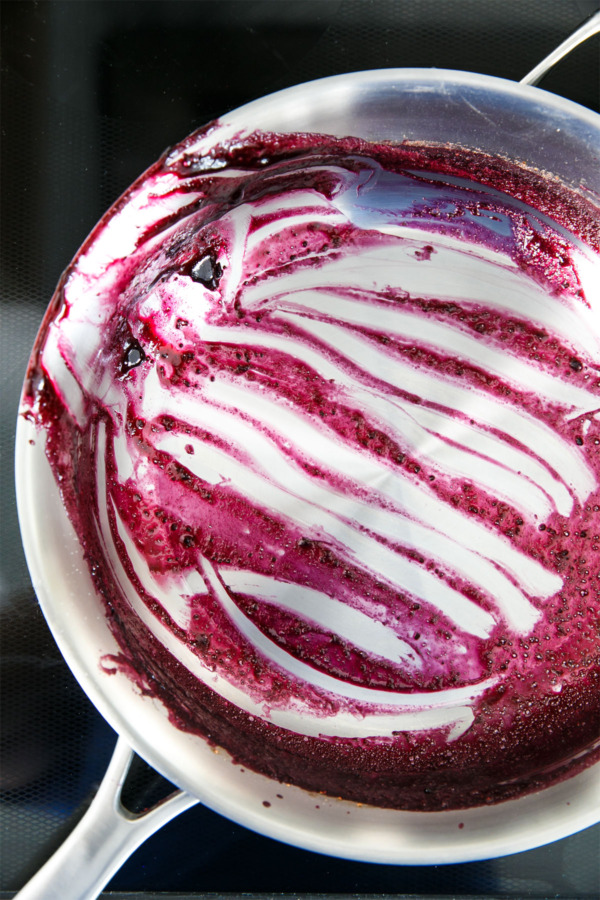
Today I’ll be going through step-by-step how to make a basic blueberry jam, lightly scented with a bit of vanilla. I like blueberries because they’re easy: the prep is almost non-existent (just a simple rinse and pick-through to make sure there aren’t any stray stems). No peeling, pitting, hulling, or chopping required. It is a great beginner jam to try your hand at canning.
(And yes, you can also use frozen berries in this recipe as well! Thaw them out mostly beforehand, reserving all juices, and then proceed as instructed.)
Let’s get started, shall we?
Step 1: Prepare your canning station.
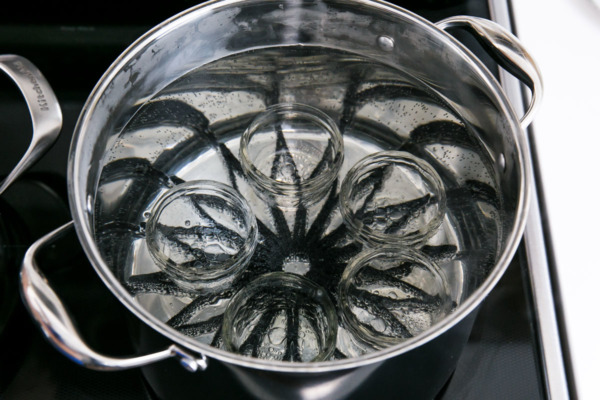
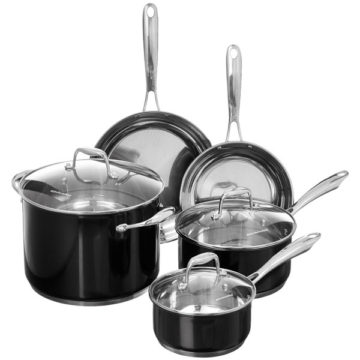
First and most importantly you want to prepare your canning station with all your tools and equipment, and start heating up your water bath. An 8-quart stockpot will work for smaller jars (and I love that the glass lid lets you keep an eye on your progress), however, if you want to can 8oz or larger jars, you will need a larger pot (the general rule is the pot should be filled about 2/3 full with water and have it cover your jars by 1-2 inches). If you are using a glass cooktop, be sure that your pan has a perfectly flat bottom to ensure even heating (many enameled canning pots have slightly curved bottoms that can only be used with gas burners).
In the bottom of the pot place a canning rack to keep the jars elevated off of the base of the pot. A round stainless steel cake rack works well, or I have a silicone flower trivet that works perfectly for this size pot. Whatever you use, just make sure it’s heat-safe and will keep the jars from touching the bottom of the pan.
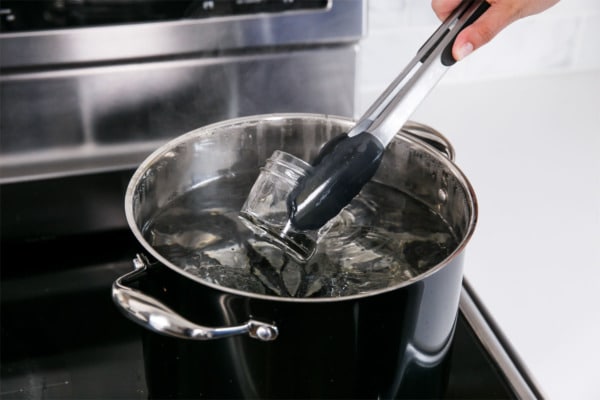
Wash and rinse your jars and lids with hot soapy water, and place the clean jars into the water bath. Start heating the water over medium-high heat; you want the water to be just boiling or almost boiling by the time your jam is ready to can, though there is no harm in having it boil longer than that.
You will also want to prepare a landing pad: a heat-safe surface on which you can place your jars. A wire cooling rack or non-plastic cutting board works well, you can also use a folded up dish towel (just know it will probably get permanently stained with jam).
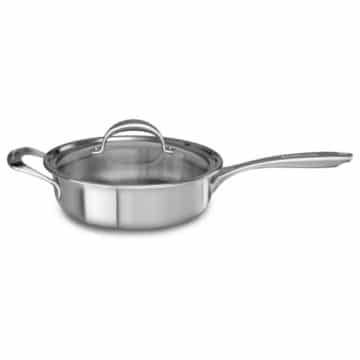
Other helpful tools include a pair of silicone tongs or a jar lifter for lifting your jars in an out of the water bath, a ladle or measuring cup with a good pour spout, and a nice heavy-weight saucepan in which to cook your jam.
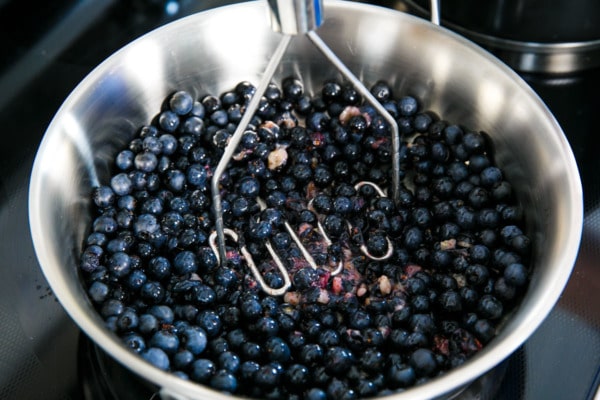
Prepare your fruit by lightly mashing it using a wire potato masher. You can do this in a bowl or right on the stove in your saucepan. You’re looking for an even mash, with some chunks of fruit but nothing overly large, and plenty of juicy pulp. You can continue to mash your fruit as it cooks as well for a smoother texture.
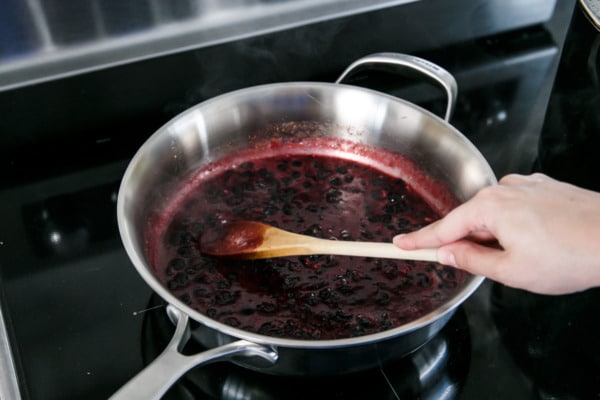
Step 2: Cook.
Once your fruit is mashed, add the lemon juice and calcium water* (see note on pectin below) along with vanilla bean pod and seeds (if using a whole bean) and bring to a boil, stirring occasionally to prevent scalding.
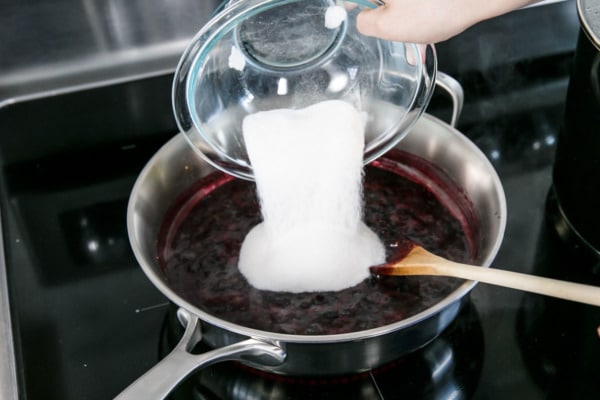
Step 3: Add your sugar & pectin.
In a bowl, whisk together sugar and pectin until evenly incorporated. The pectin needs to be whisked with sweetener in order to properly dissolve into the jam mixture: you cannot simply add it on its own. Add sugar/pectin mixture and stir vigorously until completely dissolved and jam returns to a full boil (this shouldn’t take more than 1-2 minutes).
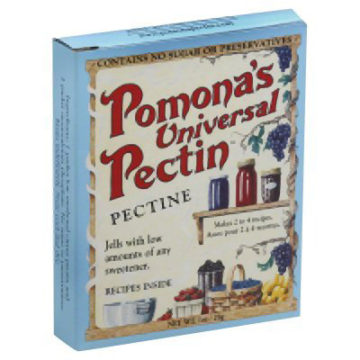
A note about pectin: I personally love Pomona’s brand pectin, which relies on calcium rather than sugar to achieve a proper set, allowing you to use less sugar than traditional jams. Calcium powder is included with every package of Pomona’s pectin: simply mix the specified amount of the powder with water to make calcium water, then use as instructed in this recipe. You can purchase Pomona’s pectin online or in some grocers, co-ops, or specialty food stores in the canning section. If you’d prefer to use another brand of pectin you can certainly do so, just follow the specific process instructions and ratios of sugar to fruit as instructed on your pectin pack insert.
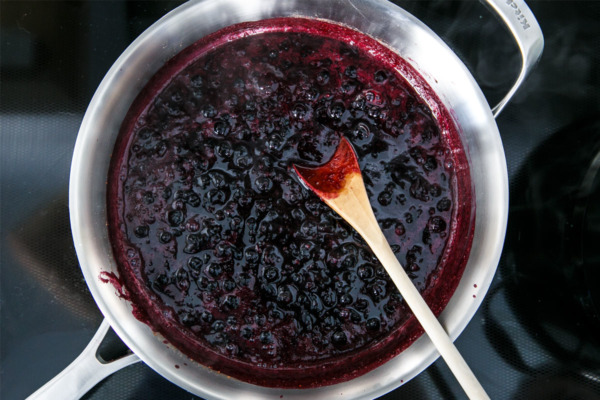
At this point your jam should be ready to go, but if you want to check the set, drop a dollop of jam onto a chilled plate and place in the freezer for 1 to 2 minutes, then push your finger through it. If it mounds up into small folds, it’s good to go. If it still seems runny, then it probably needs more time or more pectin (which you can add mixed with a bit more sweetener and then return to a boil again).
Remove from heat and remove vanilla bean pod (or, if not using a whole bean, stir in the paste/extract).
Step 4: Pour into jars.
At this point your water bath should be happily boiling away. Using silicone tongs or a jar lifter, remove your jars from the boiling water, pouring out the water back into the pot. Place jars on landing pad.
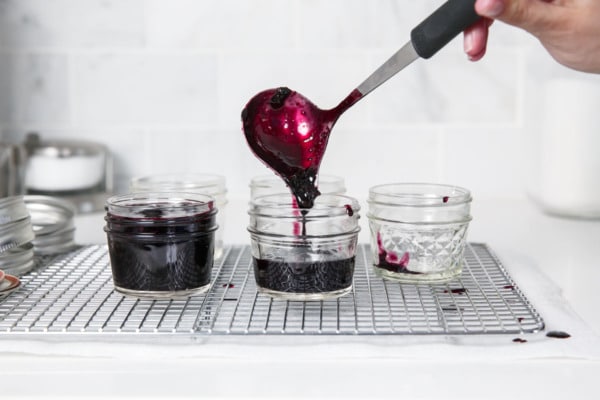
Transfer jam into jars. Use a ladle with a nice pour spout. A jar funnel, if you have one, will make the process cleaner. You can also transfer your jam to a heat-proof measuring cup with pour spout and pour the jam into the warm jars. Just be careful as the jam is very hot and will splatter.
Fill each jar to within 1/4 inch of the top. This 1/4 inch is what is called headspace, and is what allows the vacuum to properly form and seal the jar.
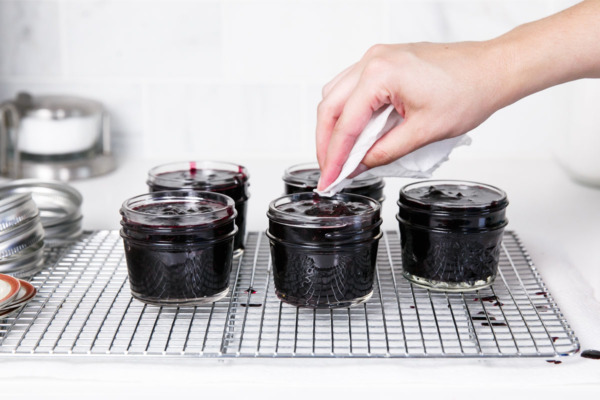
Dip the top of a paper towel or clean cloth into the hot water to dampen slightly, then use it to wipe the rims of the jars clean. You want to be sure there are no residual spots of jam on the rims (and also that there are no chips or imperfections in the rims as well) as that could prevent your jars from sealing properly.
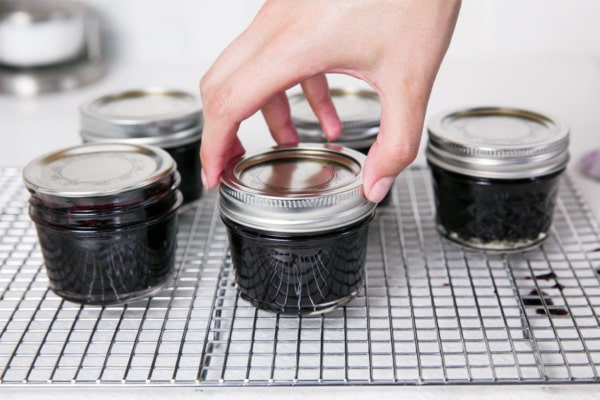
Once you are sure the rims are perfectly clean, top with lids and secure with rings, turning until just finger tight: twist until you just start to meet resistance, do not crank the rings as tight as they’ll go as the air still needs to escape for the jars to properly seal.
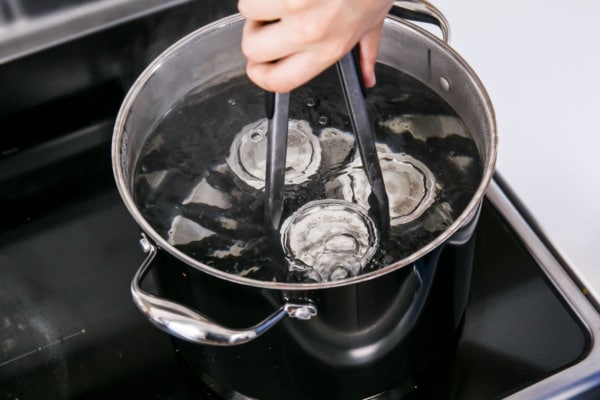
Step 5: Water bath process.
Using your tongs or jar lifter, carefully lower jars into boiling or almost boiling water. Arrange on rack so the jars are not touching each other or the sides of the pot.
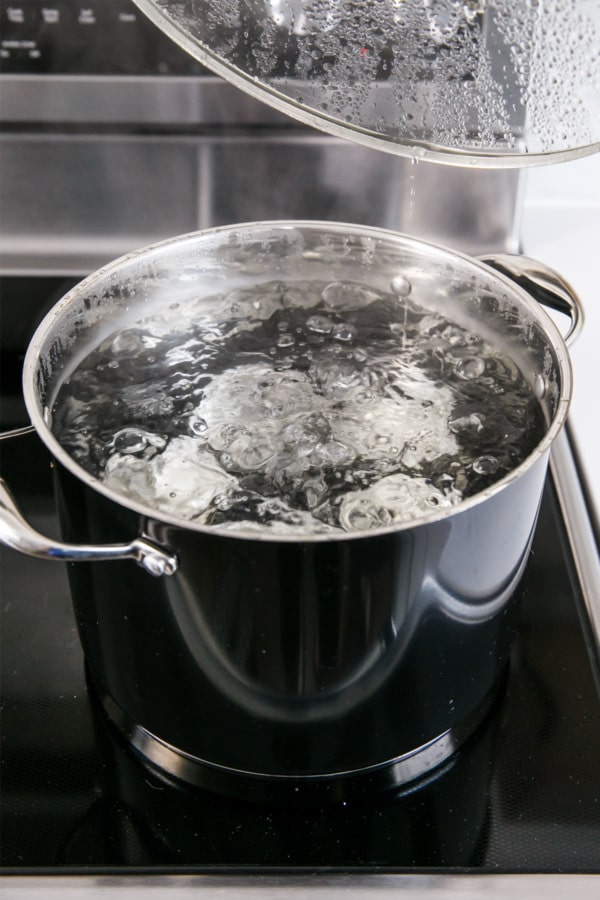
Cover and return water to a full roiling boil. I don’t mean a few bubbles or a gentle simmer, rather you want a full, vigorous boil, and only then start your timer for 10 minutes (add 1 minute for every 1,000 feet altitude). The water needs to hold a full boil for the entire duration. If at any point it stops boiling, bring it back to a boil and set your timer for 10 minutes again.
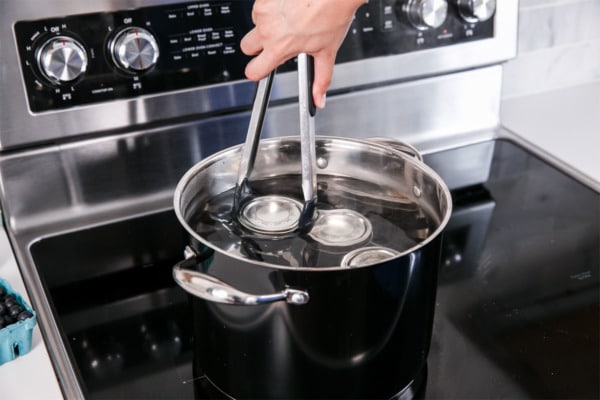
After 10 minutes, turn off the heat and uncover and, if on an electric stovetop, move the pot to a cool burner. Let sit, undisturbed, for 5 minutes to allow the pressure to equalize. After 5 minutes, carefully lift jars out of water, keeping them as level as possible, and place on your landing pad. Don’t worry about any residual water pooling on the lids, it will evaporate on its own time.
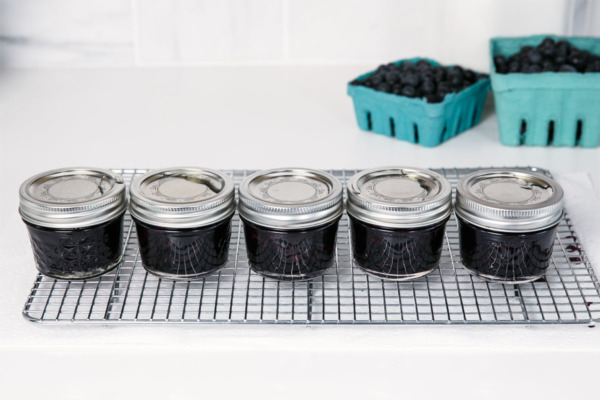
Step 6: Let cool completely.
Let jars cool, undisturbed, for 12 to 24 hours. After a few minutes you should start hearing the telltale pop of the seals. After 24 hours, remove rings and check that the jars have properly sealed (the buttons should be depressed and the lids should be stuck firmly to the jars). Any jars that did not seal should be refrigerated and consumed within 1 month, otherwise, store jam in a cool, dark place for up to 1 year. Once opened, refrigerate and consume within 1 month.
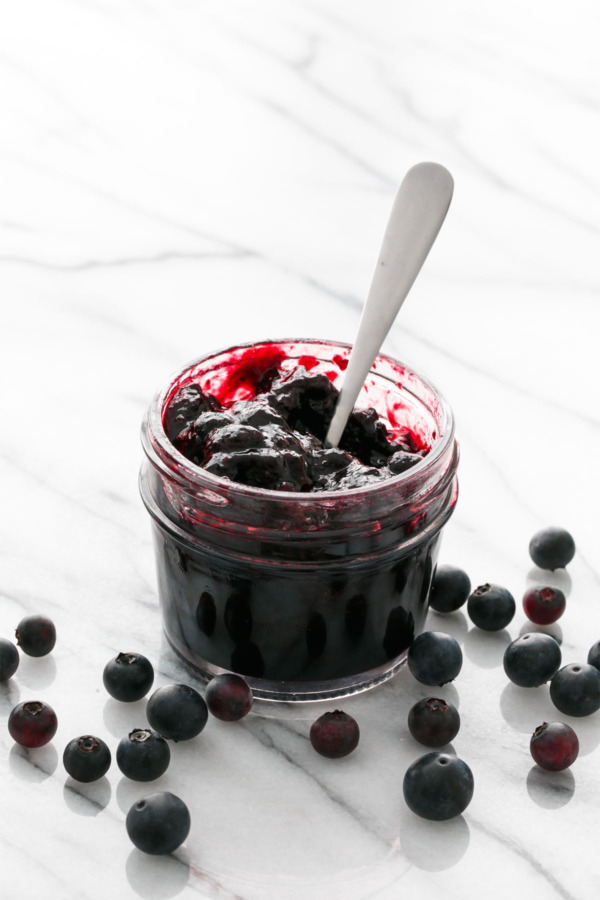
This blueberry jam is just the beginning… once you get familiar with the process there is no end to the creative concoctions you can can (Get it? Can can?) Trust me, once you start it won’t take long before your pantry is piled high with a rainbow of glass jars filled with delicious jams, jellies, and preserves.
(And psst! If you’re looking for more canning inspiration, don’t forget to check out my new ebook series: That’s My Jam. The Summer edition is now available and is full of unique seasonal jam recipes and printable labels for each and every one, it’s full of recipes and resources perfect for new and experienced canners alike.)
Happy canning!
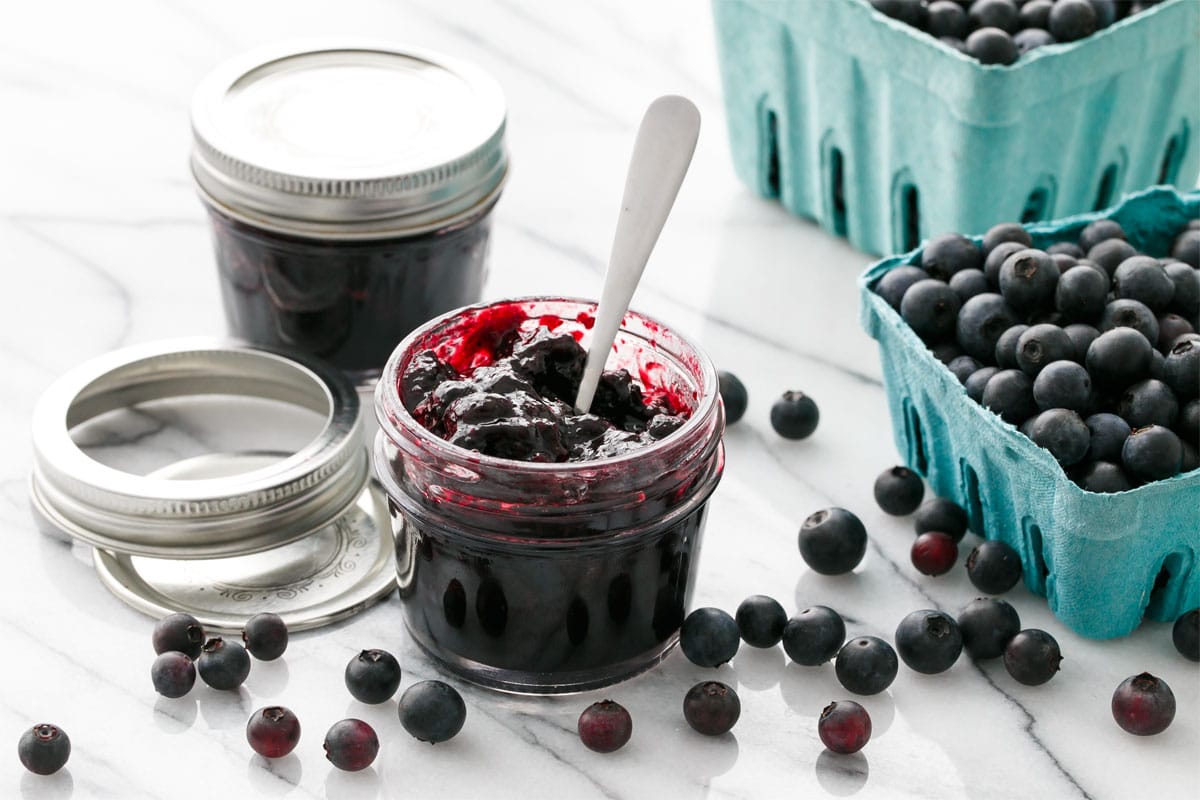
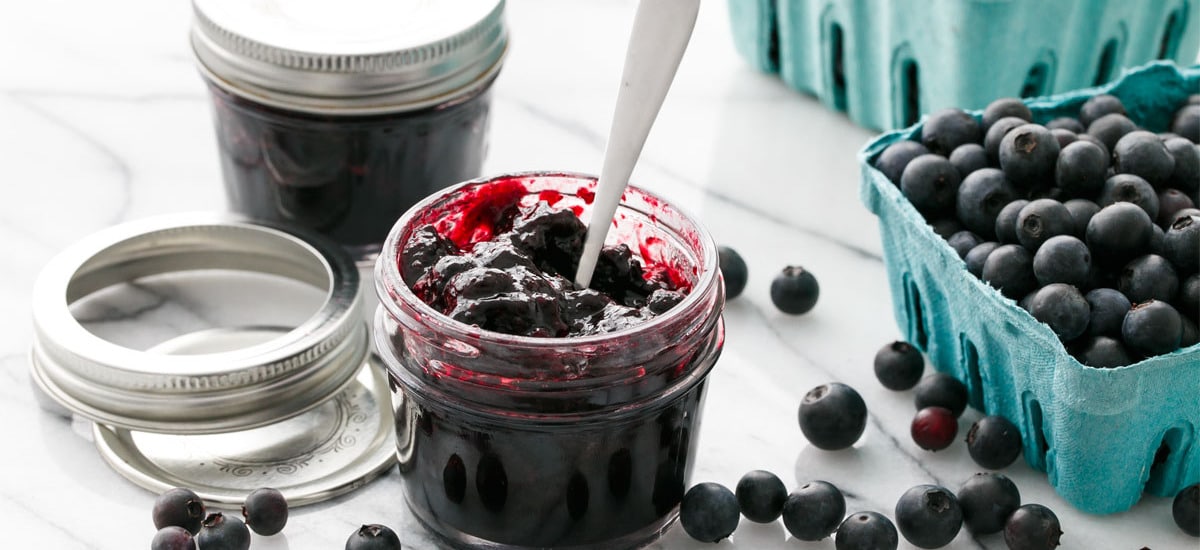
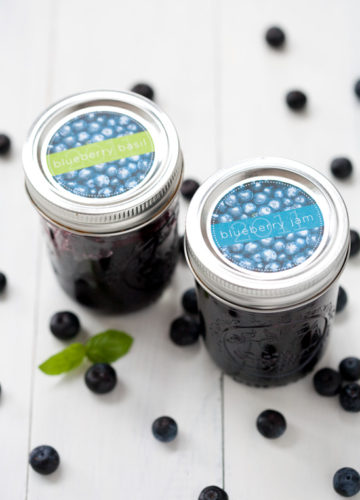
Blueberry Vanilla Jam
Simple and sweet, this blueberry vanilla jam is a perfect beginner jam to start your canning obsession.
Ingredients:
- 1 1/4 pounds (about 3 1/2 cups) fresh or frozen blueberries, rinsed and stems removed
- 3/4 cup granulated sugar
- 1 teaspoon Pomona’s Universal Pectin
- 1 teaspoon calcium water (this comes with every box of Pomona’s pectin)
- 2 tablespoons lemon juice
- 1/2 vanilla bean pod, seeds scraped (or use 1/2 teaspoon vanilla bean paste or extract)
Directions:
- Fill a large stock pot or canning pot 2/3 full with water; place a rack of some sort in the bottom and place over medium-high heat. Wash/sterilize 5 4oz mason jars (or equivalent) and submerge in water bath as it heats. The pot should be just about boiling by the time the jam is ready to go.
- In a bowl, whisk together sugar and pectin until evenly incorporated.
- Mash the ripe berries with a potato masher until few if any whole berries remain. You should have approximately 2 cups of mashed fruit.
- Pour into a large, heavy saucepan along with lemon juice and calcium water. If using a whole vanilla bean, scrape out the seeds and add them to the saucepan along with the pod. Bring to a boil, stirring occasionally.
- Whisk in sugar/pectin mixture, stirring vigorously until completely dissolved. Continue to stir until mixture comes to a full rolling boil, which shouldn’t take longer than 1-2 minutes. Remove from heat. Remove vanilla pod (if using), otherwise, stir in vanilla extract or paste.
- Ladle jam into jars, leaving 1/4-inch of headspace. Wipe jar rims and threads. Screw on lids and rings. Process in a boiling water bath for 10 minutes. Remove from water and let cool completely, 12 to 24 hours. Check seals. Any unsealed jars should be refrigerated and used within 1 month.
Did you make this recipe?
Let us know what you think!
Leave a Comment below or share a photo and tag me on Instagram with the hashtag #loveandoliveoil.
This recipe was created in partnership with KitchenAid®. All opinions are my own.
Be sure to share your take on this Blueberry Vanilla Jam recipe with us on Instagram using #MadeWithKitchenAid for a chance to be featured on the @KitchenAidUSA account!
New to jam but not to canning.
“ by holding the jam at 212ºF/100ºC for a specific length of time, any spores that might harbor botulism are killed and the jam is essentially sanitized from the inside out.”
Be careful! This is not true. If it were, there would be no reason for pressure canning. Botulism spores are killed at 250 degrees, above the boiling point. That is why ph is so important. Botulism spores cannot grow and produce botulinum toxin in a ph under 4.6. The spores are still there, they just can’t hurt you. Boiling kills any toxin, and the ph level prevents it from producing more. Both are important.
Back in the day when I used to pick my own fruit and make jam I made an outstanding peach almond jam that also had slivered almonds in it and it was spoon worthy.
Thanks
You saved our breakfast time coz my kids just love this blueberry jam and when I serve them they always finish there breakfast. can u suggest me some tips what else I can serve them with this yummy blueberry jam.
Sounds amazing! Blueberry vanilla sounds so good, my sweetie is really like it and she alway use with bread on the morning. Thanks your post sharing.
I am really like the make a basic blueberry jam, lightly scented with a bit of vanilla. So it is yummy with sandwich every morning before going to the work.
I’m canning for the first time next weekend, got a great book called Blue Ribbon Preserves to guide me, and now this great illustrated guide. Can’t wait! And I too am freezing most veggies.
Blueberry jam, delicious in making… Thanks a lot for it’s introduction to the masses. I have jotted down all the recipe. Hopefully will try sometime…Thanks once again Lindsay.
I really had no idea that it was just a little hot water that helps seal the jam in the jar. It seems straight forward, but I am hopeless with anything that has to do with cooking. Just ask my kids. They hate eating my food. I’ll have to look around for some good homemade jam.
Blueberry jam woww.. My children will surely like it with bread in their breakfast. I have tried it but seriously it is little bit hard, can u suggest me some tips.
I’ve tried vanilla with other fruits in jam before but not with blueberry yet, it sounds delicious!
Okay, just came back to say I DID IT! I finally made jam, and it’s all thanks to you! Thank you for making the process so much less intimidating- I’ve had mason jars sitting in my garage for an embarrassingly long time because the thought of canning both terrified and intrigued me. This came out SO GOOD that I’m ready to try allllll of your recipes.
That’s it… I’m doing this. Tonight. I have so many blueberries and I now have an awesome way to use them up. Thanks, and wish me luck!
Back in the day when I used to pick my own fruit and make jam I made an outstanding peach almond jam that also had slivered almonds in it and it was spoon worthy! Best ever and made with the best peaches ever which are from SC of course!
Vanilla and blueberry sounds amazing.
Can this delicious-sounding jam be frozen instead of canned? I sure hope so!
Definitely! I’ve never made freezer jam before but there’s no reason why it wouldn’t work. :)
Blueberry vanilla sounds so good! Can’t wait to try this! Thanks for sharing :)
I’ve done vanilla in pear, but blueberry sounds wonderful. It’s been so hot that I’ve gotten behind on my jam making:-(