


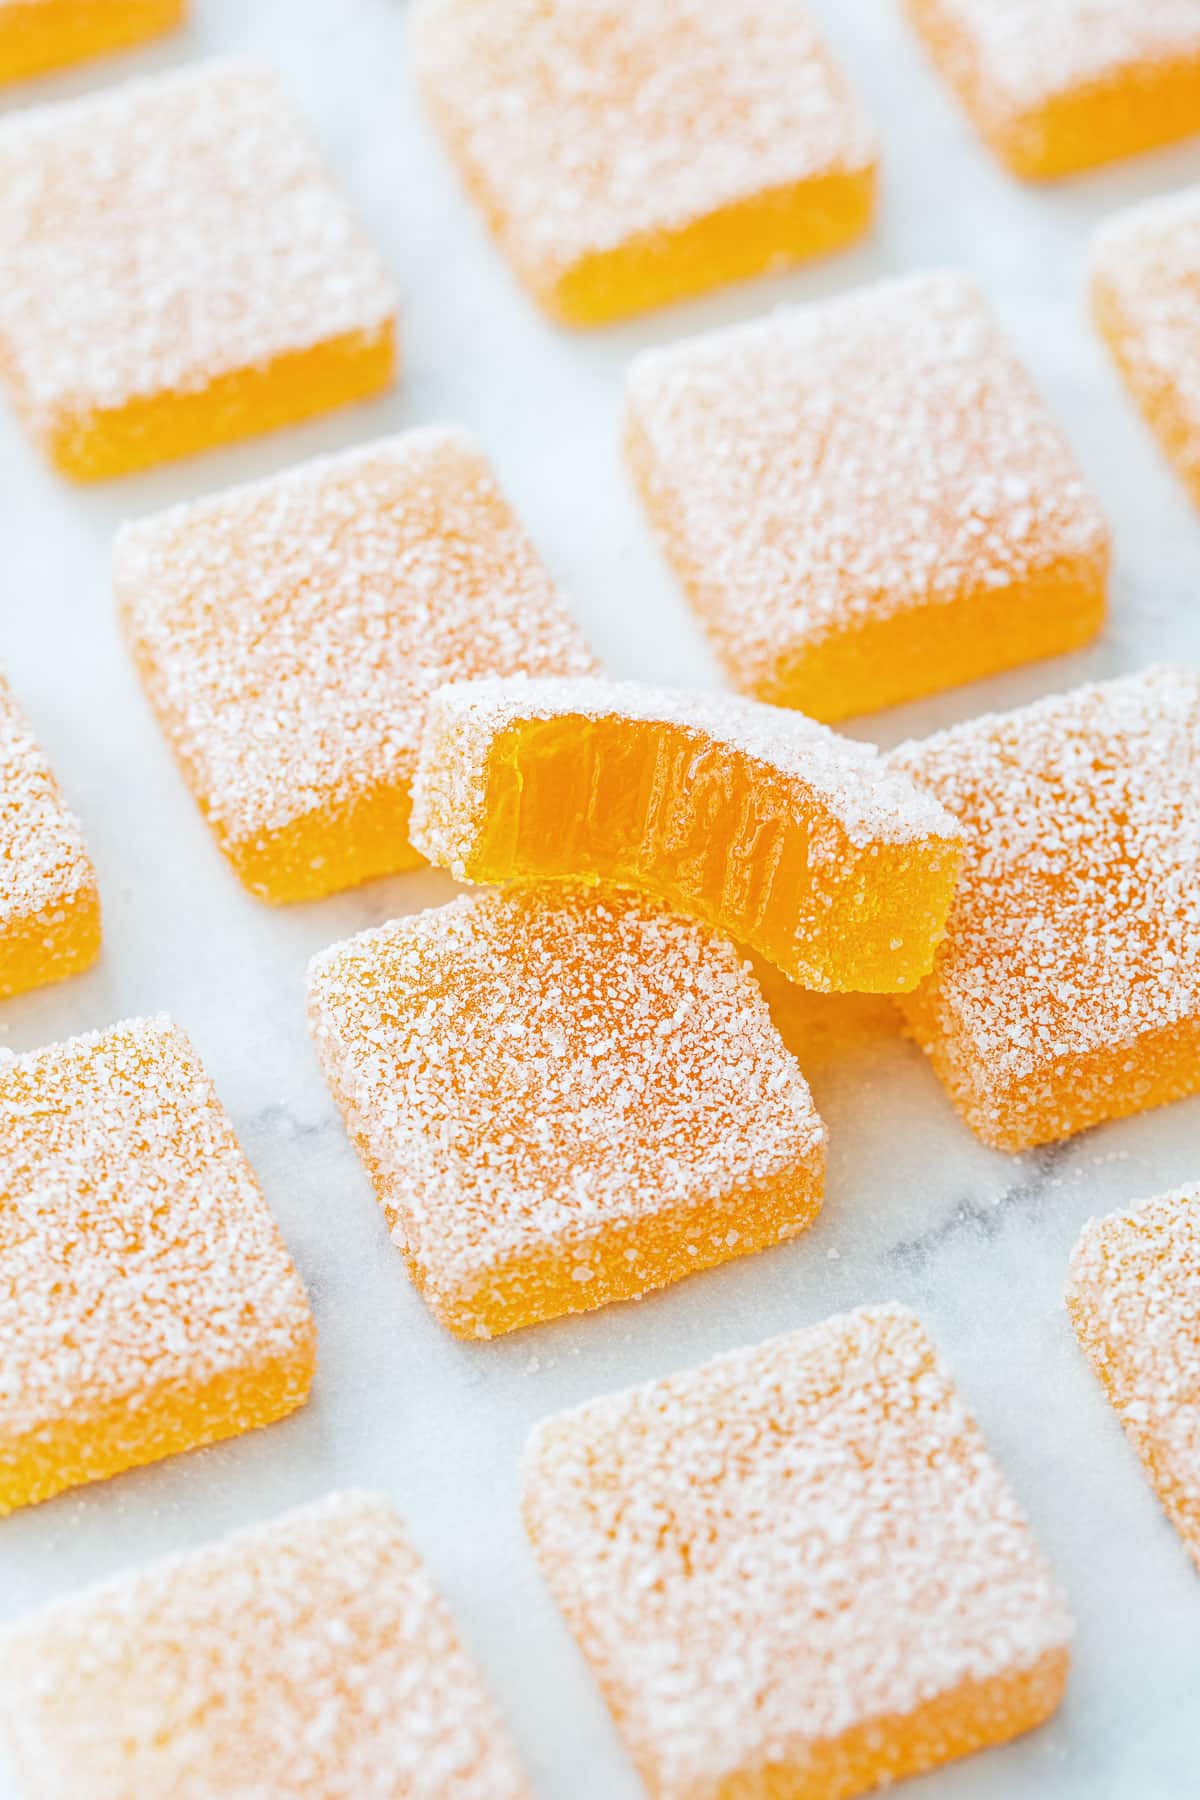
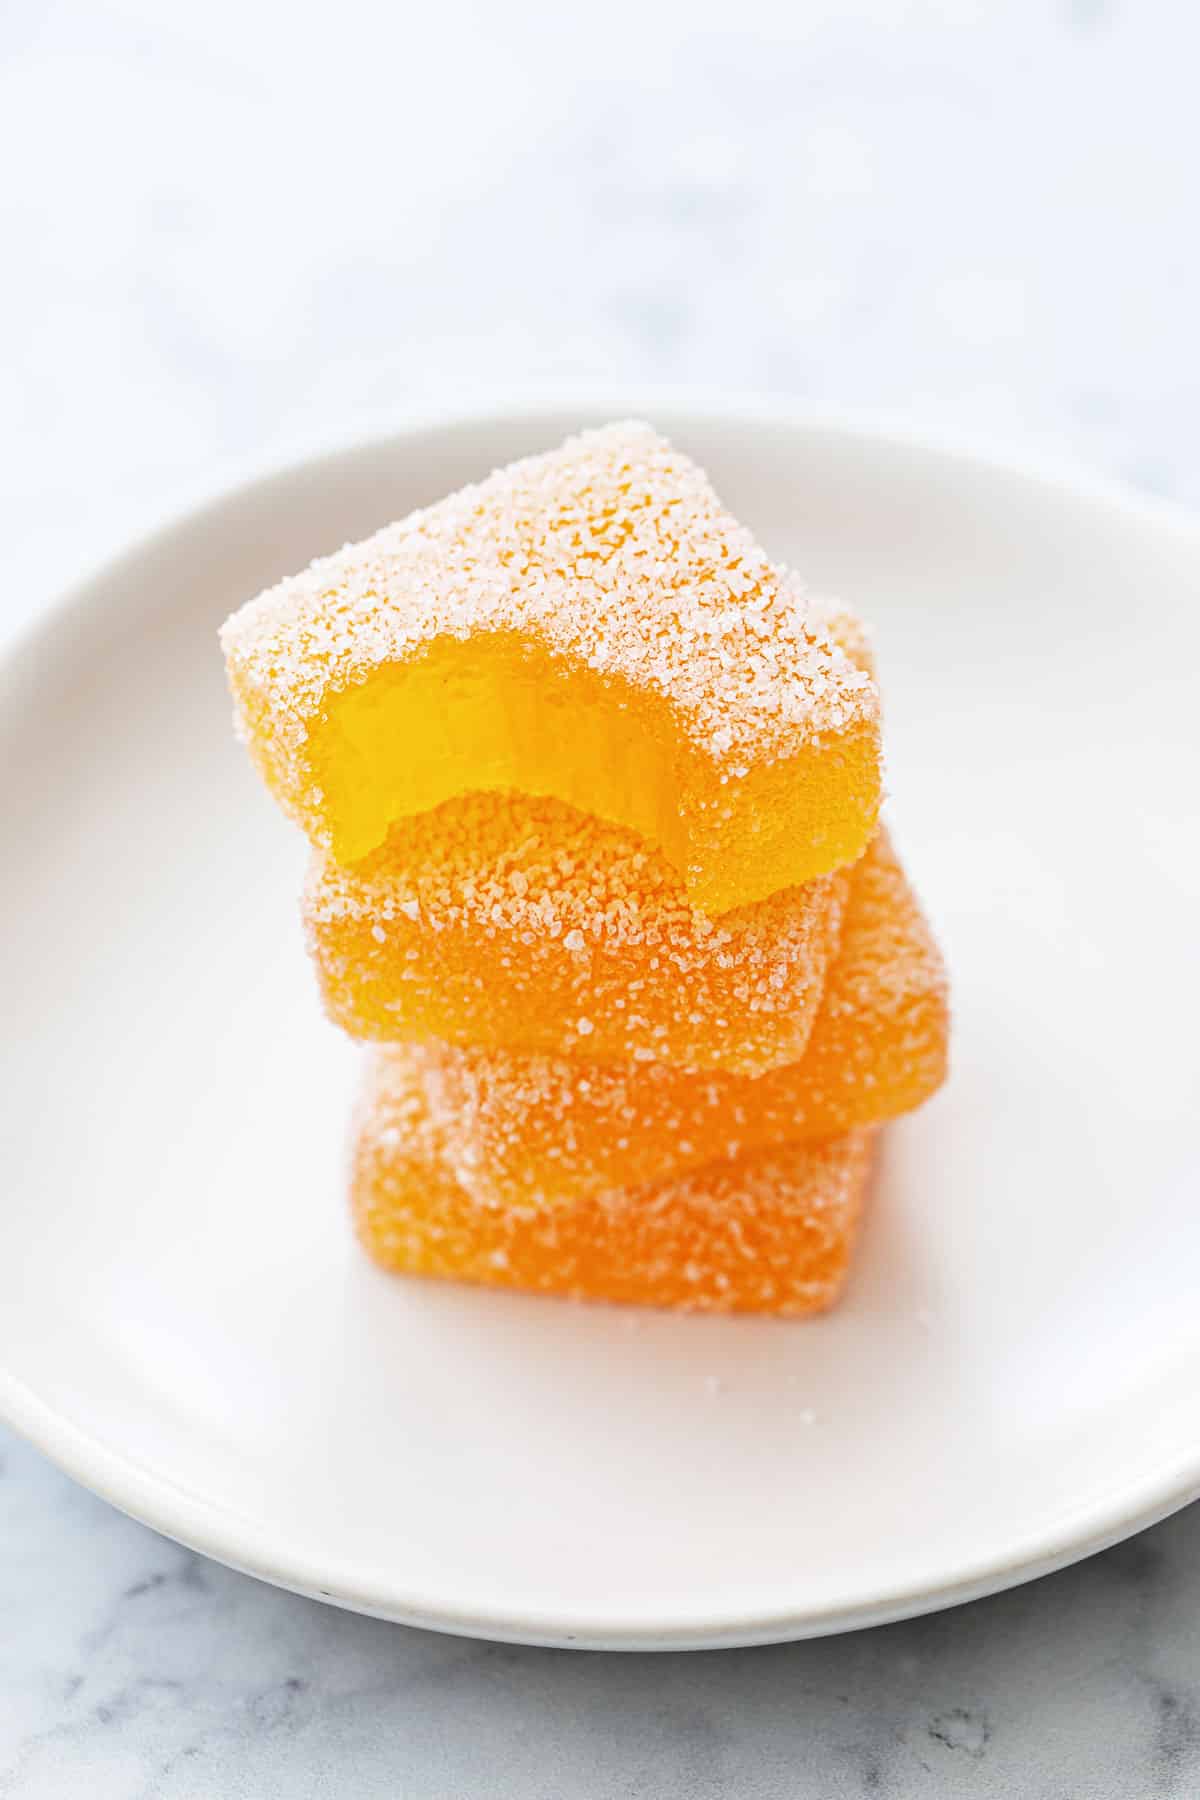
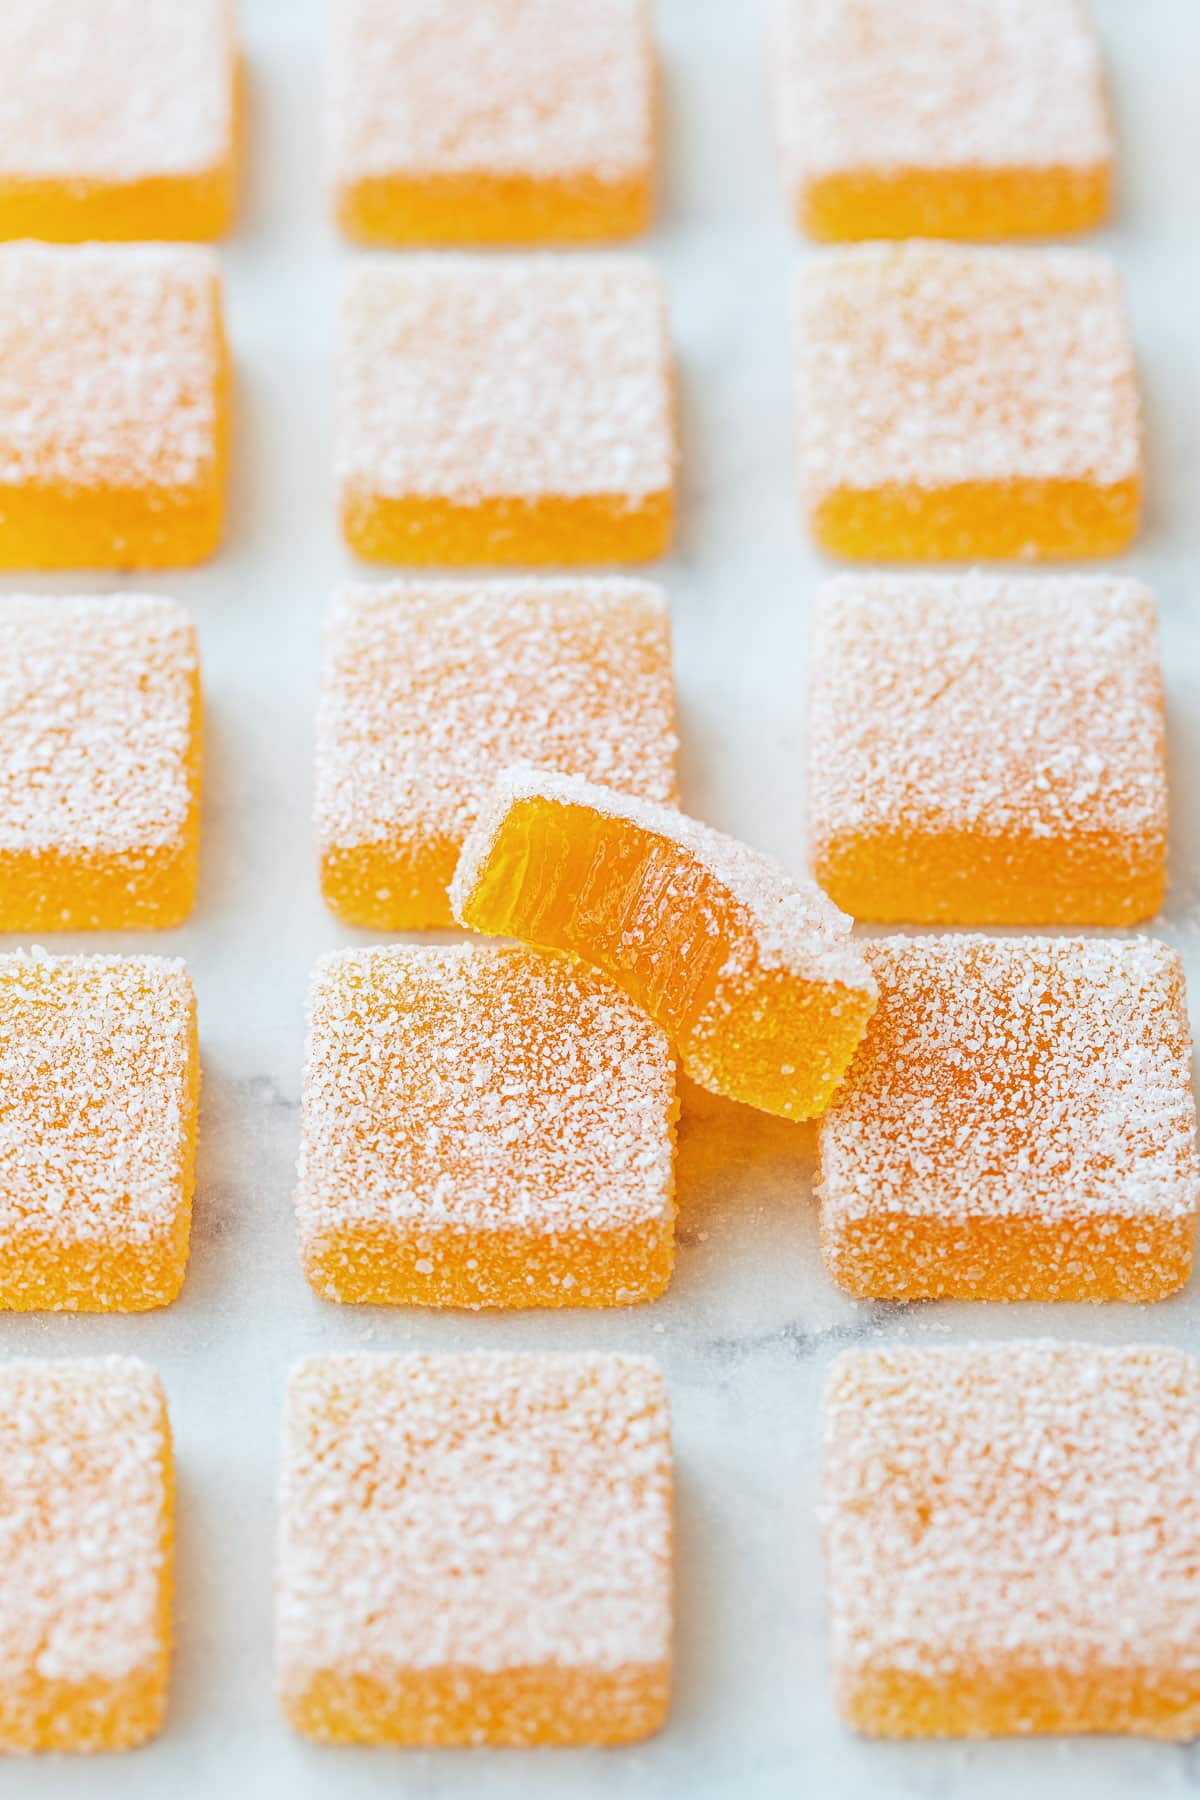
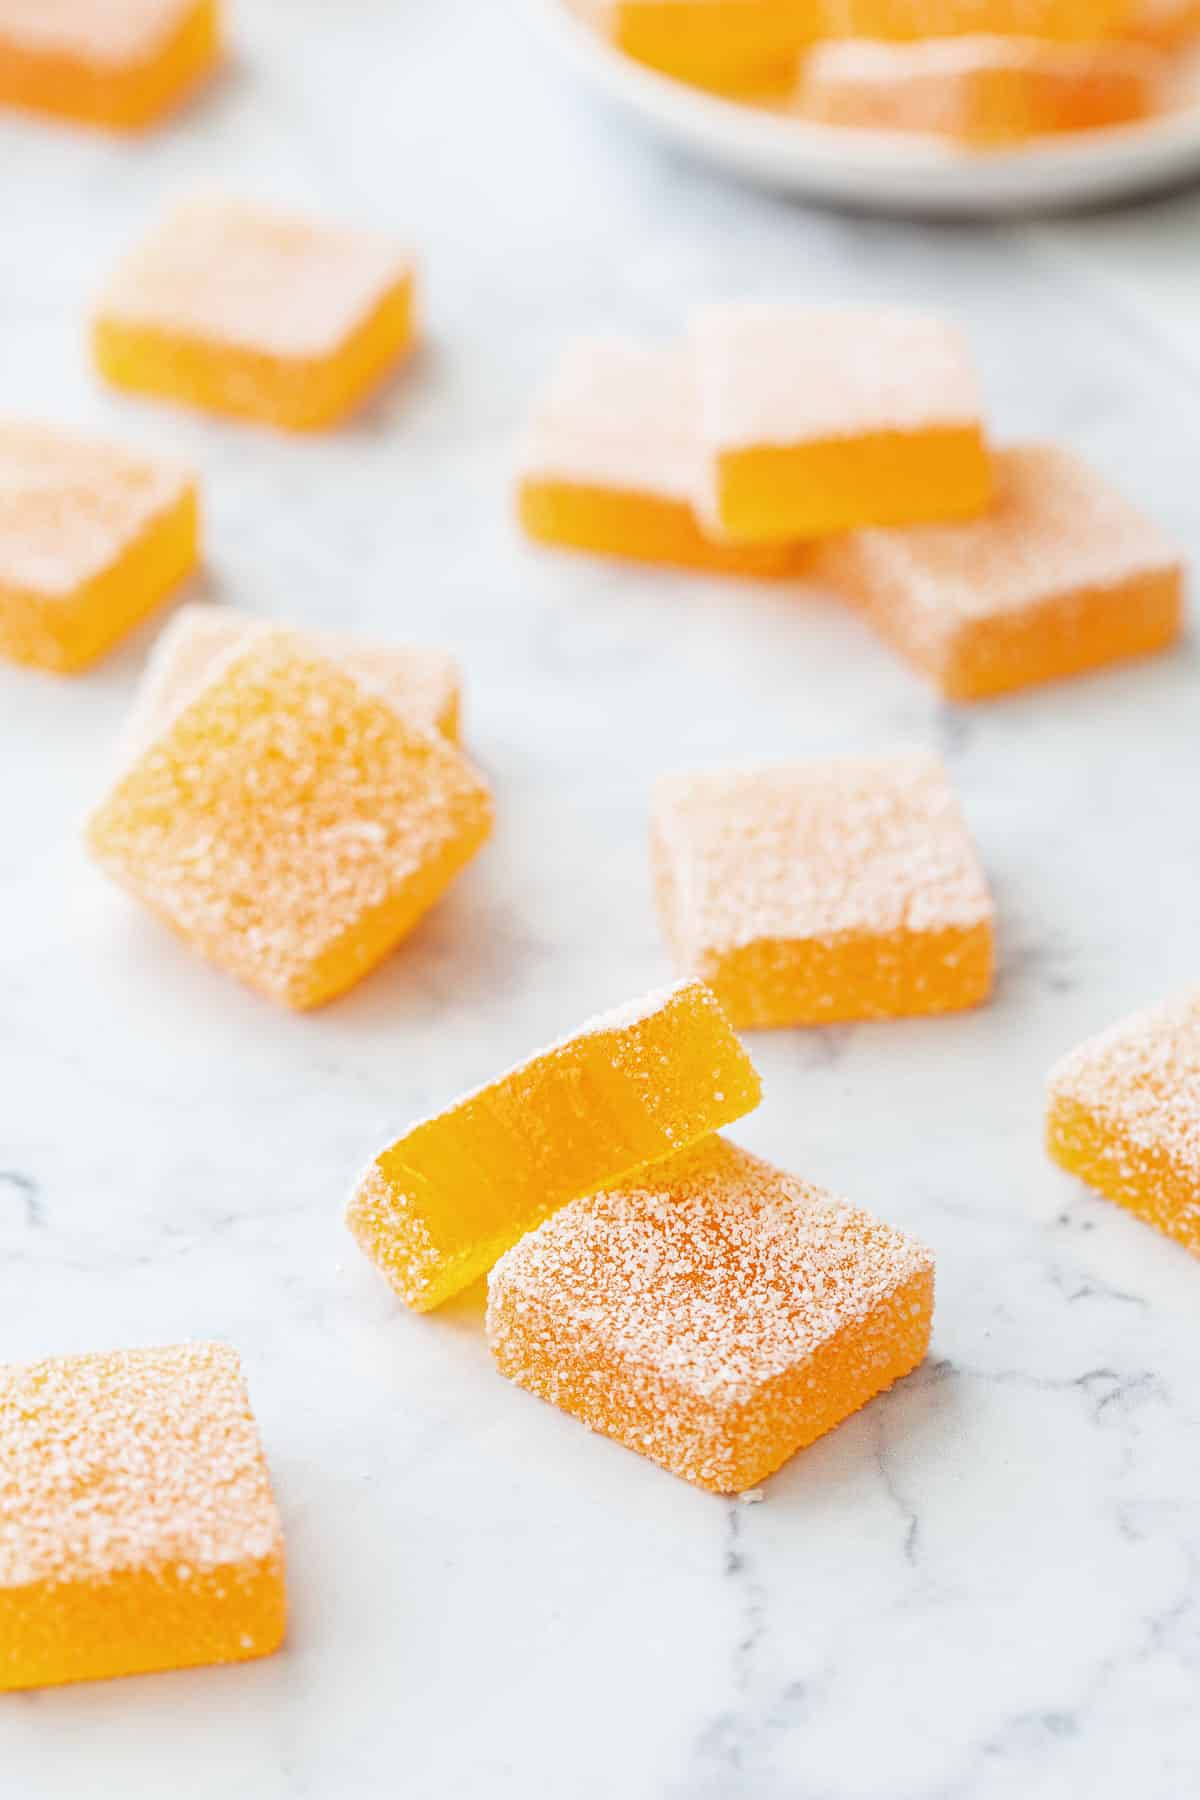
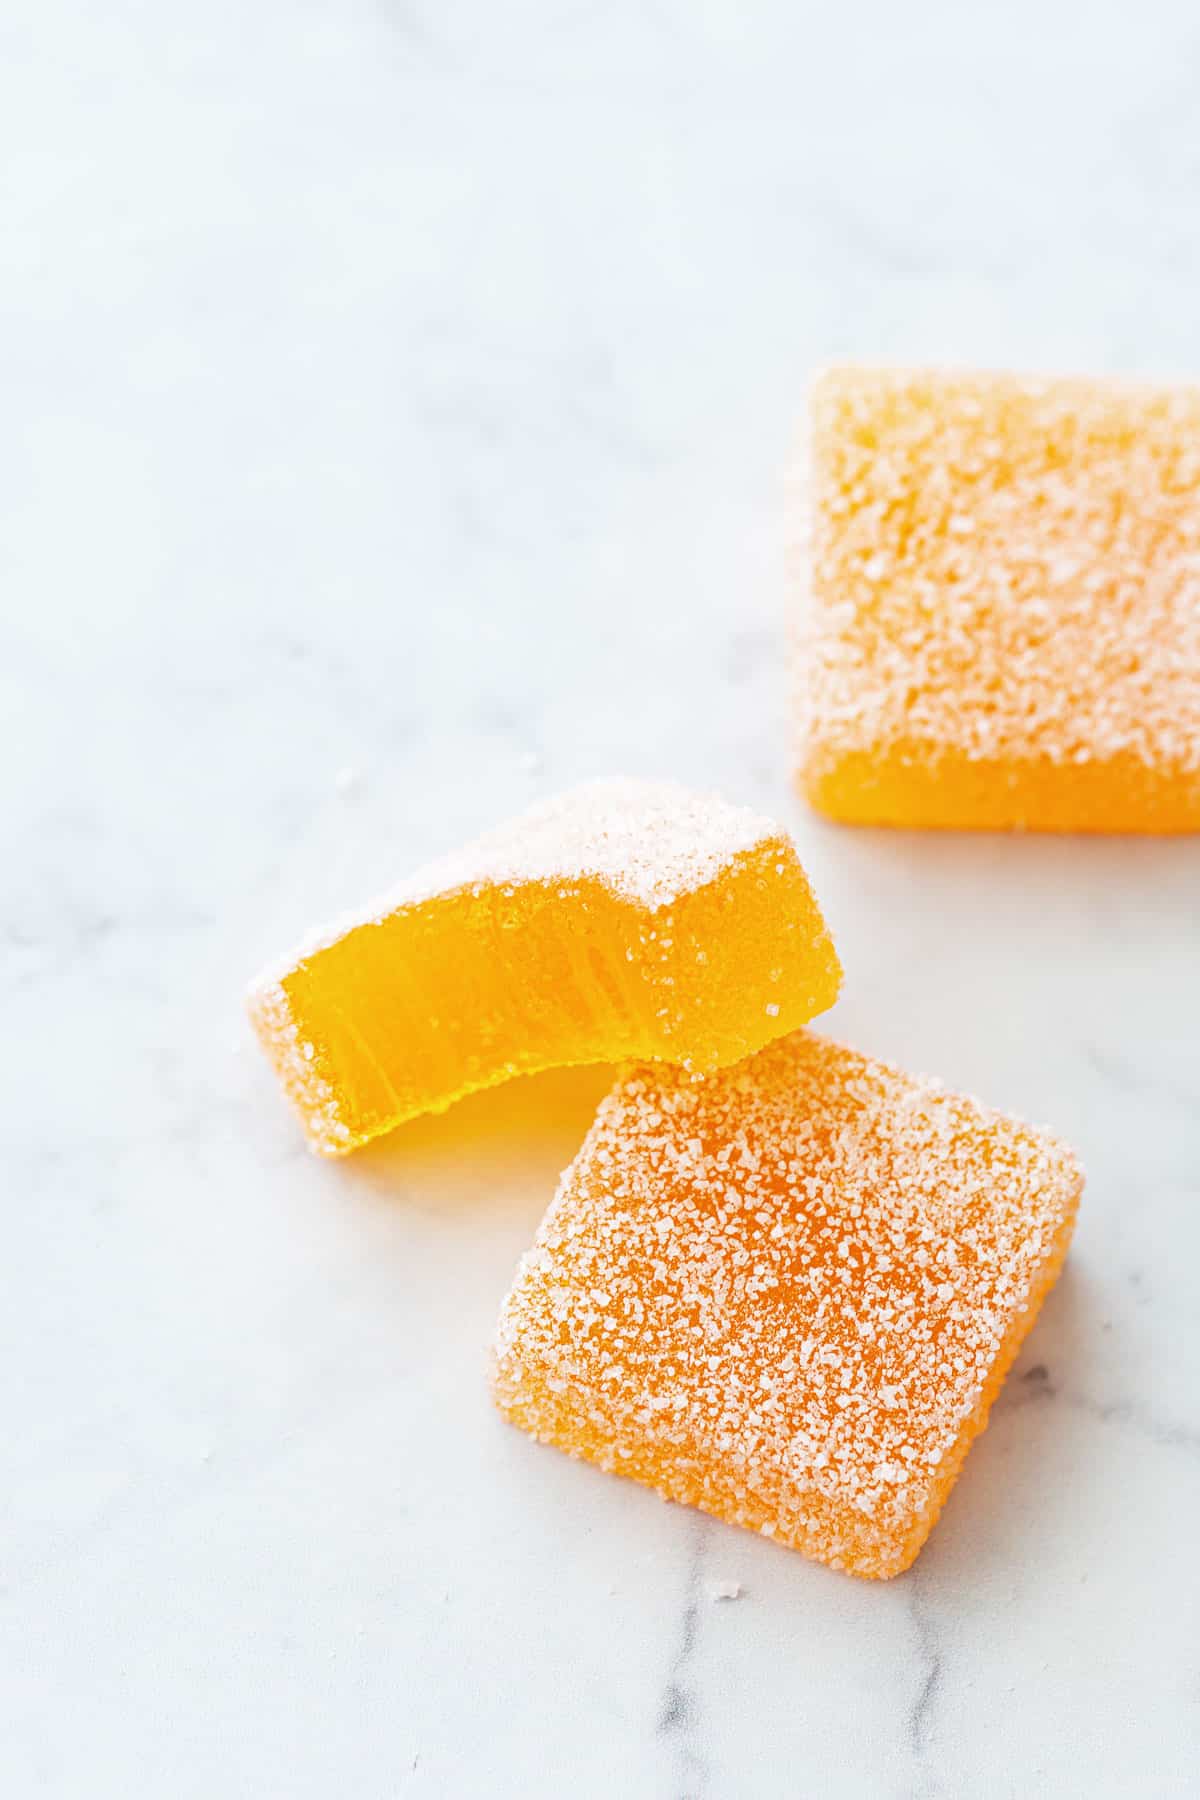
Intensely flavorful with a delightful jammy texture that almost melts in your mouth, these passionfruit jellies are what’s known as pâte de fruit: a traditional French confection made by cooking fruit puree, pectin, and sugar until it sets into a firm gel that is then molded or cut into squares and dusted with granulated sugar.
Passionfruit is one of the most intensely flavored fruits, with a tart acidity that rivals that of any artificially flavored ‘sour’ candy (love Sour Patch Kids? Then you’ll adore these!) Made with just a few simple ingredients including passionfruit pulp, sugar, and pectin, these passionfruit jellies have a natural passionfruit flavor that is bold and bright and will send your tastebuds flying.
Save this recipe for later!
Pâte de fruit is a sugar-based confection that relies on pectin for its setting power rather than gelatin, which gives these candies a unique, jammy texture that practically melts in your mouth (unlike the “bouncy” chewiness of a gummy bear, for example). That also means that, unlike gelatin-based gummies, pate de fruit is entirely vegetarian (and, if you buy organic or vegan sugar, also vegan!)
Pectin-set candies are a bit more involved than gelatin-based ones, as you do need to cook the sugar and fruit mixture to a very specific temperature to achieve the ideal texture. That means pull out your most accurate digital thermometer (psst, have you calibrated it recently?)
You’ll also need to carefully manage the pH (acidity) of your fruit mixture, as we want the pectin to set, yes, but only at the end when it’s reached the appropriate temperature (otherwise you’ll just end up with a pot full of molten gloop). This is achieved by buffering the pH with baking soda, cooking the mixture up to temperature, then adding citric acid to bring down the pH back to where we want it for the pectin to set and for the passionfruit flavor to pop.
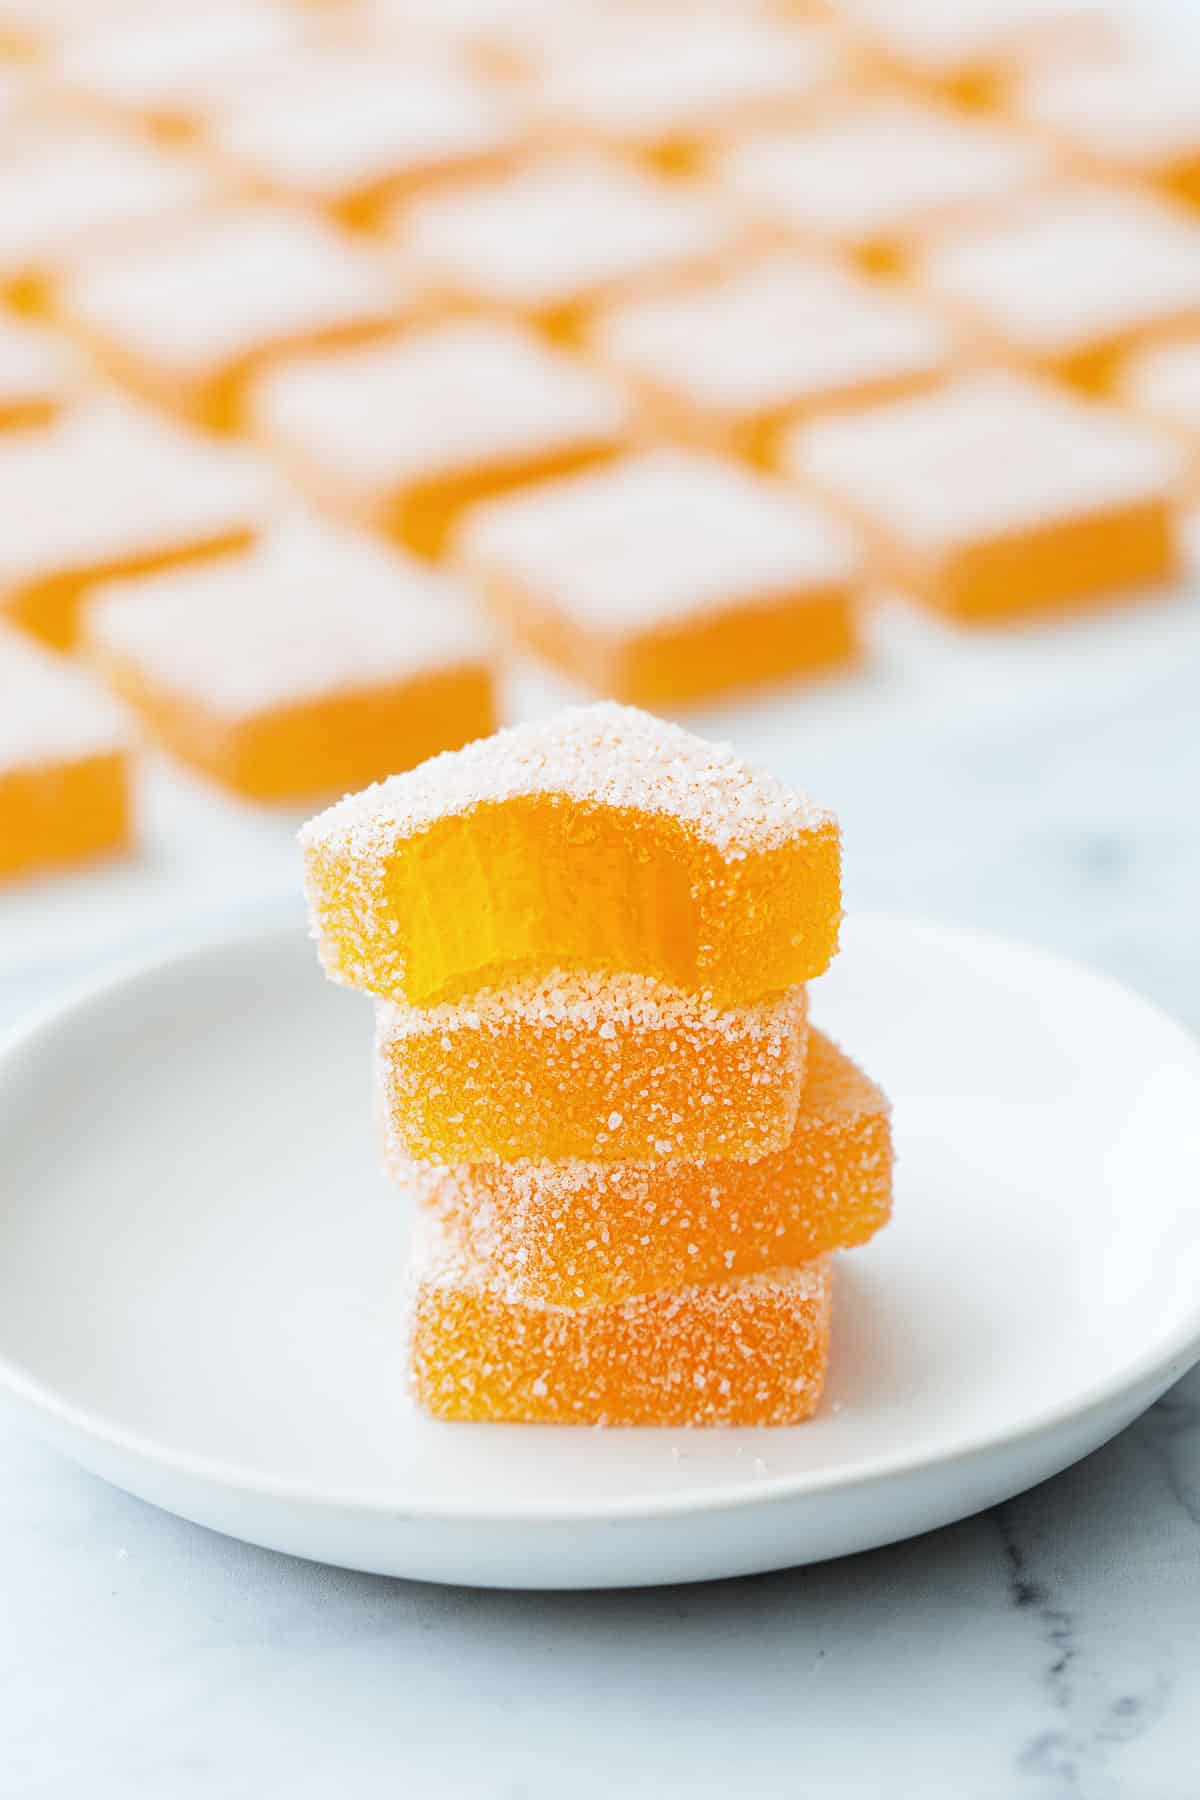
But the final result, when you bite into that first sugar-dusted square, is a bright pop of tropical flavor that will tickle your tastebuds in all the right ways. It’s intensely tart and perfectly sweet, with a satisfying texture that’s delicate and jammy and effortlessly melts onto your tongue.
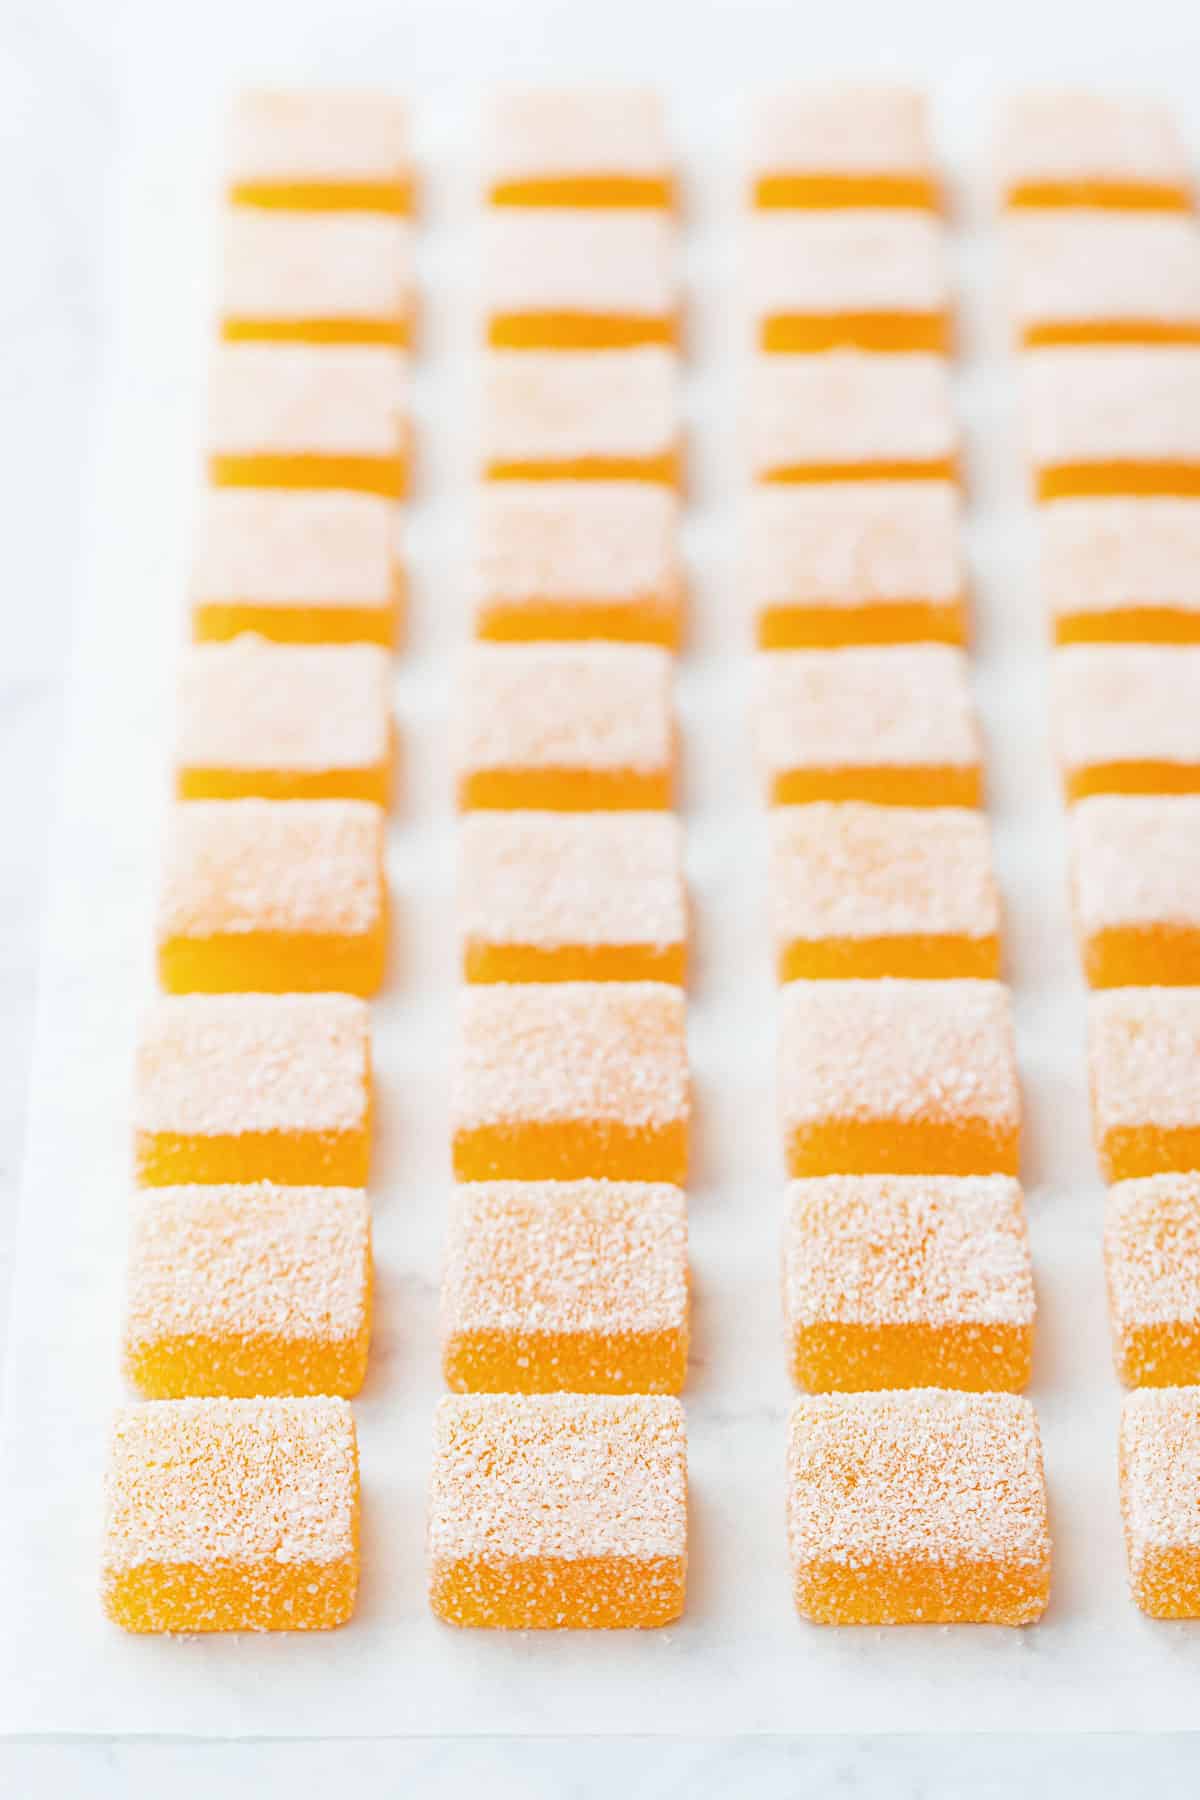
I used a similar recipe and process as my raspberry pectin gummies. As I’m technically calling these pâte de fruit—which has a firm, jammy texture—rather than a gummy, I opted to take the temperature a little lower, 230ºF instead of 235ºF, for a slightly softer set. But you can opt to cook it to the full 235ºF if you want firmer, chewier candies (which can be particularly helpful if you are molding them).
Many pate de fruit recipes call for lower cook temperatures, 224-226ºF or so, but I found this to be much too soft and more prone to weeping than candy cooked to a slightly higher temperature.
Elevation adjustments: because water boils at a lower temperature at higher altitudes, if you live above 1,000 feet elevation you’ll need to lower your target temperature 1º for every 500 feet. So if you live at 5,000 feet elevation, reduce the target temperature by 10º.
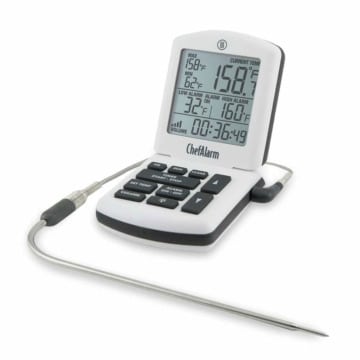
Having an accurate thermometer is key to this recipe’s success; unfortunately you simply cannot make pate de fruit without a thermometer and expect consistent results. I used my Thermoworks ChefAlarm thermometer, which has a probe that can clip onto the side of the pot and accurately measure the temperature as you cook, and even alert you when it reaches the target temperature (that said, this doesn’t mean you should walk away from your bubbling pot EVER. Stay close by and stir it regularly as you don’t want to risk the bottom burning.)
When was the last time you calibrated your thermometer? It’s worth testing it before you start this recipe, as a few degrees too low or too high will greatly affect the final results. Remember to adjust your boiling point calibration, as water will boil at a lower temperature at higher elevations.
Choosing your Molds
Traditional pâte de fruit is poured into a single square mold and then cut into bite-sized squares using a guitar cutter (something most non-professional chefs don’t have sitting around because they’re really pricey).
I had good results using a multi-wheel rotary cutter, but you can also manage decent cuts with a pizza cutter or a sharp knife if you are precise about it (yes, that means digging the ruler out of the depths of your junk drawer).
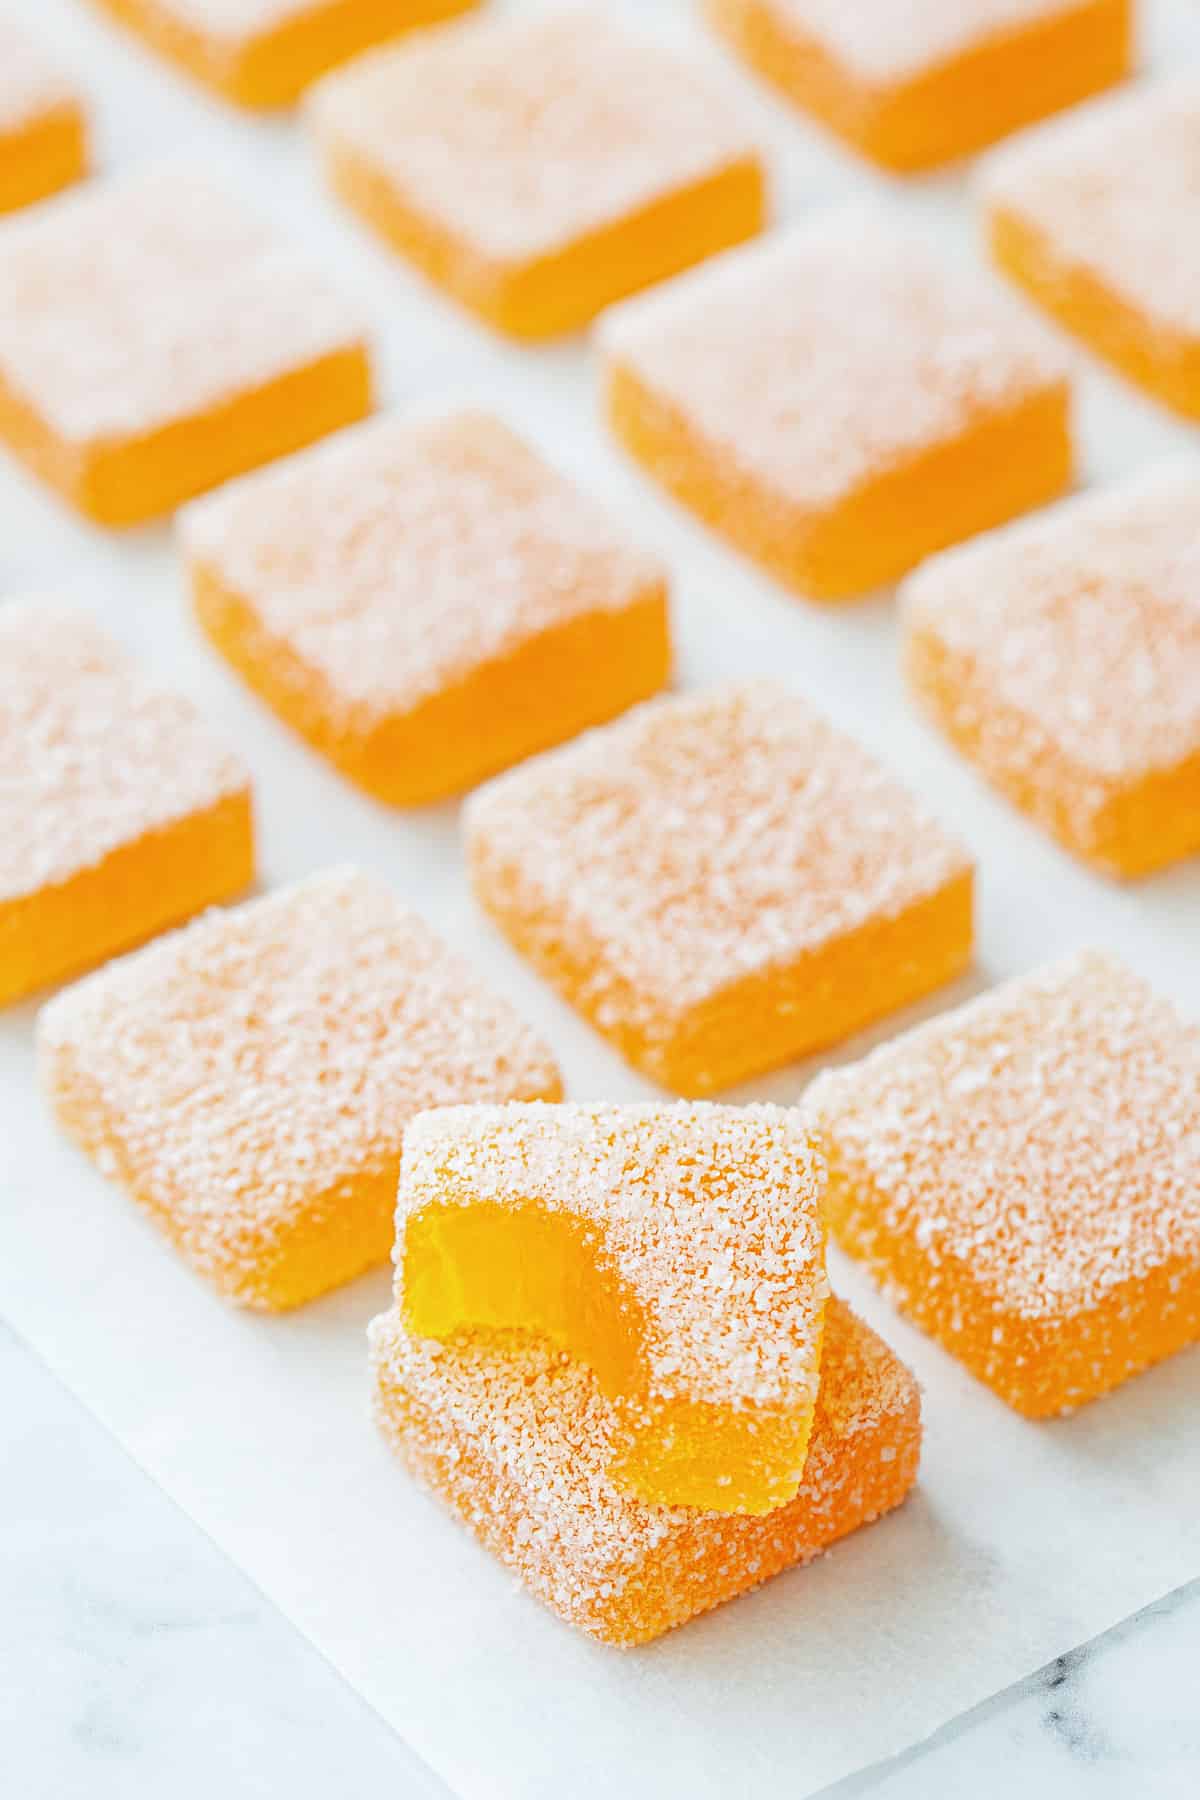
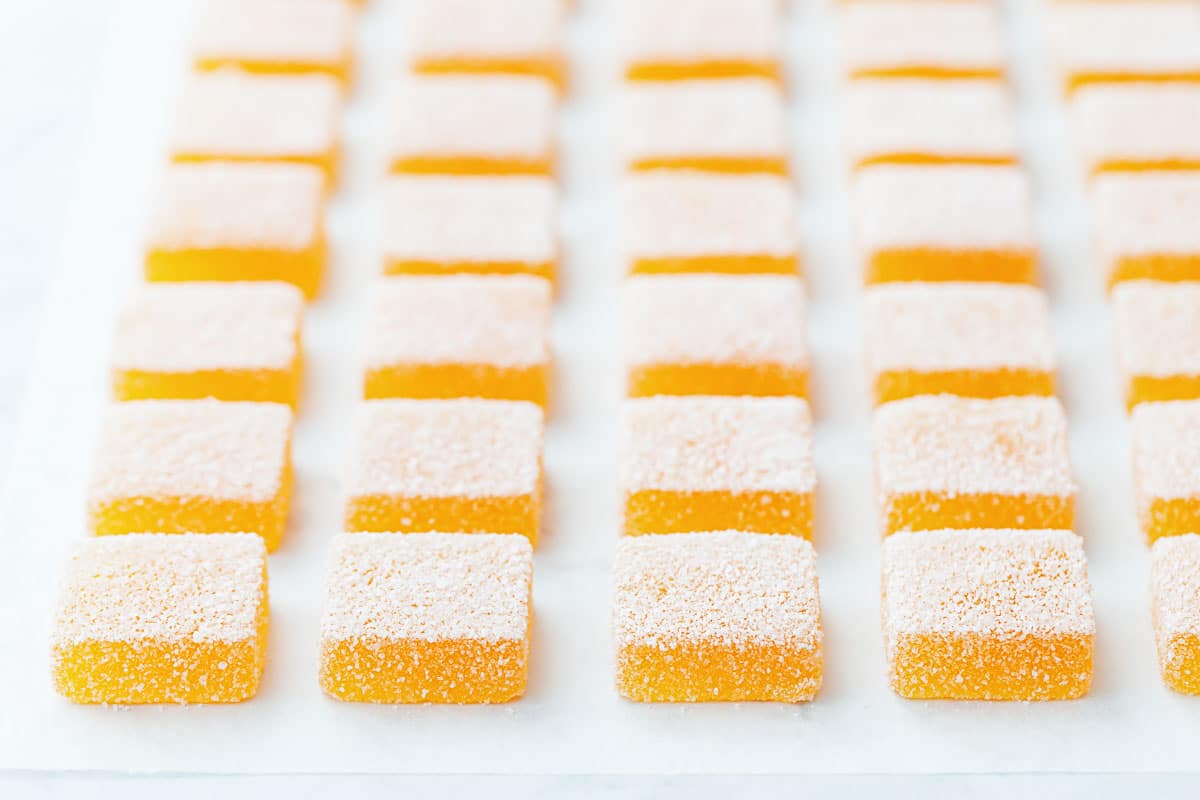
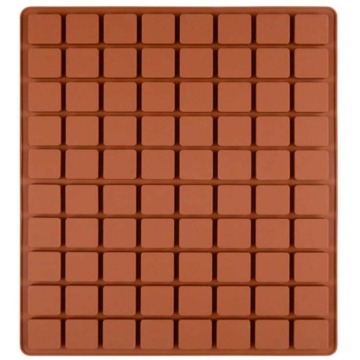
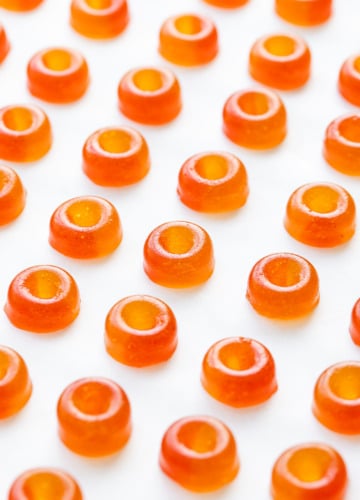
I decided to pour my jellies into individual molds (the square mold I used makes 1″ square candies) to eliminate the need for precise cutting. And while it’s easier in that regard—no cutting required—it is a bit trickier in that you have a limited amount of time to get the molten jelly mixture into the molds before it starts to set. Compared to a single mold method where you can just dump the entire pot full of liquid candy into a single pan, individual molds require you to pour a small amount of liquid candy into each mold one at at time. But, if you work quickly, you shouldn’t have a problem getting 60 or so candies poured before the candy starts to set (I advise against doubling the recipe if using individual molds, as there’s no way you could pour 120 candies without it starting to set up on you).
If you do want to make a big batch of jellies (they’d make great homemade holiday gifts!) then I recommend using the single mold method using an 8-inch or 9-inch pan. That way you can quickly pour the molten candy into the pans before it sets; I think you could easily fill 2 or 3 pans this way. Although keep in mind bigger batches are going to take significantly longer to come up to the target temperature.
Having a confectionary funnel dispenser would certainly make pouring into individual molds easier, but again, probably not something you have lying around unless you’re a professional candy maker (though these can be acquired for a not-unreasonable cost, unlike the guitar cutters).
Regardless of what size mold you use, I recommend something silicone if possible, which will make removing the candies from the molds easy with no sticking. In a pinch you can line a square pan with parchment paper (NOT waxed paper or plastic wrap), but it won’t release quite as cleanly as if you used silicone.
Picking your Pectin
Pâte de Fruit, unlike most conventional gummy recipes, uses pectin to set rather than gelatin. Think of it like a really thick jam, essentially. Because of this these gummies are vegetarian (gelatin-based gummies are not).
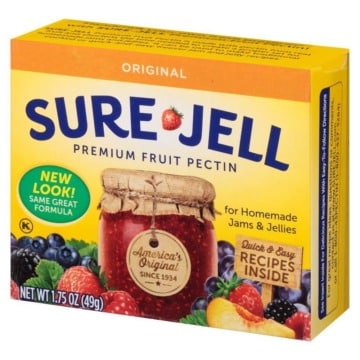
I tested this recipe with two kinds of HM pectin, both SureJell pectin (in the yellow box) and Ball Classic fruit pectin. (I’ve seen reports of Ball pectin not working as well as it used to. The pectin I used was purchased last year and I had no issues with it setting. I have not tried it with new pectin purchased this year.)
The Ball pectin set up just as well as the SureJell, but I did notice it started to set more quickly. After pouring about 40/45 out of my 60 molds it started to get thick and gloopy and was no longer pourable, while the SureJell stayed fluid long enough to pour all 60 candies.
(At some point I hope to come back and test this recipe using pure apple pectin, which has no additives like dextrose or citric acid like most boxed pectins have so I’m guessing the quantity needed will be less. Also, if I can ever find it, something called “yellow pectin” which is apparently the gold standard for pâte de fruit but also very hard to find in the States).
Why the baking soda? The baking soda serves as a buffer to reduce the initial pH of the highly acidic passionfruit juice. This lets us cook the passionfruit-pectin-sugar mixture to a higher temperature. Without the baking soda, your candy would start to set up around 220º-222ºF or so, making for a thick, gloopy mixture that would likely burn before you’re able to get it up to 230ºF. By adding baking soda early in the process, we take the pH above the point where the pectin activates. Only once we reach our target temperature of 230ºF, then we add citric acid to take the pH back down, activating the pectin and jump-starting the setting process.
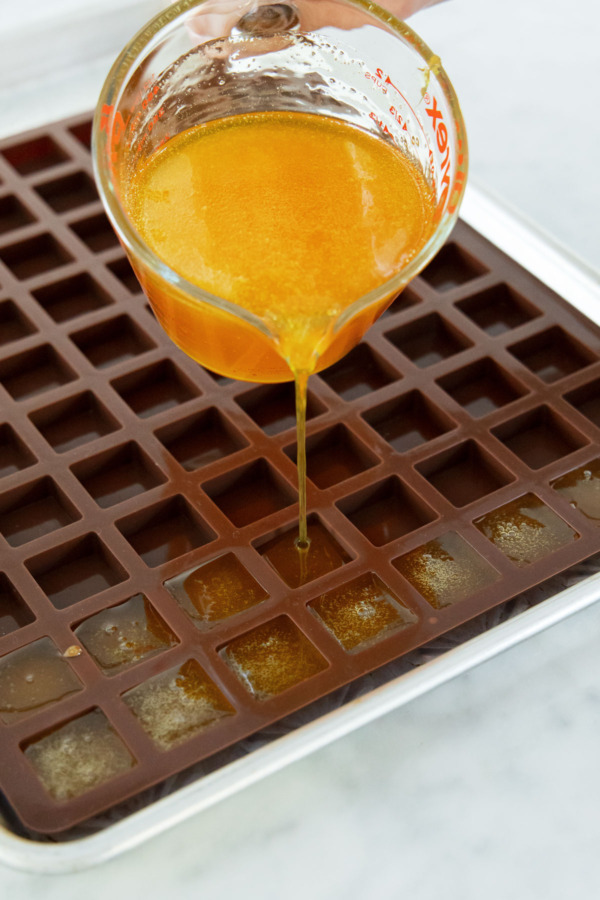
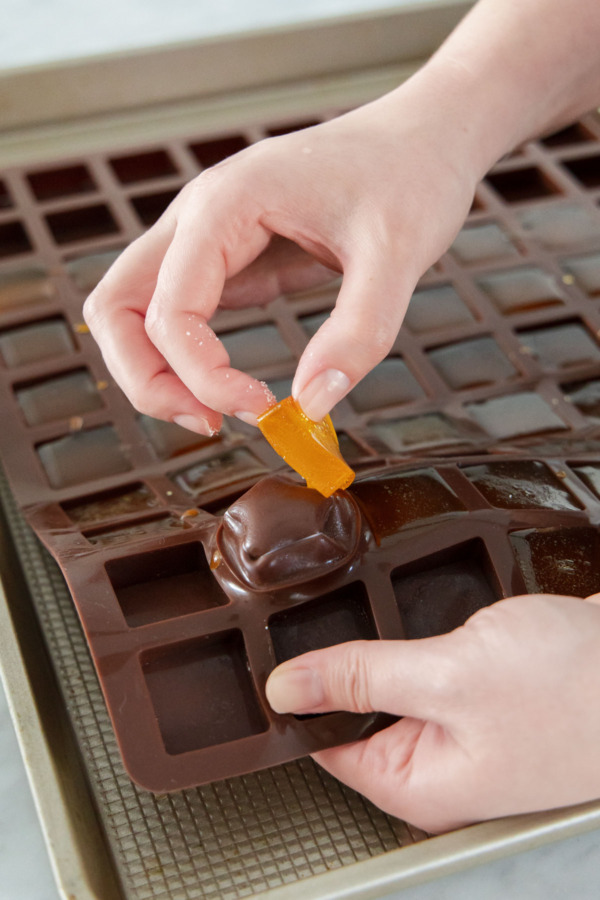
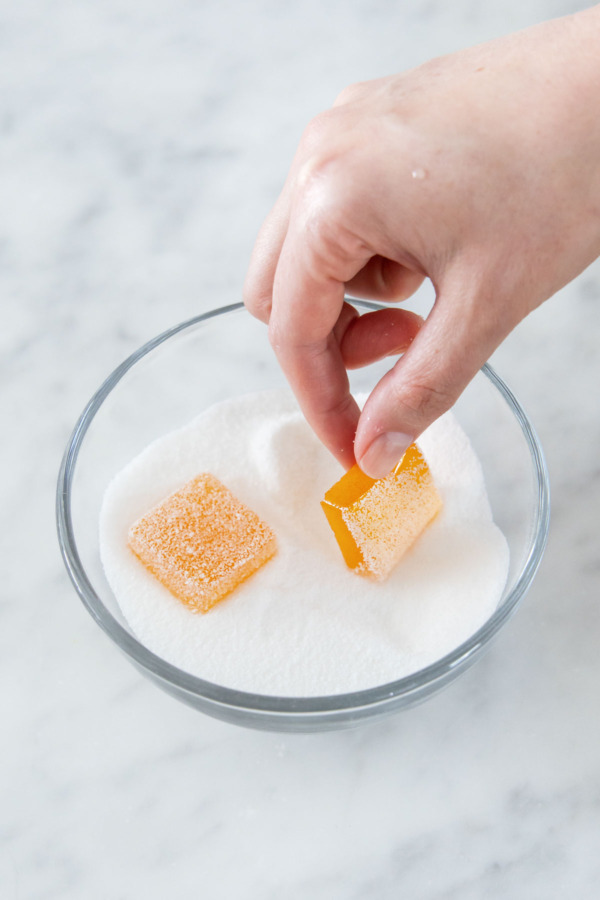
The jellies do need a few hours to set depending on the pectin you used. I usually leave them out overnight to set fully, then pop them out of the molds and roll in granulated sugar. These things are incredibly sticky, meaning in if two accidentally touch each other before they get the sugar coating you. may as well just eat it because those things are not coming apart. (The second time I made these I ended up sprinkling sugar over the top of the candies still in the molds, because they kept popping out and flipping onto each other and sticking!)
Storage
Storing the sugar-coated fruit jellies is one of the trickiest parts of this whole process, I’ve found, as even the smallest bit of moisture in the air will melt the sugar coating and result in sticky candy.
Sealed in an airtight container, the granulated sugar coating will start to dissolve almost immediately, leaving the gummies with a sticky finish if left long enough. I found this to be the case even with a desiccant pack in the container with the candy.
I found the best way to store these candies is uncovered at cool room temperature (especially in less humid climates), or lightly covered (not airtight) in the refrigerator. They do not need to be refrigerated for safety reasons, but the low-humidity environment in most fridges does a better job at keeping the candies dry for a longer period of time.
If you need to stack the candies in a container, layer them between sheets of parchment paper.
You can also freeze pâte de fruit in a container between layers of parchment paper. They will sweat a bit when you thaw them—feel free to re-roll in more sugar once they’re thawed—but flavor-wise and texturally they’ll be just as good as they day they were made!
Ingredient Notes & Substitutions
Passionfruit pulp/puree: I found frozen cubes of seedless passionfruit at both Whole Foods and, to my delight, at Trader Joe’s the following week for half the price (it’s a new product, apparently, and one that I’m hoping sticks around!) The cubes are made with pure passionfruit pure with no sweetener added. I simply thawed the cubes and used the resulting liquid as the base for my candy. You can also usually find frozen packs of pure passionfruit pulp in many Mexican or international markets.
A lot of carton passionfruit pulp or passionfruit nectar products contain sweeteners, which will affect the ratios of the ingredients in this recipe. They should work (increasing the sugar won’t cause the recipe to fail like decreasing it would), but the result might be a bit sweeter.
If you have access to fresh passionfruit (lucky you!), you’ll have to put in a bit more effort to strain the seeds from the pulp. You’ll need about a dozen or so ripe passionfruits to yield the 1.5 cups or 330 grams of juice called for in this recipe.
Pectin: I used SureJell classic fruit pectin (in the yellow box). This is a traditional HM pectin, and other HM pectins (like Ball Classic) should work similarly in this recipe. Do not use low sugar (LM) pectins in this recipe.
If you have pure apple pectin (with no additional ingredients like dextrose or citric acid), you won’t need quite as much quantity wise. I hope to test this at some point in the future and will report back once I’ve done so!
Glucose syrup: this invert sugar prevents the cooked candy from crystalizing. You can substitute light corn syrup here, however know that glucose syrup is about half as sweet for a similar volume. Using corn syrup will technically work, but the candies may taste noticeably sweeter.
Baking soda: this is used as a buffer to bring down the ph of the passionfruit/sugar mixture to prevent the pectin from kicking in too soon.
Using sodium citrate instead of baking soda is possible (though I have not tested it personally), but you’d need about 1 1/2 teaspoons instead of the 1 teaspoon of baking soda to achieve the same pH.
Citric acid: added at the very end of the cooking process, this brings the pH of the mixture back down to the optimal range for the pectin to set.
While you technically can use lemon juice (3 tablespoons equal the 3/4 teaspoon of citric acid called for in the recipe), you are adding quite a bit more liquid to your candy base, which may result in your candies ‘weeping’ a bit more.
Passionfruit Jellies (Pate de Fruit)
Ingredients
- 1 ½ cups / 330 g passionfruit pulp/puree
- 2 cups / 400 g granulated sugar*, divided, plus more for coating
- 3 tablespoons / 66 g glucose or corn syrup
- 5 ½ tablespoons / 48 g regular fruit pectin, I used Sure Jell Original in the yellow box (1 box), but Ball Classic pectin or other HM (not low sugar) pectin should work here.
- ½ cup / 120 g filtered water
- 1 teaspoon baking soda
- ¾ teaspoon powdered citric acid, dissolved in 1 tablespoon warm water
Instructions
- Prepare your silicone molds or a 9-by-9-inch silicone cake pan by setting them on a cookie sheet or other hard, heat-proof surface (the candy will be very hot when it goes into the molds, you don't want to melt your countertops). You can also use a regular baking pan lined with parchment paper (NOT waxed paper or plastic wrap).
- If you are using small silicone molds, also pre-warm a large, heat proof glass spouted measuring cup by filling it with very hot water. Keep it warm until you are ready to pour your candies (keeping the vessel warm will help your candies stay fluid long enough to pour into molds). Or, if you have a confectionery funnel that works even better!
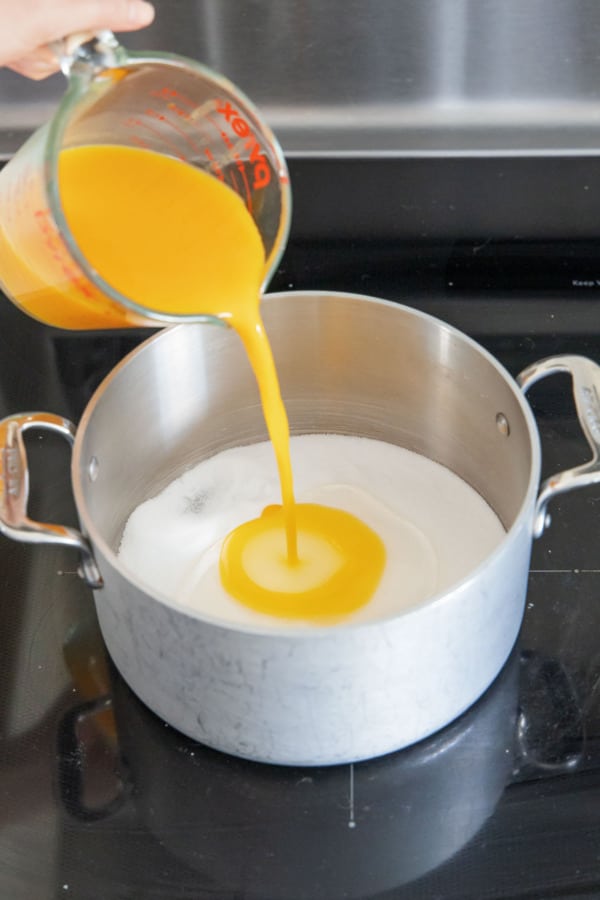
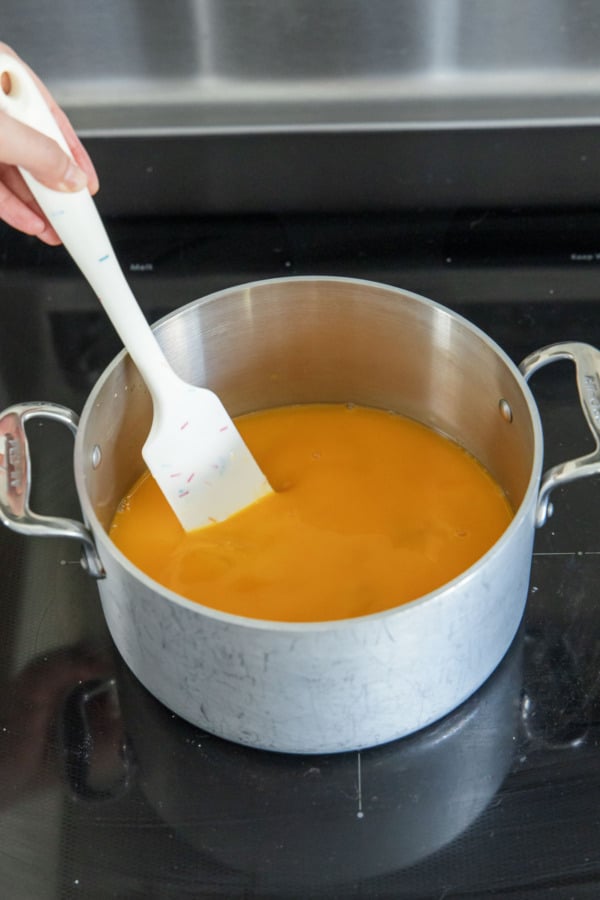
- In a medium (3 to 4 quart) heavy-bottomed saucepan, combine passionfruit puree, 1 ⅔ cups of sugar, and glucose syrup. Set over medium to medium-high heat and bring to a boil, stirring until the sugar is fully dissolved.
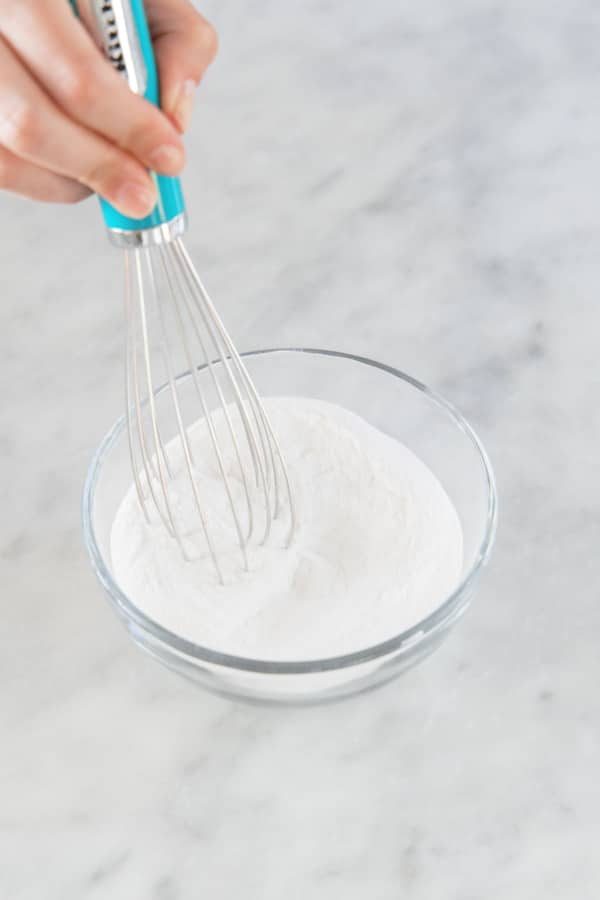
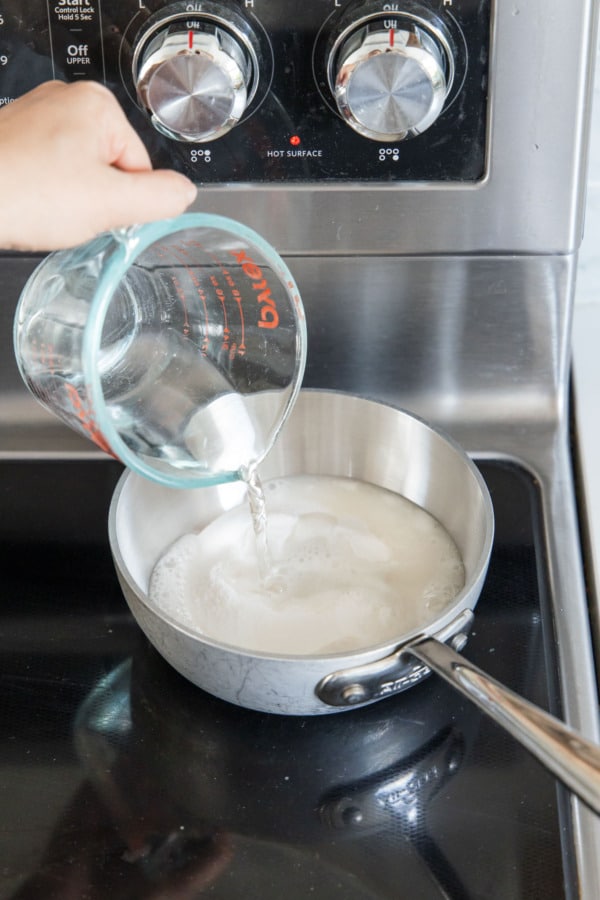
- Meanwhile, combine remaining ⅓ cup sugar, pectin, and baking soda in a small saucepan and whisk to combine. Add water (it will foam up quite a bit) and bring to a simmer over medium-high heat, stirring occasionally.
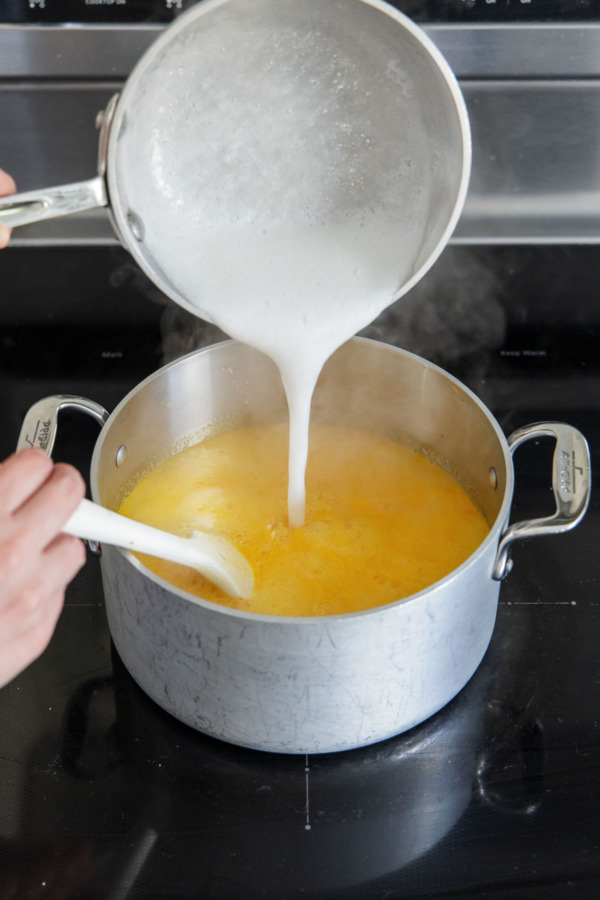
- Once both mixtures are fully boiling, pour baking soda mixture into passionfruit mixture.
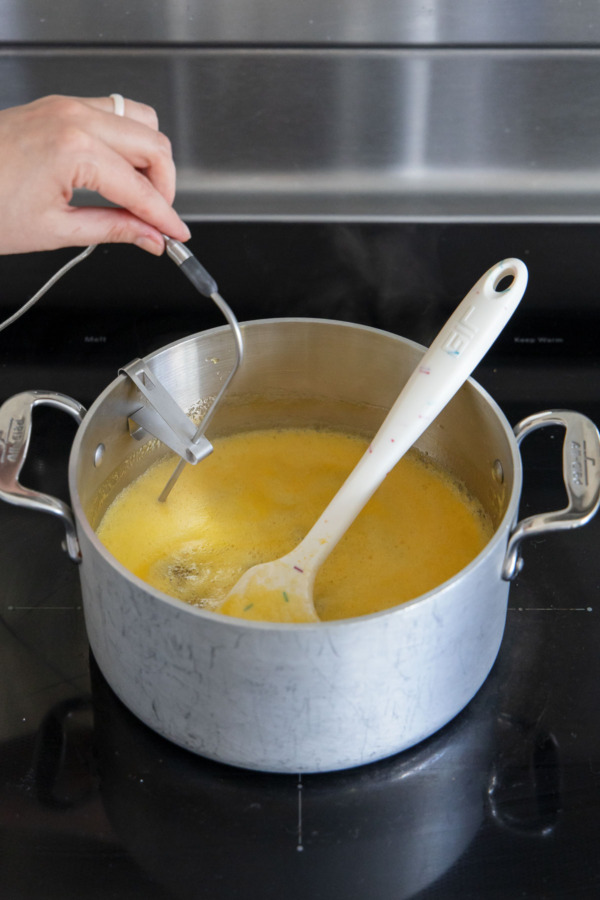
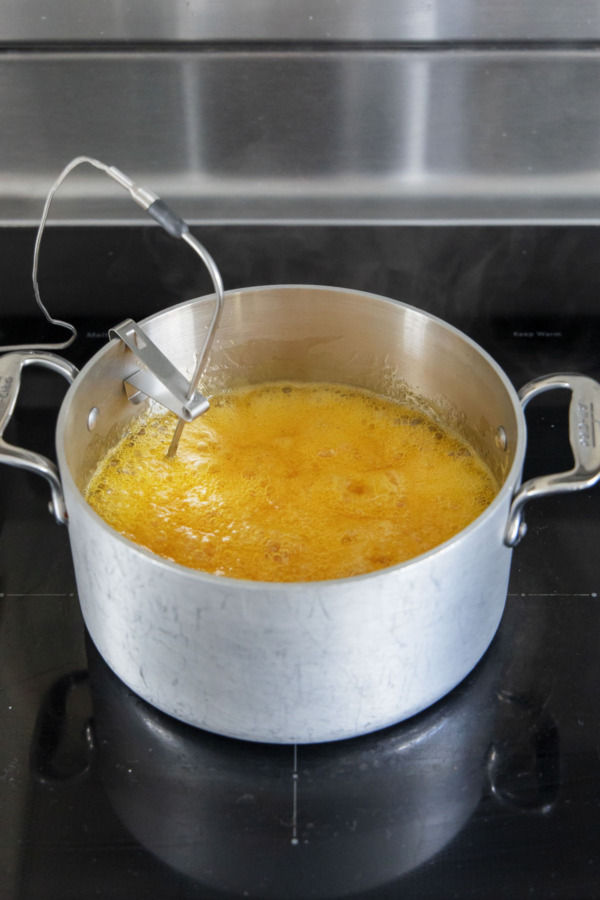
- Attach a candy thermometer to the side of the saucepan. Continue to cook over medium to medium-high heat, stirring regularly, until the mixture reads 230 °F (see notes for elevation adjustments). This will take about 30 minutes. As it gets above 220 °F, start stirring more frequently, scraping the sides and bottom with a heat-proof spoon or spatula to ensure the mixture cooks evenly and doesn't burn.
- Once the mixture hits your target temperature, remove from heat and quickly mix in citric acid dissolved in water. If using a single silicone or parchment-lined cake pan, pour it straight from the pot into the pan. If using individual molds, quickly transfer to a heat-proof spouted measuring cup and pour into molds. The mixture will thicken as it cools, so you want to get it poured quickly; this is especially important for small molds (since it'll take longer to fill more of them). For reference, this recipe will make about 500 mL of liquid candy, if you need to calculate how many molds you'll need to fill.
- Set aside the filled mold(s) in a cool location and let them cool completely to room temperature, at least 2 hours or ideally overnight, until candies are fully set.
- Remove candies from molds (or, if you used a single pan, remove the entire piece from the mold and cut it into squares). Roll individual pieces in granulated sugar until fully coated.
- Store candies uncovered at cool room temperature for up to 1 week, lightly covered in the refrigerator (separate with layers of parchment) for up to 2 weeks, or in the freezer (in a container between layers of parchment) for up to 3 months.
Notes
- Do not reduce the sugar in this recipe! You’ll only be setting yourself up for failure. This is not a low sugar recipe and cannot be made with less sugar and/or sugar substitutes, nor can you use low-sugar pectin. Read the full post for more info.
- Elevation adjustments: because water boils at a lower temperature at higher altitudes, if you live above 1,000 feet elevation you’ll need to lower your target temperature 1º for every 500 feet. So if you live at 5,000 feet elevation, reduce the target temperature by 10º.
Thanks for the recipe! Made 2 fantastic batches with a few adjustments for my 2.7 pH fresh juice:
– used 8g Kitchen Alchemy slow-set HM pectin (from citrus) – prior batch with apple pectin failed and since Sure Gel and Ball are rapid set with acid added, wasn’t sure I’d be able to try to temp with the acidity of my juice
– added 1g sodium citrate directly to the juice at the beginning as a buffer instead of the baking soda/water mix
– added 7g apricot liquor at the end with the citric acid