
Almond flour is a staple in my kitchen, you’ll need it if you plan to make recipes like my popular soft amaretti cookies and this spectacular flourless almond cake. While almond flour is a pretty easy to find ingredient these days, it’s actually quite easy to make your own from scratch if you find yourself in a pinch or if you want to save a few bucks (whole almonds are generally cheaper to buy in bulk than almond flour).
Making your own homemade almond flour means you can control the texture and granularity depending on how you will be using it (and how much time you want to put into making it). Not to mention store-bought almond flour can often be dry and stale, whereas when you make your own, you know it is perfectly fresh and fluffy.
Save this recipe for later!
Unlike pistachio flour (where making your own can save you a pretty penny), almond flour is pretty easy to come by these days, with even the most basic of grocery stores usually stocking at least one generic brand of it.
But that doesn’t mean there aren’t savings to be had, as whole almonds are usually cheaper to buy than almond flour, especially in bulk.
Plus, when making your own almond flour from scratch, you have full control over the input and output: you can use blanched or sliced almonds for the quickest results, whole almonds for a more rustic texture, or blanch almonds yourself for a uniformly colored flour perfect for amaretti or macarons. You can also choose whether or not to roast your almonds for a toastier almond flavor.
And on the other end, depending on how you grind and sift it, you can control whether you get coarse, fine, or superfine granules.
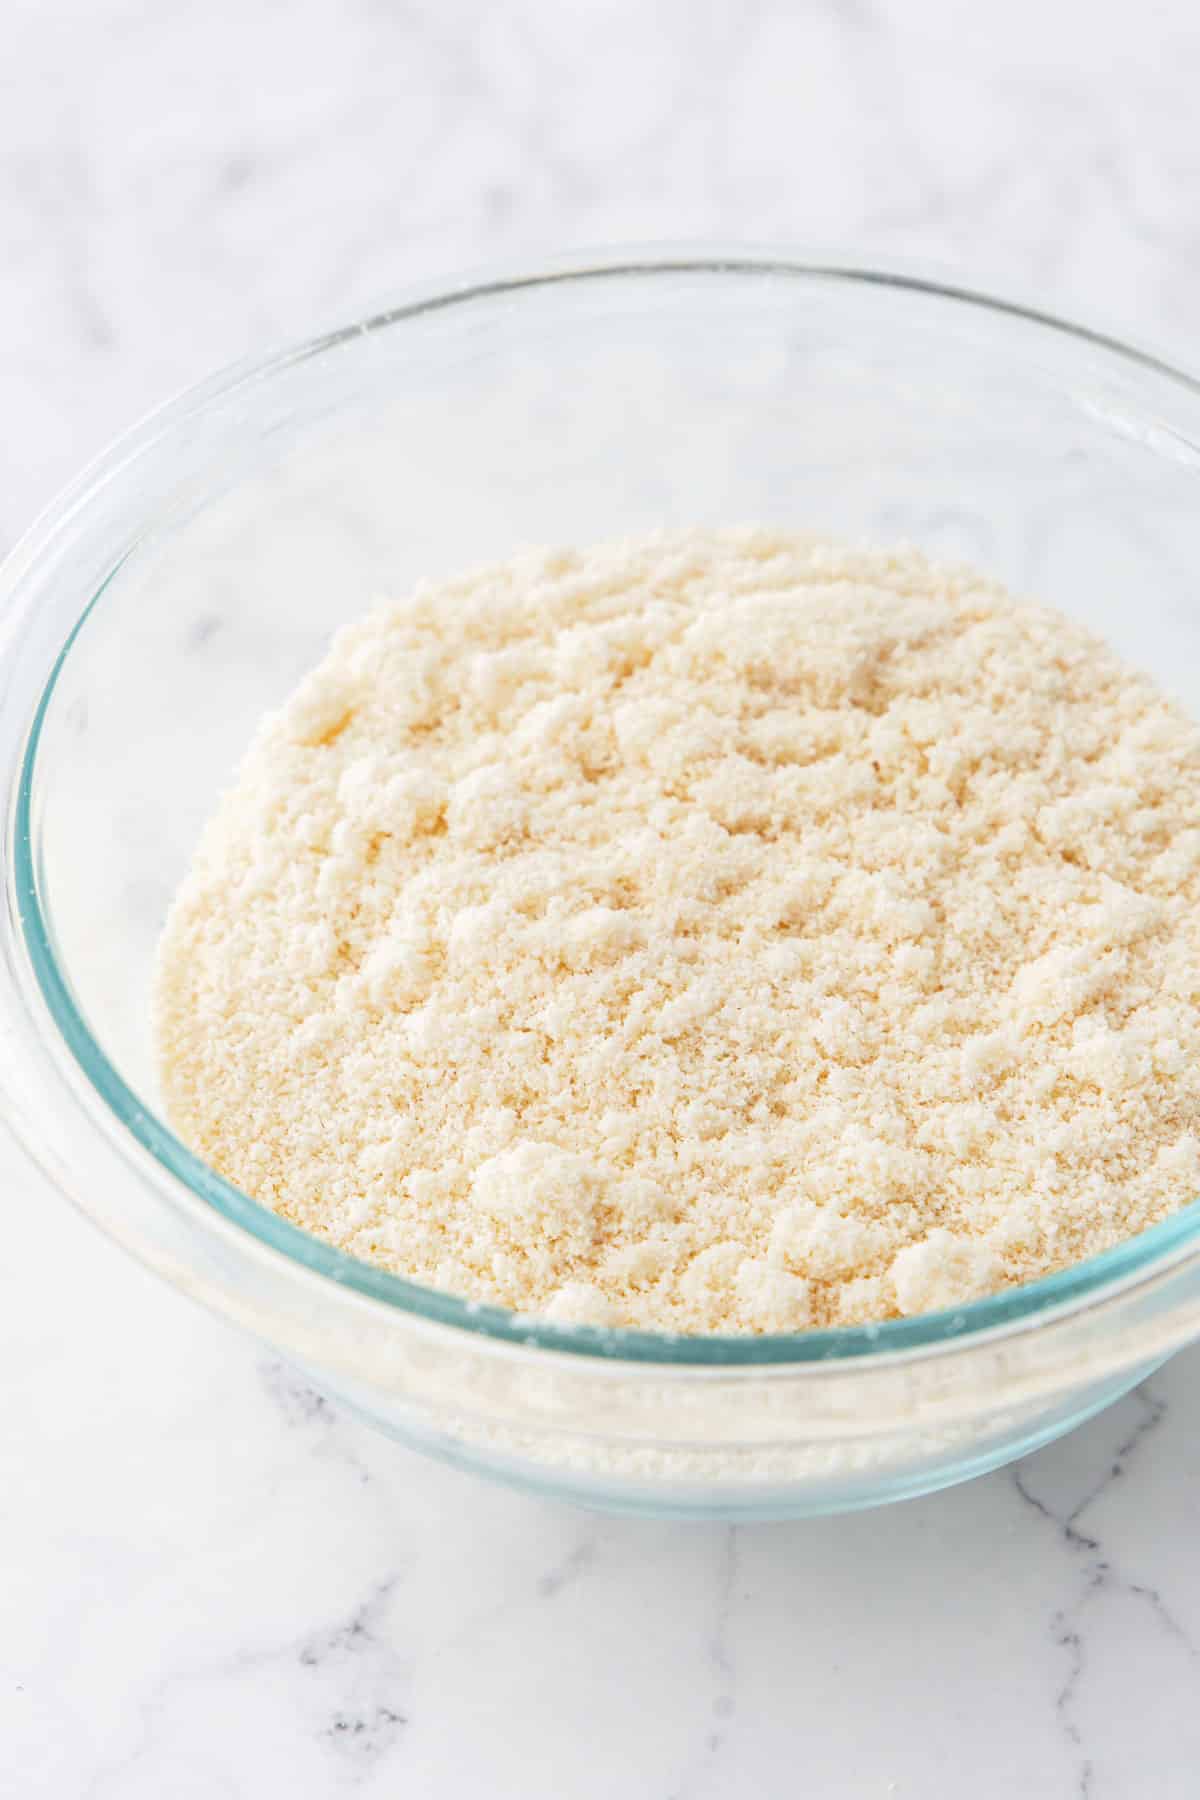
To make your own almond flour, you basically just grind up almonds until powdery. But there’s a bit more nuance to the process, for example if you process them too long, the natural oils within the almonds will start to release and you’ll be on your way to making almond butter, which, while certainly delicious, is not what we want here!
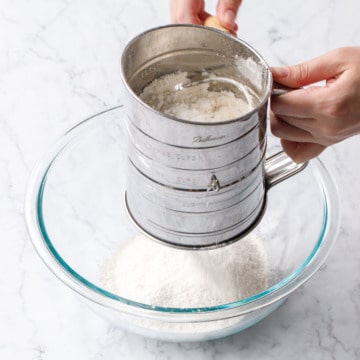
For a superfine almond flour, grind some almonds and then sift through a fine mesh sieve or flour sifter. Return any larger bits to the coffee grinder or food processor and pulse a few more times, then sift again.
The sifting step allows you to filter out the finest particles of flour, then return the coarser bits to the grinder to process again (as opposed to continued processing of the whole batch at once, which, again, you risk the nuts heating up and turning into almond butter rather than flour).
Work in short, brief pulses, no matter what tool you are using. Again, our goal is to finely grind the almonds but extended grinding can cause the oils to release.
If at any point your grinder and nuts start to feel warm… step back and let everything cool down. Excess heat can jump start the oil-release (good for making almond butter, bad for almond flour), so let everything cool down completely and then try again.
To Blanch or Not to Blanche
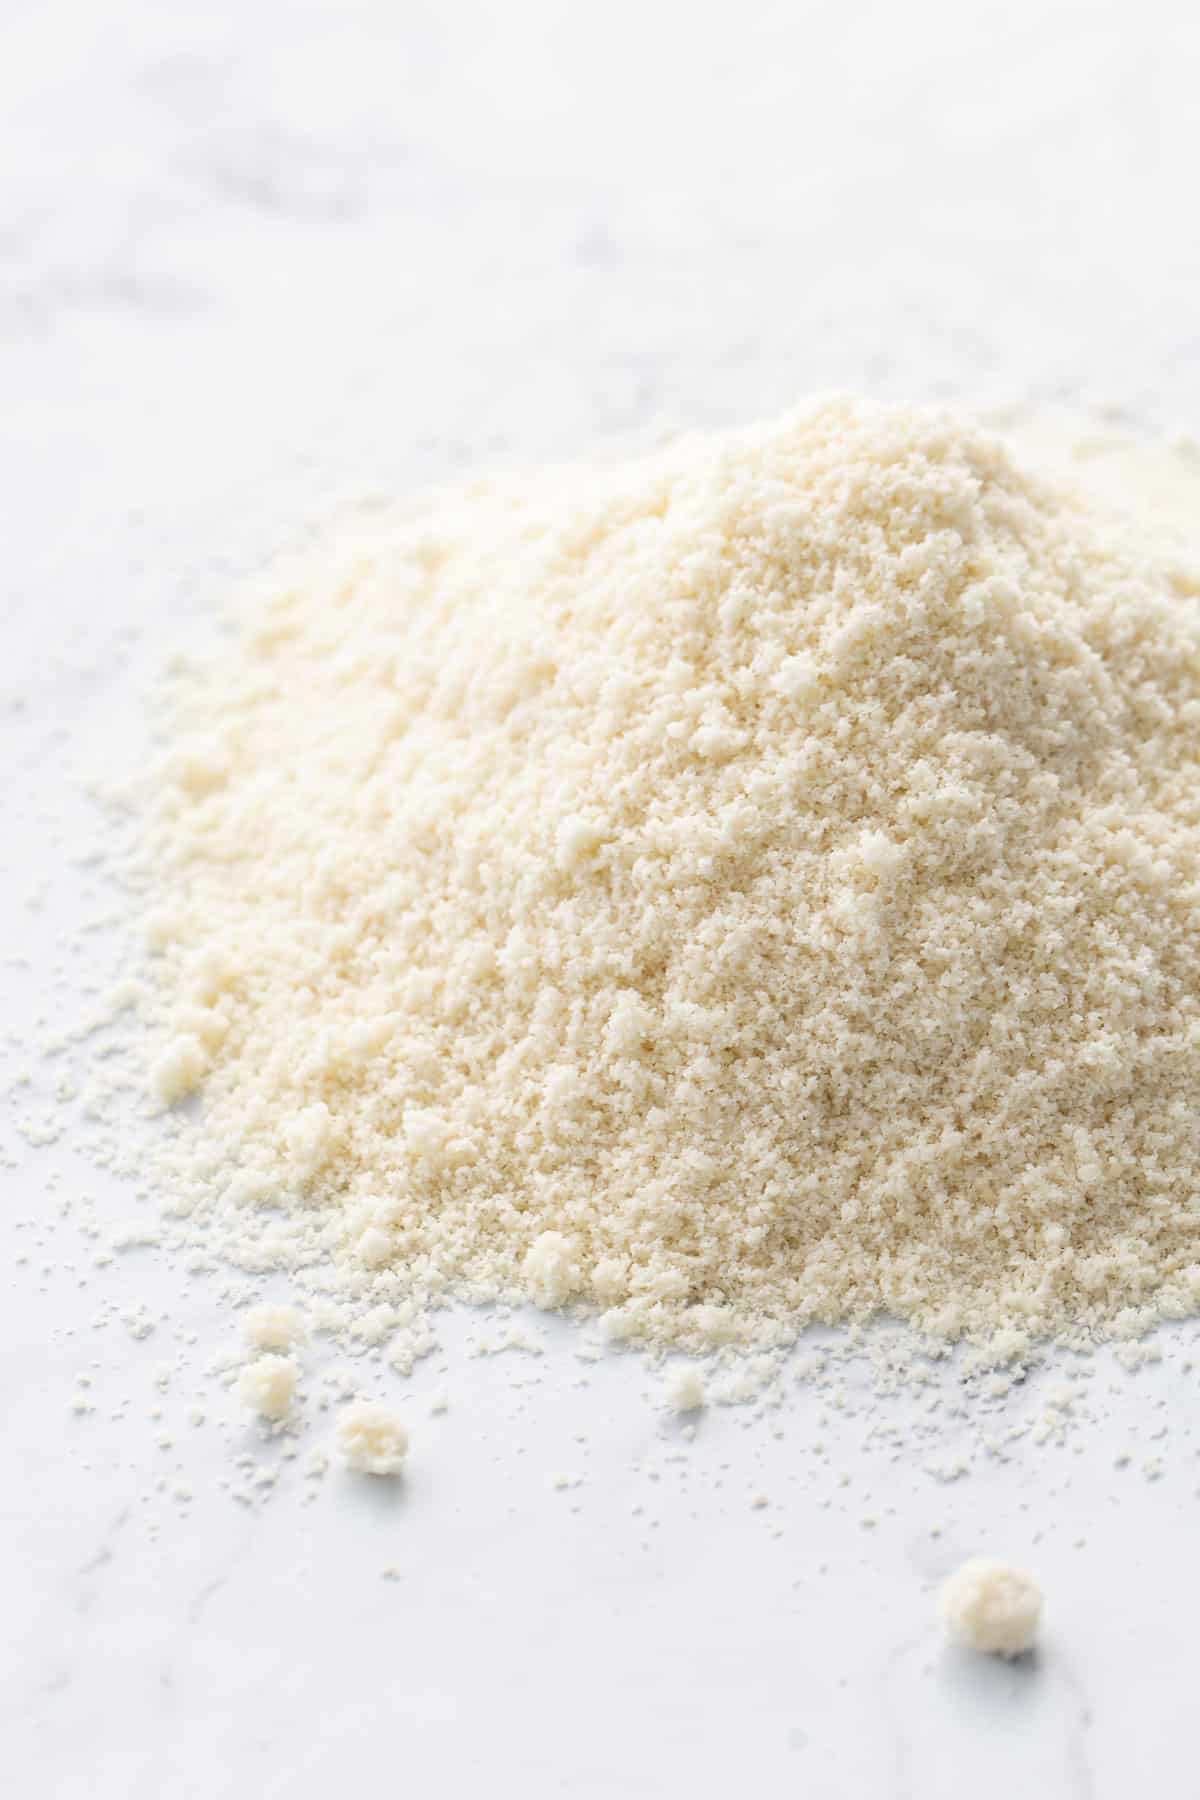
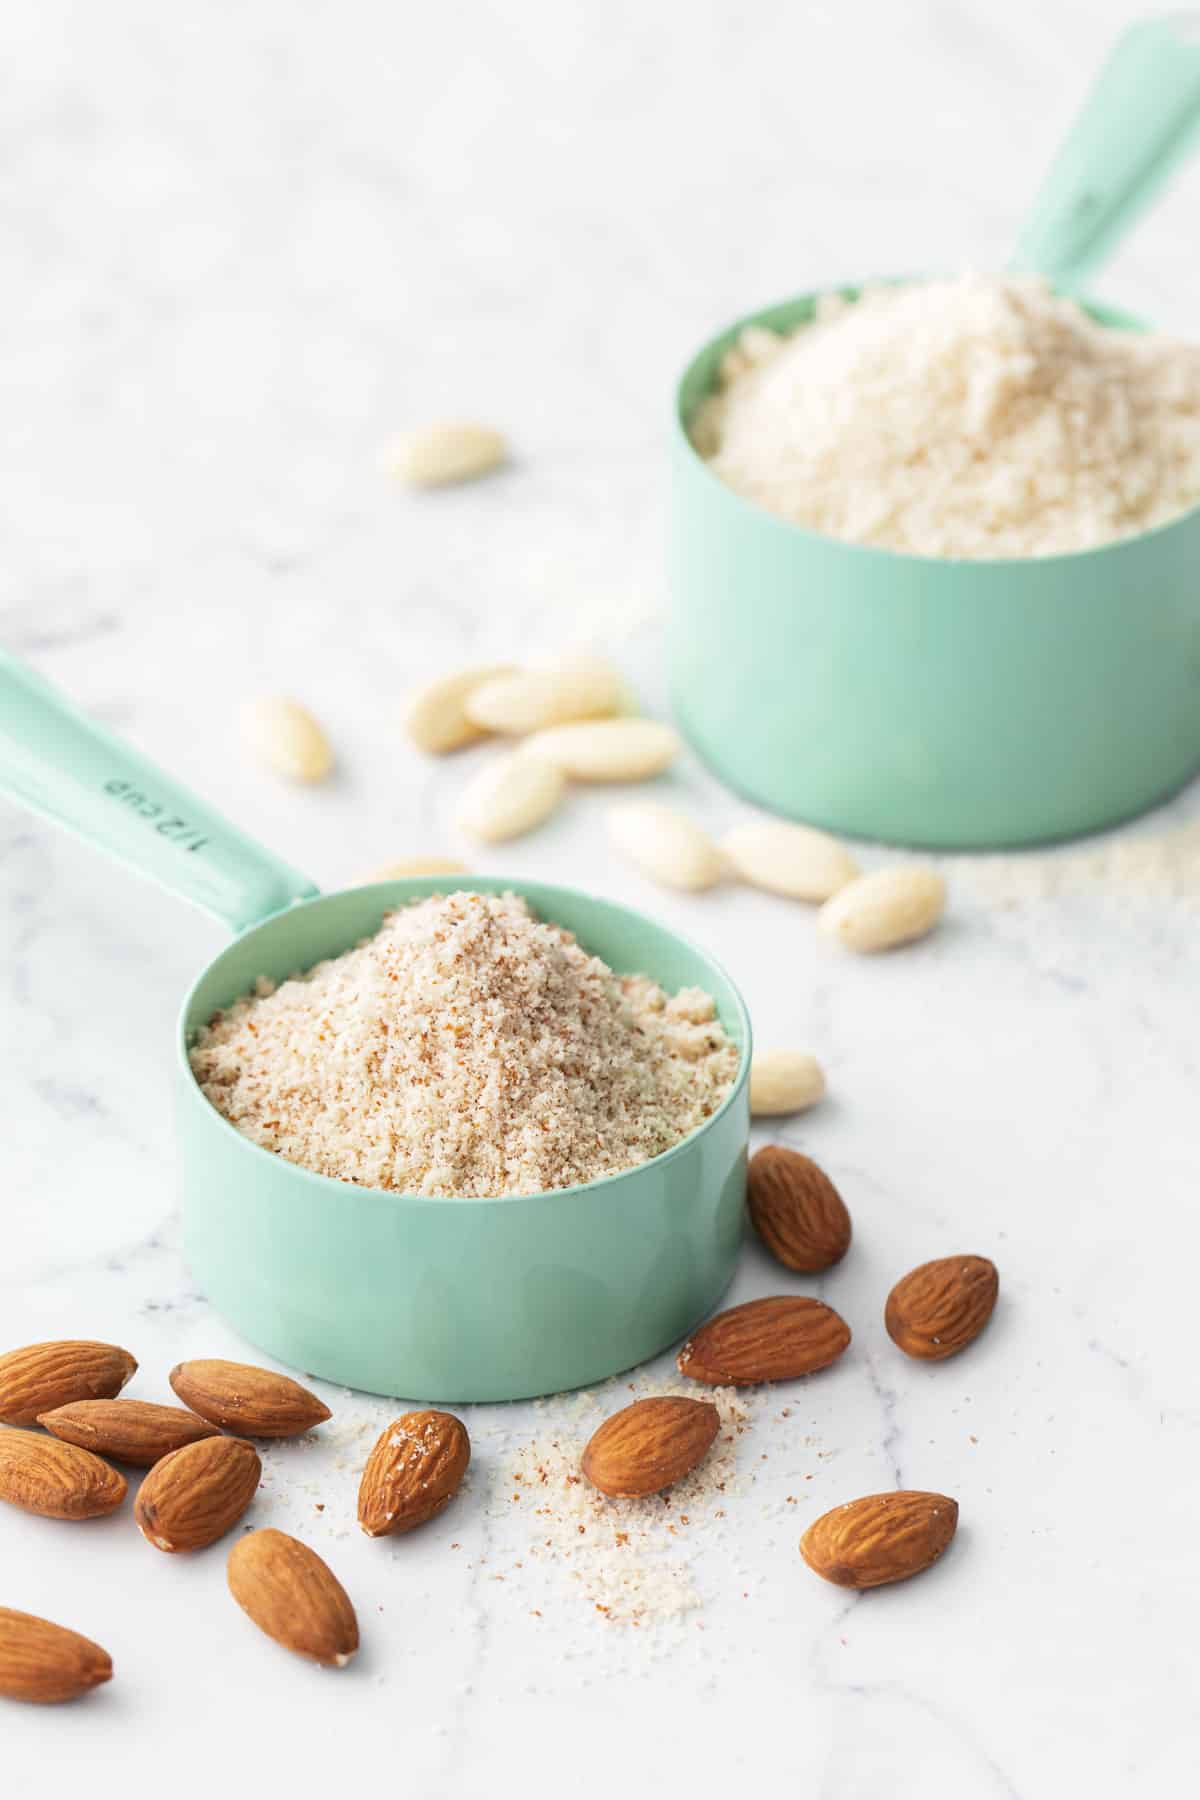
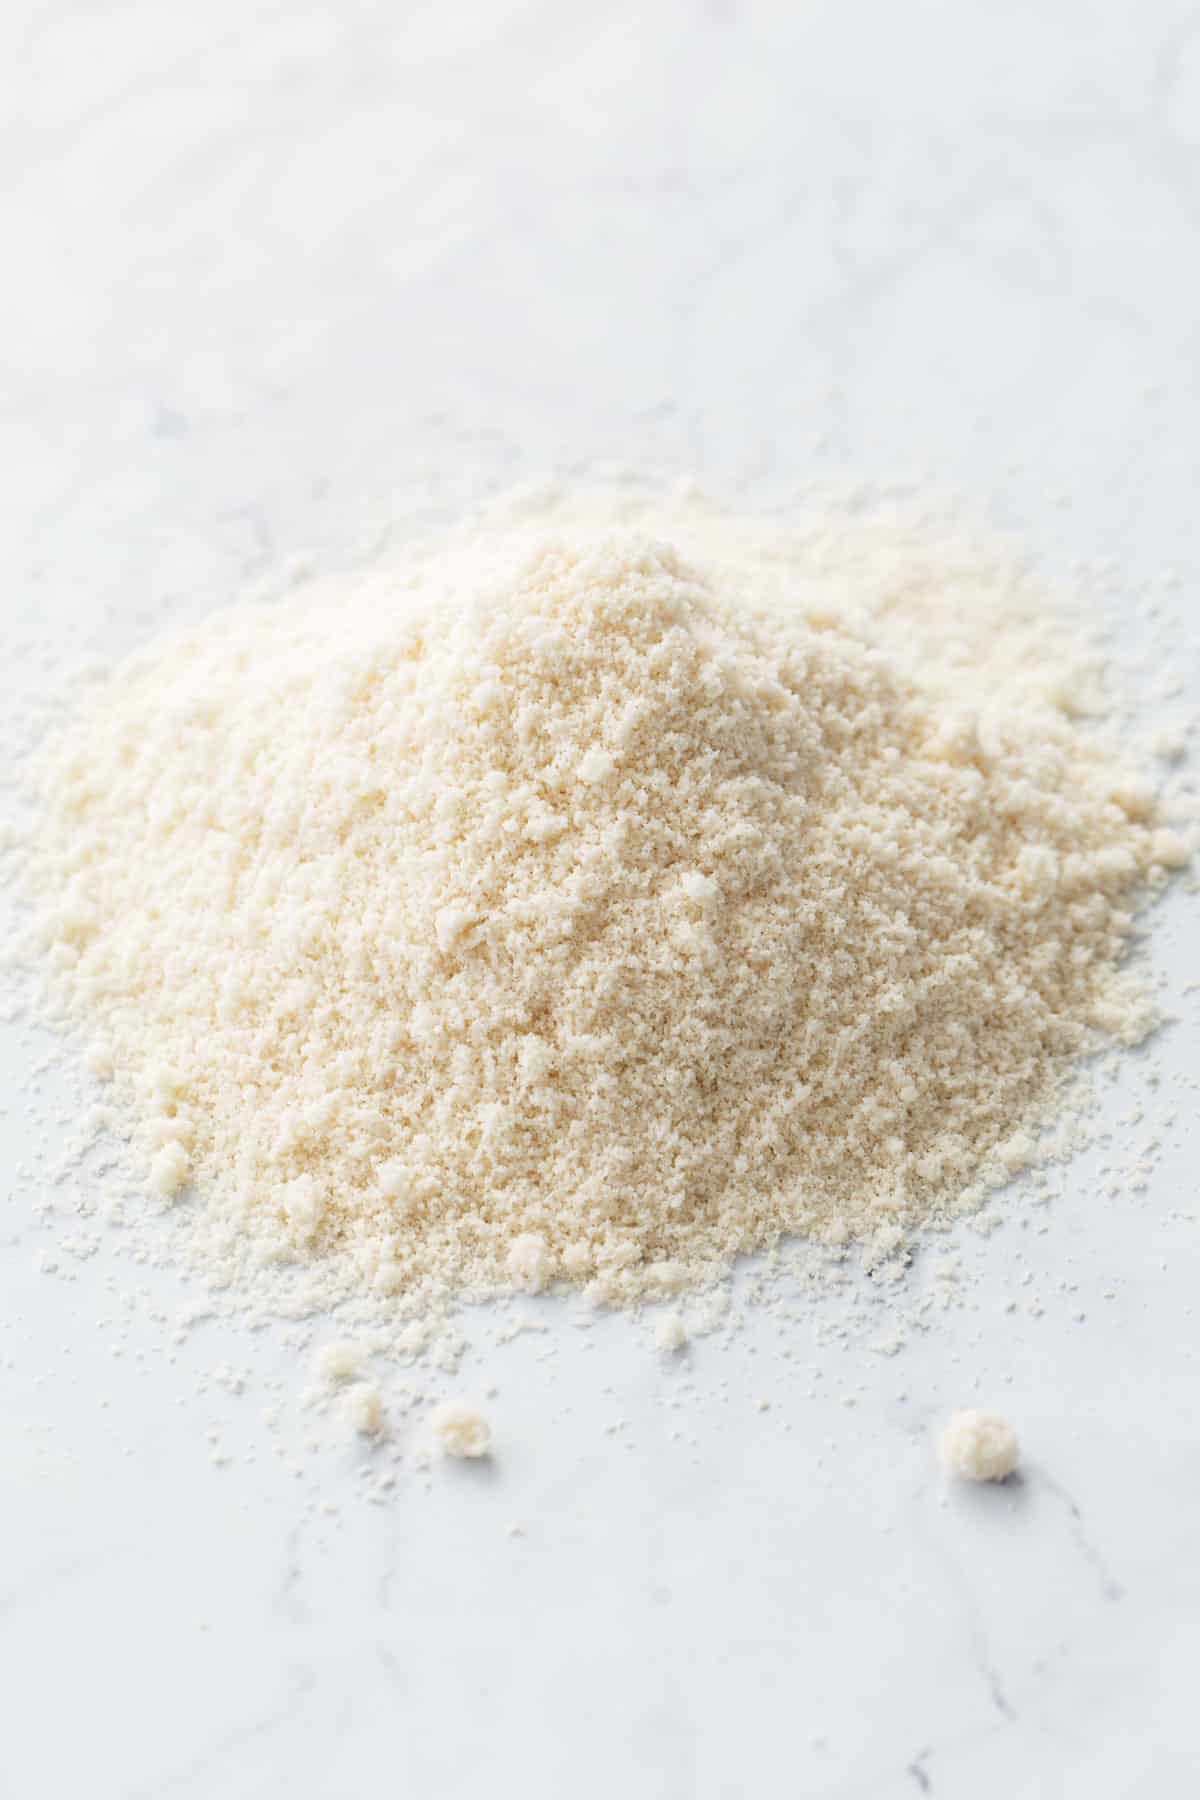
Almond flour made from blanched almonds has a uniform, pale ivory color and finer texture, while flour made from raw unblanched almonds will have a darker, more speckled appearance and coarser texture.
Sometimes called almond meal, unblanched almond flour will work in most recipes calling for almond flour, though it will have a coarser texture and a more speckled appearance (see above photo for a comparison). It’d be fine in more rustic almond flour recipes, but for some things like macarons you really want a superfine blanched almond flour which involves—you guessed it—blanching your almonds.
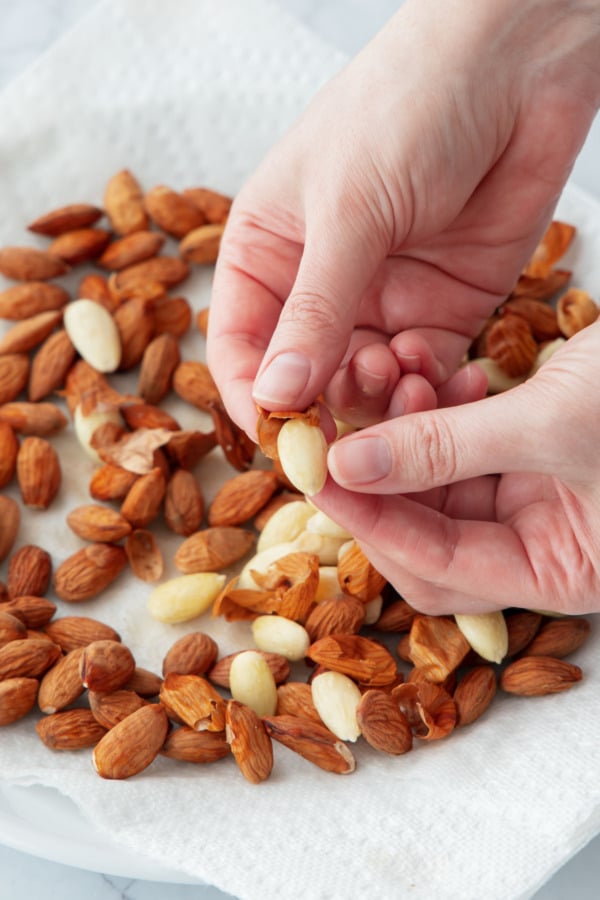
The blanching process does not actually cook the nuts, but rather the quick boil allows for easy removal of the almond skins.
To blanch raw almonds, submerge in boiling water for no more than 30 seconds; drain well (ice bath optional), then rub between two paper towels (the friction will loosen/remove the skins) or squeeze the skins off the nuts by hand (they should slide off pretty easily). Almonds are much easier to peel in this manner than pistachios, so you should be able to blanche and peel a batch fairly quickly.
Blanched almonds need to dry out and cool down completely before being ground into flour. This is not optional! If your nuts are too wet you’ll end up with a smushy almond dough rather than a fine, powdery flour; and if your nuts are still warm, they will release their oils more easily (which you want when making almond butter, not so much for flour).
I’ve found the best way to dry blanched almonds is to spread them in a single layer on a baking sheet and put them in a low oven (170ºF) for an hour or so, then turn the oven off but leave the nuts in there with the door slightly cracked overnight. By the next morning they should be completely dry and ready to grind into a beautiful, superfine blanched almond flour!
To speed up the drying process, you can up the oven temperature to 225-250ºF for 20 to 30 minutes, taking care not to let the nuts brown (unless you want them toasted). Be sure to let them cool completely before you start grinding.
To save time, you can purchase pre-blanched almonds or sliced almonds, which can be ground straight from the package with no need for blanching, peeling, or drying (though they are often more expensive to purchase in this form so the savings may not be worth the effort).


Tools of the trade.
While you can use a food processor or blender, I find that the best tool for making homemade nut flour is actually a coffee grinder.
If you’re using a coffee grinder, you’ll be able to process about 1/2 cup of nuts at a time (smaller batches); a food processor or blender can process 1 to 2 cups at time (but doesn’t do as well with smaller quantities).
Whatever tool you use, take care to process the nuts in short, quick pulses. Don’t let it run constantly or let it heat up as that will prompt the nut oils to emerge and start forming nut butter. If you need to let the ground nuts and your grinder cool down, definitely do so. If your nuts at any point start to clump and appear ‘doughy’, stop grinding immediately and let things cool off. It may be too far gone at this point (and there’s no saving it once it does); if that’s the case, you may as well just keep on grinding until you end up with actual almond butter (or add water and blend to make almond milk).
If you use your coffee grinder for actual coffee, you’ll need to clean it well first lest your flour taste like espresso. After washing/drying the grinder canister, pulse some uncooked rice in the grinder, this will help absorb some of the leftover oils from the coffee beans.
You may still have a bit of lingering coffee scent, but luckily coffee and almond are very much complementary flavors so that’s ok! I actually have a dedicated not-coffee grinder specifically for grinding things other than coffee (like nuts, freeze dried fruit, and spices).
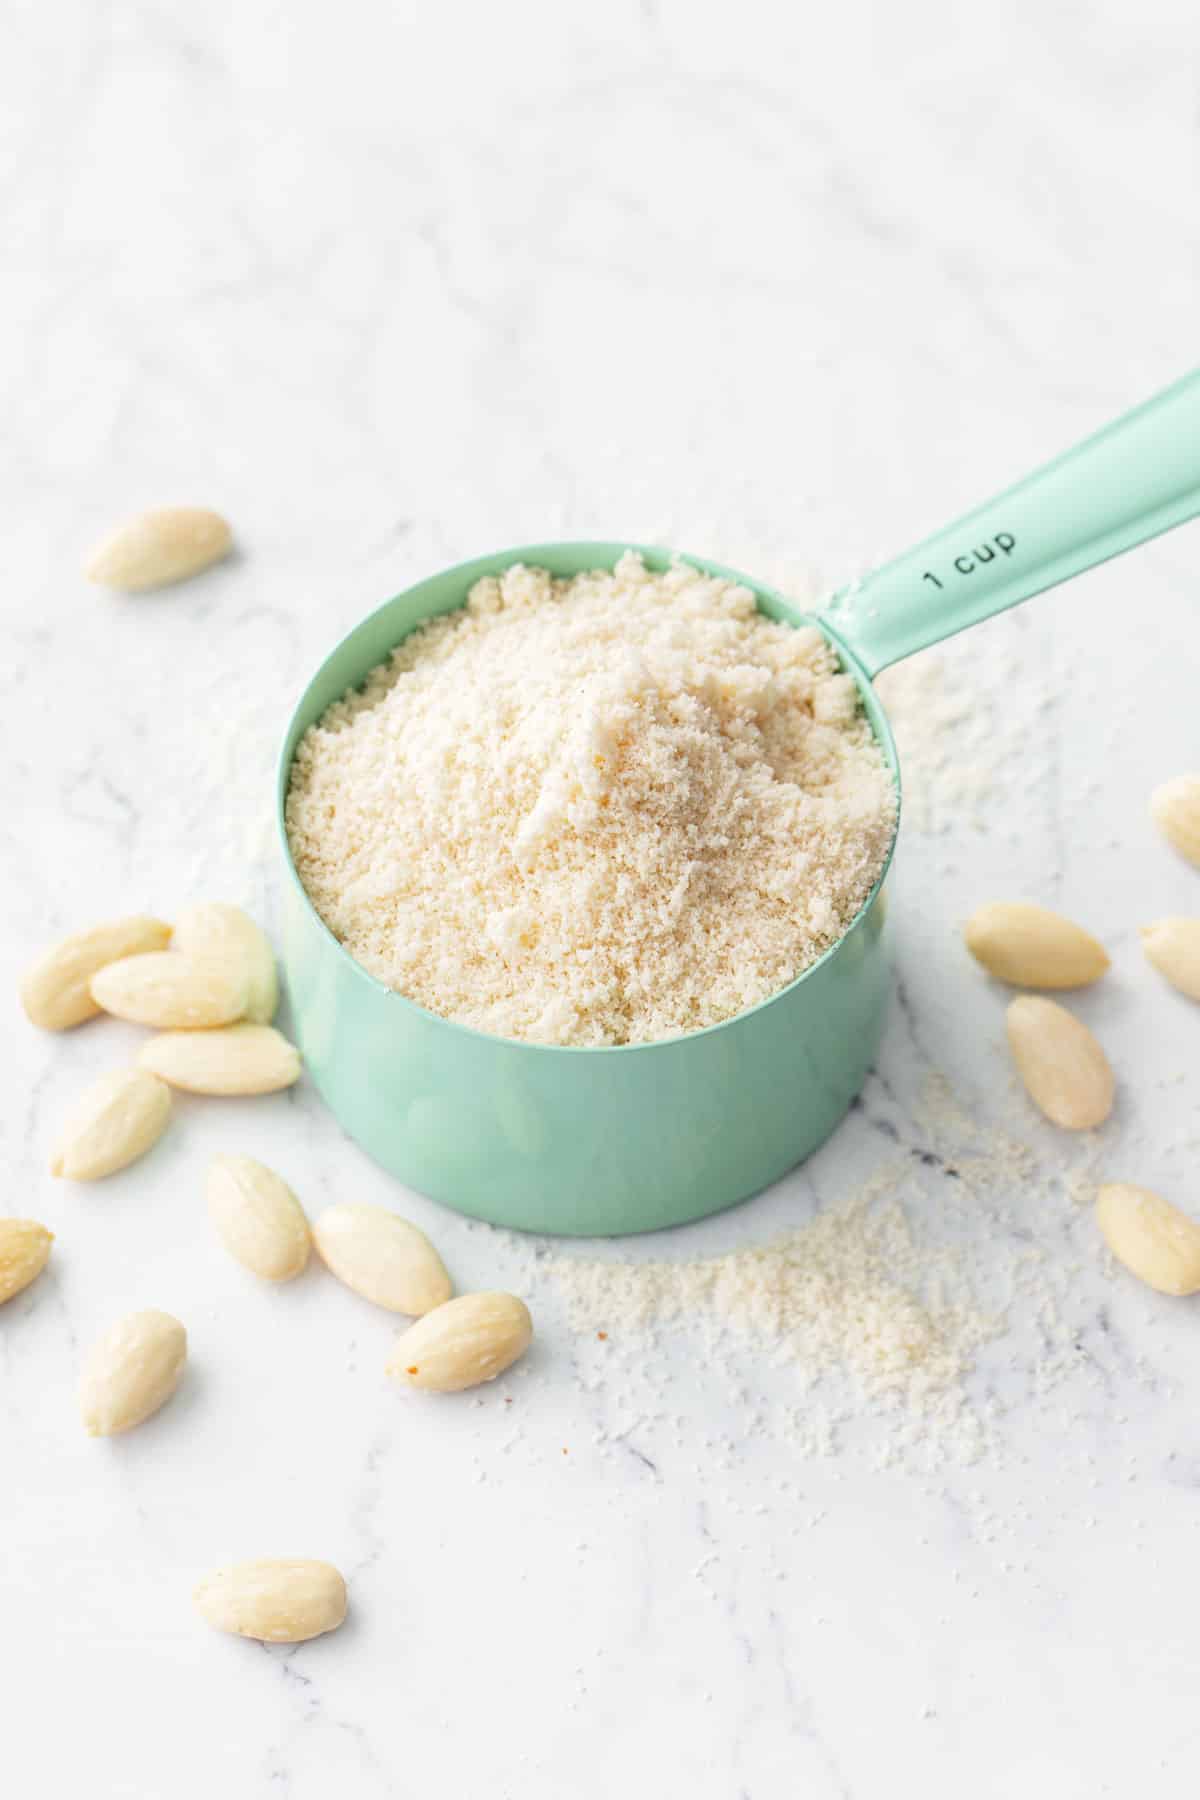
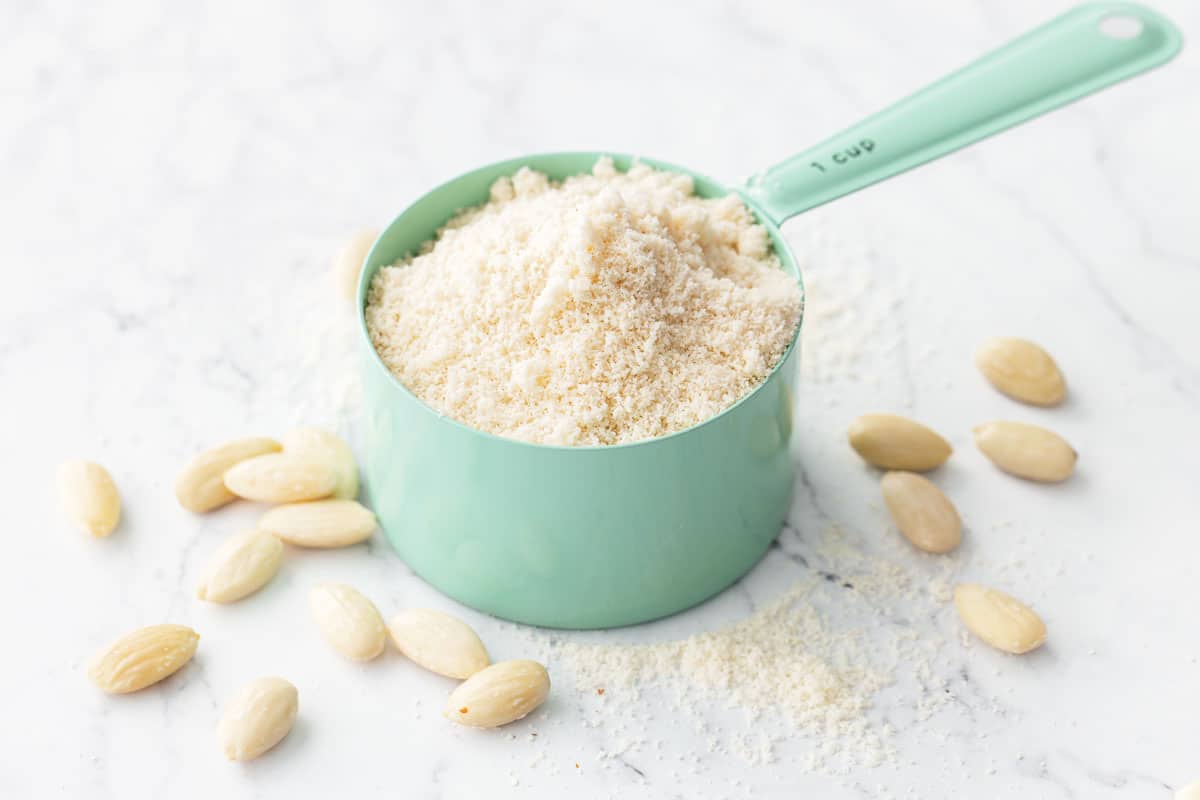
In terms of yield, 1 cup (6oz/170g) of whole raw almonds will yield about 1 1/2 cup of almond flour (slightly more or less depending on how finely it is ground).
Remember, when working with almond flour (much like wheat flour), weight is the most accurate measurement as almond flour can vary quite a bit depending on the granularity of the flour (more coarsely ground almonds will weigh more per cup than a superfine grind).
Store your homemade almond flour in an airtight container in a cool, dark place or even in the fridge or freezer for even longer storage (nuts like almonds can go rancid so, while it lasts a while, it won’t last forever).
Homemade Almond Flour
Ingredients
- 1 cup / 170 g raw almonds
Instructions
- To blanch raw almonds (if using peeled or sliced almonds, skip to step 3), submerge almonds in boiling water for no more than 30 seconds, then drain and spread out on a paper towel-lined plate. One they've cooled slightly (and ice bath is optional if you want), you should be able to squeeze the almonds right out of their skins. You can also rub the nuts between layers of paper towels, the friction may be enough to remove most of the skins.
- To dry out the blanched almonds, spread out on a baking tray place in a warm 170ºF oven for 1 hour, then turn off the oven and leave the almonds in the oven overnight to dry completely. You can also bake at 225-250ºF for 20-30 minutes, taking care not to let the nuts get brown. Let cool completely before grinding.
- Working in small batches, pulse blanched and dried almonds in a food processor or clean coffee grinder. Give it 2-3 brief pulses, don't overdo it or the nuts will warm and start to release their oils (which means they are on their way to becoming almond butter). Once they get oily, there's no fixing it, unfortunately.
- Dump ground almonds into a sifter or sieve, then sift over a bowl. The fine flour will fall into the bowl, and you'll be left with a sifter full of the larger pieces.
- Transfer these larger bits back into your grinder, adding more nuts if you have more to grind. Repeat the process, pulsing just a few times then sifting, until all the nuts are finely ground.
- Almond flour should be stored in a cool, dry, and dark location, sealed in an airtight container or jar, or in the fridge where it'll keep for 2-3 months. For longer storage I recommend vacuum sealing and freezing for up to a year.


The tips worked perfectly. Will use this method for almond flour from now on.
Homemade almond flour is such a game-changer! Loved the detailed steps and helpful tips to get the perfect texture. Definitely trying this soon!