Pumpkin puree doesn’t have to come from a can. And neither does squash or sweet potato puree, for that matter.
In fact, making it from scratch is surprisingly easy and it makes for one stellar pie. Or quiche. Or pancakes. Or… whatever delectable autumn dish you can imagine.

So when you happen to find yourself in possession of a 5 pound jumbo sweet banana squash (I told you it was big), don’t let it go to waste. Roast it. Puree it. Freeze it, and use it for whatever you’d like. Maybe, for example, a savory squash quiche.
For reference, this 5 pound squash made about 3 cups of homemade puree. I admit I expected more out of this monster, but I guess when you roast and puree and strain you lose quite a bit of volume. Still, that’s more than enough for two good sized pies.
On the off chance you don’t happen to need two whole pies (or, maybe you bought 3 jumbo sweet banana squashes just because they’re jumbo sweet banana squashes and when are you going to see anything quite that cool again), take the opportunity to freeze the excess. I will often make more than I need intentionally, since it’s the same amount of work for double (or triple!) the return, essentially. Think of it as squash security, stockpiling in the event there is another shortage (which, apparently, there is…. the threat is real, people!)
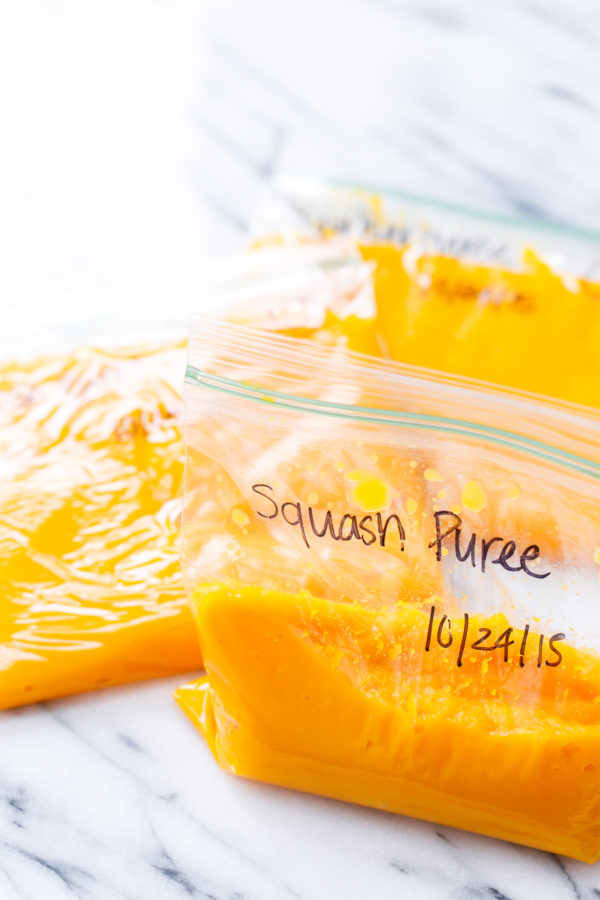
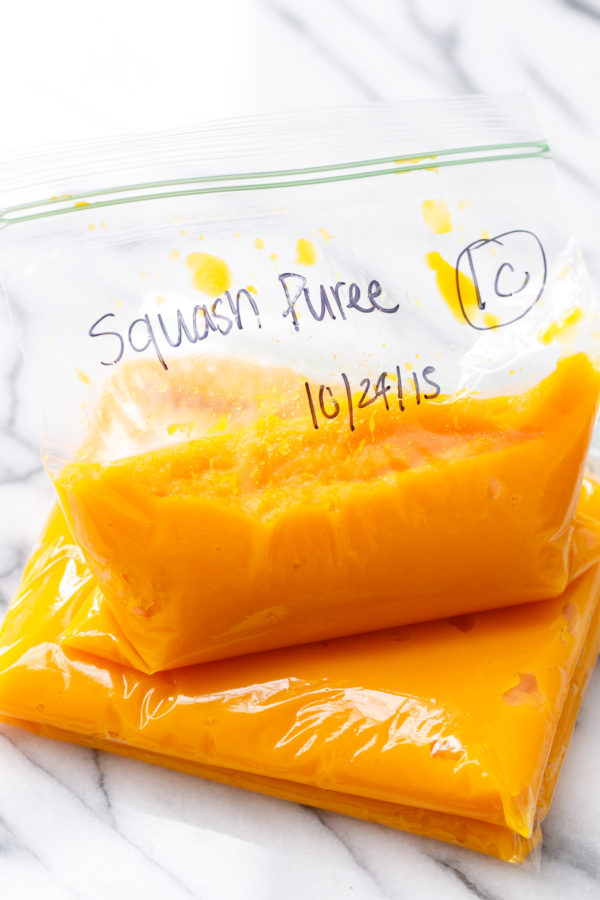
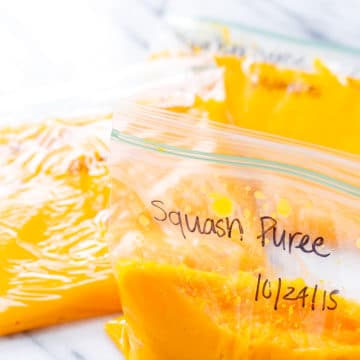
I like to freeze my squash puree much in the same way I freeze my extra buttermilk, by measuring it into sandwich bags, either in 1 cup increments or 1 3/4 cup (the same amount that typically comes in one can of store-bought puree). Labeled and dated and frozen flat, the bags are easy to stack and store in even the most cramped of freezers.
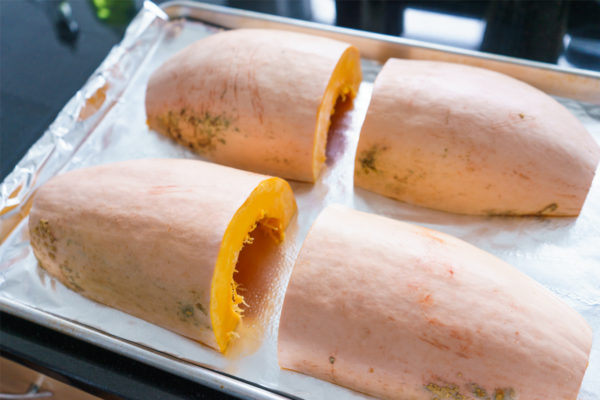
To make your own squash puree (be it jumbo sweet banana squash, butternut squash, pumpkin, etc) rinse and cut your squash in half (or quarters if it’s unmanageable in size) and scoop out the seeds. Place the squash cut-side down on a foiled baking sheet sprayed with cooking spray.
Roast at 375 degrees until the squash is fork tender (meaning a fork will easily penetrate the outside skin and flesh with ease). Honestly you’d be hard-pressed to overcook the squash here, short of blackening it, so let it cook longer if you’re unsure whether or not it’s done. If anything you’ll just get a bit more caramelization which will only improve the flavor. The cooking time for this will vary quite a bit depending on the size/thickness/density of your particular squash. This particular monster only took about 40 minutes.
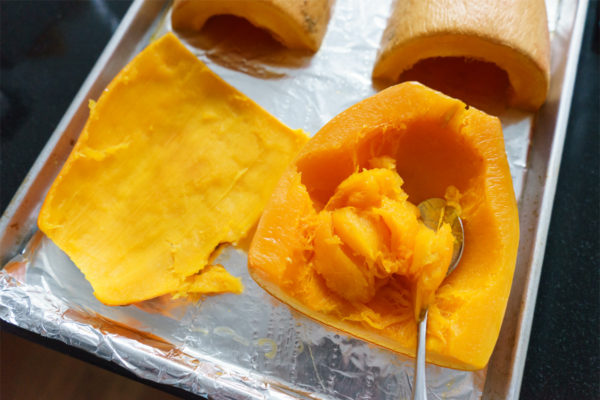
Once it’s cool enough to handle, scoop the flesh out of the skin and into a food processor.
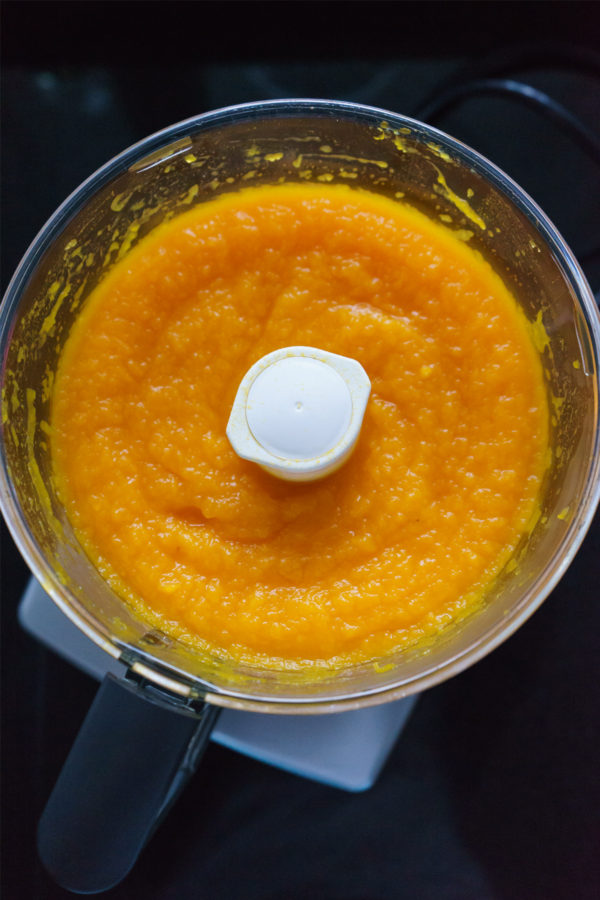
Puree until smooth.
Now, you may think this is it, that your homemade squash puree is done.
Not so fast.
Compared to the canned stuff, this fresh squash puree is quite watery.
And we don’t want to water down our baked goods now, do we?
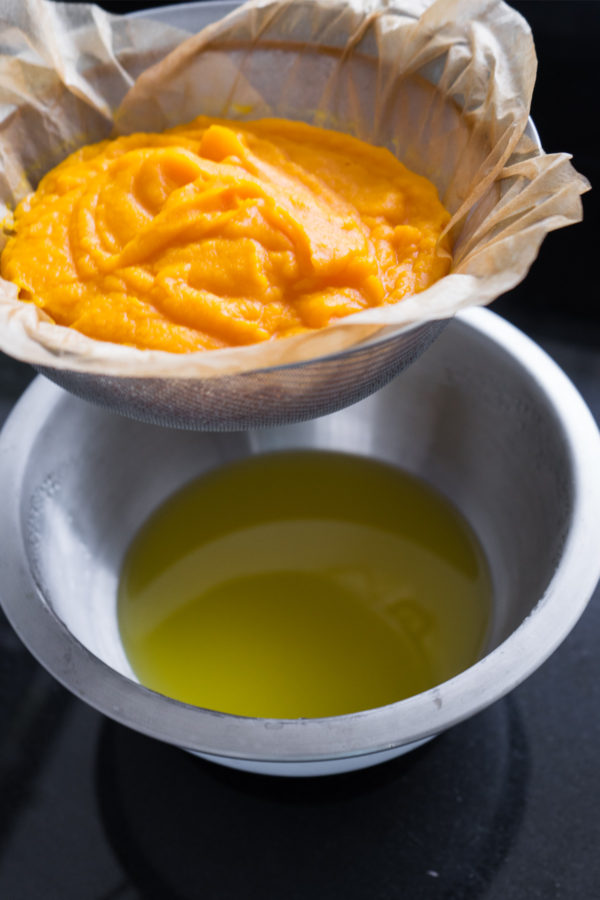
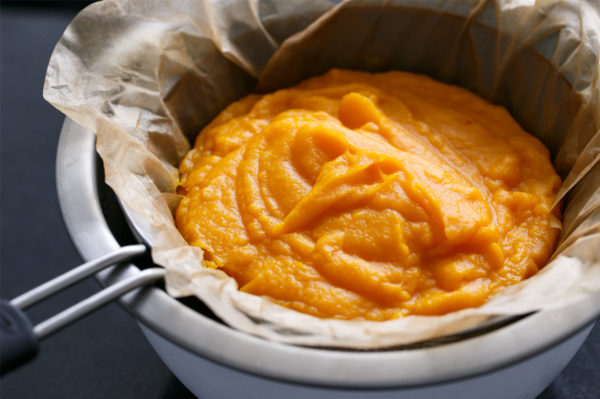
So we strain it. Much like you would strain yogurt to get thicker, Greek-style yogurt. Same principle. I like to line a large metal sieve with a few coffee filters (overlap them slightly to cover the entire surface area of the strainer). Dump in your squash and let it sit for a few hours in the fridge, or even overnight. You can see above just how much liquid drains out of the puree.
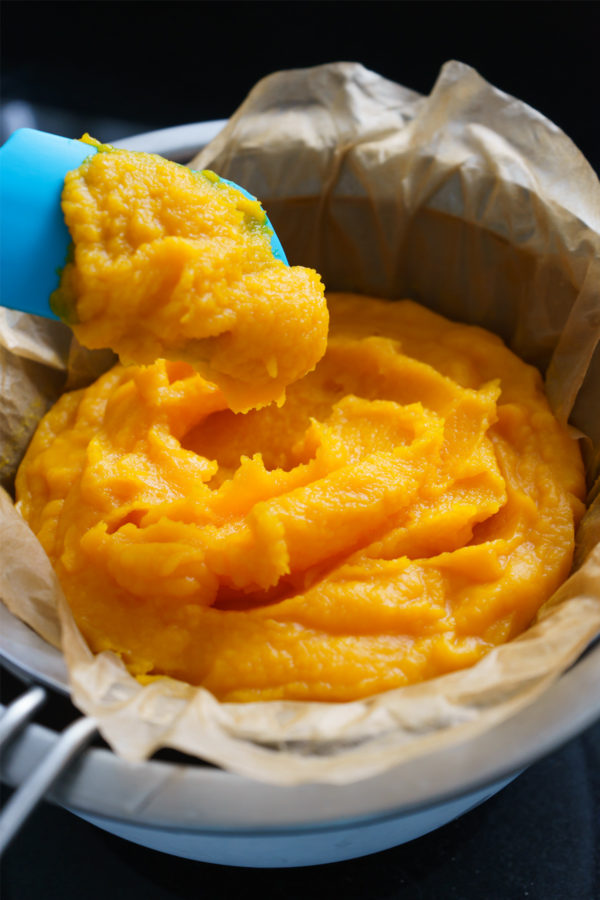
And now you’re left with something that’s a similar consistency to what you’d buy in a can, but with a much more nuanced and delicate flavor. Lighter. Fresher.
Trust me when I say once you’ve had a pie made with fresh pumpkin puree, you’ll never want to buy the canned stuff again.
This same technique works with squashes of all colors, from pumpkin to butternut to jumbo sweet banana (or whatever they call them where you are). Even sweet potatoes could undergo the same process.
The puree will easily keep for 6 months in the freezer. And the flat-freeze method makes for quicker thawing as well. If you plan ahead you can thaw the puree overnight in the fridge, otherwise place the bag in a container of cool water and it’ll be ready to use in about 20 minutes.
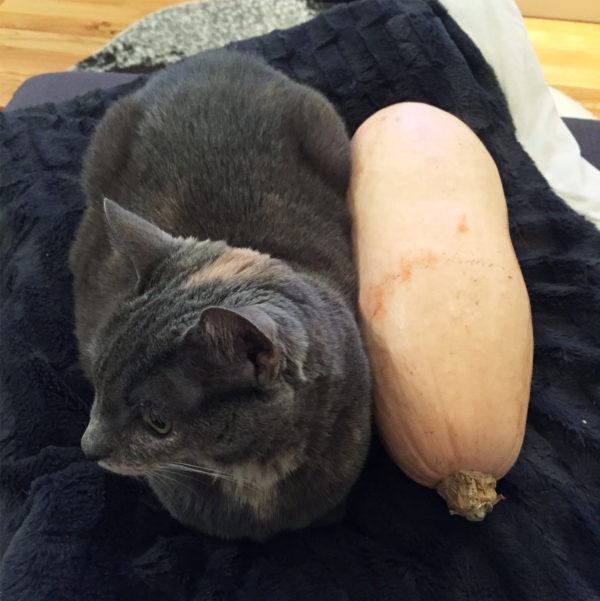
“Quick! I need something to show just how big this squash is… what do we have for scale?”
“Cats. We have cats. So. Many. Cats.” [Spoiler: we only have 3.]
The question is, cat sized squash, or squash sized cat?
Homemade Squash Puree
Ingredients:
- Squash (butternut, pie pumpkin, etc)
- Cooking spray
Directions:
- Preheat oven to 375 degrees F. Line a baking sheet with aluminum foil; spray liberally with cooking spray.
- Carefully cut squash in half, or quarter if it’s easier to handle. Scoop out seeds.
- Arrange squash, cut side down, on prepared baking sheet.
- Bake until soft throughout: a fork should easily pierce the outer skin and penetrate the flesh with ease. Remove from oven and let cool slightly.
- When cool enough to handle, scoop flesh out of the skin with a spoon, then transfer to a food processor and puree until smooth.
- Line a large strainer or sieve with coffee filters (slightly moisten them if necessary to help them stick in place) and set over a large bowl. Pour puree into strainer; place in the refrigerator and let drain at least 2-3 hours or overnight. Discard liquid.
- To freeze, measure desired amount of puree into zip-top freezer bags. Label with the contents, quantity, and date and seal, removing as much air as possible. Flatten out into an even layer, then freeze flat for easy storage.
- Frozen squash puree will keep in the freezer for up to 6 months. To thaw, place bag in the refrigerator overnight. Alternatively, if you need it quicker, place bag in a container of cool water for 20 to 30 minutes or until thawed.
Did you make this recipe?
Let us know what you think!
Leave a Comment below or share a photo and tag me on Instagram with the hashtag #loveandoliveoil.