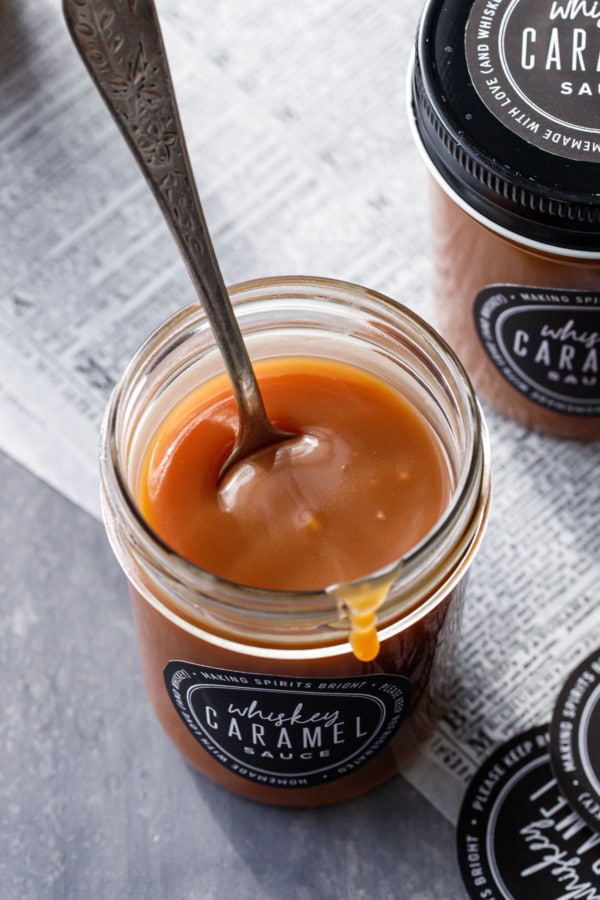
Rich and creamy, sweet and boozy – this whiskey-infused caramel sauce makes a perfect homemade holiday gift!
The boozy secret ingredient in this luscious homemade caramel sauce will garner praise and awe from all those who taste it.
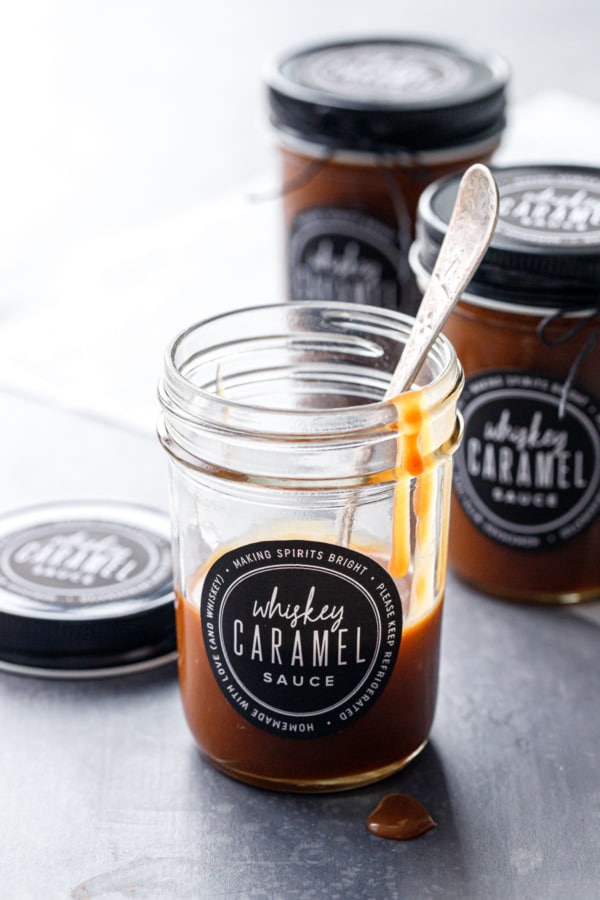
My mom regularly makes double batches of my whiskey caramel sauce to accompany my chocolate whiskey bundt cake recipe, claiming that the sauce itself (not the cake, mind you) always gets tons of raves and compliments whenever she makes it and she likes to have extra on hand to send home with her dinner guests.
Which got me thinking that maybe this recipe, simple as it may be, deserved its own post.
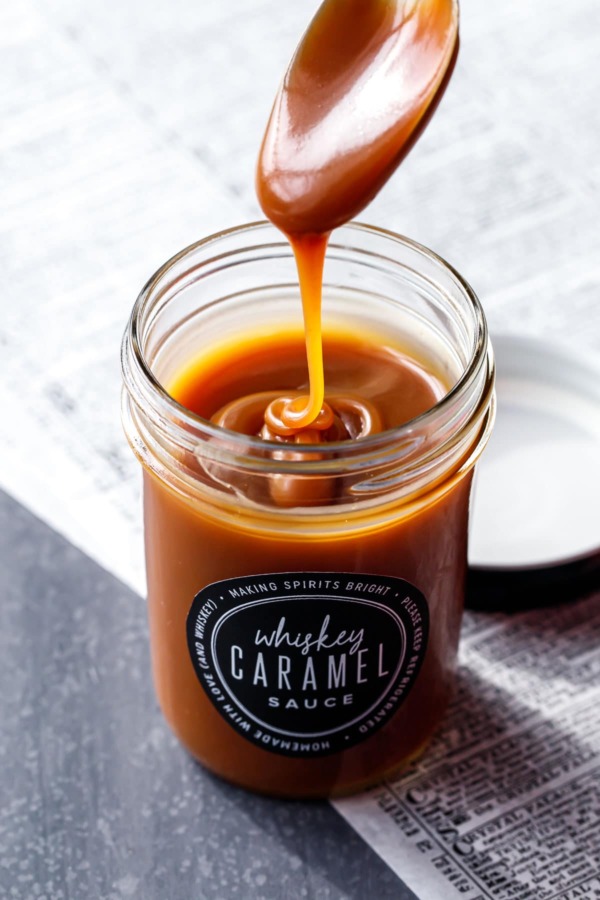
Whether you drizzle it on a moist chocolate bundt cake or over homemade vanilla bean ice cream, slather it on yeasted Belgian waffles or boozy French toast, swirl it into fudgy pecan brownies or spoon it on top of a slice of New York-style cheesecake… this spiked caramel sauce is not only incredibly versatile, it’s a revelation.
Bonus that it makes a great homemade holiday gift too (and be sure to scroll to the bottom to download my free printable gift labels!)
Most caramel sauce recipes involve a similar process, but when I was referencing different recipes I noticed that some add the heavy cream directly to the caramelized sugar, while others add the butter first.
I got curious as to whether or not this made a difference in the final product, so I tested both!
As it turns out… the two methods are nearly indistinguishable. If I really concentrated, the butter-first version is slightly smoother, so that’s how I’ve written the recipe. The butter-first version is also a bit less volatile, as adding the butter to the hot sugar brings down the temperature a bit so when you do add the cream, it doesn’t steam and sputter quite as violently.
Some caramel sauce recipes don’t include butter at all, but in my experience adding a bit of butter makes for a thicker and more luxurious caramel sauce overall, so I wouldn’t recommend skipping it!
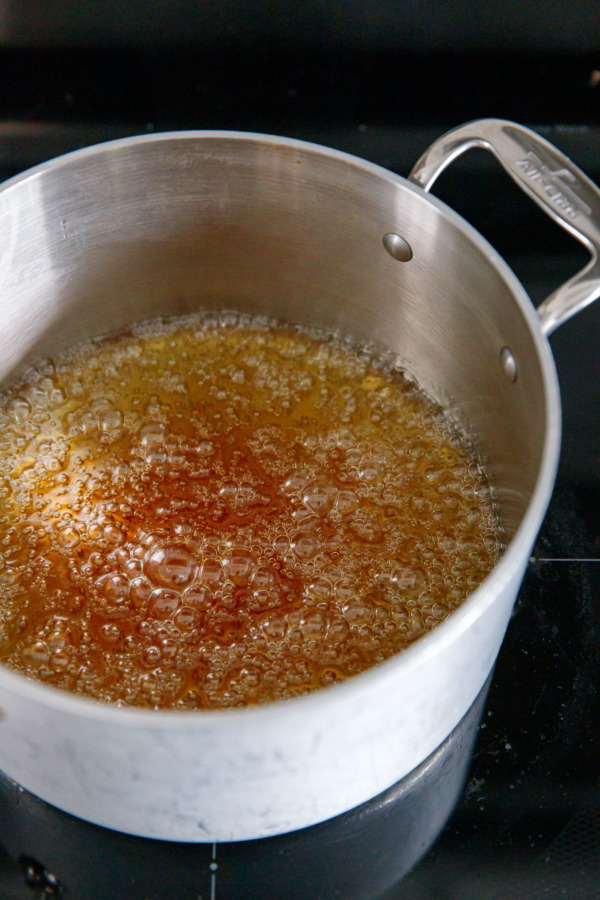
My first batch is a little bit on the dark side (in the 30 seconds it took me to snap the process photos below it went a bit darker than my ideal). My second batch turned out better because I wasn’t distracted with photos.
Ideally you’d take it off the heat as soon as it reaches a nice amber color; add the butter right away to halt the cooking process. If you like specifics, this should happen around 350 to 360 degrees F.
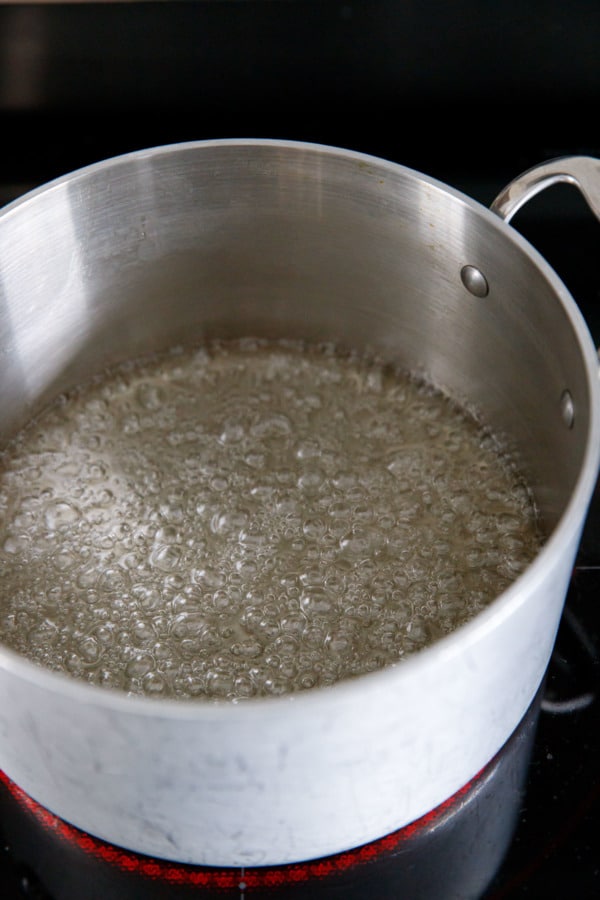
I find the sugar seems to take forever to start turning color. You’ll be sitting there for 10 or 15 minutes watching the clear sugar bubble away. But as soon as you notice it start to take on a straw-like color, don’t let your attention stray for a second, as it will start to darken rather quickly from there.
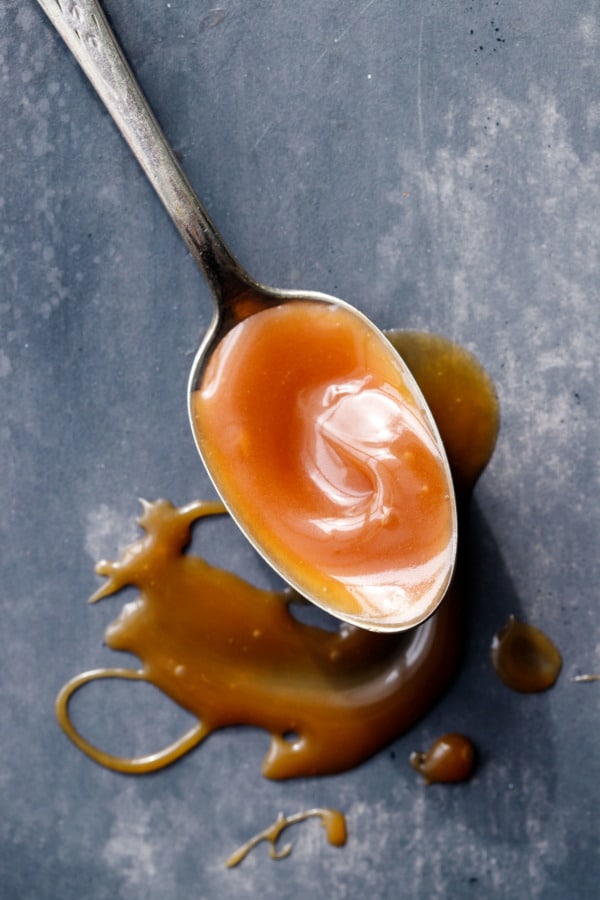
Tips for Perfect Homemade Caramel Sauce:
Use a heavy-bottomed saucepan, something that is taller than it is wide (the caramel tends to bubble up quite violently when you add the butter/cream, and you don’t want it to overflow.)
I also recommend using a light colored saucepan if you have one, as it makes it much easier to see the color of the sugar as it changes from clear to golden to amber. I like this 4 quart saucepan from All-Clad. Of course, it’s more important to use a heavy-bottomed saucepan, so if all you have is a good nonstick pan and a flimsy aluminum pan, use the nonstick.
If using a dark saucepan, use a spoon to check the color of the caramel. Or, better yet, clip on an instant read thermometer to check the temperature exactly (remember you’re looking for around 350 to 360 degrees F).
Have your cream slightly warm, as it will incorporate more easily and with less steam and sputtering than cold cream. I put mine in a small saucepan set over very low heat and it’s usually perfectly warmed by the time I need it (just be careful not to let it boil or scald.)
Pour the still hot caramel into heat-proof jars (one reason I like mason jars for this since they were designed to hold boiling liquids) and then let it cool completely to room temperature before covering with a lid and refrigerating. This will result in a smoother caramel (stirring frequently as it cools can cause a grainy texture).
If you want thicker caramel, after adding the cream, put the pot back on the stove and bring it to a boil for 1 full minute (to about 220 degrees F).
The corn syrup helps prevent crystallization (something I can’t seem to avoid when cooking sugar no matter how hard I try – the corn syrup is really the easiest way around it). You’ll end up with a much smoother caramel sauce as a result. If you simply can’t bring yourself to use it (it’s not an evil ingredient, seriously!) then I recommend adding 1/4 teaspoon cream of tartar to your sugar; the acidity should help keep the crystals at bay.
Also relating to crystallization, don’t stir after the sugar has dissolved and it starts to bubble. Once it starts to change color you can gently swirl it a bit to make sure it cooks evenly, but otherwise let it bubble away undisturbed.
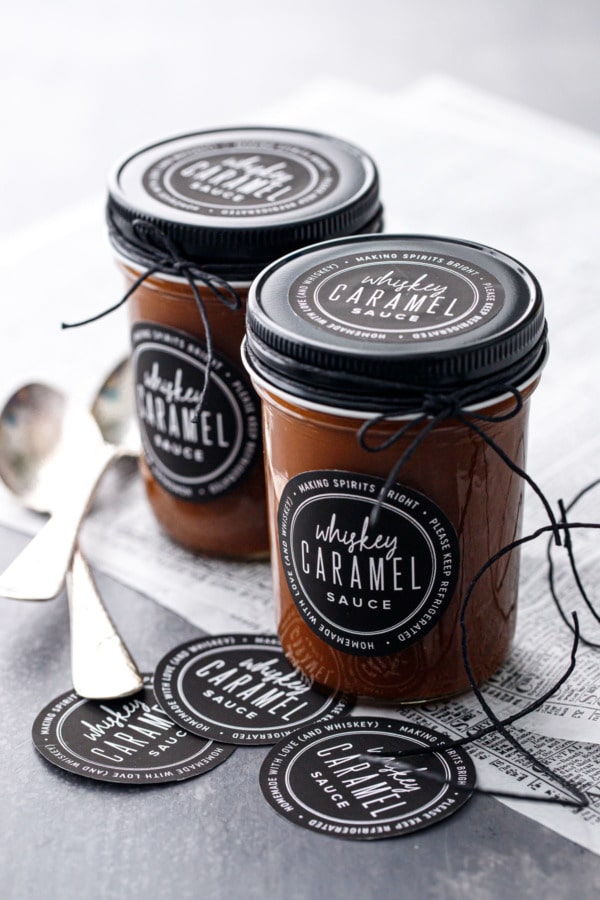
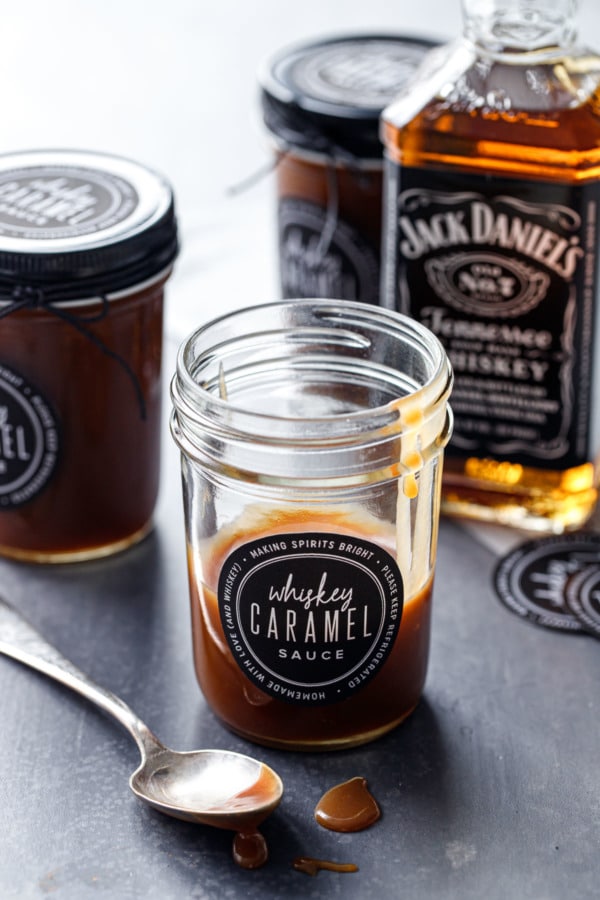
This recipe is scaled to make the perfect amount of caramel to fill two 8oz mason jars. Whether you hoard them for yourself or give them away is totally up to you. ;)
If you want to scale this recipe, feel free to double it (and use a larger saucepan accordingly), but I would not recommend scaling it more than that as the timing may be adversely affected. Make separate batches instead.
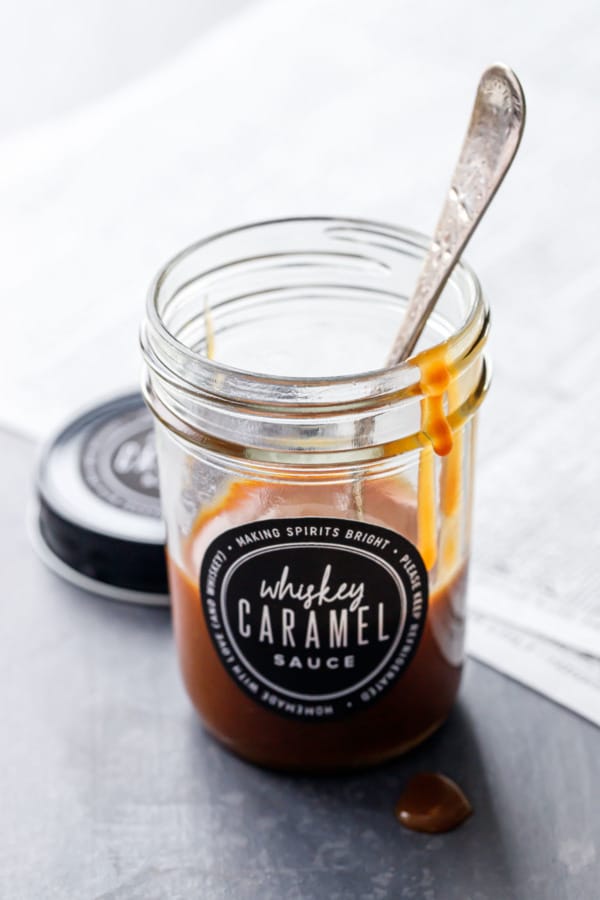
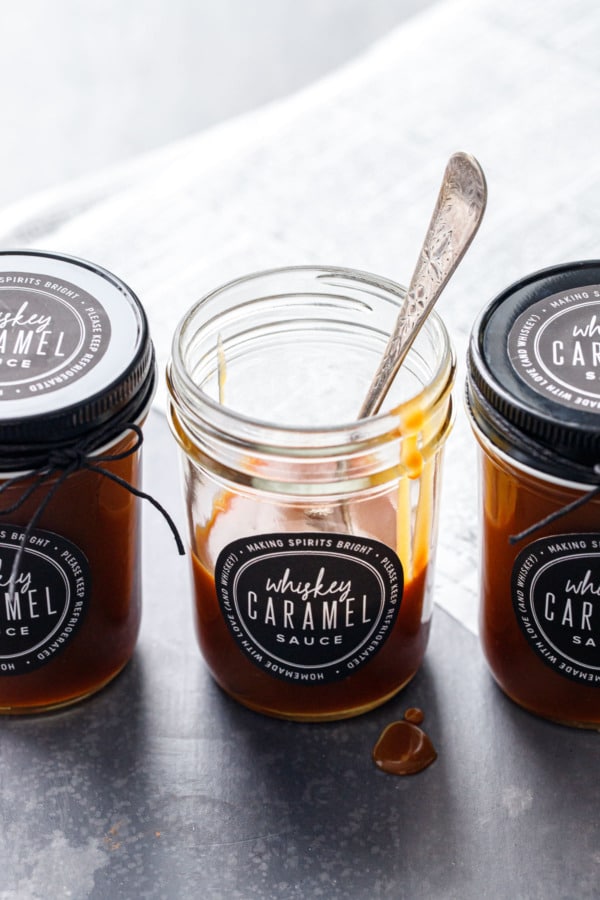
For those curious, I used these 8oz smooth-sided mason jars (there’s no raised design on the side so they are very clean and easy to adhere labels to), plus the black lids look quite stunning with these black and white labels.
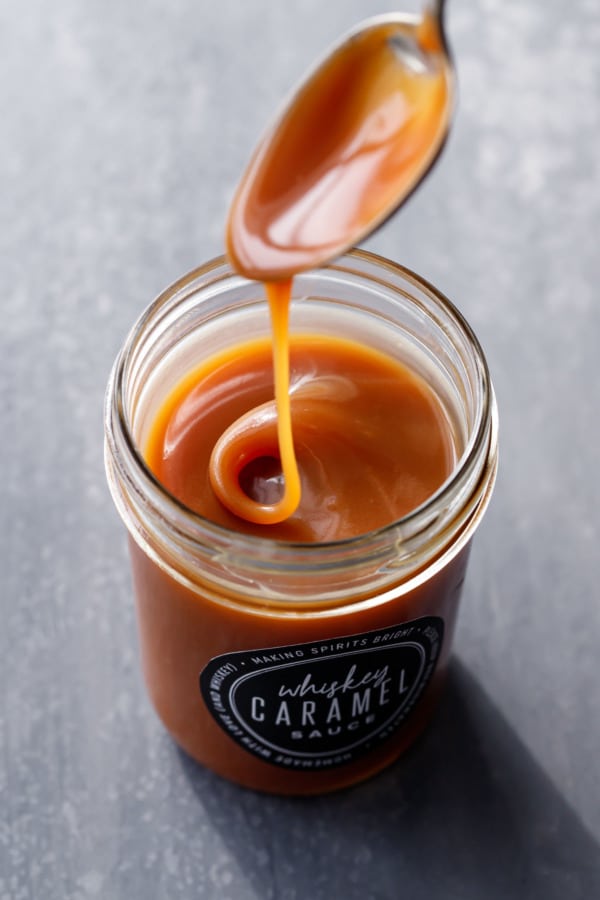
This recipe calls for 2 tablespoons of whiskey or bourbon, but you can really use just about any liquor you’d like (Amaretto, Kahlúa, or Irish creme, for example, would make for a lovely caramel sauce. I probably wouldn’t add vodka or gin, though a nice spiced rum could be tasty too!)
You can also make plain salted caramel by omitting the liquor entirely and increasing the salt to 1 teaspoon. I like to use a nice fine sea salt or fleur de sel here; it gives the caramel a lovely flavor (kosher is fine too, just please don’t use iodized table salt!)
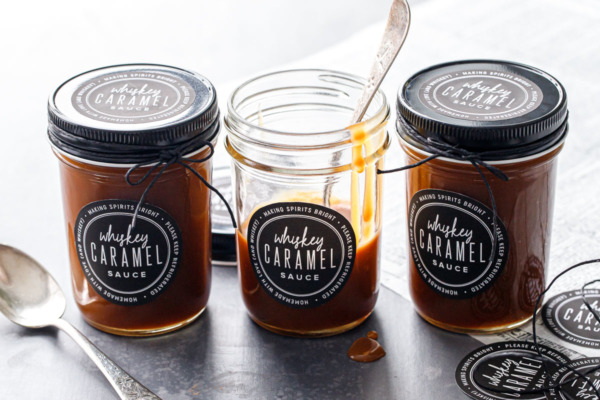
Whiskey Caramel Sauce
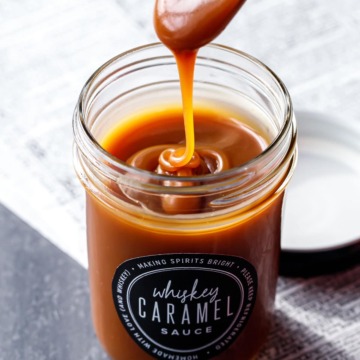
Extra thick, extra boozy caramel sauce that’s perfect for dipping or drizzling. This recipe makes just enough to fill two 8-oz glass mason jars.
Ingredients:
- 1/4 cup water
- 1 1/4 cups (250g) granulated sugar
- 3 tablespoons (60g) light corn syrup
- 3/4 cup (180mL) heavy cream, slightly warmed
- 3 tablespoons (42g) European-style salted butter, at room temperature, cut into cubes
- 1/4 teaspoon fine sea salt (increase to 1/2 teaspoon if using unsalted butter, and 1 teaspoon if leaving out the booze for plain salted caramel)
- 2 tablespoons whiskey or bourbon (optional)
Directions:
- Place water in a high-sided, heavy-bottomed saucepan (preferably one that’s light in color so you can see the color of the sugar better). Add sugar in a mound in the center. Drizzle corn syrup on top.
- Cover and place over medium-high heat for 5 minutes until mixture starts to bubble. Remove cover and continue to simmer, swirling the pan occasionally to ensure even cooking, until the sugar turns light amber brown in color; at this point it should measure 350 to 360 degrees F on an instant read thermometer. Keep a very close eye on it once it starts to turn golden, as it can go from perfectly caramelized to burnt in an instant if you’re not paying attention.
- Add butter and whisk until completely melted and combined.
- Remove from heat and add cream and salt. It will steam and sputter quite a bit, just keep whisking until the cream is completely incorporated and caramel is smooth. For a thicker caramel sauce, return to medium heat and let it come to a full boil (it should start boiling again pretty quickly) for 1 minute.
- Remove from heat and let cool for 5 minutes, then whisk in liquor.
- Pour into heatproof glass jars. Let cool, uncovered, until they are lukewarm to the touch, then cover with an airtight lid and refrigerate until ready to use, up to 2 weeks. Rewarm slightly before serving.
*For salted caramel, omit the liquor and increase the salt to 1 teaspoon.
Did you make this recipe?
Let us know what you think!
Leave a Comment below or share a photo and tag me on Instagram with the hashtag #loveandoliveoil.
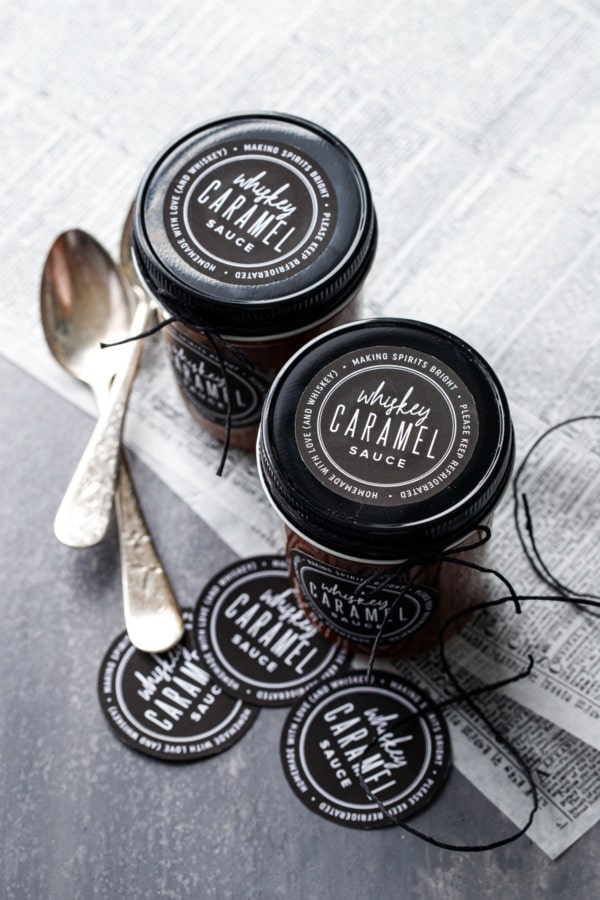
Bonus Printable Labels/Gift Tags
My mom asked if I’d design some quick labels for the dozen jars of whiskey caramel sauce she made to give away as holiday gifts. So I figured, why not share them with you too?
These labels were designed to print perfectly on 2″ round labels (Avery #22807 or #22877 for reference). You can also print them onto full sheet sticker paper and cut them out yourself, or print onto cardstock and punch holes for gift tags.
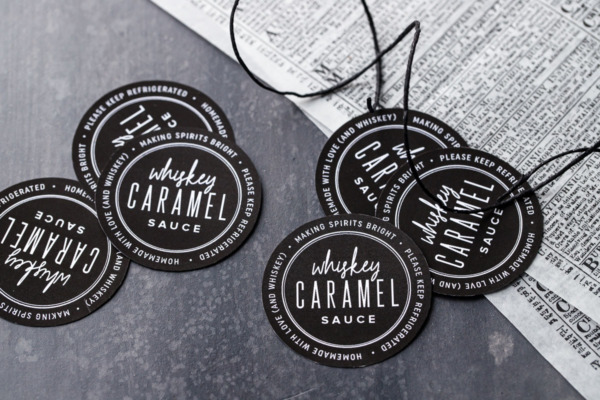
I’ve included 3 pages of labels so you’re covered no matter what kind of caramel sauce you make: there’s labels for whiskey caramel, for bourbon caramel, and for plain salted caramel sauce.
