The reverse sear is our favorite method for perfectly-cooked steaks: roasted low and slow in the oven and finished fast in a sizzling hot skillet, the result is tender and juicy steaks that are the perfect shade of pink all the way through.
Rather than searing your steaks first and finishing them in the oven, try the reverse sear method for optimal results every time. Granted, it does take a bit longer overall, but it’s a much more reliable and consistent method, producing tender and juicy steaks perfectly cooked every time.
Taylor first started to explore the reverse-sear method when we were researching recipes for our New Year’s prime rib. We had spontaneously picked up a small piece of meat at the market that week, and quickly realized we had no idea how to cook it.
Traditional steak and prime rib recipes have you sear the outside of the steak first in a sizzling hot skillet (which seals in the juices, apparently), and then finish it in a hot oven.
However, we’ve found doing the exact opposite is a better and more reliable way: cook the meat first in a low-temperature oven until it comes up to temperature, and then finish it in a screaming-hot skillet to create that perfect outer crust.
What you end up with is a piece of meat that is perfectly pale pink all the way through—instead of the traditional method where the outer ring is gray and only the inner-most strip is still pink. You’d get similar results cooking with a sous vide (which has a similar principle, bringing the meat up to temperature slowly and evenly).
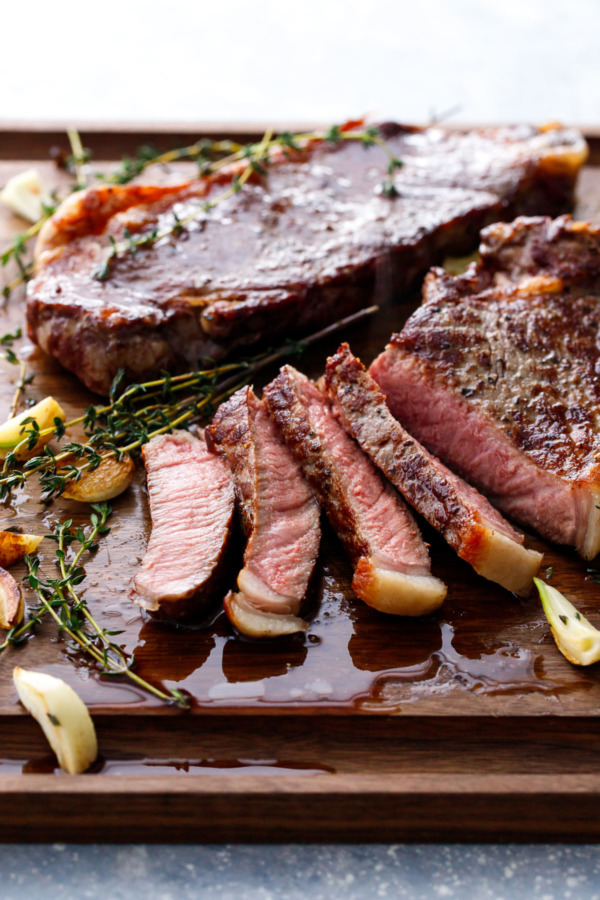
Now, it might take a few tries at this before you find your optimal temperature. The ‘perfect’ temperature for you will probably different than ours, it just depends on how you like your steak.
Traditional guidelines say to cook a steak to 125 degrees F for medium. With the final sear at the end of this process, however, we found that stopping 5-10 degrees short of this to be just right. For us, 115-118 produced a perfect medium. If you like your steaks a bit more medium-rare, 108-110 or so would be ideal.
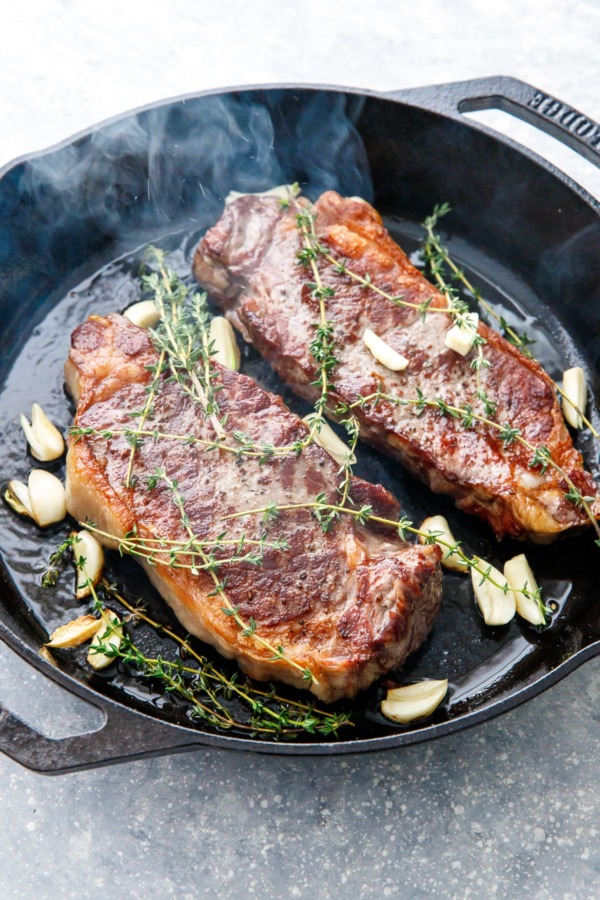
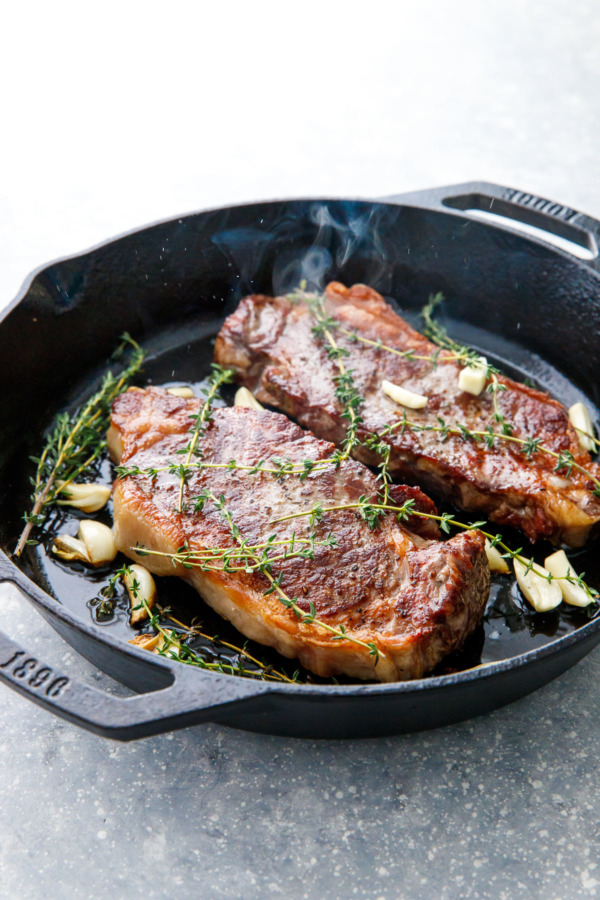
Cooked in this fashion, a good piece of meat needs little more than a sprinkling of salt and pepper (sound familiar? Our favorite oven-roasted chicken breasts are similar in that regard). We did choose to add some fresh thyme and garlic cloves at the very end, just for a bit of added color and interest.
The recipe here is written for 1-inch thick steaks; however the same general process can be used for larger pieces of meat as well, such as prime rib (cooking time will obviously increase, but just watch your thermometer and you’ll be golden, er, juicy pink). We did a 3-rib roast for New Year’s Eve dinner and it took about 4 hours total, with a few extra minutes to sear the top, bottom and sides too.
If you don’t have a probe thermometer, go get yourself one before you even think about making this recipe (we use this inexpensive Polder brand probe, but Thermoworks makes a pretty neat Bluetooth probe that connects to your phone via an app. Sweet!) You really can’t make this without one, as opening up the oven a half-dozen times to take your meat’s temperature will cause your oven temperature to fluctuate wildly.
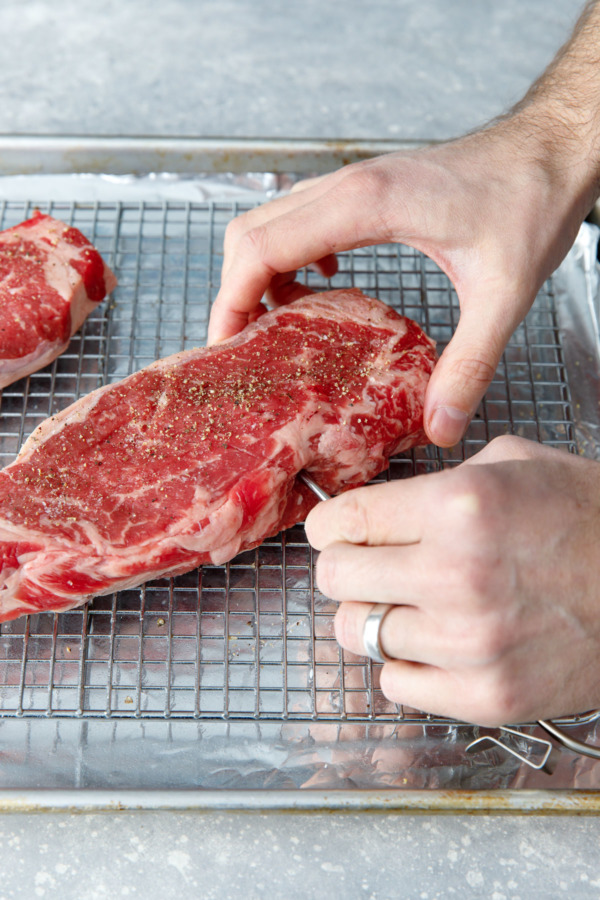
Before baking, insert the probe into the meat (in the thickest part of the largest piece, ensuring it’s not touching any bone or large deposits of fat), pop it in the oven, set the temperature alert, and go about your evening.
It it might take upwards of an hour, which is a lot longer than cooking it the traditional way, but I’d argue it’s entirely inactive time, or, in other words, time you can spend doing something productive (and yes, catching up on the latest episode of Manifest—one of my new favorite shows—totally counts as productive).
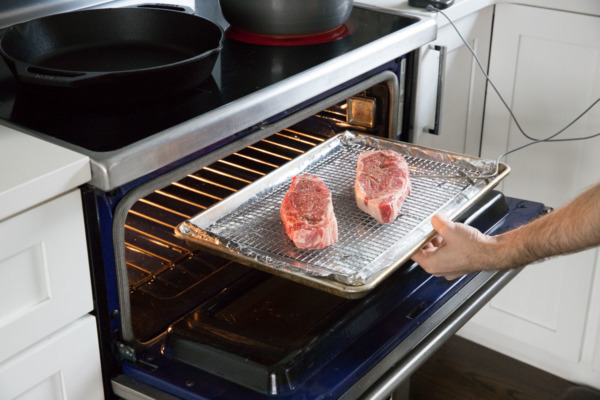
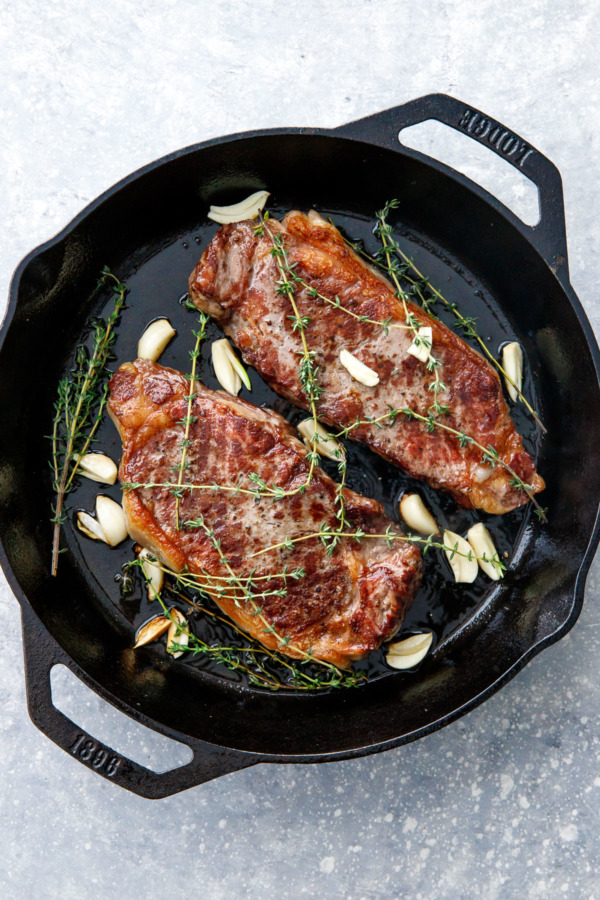
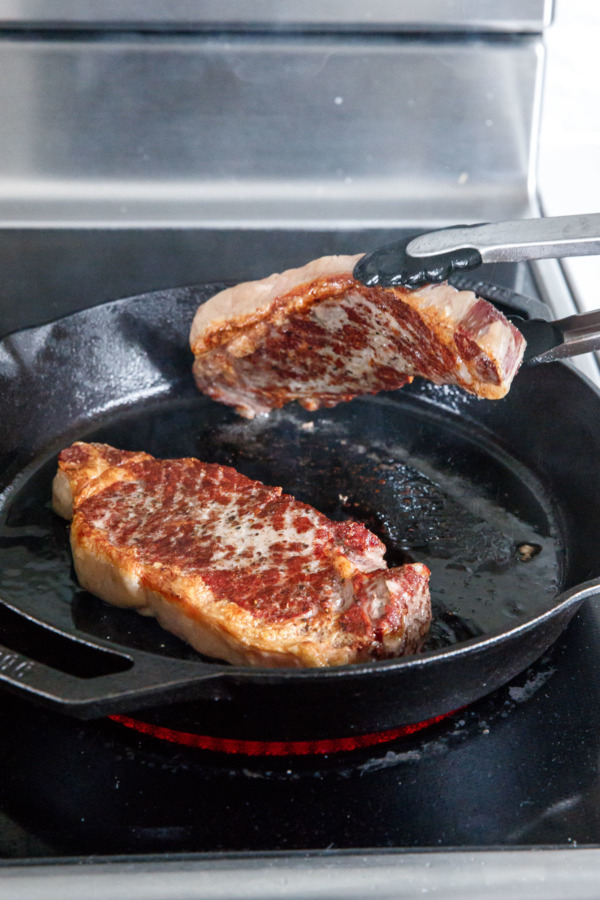
When your meat hits the magic temperature, remove it from the oven, and finish it off in a screaming hot cast iron skillet. It only really needs 45 to 60 seconds per side to give it that perfect outer crust, slightly crispy and deliciously salty.
After that? Slice and dig in! With this cooking method, there’s no need to let the steak rest.
As for the cut of meat… anything nice and thick. You want a thick piece of meat, approximately 1-inch or more, and if you have multiple steaks you want them to be as close in size as possible.
We’ve used both ribeye and New York strip, you could also do a bone-in steak as well (it’ll take a bit longer in the oven).
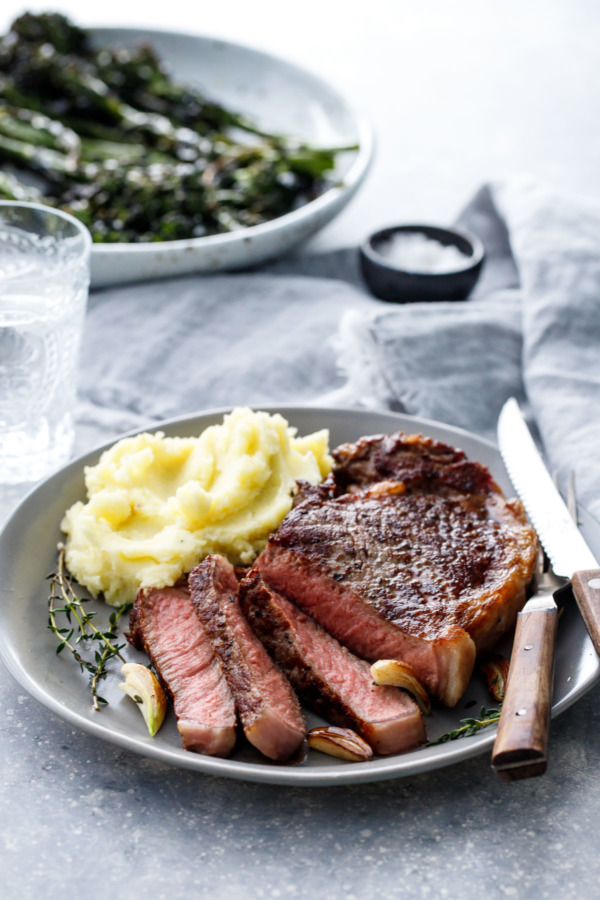
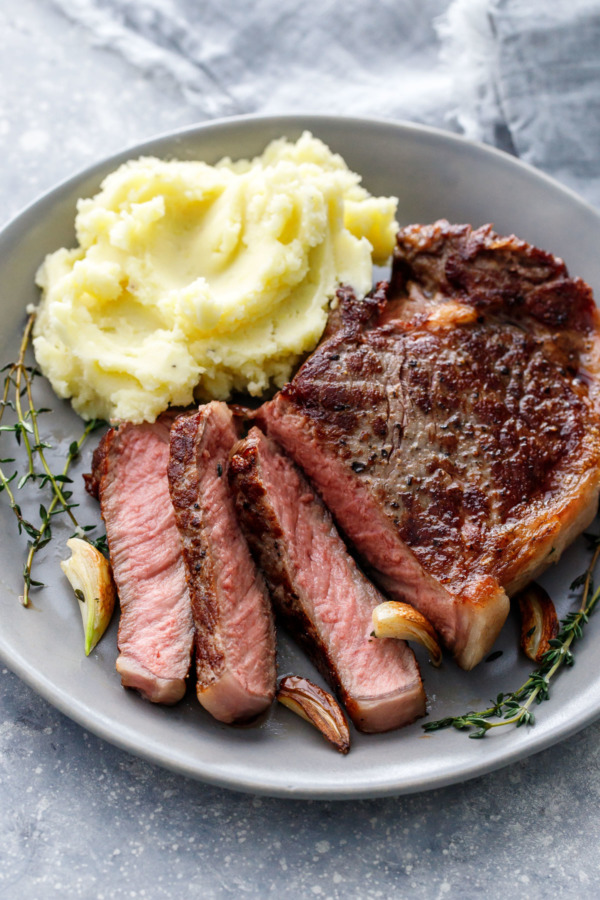
We served our steaks with some olive oil mashed potatoes and crispy oven-roasted broccolini (our go-to vegetable side dish, and I’ll be posting the incredibly easy recipe for you on Thursday!) Smash up a few pieces of the browned garlic with a bite of mashed potatoes, and well, I think you get the idea.
I’ll also add that if you have leftover steak (since a 12-ounce steak is more than generous for a single portion), it makes for a great leftover steak sandwich, served on some toasted sourdough with a smear of mayo and mustard and topped with fresh arugula.
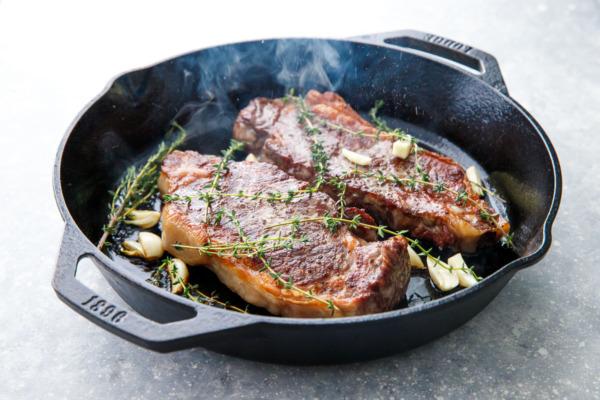
Reverse-Sear Steaks
The reverse-sear cooking method (start in the oven and finish in a skillet) produces tender and juicy steaks that are the perfect shade of pink all the way through.
Ingredients:
- 2 (12 ounce) steaks, about 1-inch thick
- salt and freshly ground black pepper
- 2-3 tablespoons vegetable oil vegetable oil
- fresh thyme and garlic cloves (optional)
Directions:
- Preheat oven to 200 degrees F.
- Line a baking sheet with aluminum foil. Spray an oven-safe baking rack with cooking spray and place inside the baking sheet.
- Generously season both sides of steaks with salt and pepper. Place on baking rack. Insert a probe thermometer into the thickest part of the largest steak, making sure the tip of the thermometer isn’t touching any bones or large chunks of fat.
- Bake until steaks reach your desired temperature (Set the temperature alert on your thermometer to 115-118º or so for medium, 108-110ºF for medium-rare). This will probably take around 45 minutes to an hour.
- When steaks have a few degrees left to go, start preheating a large, heavy skillet set over medium-high heat. A cast iron skillet is perfect here, but it does need about 5 to 10 minutes to thoroughly preheat (a thinner skillet won’t take quite as much time). You really want this pan super hot – a drop of water hitting the pan should violently sizzle and almost instantly disappear.
- Add a few tablespoons of vegetable oil to the skillet and heat until smoking.
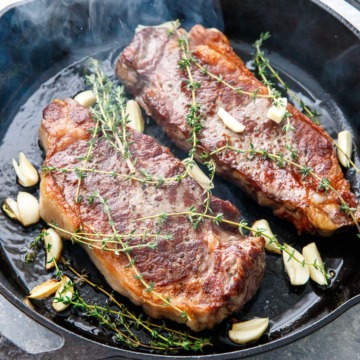
- Using tongs, transfer steaks (remove the probe first) to hot skillet, being cautious of hot oil splattering. Sear for 60 seconds, then flip and cook for another 6o to 80 seconds more. Once you flip the steaks you can add a handful of fresh thyme and peeled garlic cloves, if desired, for some extra flavor and color.
- If you are cooking more than 2 steaks at a time, I recommend searing them in batches of 2 so as not to overcrowd the pan. Let the skillet reheat completely before searing the second batch.
- Remove steaks from skillet and transfer to a cutting surface. Slice across the grain and serve while still warm.
Did you make this recipe?
Let us know what you think!
Leave a Comment below or share a photo and tag me on Instagram with the hashtag #loveandoliveoil.