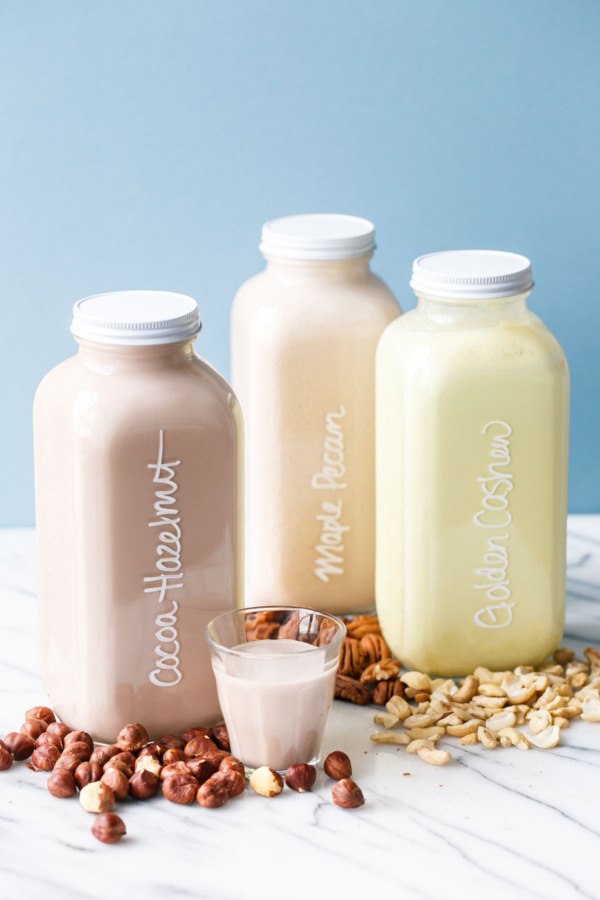
I’ve been drinking almond milk for years, using it mainly in smoothies and in my cereal. I still bake with whole milk, but I prefer the taste and texture of almond milk for breakfast. I’ve actually posted a recipe for homemade almond milk before, but I wanted to experiment with different nuts and added flavorings to mix things up a bit.
If you’ve ever looked at the ingredients actually in almond milk, it’s rather… long. Does it really need to be that way? Do we really need guar gum and carrageenan and lecithin? In general, these additives are mostly preservatives, thickeners, and stabilizers, homogenizing the mixture and thickening it to more resemble cow’s milk. Without these additives, nut milk will separate.
But you know what? All you have to do is shake it. Is that really so hard that we need to add all these unnecessary ingredients? Sometimes I really question our inherent laziness as human beings.
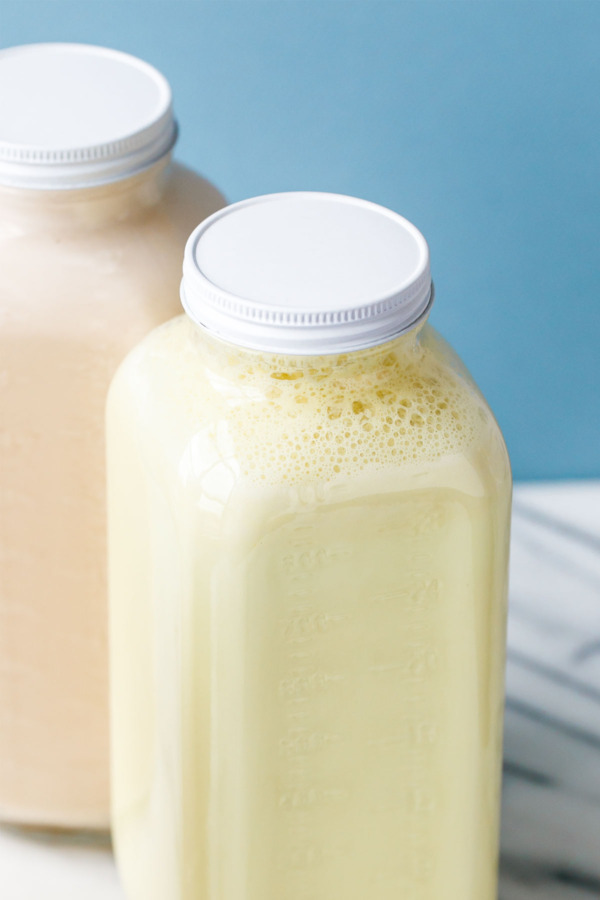
Seriously though. All you need to make homemade nut milk are 2 ingredients: nuts and water. You’ll also need a blender and a nut milk bag (funny name, amazing tool). Additions such as sweeteners and flavorings are entirely optional. In general, 1 cup of nuts will yield 4 cups of nut milk, though you can add more or less water depending on how thick and creamy you want your nut milk to be. This basic recipe can be used for any kind of nut (I have not tried walnut or pistachio but I imagine the same holds true).
Almond milk is my standard, but lately I’ve been playing around with different varieties of nuts and added flavorings to make things a bit more interesting.
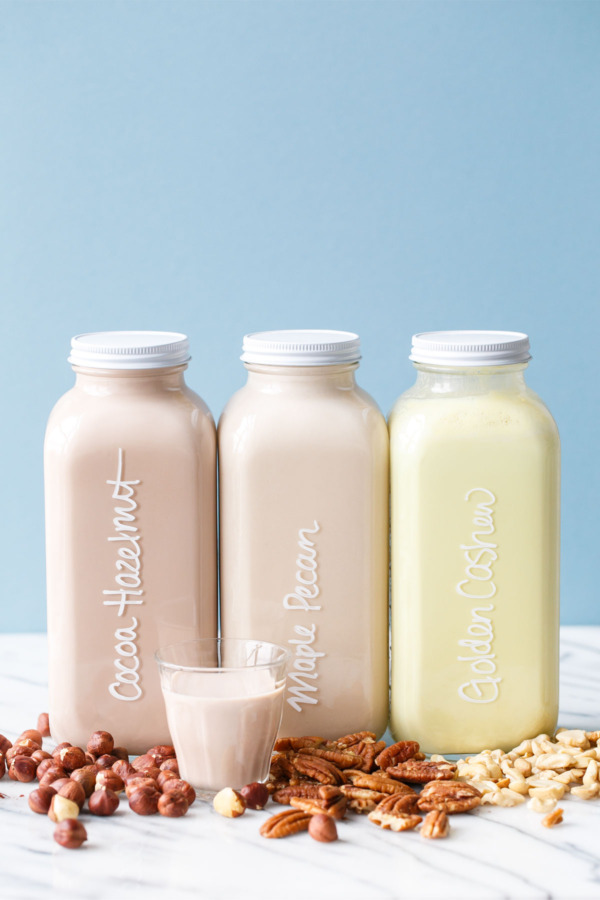
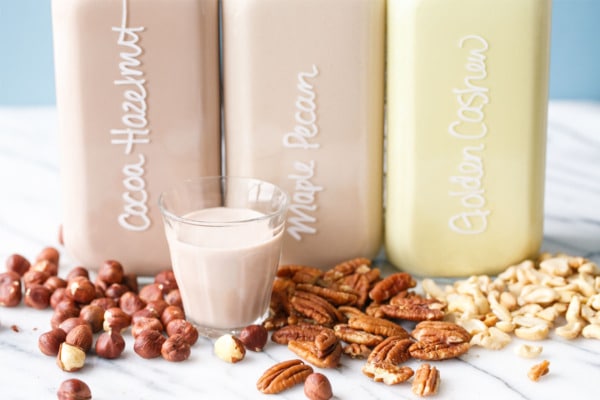
Golden Cashew features creamy cashews with a hint of fresh turmeric and cinnamon. Just fair warning that turmeric WILL dye everything it touches bright yellow, that includes your hands, white counters, your nut milk bag, etc.
Cocoa Hazelnut is basically Nutella milk. In other words, entirely awesome. A little bit of cocoa powder goes a long way. I used dates to sweeten this one, but a bit of honey or maple syrup would work as well.
Maple Pecan is maybe my favorite variety, and the most surprising. I did not expect pecan milk to be so dang good. The pecans are pretty sweet on their own, but a touch of maple makes this milk taste like liquid pecan pie (seriously). Try it in a smoothie with banana, almond butter, oats, a bit of ice and a pinch of cinnamon… your mornings will never be the same again.
Also, macadamia nut milk? Kind of brilliant. Pricey, but brilliant.

Lately I’ve been making 2 or 3 bottles of nut milk each week for our morning smoothies. I’ll soak the nuts on Saturday and blend it up on Sunday and then we are set for the week. When you have a smoothie almost every morning, you have to mix it up lest you start to get sick of it. For that reason I like to have a variety of liquid options on hand (you’d be shocked at how different a smoothie tastes made with pecan milk vs almond milk). It helps keep things interesting.
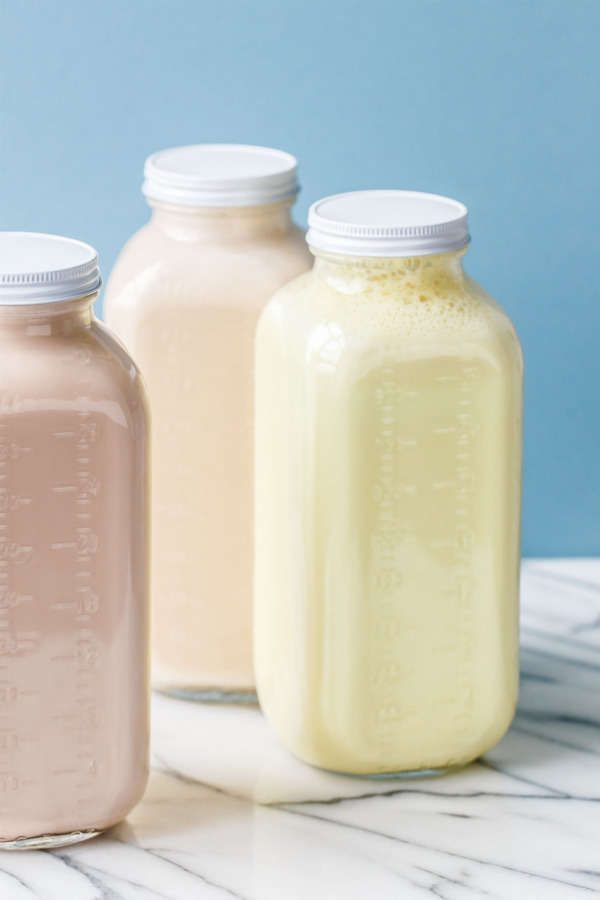
I got tired of messing with the clips on my Weck jars (that and they are about 1/2-inch too tall for my fridge) so I bought 2 sets of these vintage-inspired glass milk bottles, which I just love. They come with leak-proof lids and have raised measuring marks on the outside of the jar so you can easily see how much you have left. I’ll usually label them with either washi tape and a sharpie or draw right on the bottles with a removable chalk marker.
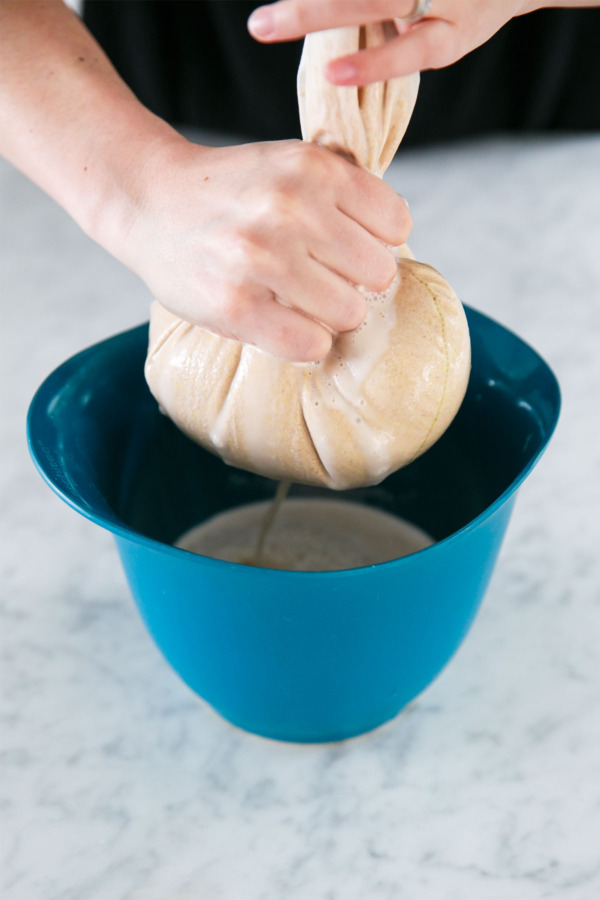
If you’re looking for the easiest possible nut milk, go with cashew. The softness of the nut means there is barely any pulp. In fact, cashew is the one milk where I’d say you could get away without straining it entirely. It might be the slightest bit gritty, but not so much that it’s not drinkable.
The pecan milk, for whatever reason, separates much more than the other milks, within minutes of sitting undisturbed. If that bothers you, stay away from pecan. Cashew milk stays the smoothest overall, though you’ll still want to shake well before using.
To blanch or not to blanch? That is the question.
The answer? With one notable exception, don’t bother.
I know, I know, I’ve told you to blanch the almonds before. But it is just so dang tedious. Enough so that I tried it once without blanching, and you know what? You can’t even tell the difference. You’ll have more pulp to strain out if you leave the skins on, but that’s about it. Flavor-wise it’s just as good. And for me, since making my own nut milks is a matter of convenience, I’m going to jump at the opportunity to save myself 30 minutes of tediously slipping nuts out of their skins.
The one exception here is hazelnuts, which really need to have their skins removed. Technically you can make hazelnut milk with whole hazelnuts, it’s just not very good. Hazelnuts are pretty easy to peel, usually… simply toast, then rub them between paper towels or put them in one of those mesh bags that onions come in and shake the heck out of them. That usually gets most of the skin off. However, the easiest way to skin a hazelnut is to boil them for a few minutes with a heaping tablespoon of baking soda, then rinse with cold water. Weird, I know, but the skins should slip right off.
Homemade Nut Milk - 3 Ways
Did you know you can make homemade nut milk using just about any kind of nut? Cashew, hazelnut, pecan… you name it! The results are easy and delicious.
Ingredients:
- 1 cup nuts of your choice (hazelnuts should be peeled, for other nuts this is optional)
- 3-4 cups water, or as needed, plus more for soaking
- sweetener, such as dates or maple syrup (optional)
For Golden Cashew:
- 1-inch piece fresh turmeric, peeled
- 1 tablespoon maple syrup, or to taste
- 1/8 teaspoon ground cinnamon
- pinch or two ground turmeric, if desired
- pinch sea salt
For Cocoa Hazelnut:
- 4 pitted dates, coarsely chopped, or to taste
- 2 tablespoons unsweetened cocoa powder
- pinch sea salt
For Maple Pecan:
- 2 tablespoons maple syrup, or to taste
- pinch sea salt
Directions:
- Place nuts in a jar or container (like these plastic soup containers). Cover with water. Cover and refrigerate overnight.
- Drain and rinse nuts; place in blender pitcher along with 3 cups of filtered water. Blend on high speed for 2 to 3 minutes or until smooth. Strain through a nut milk bag or fine-mesh sieve lined with cheesecloth, squeezing out as much liquid as possible.
- For almonds, hazelnuts, macadamia nuts, and pecans, dump pulp back into blender along with 1 cup filtered water. Blend on high for about a minute and then strain again through nut milk bag. (Cashews don’t have nearly as much pulp so this second blend is unnecessary.)
- If you want a thinner nut milk, add more water as desired.
- If you prefer a smoother, less gritty nut milk, you can strain it again if you like (let the liquid drain through slowly, without squeezing, to prevent as much grit from getting through).
- Pour into jars and refrigerate for up to 1 week.
Did you make this recipe?
Let us know what you think!
Leave a Comment below or share a photo and tag me on Instagram with the hashtag #loveandoliveoil.