You GUYS.
Only 10 more days until Christmas!
And that means I’ve only got 9 more days to post gingerbread recipes.
I’m going ALL IN… 2016 is officially the year of gingerbread (because I think we all deserve something sweet after a year like this one).
Taylor recently told me he doesn’t really like gingerbread… and just like that I’m questioning our 15 year relationship.
Just kidding. That just means more cookies for me!
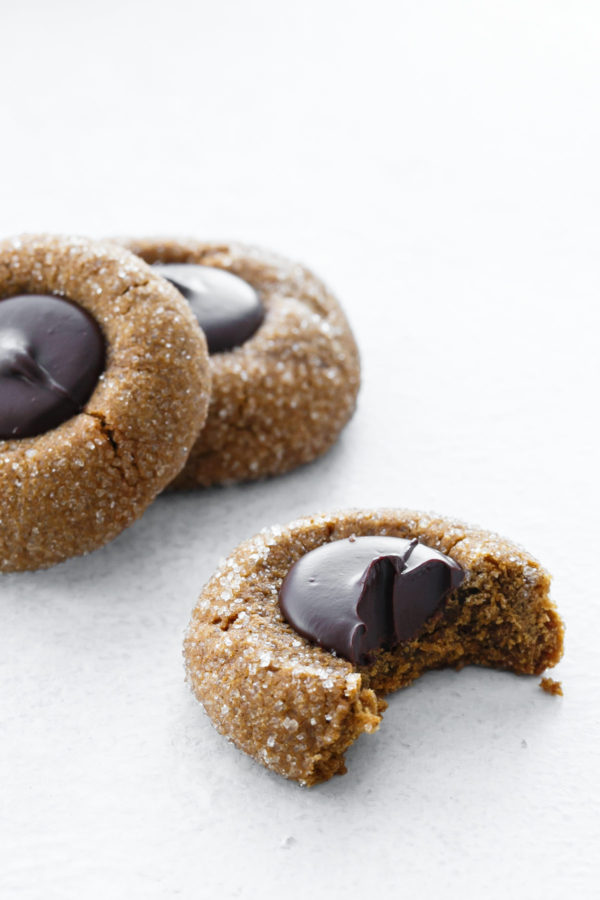
These cookies, though… I think the combination of gingerbread and chocolate is an undiscovered secret, because even gingerbread-hating husbands will devour these in no time flat.
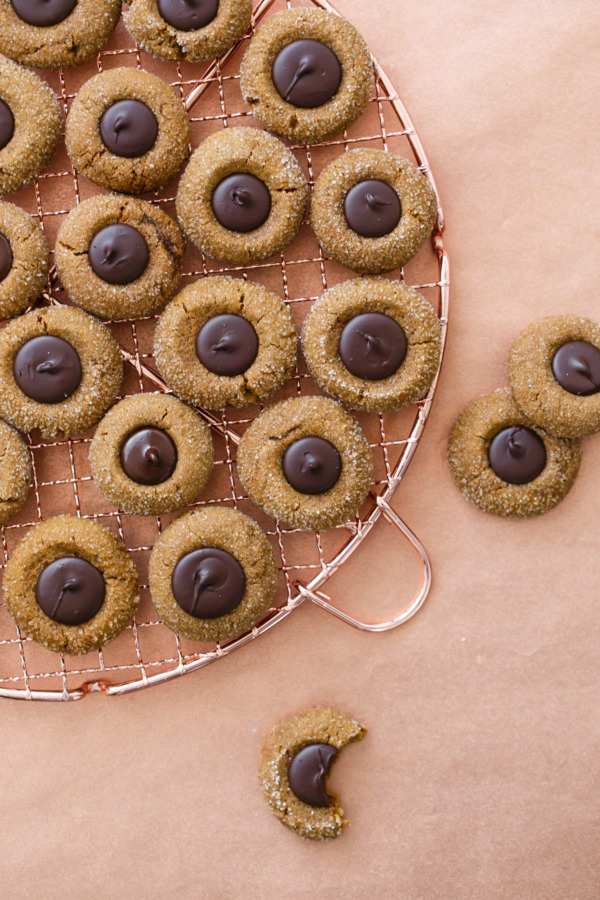
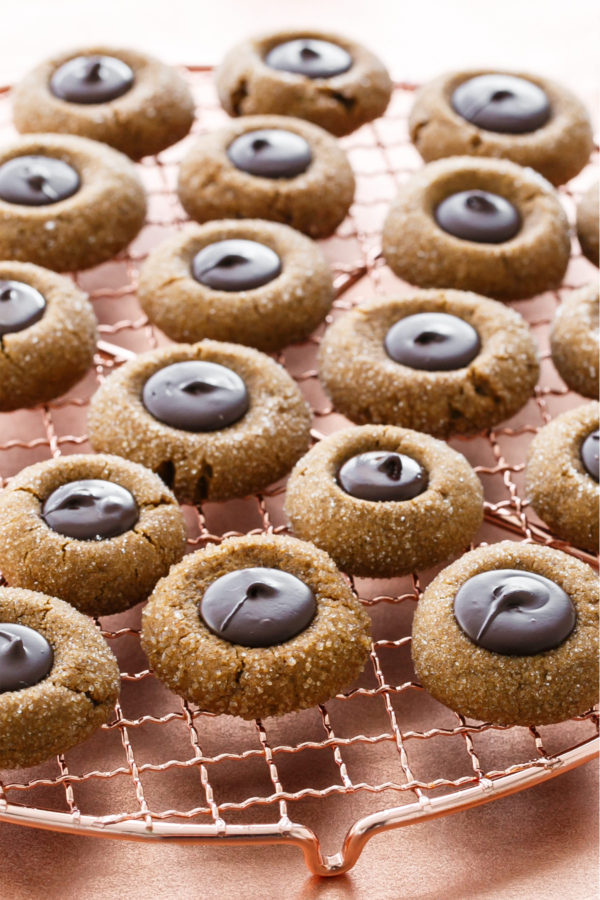
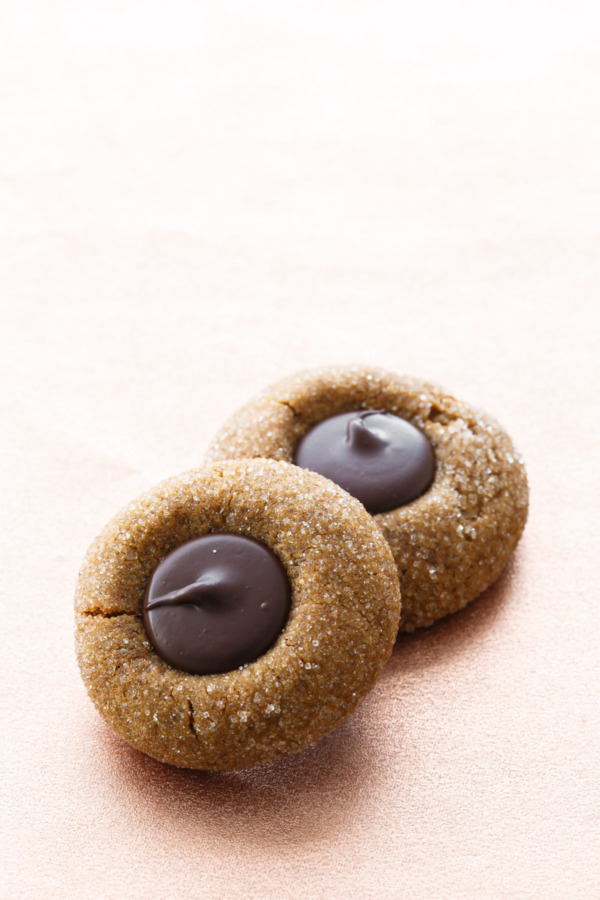
The filling, while it looks like a slightly melted chocolate kiss, is actually a mix of melted chocolate, butter and a bit of corn syrup. This makes the chocolate set up nicely (it won’t smudge if a few cookies are bagged together), but it’s still soft enough to bite through. After spooning the filling into 1 or 2 cookies, I realized that piping it in was so much easier. Hence the little kiss-like tip on the top of each one.
Now that I think of it, seeing how well the gingerbread-and-raspberry combination worked, you could also fill these with a raspberry jam which would be entirely lovely. But the chocolate is nice too… Ooh! How about a Chocolate raspberry jam? Boom. Brilliant.
Now if you’ll please excuse me I have to go gingerbread ALL THE THINGS. Let’s see how many more gingerbread recipes I can post between now and Christmas, shall we?
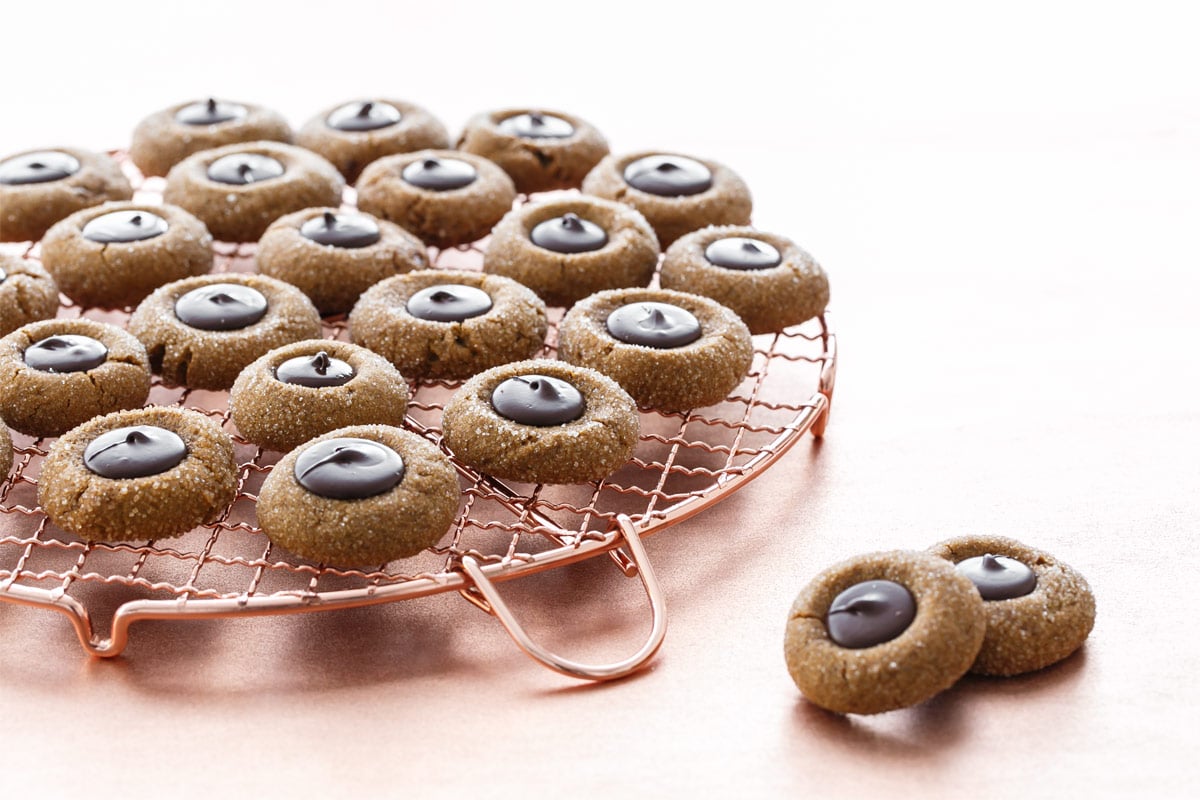
Gingerbread Thumbprint Cookies
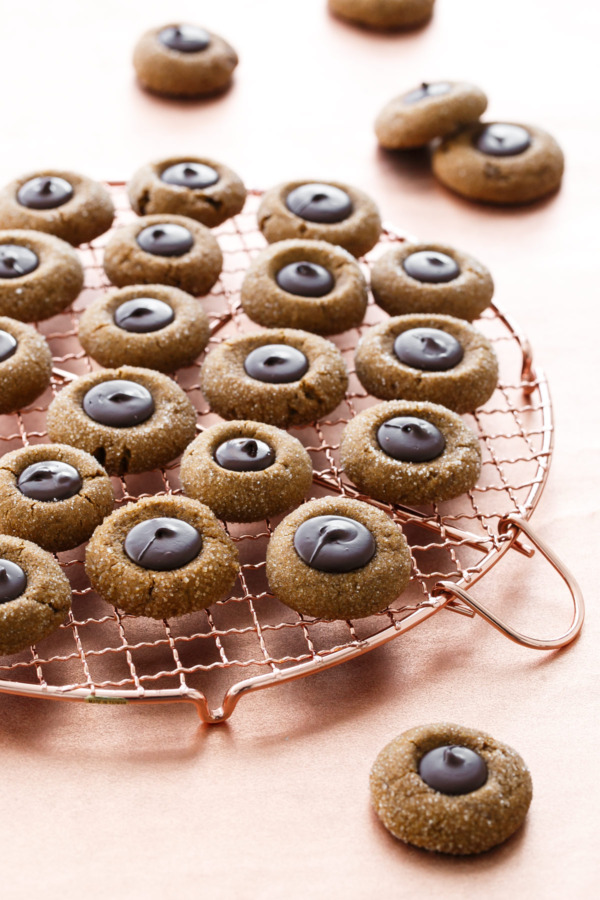
Soft, chewy gingerbread thumbprint cookies rolled in sugar and filled with smooth, rich dark chocolate. Even if you don’t love gingerbread you’ll devour these!
Ingredients:
For Gingerbread:
- 3 cups (12.75 ounces) all-purpose flour
- 1 teaspoon baking soda
- 1/2 teaspoon kosher salt
- 2 teaspoons ground ginger
- 1 teaspoon ground cinnamon
- 1/2 teaspoon ground allspice
- 1/4 teaspoon ground nutmeg
- 4 tablespoons unsalted butter, room temperature
- 6 tablespoons unflavored vegetable shortening, room temperature
- 3/4 cup packed brown sugar
- 1/2 cup unsulphured molasses
- 1 large egg
- 1 teaspoon vanilla extract
- granulated sugar, for rolling
For Filling:
- 10 ounces dark or semisweet chocolate, finely chopped (1 cup)
- 1 tablespoon butter
- 1 tablespoon corn syrup
Directions:
- In a bowl, whisk together flour, salt, baking soda and spices; set aside.
- In a large mixing bowl or the bowl of a stand mixer, beat butter and shortening together until smooth. Add sugar and beat 1 to 2 minutes or until fluffy. Beat in molasses. Scrape down the sides of the bowl, then add egg and vanilla and mix until smooth.
- Add half of dry ingredients and mix on low speed until just incorporated, scraping down the sides of the bowl as needed. Add remaining dry ingredients in two additions until no streaks of flour remain. The dough should be thick and just slightly sticky.
- Cover bowl with plastic wrap; chill for at least 1 hour or overnight.
- Preheat oven to 350 degrees F. Line a cookie sheet with parchment paper or a silicone baking mat.
- Roll dough into 1 inch balls (or use a small cookie scoop which is the perfect size). Roll into a smooth ball, then roll in granulated sugar. Arrange on prepared baking sheet, leaving 2 inches of space between balls.
- Gently press an indentation into each cookie using your thumb or the back of a rounded 1/4 teaspoon (something like a melon baller, or even a marble would also work well). Don’t press all the way, you want the indentation about half the depth of the cookie without it cracking too much around the edges.
- Bake for 7 to 9 minutes or until puffed and bottoms are just barely starting to darken; bake them on the lower side of the time range if you will be shipping your cookies or if you prefer softer cookies overall.
- Re-press the puffed indentations while the cookies are still warm, then let cool for 10 minutes before transferring to a wire rack to cool completely. Repeat with remaining dough.
- To make filling, gently melt chocolate together with butter and corn syrup in a saucepan over the lowest heat setting possible, or in the microwave on 50% power in 30 second intervals.
- When chocolate is melted and smooth, transfer to a piping bag fitted with a 1/2-inch-round tip, then pipe into thumbprints. You can also spoon the chocolate into the thumbprints, but I found the piping bag way more efficient. Let sit at room temperature for about 1 hour or refrigerate briefly until chocolate is set.
- Cookies will keep in an airtight container for up to 5 days.
Did you make this recipe?
Let us know what you think!
Leave a Comment below or share a photo and tag me on Instagram with the hashtag #loveandoliveoil.
