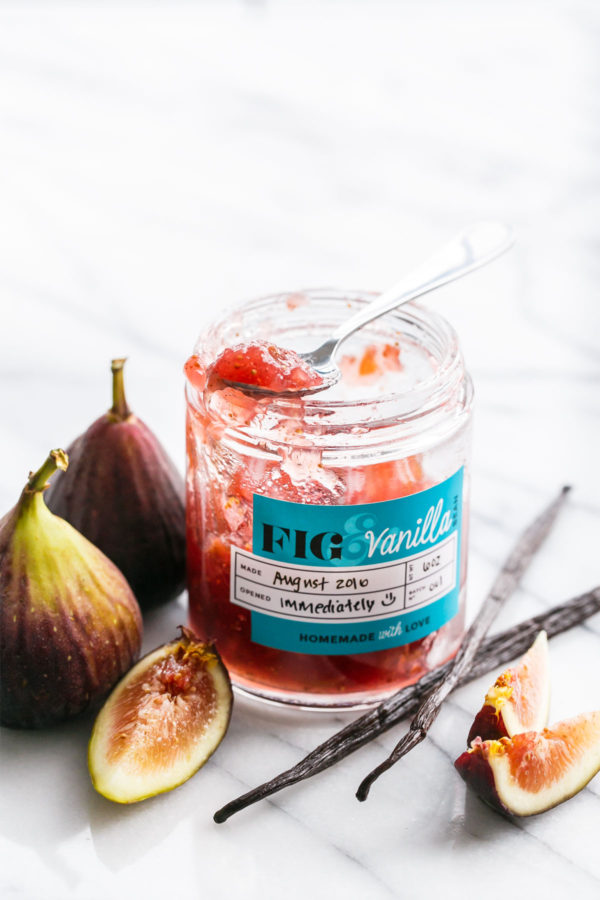
The figs. They just keep on coming.
This recipe comes from Not Your Mama’s Canning Book by my friend Rebecca Lindamood. Figures that in a book full of unique pickles and sauces and condiments, I beeline straight for the jam recipe. (Seriously though, it’s an amazing book and if you’re even remotely interested in canning all the things it’s worth checking out!)
Of course, my recent shipment of figs meant I was practically swimming in them, looking for any way to use them up that I could. I had more than enough figs for two brand new fig recipes (you can check them out in the Autumn edition of That’s My Jam that just dropped this week!) and still enough leftover to make someone else’s jam recipe (for a nice change of pace).
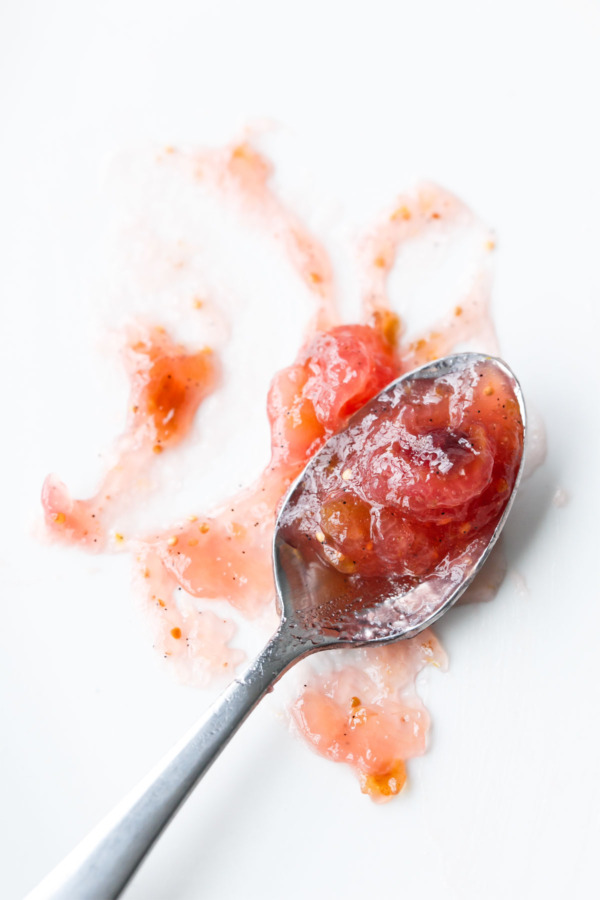
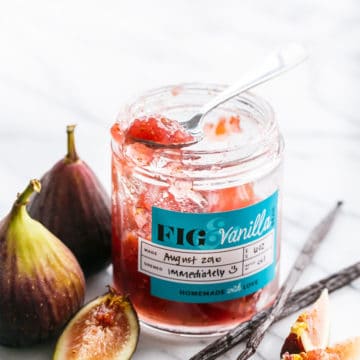
This jam is sweet, but not too sweet. Simple and sinful with a gorgeous ruby hue and spotted with tiny fig seeds and specks of vanilla bean.
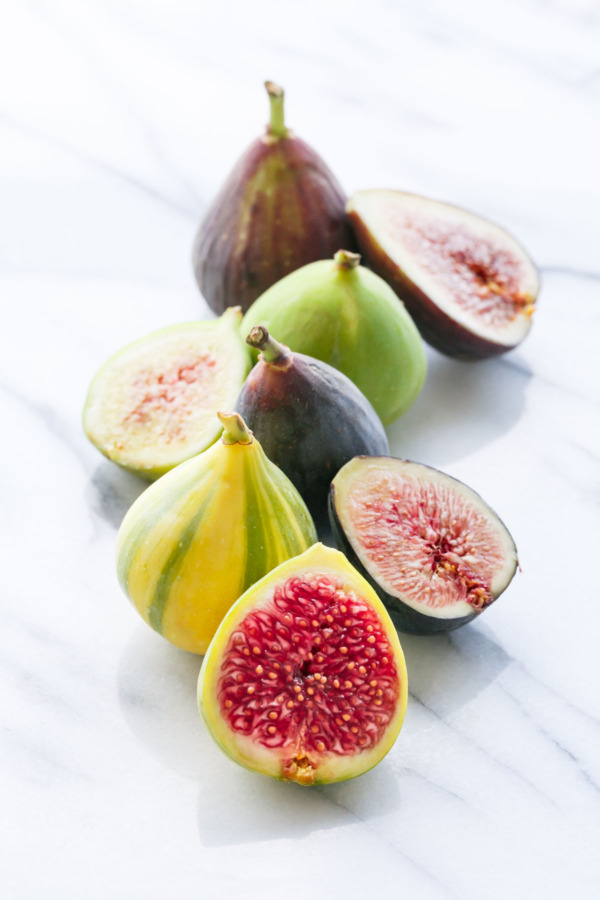
Did you even know there were so many varieties of fig?
From bottom to top: Tiger, Mission, Sierra, and Brown Turkey.
I used brown turkey figs in this jam (they were the softest and needed to be used ASAP). The almost black-skinned Mission figs would produce an even deeper colored jam, and the green figs would be equally as delightful (the Tigers, in particular, have a wonderful underlying raspberry flavor that was simply made for jam).
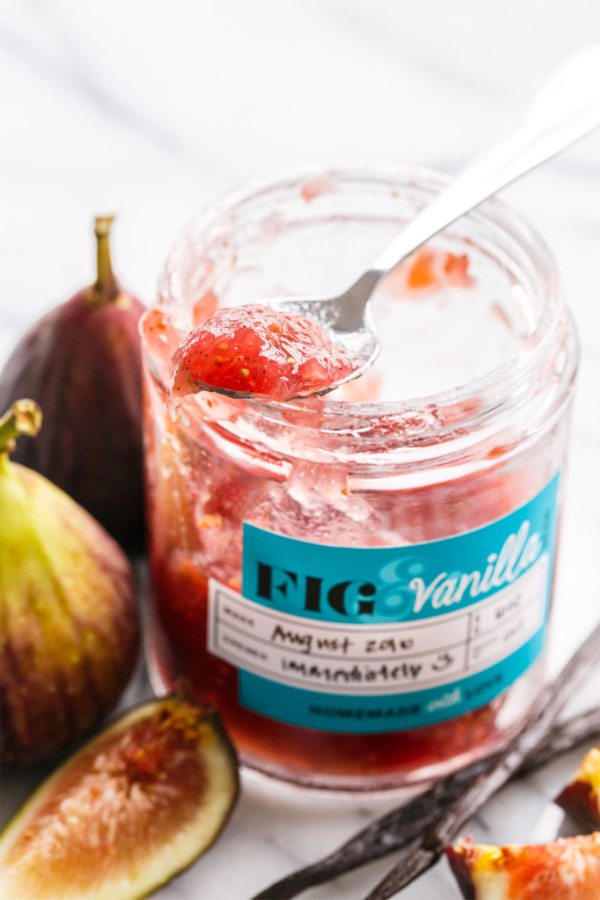
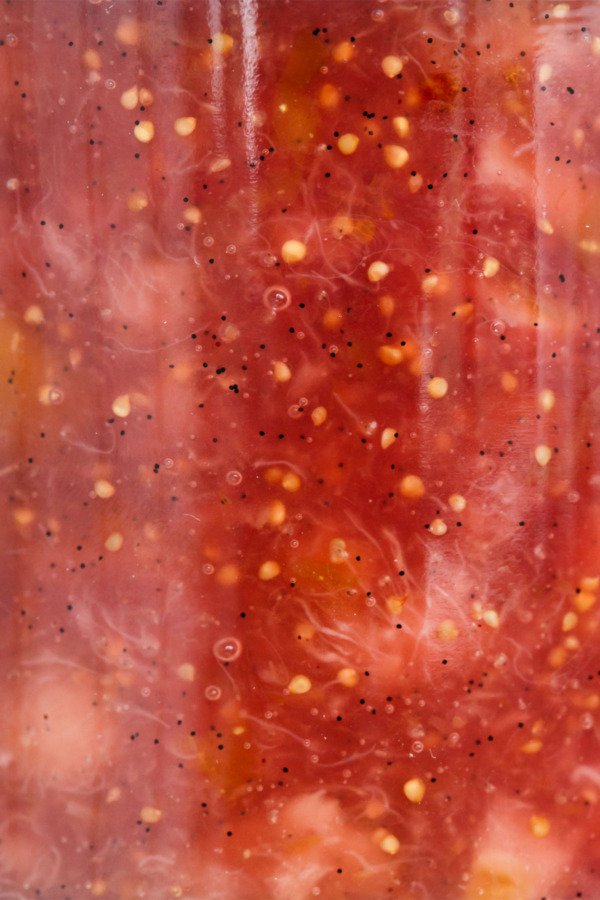
It’s like looking into a window of pure happiness. This is one downright gorgeous jam and makes me unreasonably happy. (What is it about the visible flecks of vanilla bean that makes my heart flutter? Whether it be ice cream or panna cotta or, in this case, ruby red fig jam.)
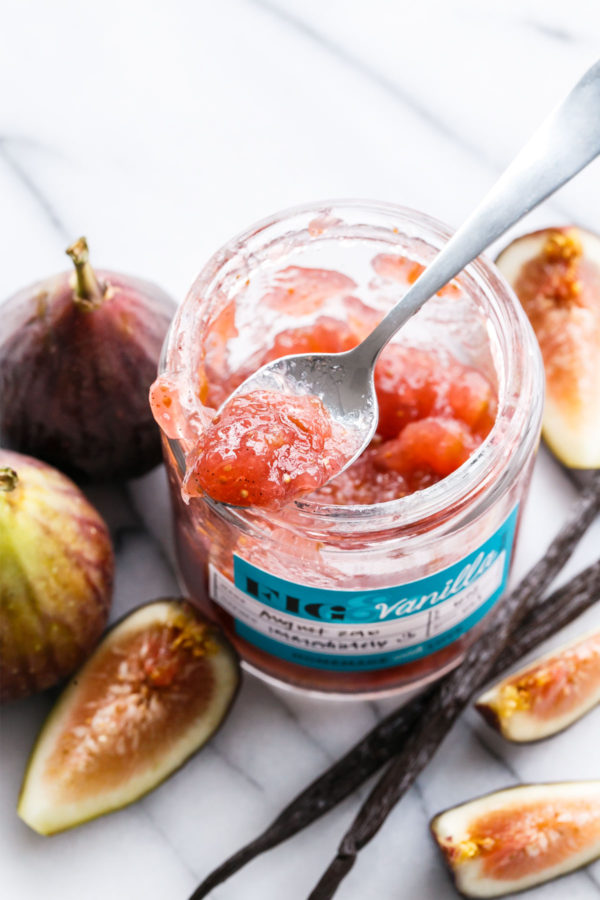
I have to say that fig is one of the most versatile jam fruits out there, adaptable into just about any use, both sweet and savory. Spread on crackers with cheese. Slathered on bread with peanut butter. Dolloped into thumbprint cookies. Baked with brie until bubbling and beautiful. Brushed onto meat as a sweet fruity glaze. Swirled into yogurt and sprinkled with granola. Warmed and drizzled on ice cream. Homemade fig freaking newtons.
The list of possibilities goes on and on.
Seriously though, I can’t think of a place that this jam wouldn’t be suitable.
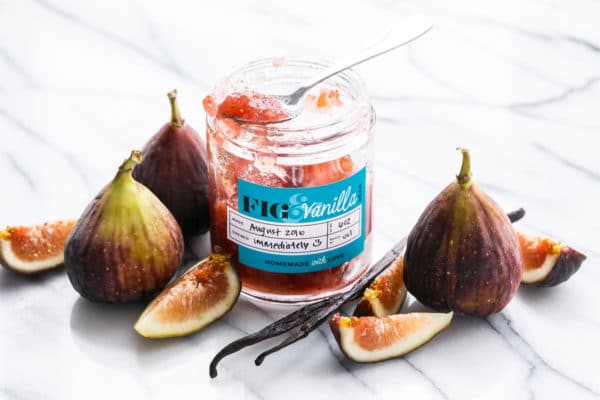
Fig & Vanilla Bean Jam
Sweet fig jam with vanilla bean specks. This recipe can easily be halved for a smaller batch. Use black or brown figs for a ruby red jam, or green figs for a honey-colored jam.
Ingredients:
- 2 1/2 pounds fresh figs, chopped and mashed (about 4 cups mashed)
- 2 cups sugar
- 1 tablespoon Pomona’s Universal Pectin
- 1/4 cup water
- 1 vanilla bean, split lengthwise and scraped to release the seeds
- 1/4 cup lemon juice
- 4 teaspoons calcium water* (included with the pectin)
Directions:
- To prepare figs, remove stems and coarsely chop. If your figs are particularly thick skinned (some varieties are) you might want to peel them first. Totally optional, and not easy by any means, but your final jam will be smoother as a result. Mash fruit in a bowl or saucepan using a potato masher.
- Fill a large stock pot or canning pot 2/3 full with water; place a rack of some sort in the bottom and place over medium-high heat. Wash/sterilize your jars and submerge in water bath as it heats. The pot should be just about boiling by the time the jam is ready to go. Keep jars in hot (not boiling) water until ready to use.
- In a bowl, whisk together sugar and pectin until evenly distributed.
- Combine mashed figs with water and vanilla bean in a large, heavy saucepan set over medium-high heat. Bring to a boil and simmer for about 5 minutes or until figs are soft and start to lose their shape. Add lemon juice and calcium water and bring to a full rolling boil. Add sugar and pectin, stirring vigorously until completely dissolved. Continue to stir until jam returns to a full boil, which shouldn’t take more than 1 to 2 minutes. Remove from heat and discard the vanilla bean.
- Ladle jam into jars, leaving 1/4-inch of headspace. Wipe jar rims and threads. Screw on lids and rings. Process in a boiling water bath for 10 minutes. Remove from water and let cool completely, 12 to 24 hours. Check seals. Any unsealed jars should be refrigerated and used within 3 weeks.
- * Calcium powder to make calcium water is included with the Pomona’s brand pectin. If you are substituting another pectin brand/type, please follow the instructions inside your pectin package, paying attention to the process and the proportion of fruit to sugar required by that type of pectin (different kinds of pectin will require different amounts of sugar to properly set).
Recipe from Not Your Mama’s Canning Book by Rebecca Lindamood.
All images and text ©Lindsay Landis / Love & Olive OilDid you make this recipe?
Let us know what you think!
Leave a Comment below or share a photo and tag me on Instagram with the hashtag #loveandoliveoil.
Bonus Printable Labels
Stop. Label time!
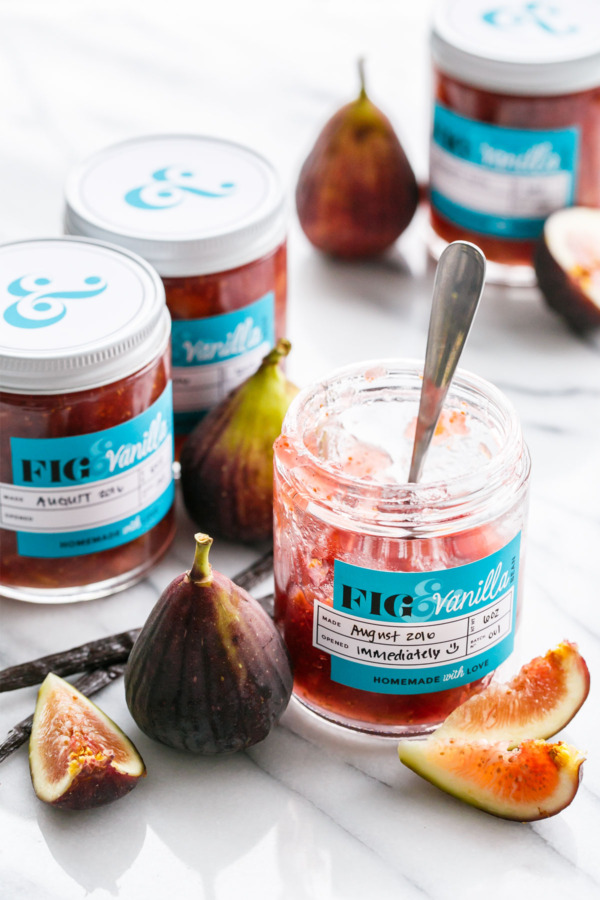
I designed both a rectangle label for the side (with space to fill in the made/opened dates as well as net weight and batch #) and an ampersand accent label for the lid of the jars (I used the 6oz size of these round jars with white plastisol-lined lids). Note that these jars do not have a ‘button’ in the lid which makes it hard to know definitively if the jar has sealed just by looking at it. I recommend them for moderately experienced canners who know the process well and can be confident in their jar seals without a button. Of course, while it’s hard to tell if the jars have sealed by just looking at them, it’s obvious when you open them. You’ll hear the release of the vacuum at that point. I’ll say that I have yet to experience one of these jars that didn’t properly seal.
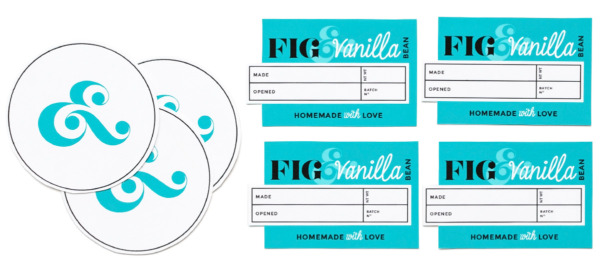
The downloadable PDF file contains 18 labels per page, plus a decorative top label in both 2″ and 2.5″ sizes.
To use, simply download the printable file by completing the form below. Print your labels onto full-sheet sticker paper (I love this weatherproof matte label paper), cut out shapes, and apply directly to the (canned and cooled) jars.
