
Save this recipe for later!
It appears I’ve posted 3 ice cream recipes in the last month, 2 this week alone. You don’t mind, do you? ‘Tis the season, after all. Although, I say that, knowing full well that some of y’all aren’t exactly experiencing ice cream weather yet (it snowed at my parents’ place in Colorado. In May. And you wonder why I moved…)
But even snow is no excuse not to enjoy some ice cream! (Let’s be honest, is there any suitable excuse?)
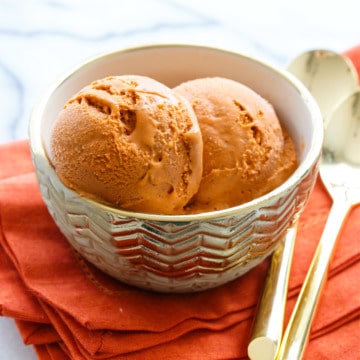
This bold ice cream (bold in both color and flavor) is inspired by the refreshing iced beverage from Thailand, a fragrant Ceylon black tea blend sweetened with sweetened condensed milk. In addition to replicating the flavor of the drink perfectly, sweetened condensed milk also gives the ice cream an ultra-creamy consistency (much like the Vietnamese Coffee Ice Cream recipe I posted a few weeks back, in fact, these recipes are nearly identical if you simply swap the tea for coffee). But unlike the Vietnamese coffee ice cream (which used decaf beans), this one is fully caffeinated. It’s the pick me up you didn’t know you needed.
Thai tea mix is a blend of Ceylon black or green tea with added flavorings and coloring. I used Panthai brand, which can be found in many Asian markets or online. If you can’t find it, or prefer to avoid the clearly artificial bright orange coloring, you can use strong black tea here, but you’ll basically end up with black tea ice cream. Good, but you can’t really call it Thai tea without the vibrant orange color or distinctive flavor.

When making homemade ice cream, I usually give myself at least 3 days from start to finish, though the active time is less than 60 minutes in total.
Make the ice cream base one day, then chill it overnight before churning (the colder the better). While an ice bath works to cool the ice cream quickly, I’ve found an overnight chill results in a creamier consistency with less air and smaller ice crystals. I’d recommend it if you can spare the time!
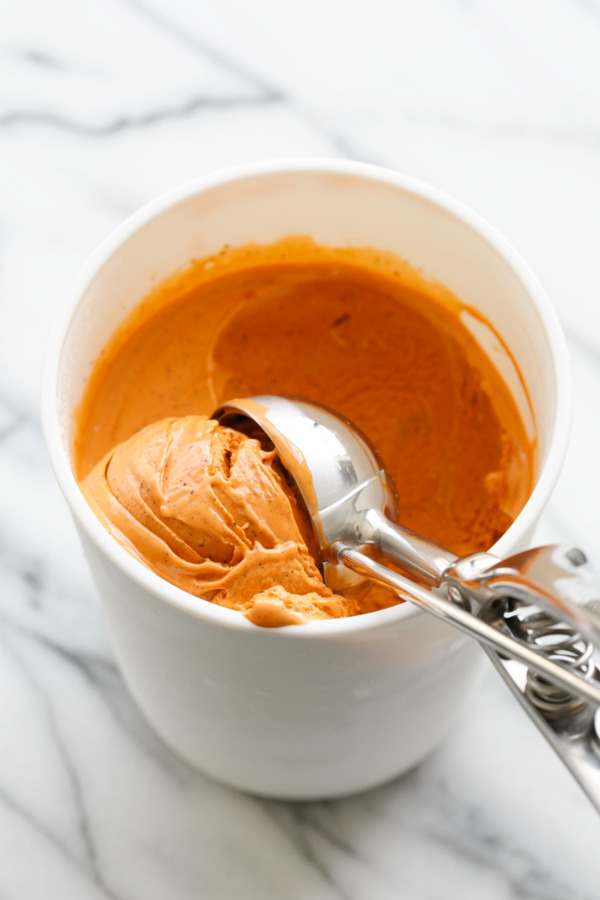
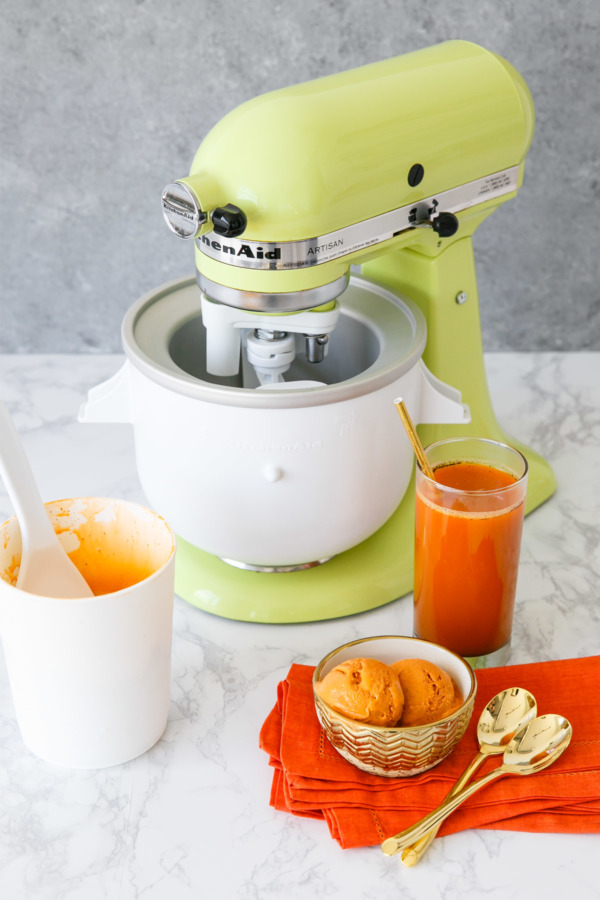
Churn the chilled ice cream base in your ice cream maker (have I told you lately how much I love my KitchenAid® ice cream attachment?) Once it is the consistency of soft serve, transfer to an ice cream container and then freeze overnight (or at least a few hours if you can bear it) to let the ice cream firm up to the scoopable consistency we typically expect when it comes to ice cream.
This recipe was originally created in partnership with KitchenAid®. All opinions are my own.

Thai Tea Ice Cream
Bold in flavor and color: this Thai tea ice cream is made with sweetened condensed milk for an authentic flavor and ultra-creamy texture.
Ingredients:
- 1/2 cup heavy cream
- 2 cups whole milk
- 1 (14 oz) can sweetened condensed milk
- 1/2 cup Thai Tea mix (available at Asian markets or online; substitute black tea if you can’t find Thai Tea mix)
- pinch salt
- 4 large egg yolks
- 1/4 teaspoon almond extract (optional)
Directions:
- Pour heavy cream into a zip-top bag and place in a bowl filled with ice water. This will serve as an ice bath to quickly cool the ice cream base.
- In a saucepan, combine milk, sweetened condensed milk, thai tea mix, and salt. Cook gently over medium heat, stirring regularly, until mixture just starts to steam. Remove from heat; cover and let steep for 15 minutes. Strain through a fine mesh sieve (to remove more sediment, line the sieve with a double layer of cheesecloth).
- Return milk mixture to medium-low heat until it just starts to steam.
- Meanwhile, whisk egg yolks in a bowl. Slowly spoon in some of the warm milk mixture, 1/4 cup or so at a time, whisking vigorously. Continue to spoon in a little warm milk at a time until about half of the milk has been incorporated and yolk mixture is warm to the touch. You want to do this gradually; doing so will temper the egg yolks rather than cook them.
- Pour yolk mixture back into the saucepan and return to medium-low heat, stirring constantly, until the mixture thickens slightly and coats the back of a spatula, about 5 to 7 minutes, or until it reaches approximately 170ºF. Do not let it boil.
- Pour mixture through sieve into bag with cold cream, discarding any solids. Add almond extract, seal the bag (pressing out as much air as possible, and submerge in ice bath. Once it has come down to room temperature, remove from water and refrigerate until completely cool, at least 2 hours or overnight if possible.
- When ice cream base is thoroughly chilled, pour into KitchenAid® ice cream attachment freezer bowl. Turn on mixer to low speed and let churn for about 15 to 20 minutes, until the ice cream is the consistency of soft serve (you know it’s done when the ice cream maker starts to click). Transfer to a freezer safe container and freeze at least 2 hours or overnight until firm.
Did you make this recipe?
Let us know what you think!
Leave a Comment below or share a photo and tag me on Instagram with the hashtag #loveandoliveoil.