This recipe was created in partnership with White Lily®.
Thanks for supporting us and the brands we love!
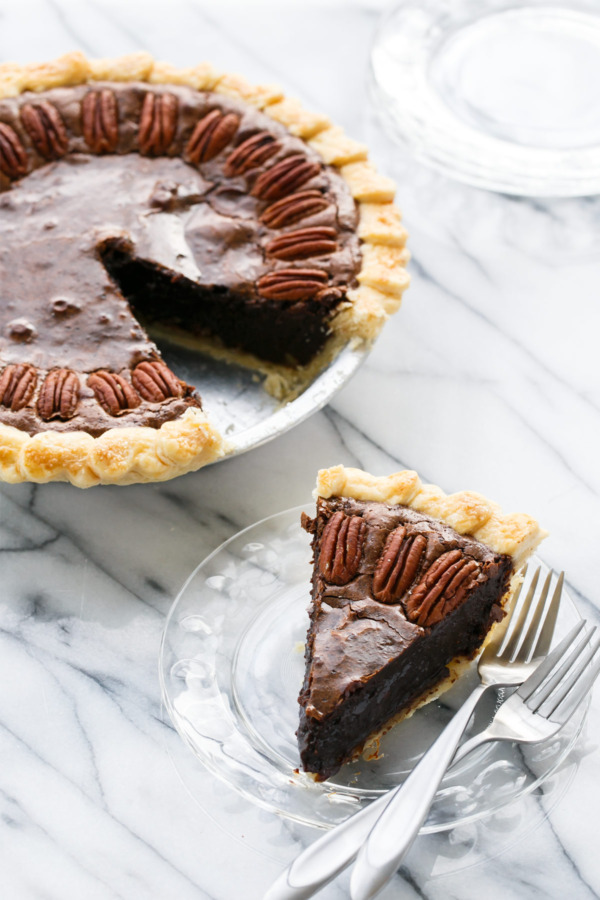
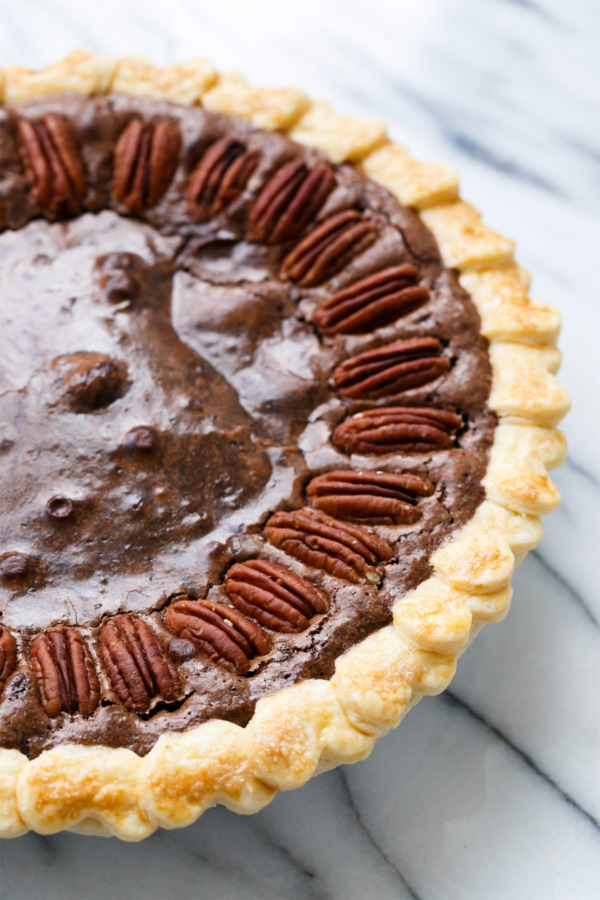
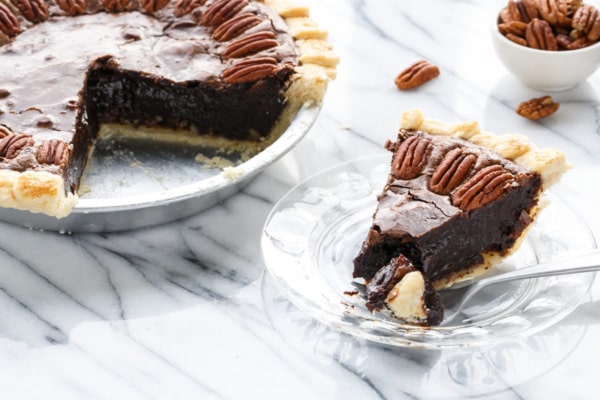
I’d like you to meet my new favorite pie. This, my fellow chocoholics, is pecan fudge pie, also known as gooey brownie batter pie (with a few pecans thrown in for good measure).
Salivating yet?
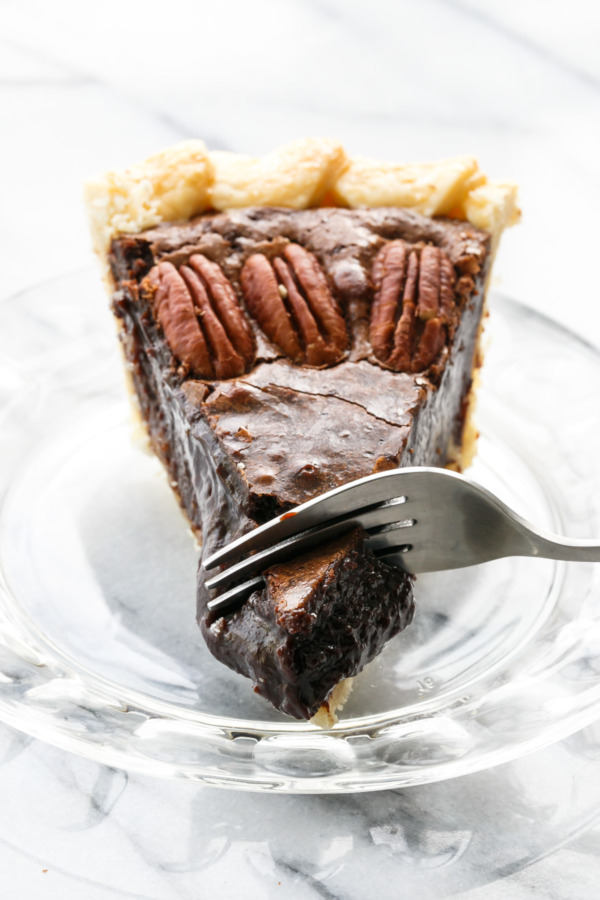
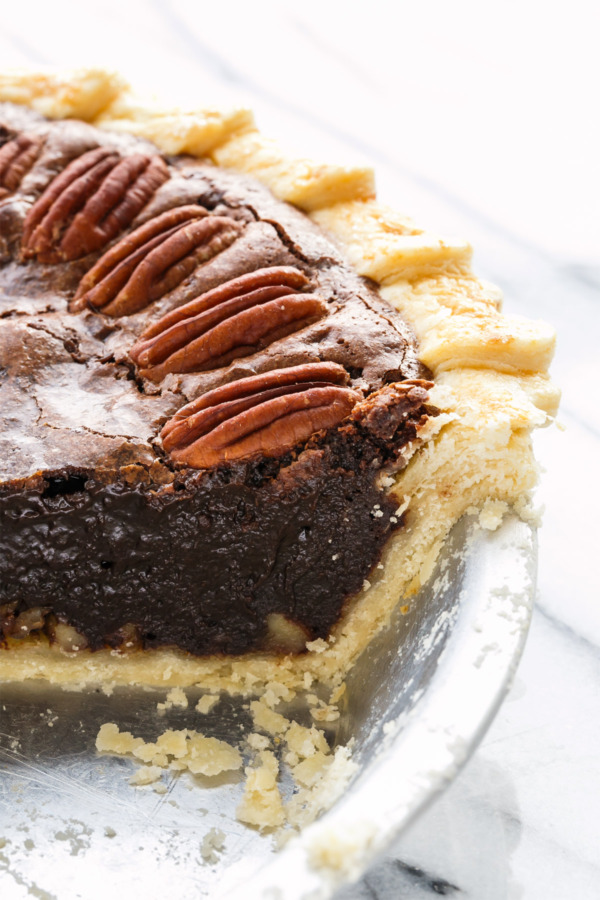
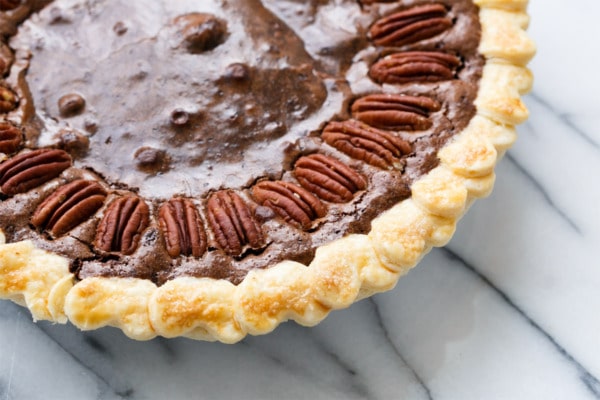
What really sets this pie apart from other chocolate pies is the texture. Gooey brownie batter is the best way I can think to describe it, somewhere in between chocolate custard and dark chocolate fudge sauce. It bakes up firmer around the edges but stays slightly molten in the middle, in a hopelessly flaky crust with a bit of crunch from the toasted pecans hidden on the bottom. I think it’s best at its gooiest, at room temperature about 2 hours out of the oven. After refrigerating it’ll be firmer and more fudge-like, not that that’s bad, but, well, I think I’ve made it clear that I like it ooey, gooey and oh-so-good.
To say Taylor loved this pie would be an understatement. He LOVED this pie (the all caps kind of love), and said, more than once, how it was one of his favorite things I’ve ever made. And to me, well, that is pretty much the ultimate form of flattery. Don’t compliment my hair or my shoes, compliment by baked goods. That’s the real way to my heart. Hearing that my pie is out of this world is truly the highest compliment I can receive.
That’s true love, right there.
I’ll admit this pie is very rich and very very sweet; the next time I make it I may try reducing the sugar a bit. I hesitate to do so, however, since the texture is so dang fine, and much of that is due to the proportion of sugar to the other ingredients. I’d hate to mess with that. So we’ll see. In the meantime, get your sweet tooth ready… this one’s a winner!
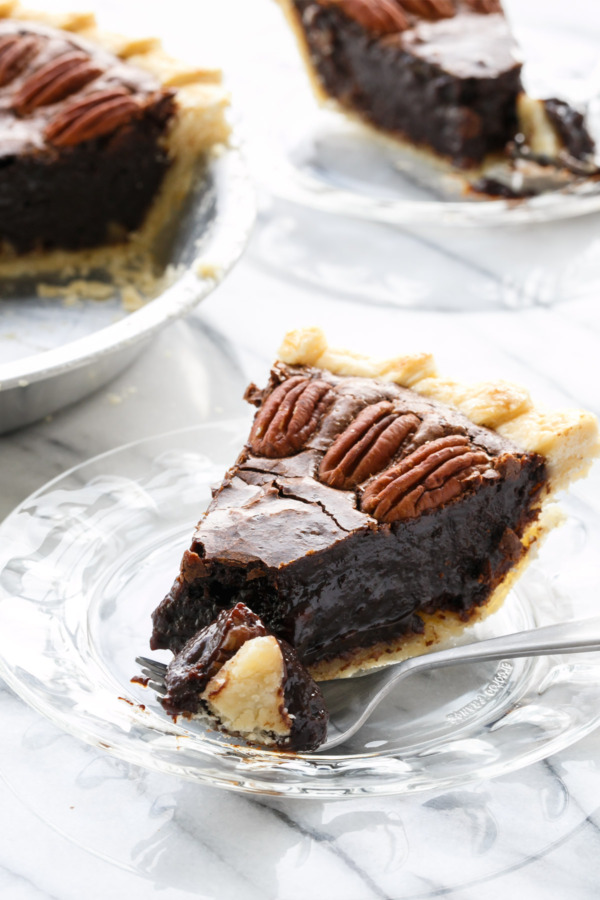
And dare I say this is the best pie crust I’ve ever made? It’s certainly the flakiest, that’s for sure!
The secret to this amazing crust, in all its tender, flaky glory, is that it is made using White Lily All-Purpose flour. And I’m not just saying that because I’m working with them, rather I’m working with them because I honestly and truly love the stuff. White Lily is widely used and easy to find in the South, but is slowly becoming more accessible in other parts of the country as well. Still, if you can’t find it in a store near you, it’s super easy to order online. Try it and see the White Lily difference for yourself!
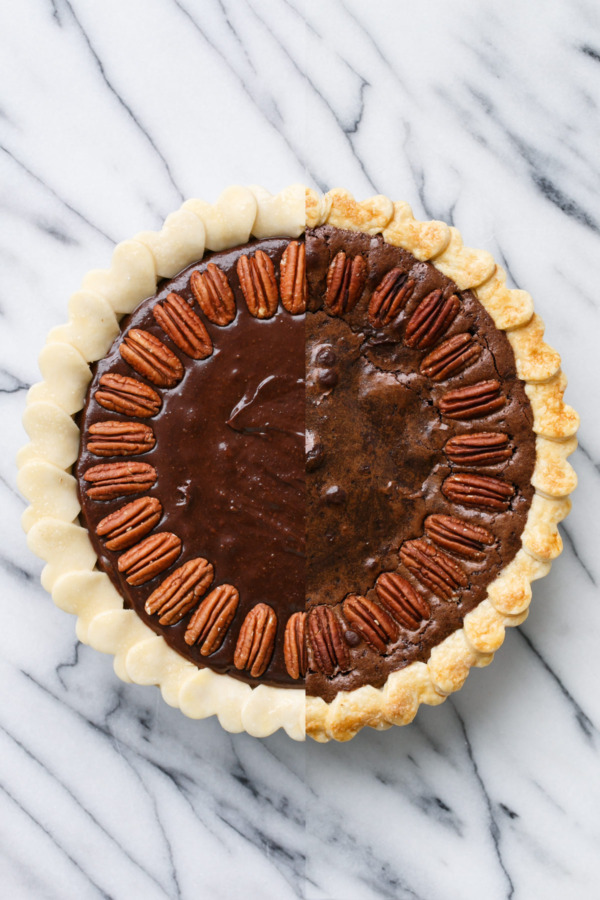
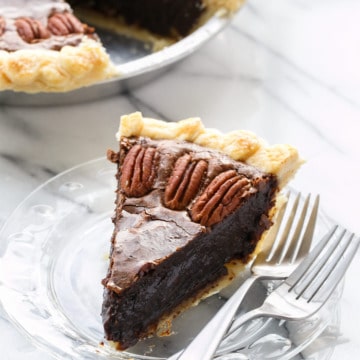
White Lily’s basic pie crust recipe calls for all shortening, but I prefer to use part shortening and part butter, which results in an equally flavorful and tender, not to mention incredibly flaky pie crust (which you can see in the picture above). The dough is slightly less malleable than an all-shortening version, but I think the flavor pay-off in the end is worth it.
I also slightly increased the proportions so I’d have enough dough leftover for my decorative border, and added a teaspoon of sugar to help with browning.
For this particular pie recipe no par-bake is required, you can simply add the filling and bake it all at once!

A few handy tips for making the perfect pie crust:
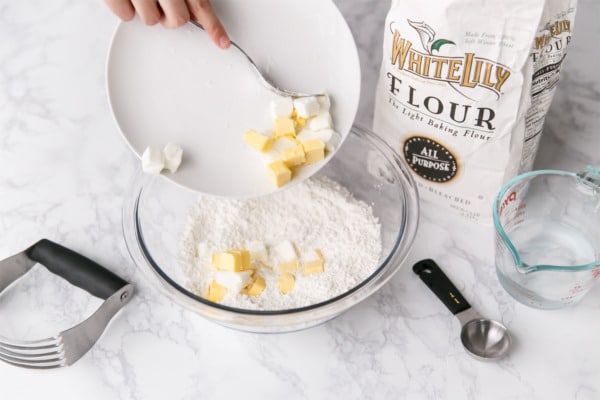
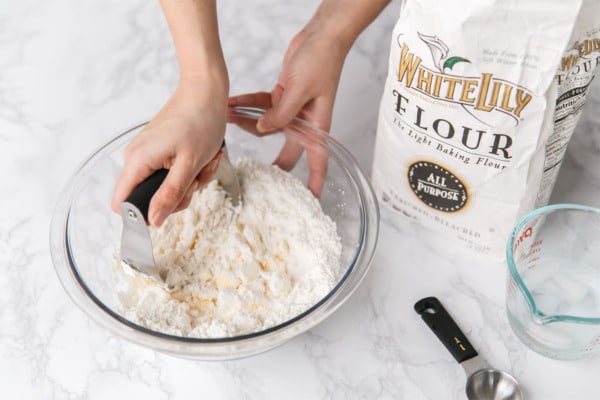
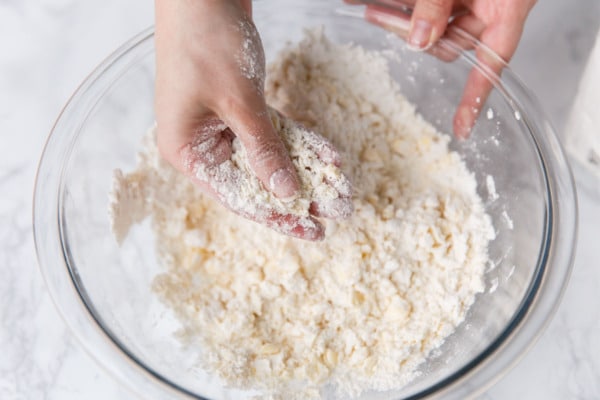
– Cut in the cold butter/shortening using a pastry cutter. It’s seriously the best tool for the job. You’re looking for pea-sized chunks of fat, evenly distributed throughout the flour.
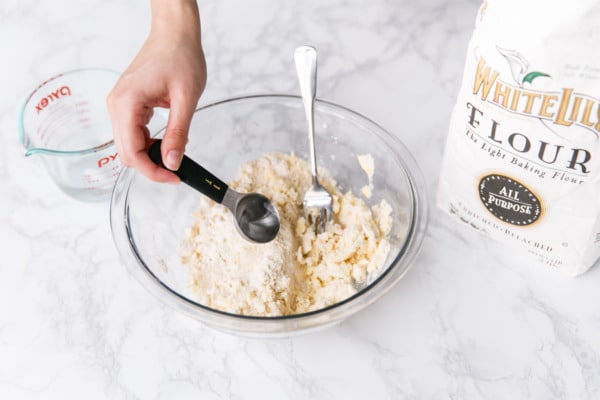
– When you add the water, do so in sections. Sprinkle 1 tablespoon of water on about 1/4 of the flour mixture, then blend with a fork. Then move on to the next section, and so forth. Mixing it this way will allow the flour to get evenly moistened without getting over-mixed.
– Chill it. Gather the pie crust into a ball and then wrap tightly in plastic wrap, then chill for at least 30 minutes. This allows the flour to fully hydrate and the gluten to relax, resulting in a less crumbly dough and a more tender final product.
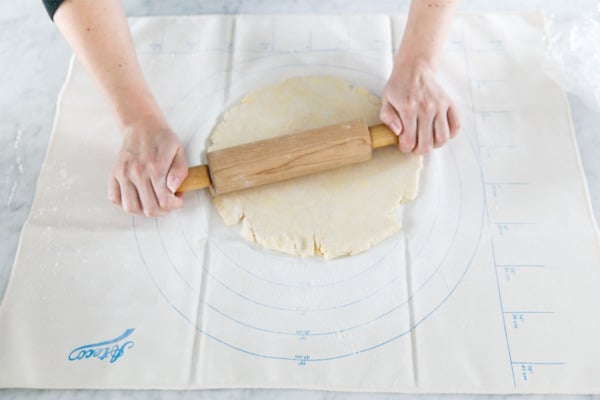
– Roll out the dough on a canvas pastry cloth, which allows you to use much less flour than you would otherwise. It seems illogical, but trust me, it works. Mine also came with a rolling pin sock, which is supposed to keep the dough from sticking to your rolling pin (I preferred rolling without it, though).
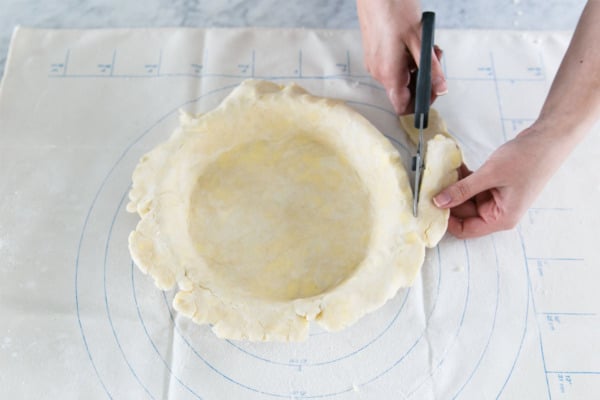
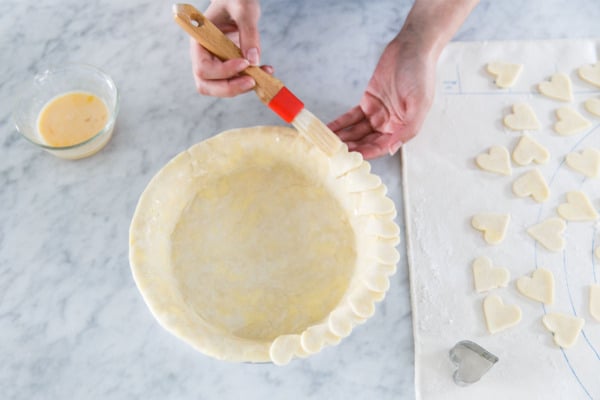
– I cannot crimp a pie crust to save my life (even with Linda’s help), so I’ve gotten creative at finding other ways to finish my edges. In this case, I trimmed the crust to the edge of the pie tin (no overhang or folding under), and then cut out heart shaped pieces of dough from the scraps. Attach the cut-outs to the edge of the crust using an egg wash.
– Speaking of egg wash, I like to brush my finished edges with egg wash prior to filling; the egg wash will give the crust a nice shiny brown finish when it comes out of the oven. Sprinkle with some sugar too if you want a bit more sparkle.
– Use White Lily all-purpose flour. Trust me on this one. The soft winter wheat used in White Lily flour produces an incredibly flaky and tender pie crust every time, and you don’t have to treat it like a priceless piece of crystal, either. Indeed, the lower protein content of the wheat used in White Lily flour means gluten doesn’t form as quickly, so it’s ok (really!) if you have to knead it once or twice to bring it together. Of course, you don’t want to go at it like it was pizza dough, but it’s far more forgiving than other brands of all-purpose flour.


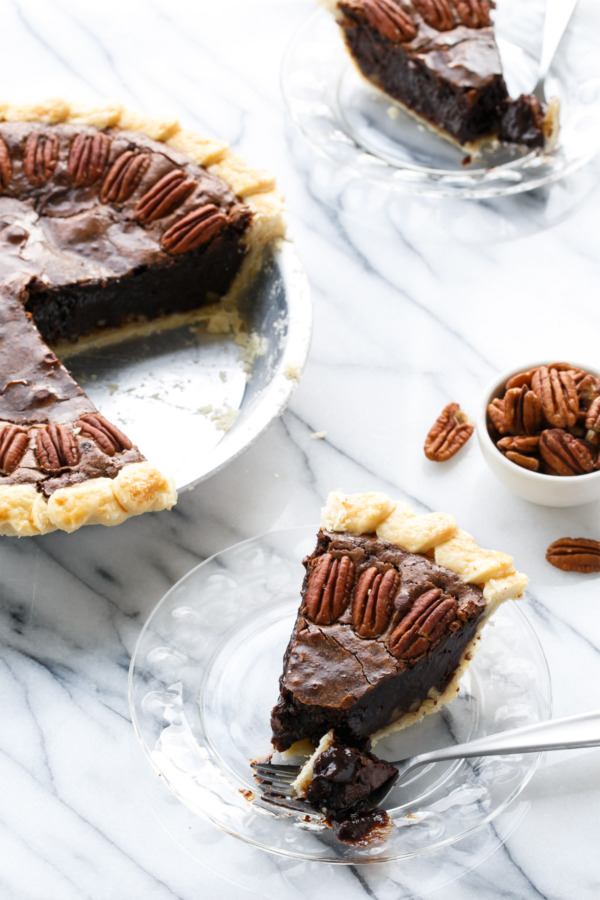
Almost unintentionally I’ve created the perfect Valentine’s day dessert, with the cut-out hearts making the perfect decorative border for this truly decadent pie.
So this Valentine’s day, show your true love you really care. Don’t buy, bake a pie!
Chocolate Fudge Pecan Pie
Gooey chocolate fudge pie studded with pecans. You could also call this brownie batter pecan pie and be spot on in terms of taste and consistency.
Ingredients:
For Crust:
- 1 3/4 cups (7.75 ounces) White Lily® All-Purpose Flour
- 1 teaspoon granulated sugar
- 1/2 teaspoon kosher salt
- 6 tablespoons (3/4 stick) cold unsalted butter, cut into cubes
- 4 tablespoons cold unflavored vegetable shortening, cut into cubes
- 4-6 tablespoons ice water
- 1 egg, lightly beaten with 1 teaspoon water
For Filling:
- 1/2 cup pecan halves
- 1/2 cup chopped pecan pieces
- 8 ounces dark chocolate, chopped
- 1/2 cup (1 stick) unsalted butter, cut into cubes
- 3/4 cup granulated sugar
- 3/4 cup packed light brown sugar
- 3/4 teaspoon kosher salt
- 4 large eggs, at room temperature
- 1 teaspoon vanilla extract
Directions:
- To prepare crust, whisk together flour, sugar, and salt in a bowl. Add butter and shortening and mix with a pastry blender until butter is pretty evenly broken up into pea sized chunks. You can also use your hands to flatten out and break up and larger pieces of butter, as long as your hands are not too warm and will melt the butter.
- Drizzle 1 tablespoon of ice water on one fourth of the dough mixture; blend with a fork until that section is evenly moistened. Sprinkle another tablespoon on the next section, and so forth. Mixing the dough a section at at time will help the dough get evenly moistened without getting overmixed. Only use as much water as you need to bring the dough together in a shaggy dough. You may need more or less depending on your specific conditions, but I found about 5 tablespoons was just the right amount.
- Gather the dough together in a ball, pressing out any large cracks. Wrap tightly in plastic wrap and refrigerate for at least 30 minutes or more to allow the flour to fully absorb the water molecules.
- Roll out dough on a lightly floured surface or pastry cloth. For a 9-inch pie pan, you want a round approximately 12 inches in diameter. Drape the dough over your rolling pin and gently transfer it to your pie tin, easing it into the bottom without stretching.
- Trim edges. If you will be crimping your dough, trim the edges about 1/2-inch out and then fold the edge under, then crimp as desired. For a cut out effect, trim the dough to the edge of the pie pan. Reroll the scraps and cut out shapes using a small cookie cutter. Brush the edge of the crust with an egg wash and then adhere the cut out shapes to it. When finished, brush the edges of the crust that will be exposed with an egg wash and sprinkle with granulated sugar. Refrigerate pie crust for at least 15 minutes while you prepare the filling.
- Preheat oven to 325 degrees F. Spread pecans (both chopped and halves) in a single layer on a baking sheet. Bake for 3 to 4 minutes or until lightly toasted and fragrant (watch them carefully as they will burn easily!) Set aside to cool.
- Gently melt chocolate and butter together in a double boiler or in the microwave, heating in 30 second intervals at 50% power, stirring after each interval. When chocolate is melted and smooth, remove from heat and whisk in sugars and salt until mixture forms a smooth paste. Whisk in eggs, one at a time, until smooth. Whisk in vanilla.
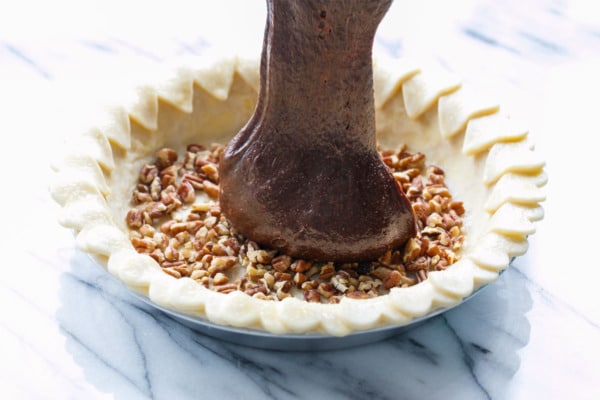
- Spread chopped pecans in a layer in the bottom of chilled pie crust. Pour filling over top. Arrange pecan halves on top of filling in a decorative pattern as desired.
- Place pie on a baking sheet (just in case) and bake at 325 degrees F for 55 to 65 minutes or until crust is golden and pie is puffed and slightly cracked around the edges, and the center is still just barely jiggly (which will result in a slightly gooey center). If you prefer a firmer pie (more like a fudgy brownie) you can bake the pie slightly longer.
- Transfer to a wire rack and let cool completely to room temperature, about 2 hours, before slicing and serving. After 2 hours if you are not serving it immediately, lightly cover with plastic wrap and refrigerate until ready to serve. Let come to room temperature prior to serving.
Did you make this recipe?
Let us know what you think!
Leave a Comment below or share a photo and tag me on Instagram with the hashtag #loveandoliveoil.
 Disclosure: This post was created in partnership with White Lily. As always, all opinions written are purely our own. We’re incredibly grateful for opportunities like these that allow us to continue sharing delicious recipes with you, so thank you for supporting us and the brands we love.