Have you ever wondered why that pile of pickled ginger next to your sushi roll is dyed pink? It’s obviously an artificial addition, but did you know that there is a natural reason why it is even done in the first place?
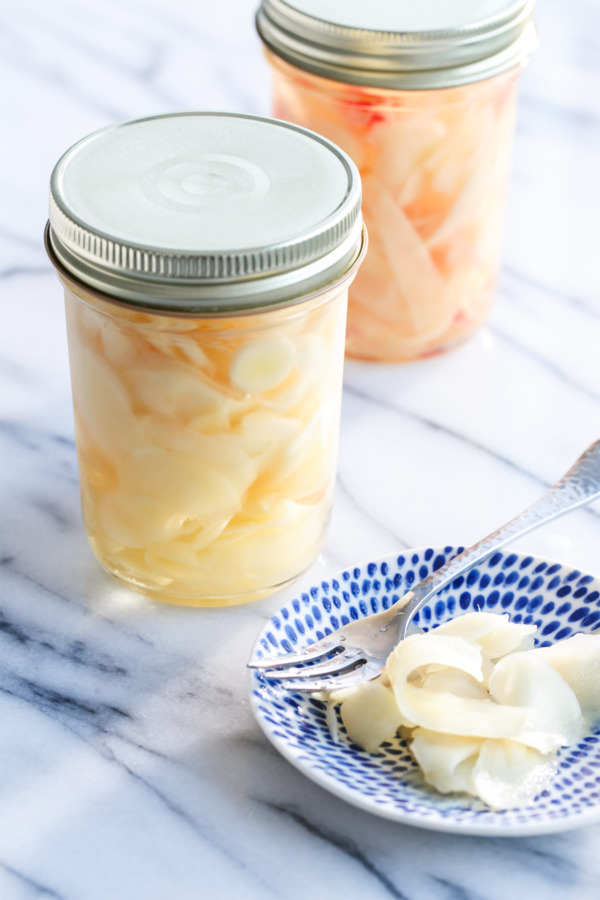
It turns out pickled ginger, or gari, will develop a natural pale pink tint when made with fresh baby ginger.
I had no idea!
But when you see a chunk of freshly harvested baby ginger, it’s obvious why.
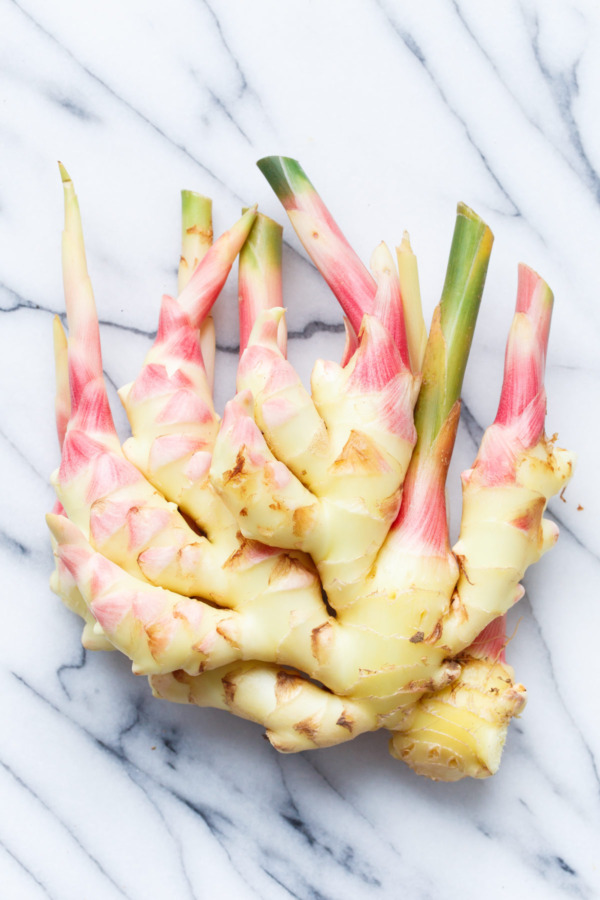
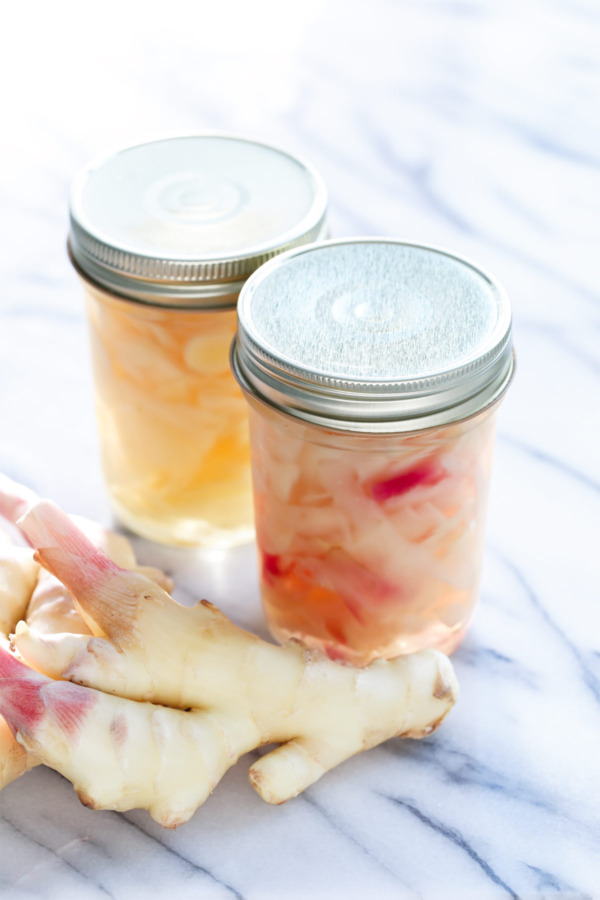
Baby ginger, with its paper thin skin and distinctive dark pink tips, is harvested in the fall when it is still young and tender, compared to mature ginger (the kind you buy in the grocery store) which is left in the ground for up to a year, during which time it develops a much thicker skin and a tougher, more fibrous texture.
It’s those distinctive pink tips that turn the pickled ginger a pale blush pink without any added coloring. Many brands of commercially produced gari are colored pink with artificial color or with beet juice, to intensify the color or because the ginger used is too mature to turn pink upon pickling. Obviously no pickled ginger, even pickled baby ginger, is THAT bright pink, but at least now you know the reason why it is dyed pink instead of, say, green or blue.
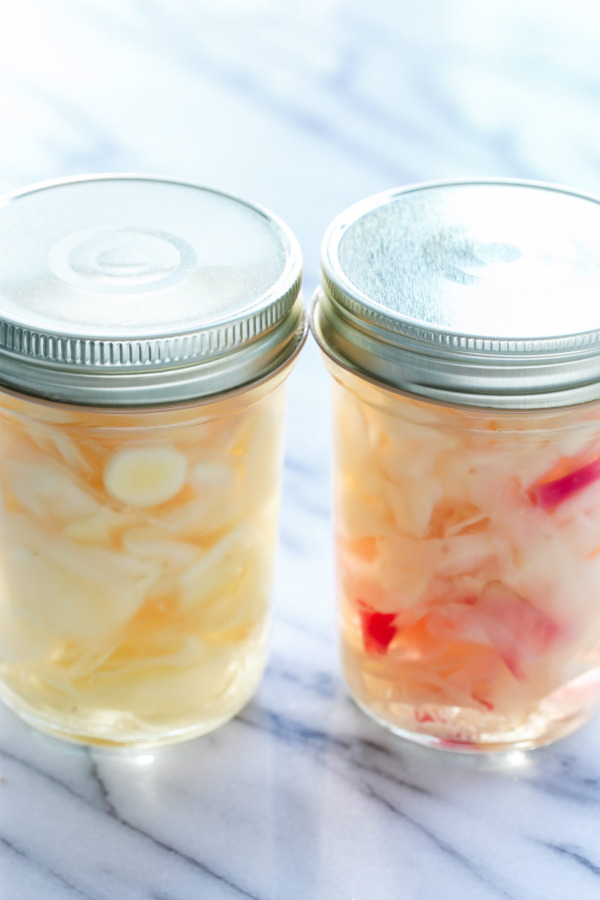
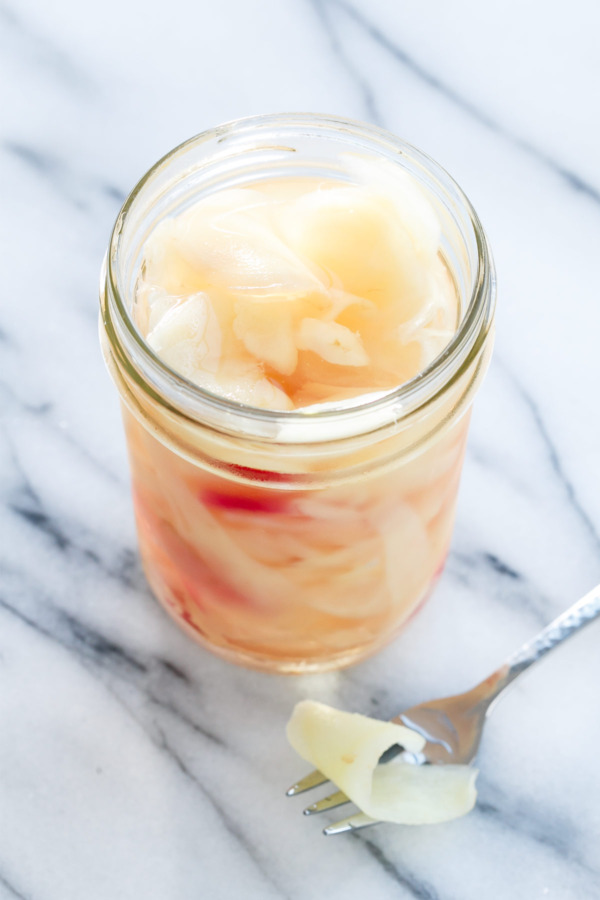
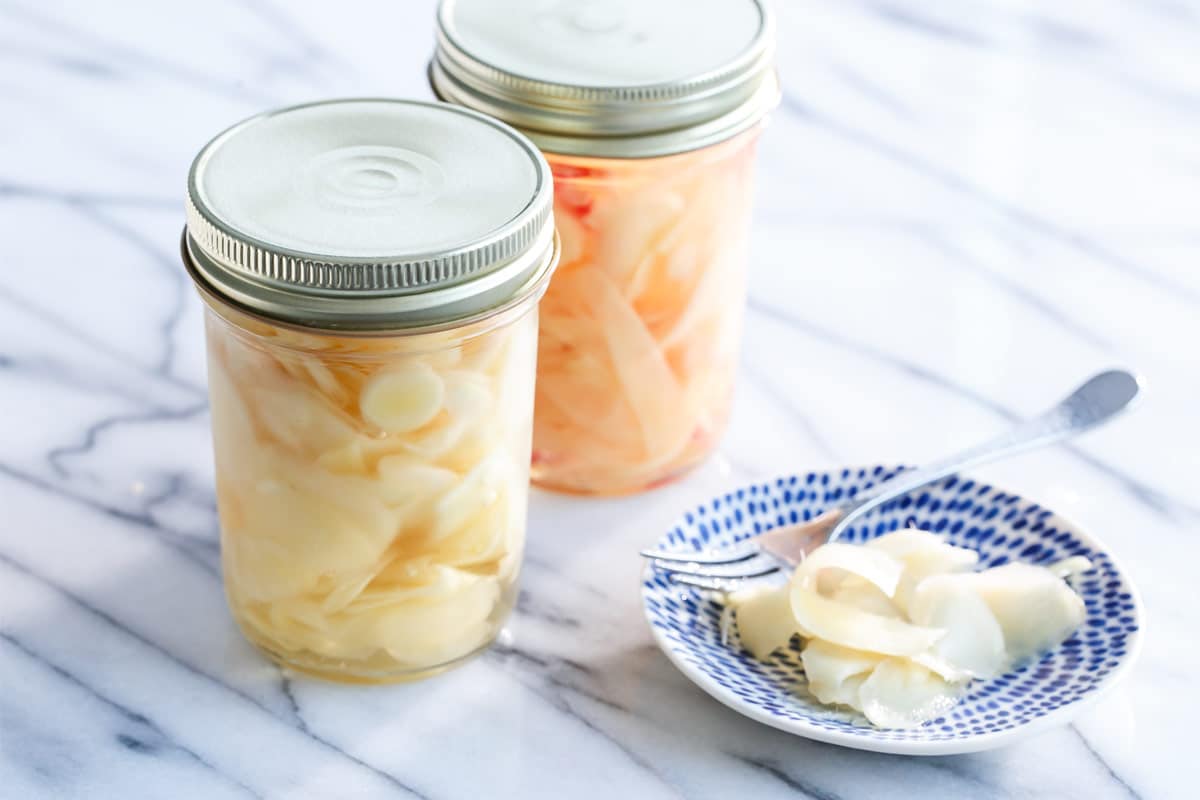
You can see in the comparison above that one of my jars has a delightful blush pink tint to it: for the jar on the right, I sliced the ginger all the way up through the pink tips. The longer it pickles, the pinker it’ll get. For the other jar I just sliced the main body of the ginger, which didn’t have much pink on it (the pink tips will fade to brown the longer the ginger is stored), and the result is a natural ginger color. There is absolutely no taste difference between the two jars, but you have to admit that jar on the right is looking awfully pretty in pink.

I bought 4 glorious pounds of organic baby ginger from Windcrest Farm in North Carolina, and if you hurry, you can get your hands on some too. This precious rhizome is only available for a few months in the fall. Baby ginger is also sweeter and juicier, with less sinus-burning heat, but it is mainly the thin skin and less-fibrous texture that makes it perfect for homemade pickled ginger.
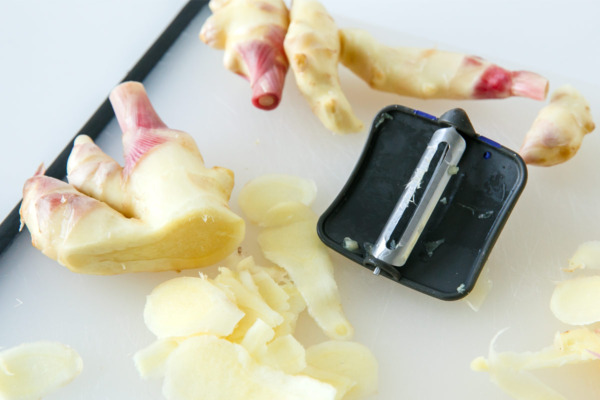
The skin is so thin you don’t even have to peel it; I simply scraped a spoon around the rough/thick parts to remove any papery bits, and then shaved it with a vegetable peeler (I like this ergonomic PalmPeeler). You could also use a mandoline or a super sharp knife if you have ninja-level knife skills. The goal being to slice the ginger against the grain as thinly as possible.
Yes, you can use mature ginger here if you’d like, though it won’t be quite as tender. You will need to fully peel the ginger before slicing, and you may want to boil the ginger slices for 5 to 10 minutes to soften them further. Baby ginger, on the other hand, is tender enough that a quick soak in boiling water is all you need.
I did do some looking into whether this recipe would be safe for canning, and couldn’t find much. As far as I could tell, most readily available rice vinegar is not the necessary 5% acidity vinegar required for safe canning, it’s usually more like 4-4.5%. If you can find some 5% rice vinegar, this recipe should, in theory, be safe for canning. You could also substitute another type of vinegar, such as white or cider, which is easy to find in a 5% strength, though I don’t think the flavor would be quite as nice in the final product, and the heat of the processing might affect the final texture as well (the same as the difference between refrigerator pickles, which are crunchy and crisp, and processed pickles, which are much softer).
The fact that this gari will keep well for up to 6 months in the fridge is more than enough. I seriously doubt these two jars of mine will even last that long.
Homemade Pickled Ginger
Ingredients:
- 8 ounces (1/2 pound) fresh baby ginger
- 1 cup unseasoned rice vinegar
- 1/4 cup sugar (or more to taste)
- 1 teaspoon kosher salt
Directions:
- Wash and scrub ginger well to remove any remaining bits of dirt or soil. Use a spoon to scrape off any thick or papery bits of skin. If using mature ginger, you will want to fully peel it.
- Thinly slice ginger across the grain using a vegetable peeler or mandoline (please watch your fingers)! You want the ginger to be as paper thin as possible, and I found the peeler to be the most effective way to do this.
- Place sliced ginger in a bowl. Pour 2 cups of boiling water over ginger and let sit for 5 minutes. If using mature ginger, you might want to blanch the ginger in a pot of boiling water for 5 to 10 minutes to soften it further.
- Drain well, then pack ginger into one pint jar or two half-pint (8 oz) mason jars. Be sure jars are thoroughly washed or, even better, sanitized in boiling water prior to using.
- In a saucepan, bring vinegar, sugar, and salt to a simmer, stirring until sugar is completely dissolved.
- Pour hot liquid over ginger in jars. Secure lids and allow the jars to cool to room temperature, then refrigerate. The pickled ginger, which is ready to eat after several hours, will keep in the refrigerator for up to six months.
Adapted from Linda Ziedrich via NPR.
All images and text ©Lindsay Landis / Love & Olive OilDid you make this recipe?
Let us know what you think!
Leave a Comment below or share a photo and tag me on Instagram with the hashtag #loveandoliveoil.