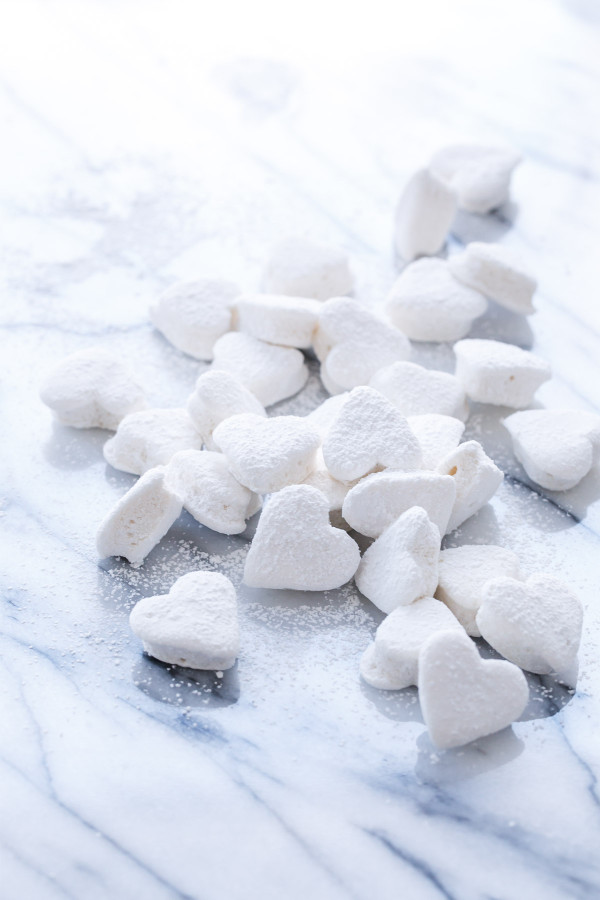
It’s almost Valentine’s day, which means the internet is awash with red and pink and heart-shaped everything. Don’t worry, it’s only temporary, soon enough it’ll be all 50 shades of green up in here (and I’ll be honest that all the green-dyed foods freak me out way more than the red and pink).
Of course I’m not exactly helping by intentionally posting heart-shaped marshmallows this of all weeks.
But hey, at least they’re not pink.
If you’ve never made homemade marshmallows before, Valentine’s day is the perfect time to try it out, mainly because the humidity is at a manageable level this time of year (and if you have made homemade marshmallows before you’ll know that humidity is their nemesis).
But also, you know, because it’d be a nice thing to show you care by surprising your sweetie with a tray of heart-shaped sweet bites of heaven. I mean, wouldn’t you rather have homemade marshmallows than some silly flowers that will just die in a week anyway? Might as well have something that tastes good.
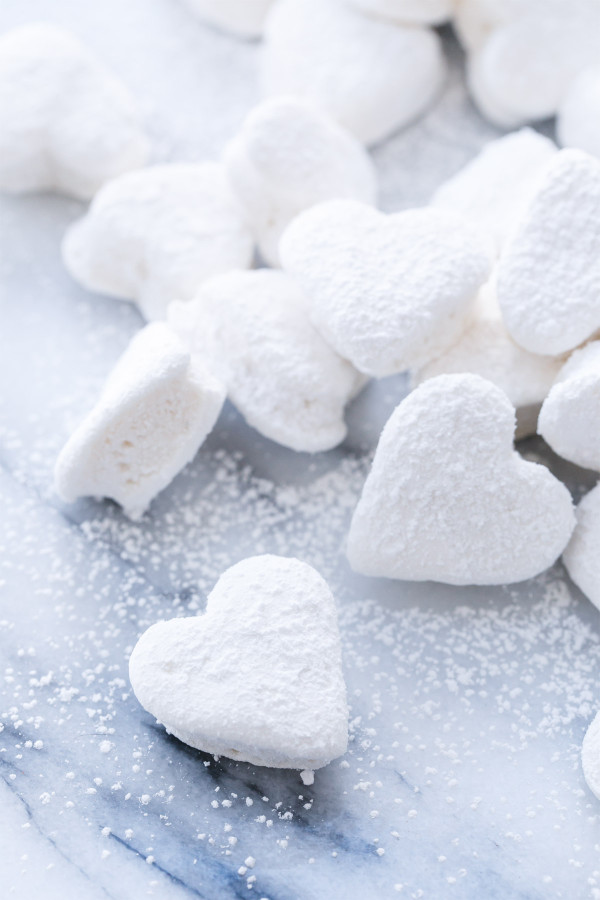
Light, fluffy, and spiked with a double dose of vanilla flavor, these marshmallows are amazing on their own or simply divine plopped in a cup of steaming hot chocolate. It doesn’t get much more romantic than that.
The recipe comes from Shauna’s puffy tome called Marshmallow Madness. Honestly, I don’t even bother trying to come up with my own marshmallow recipes because hers are simply perfect.
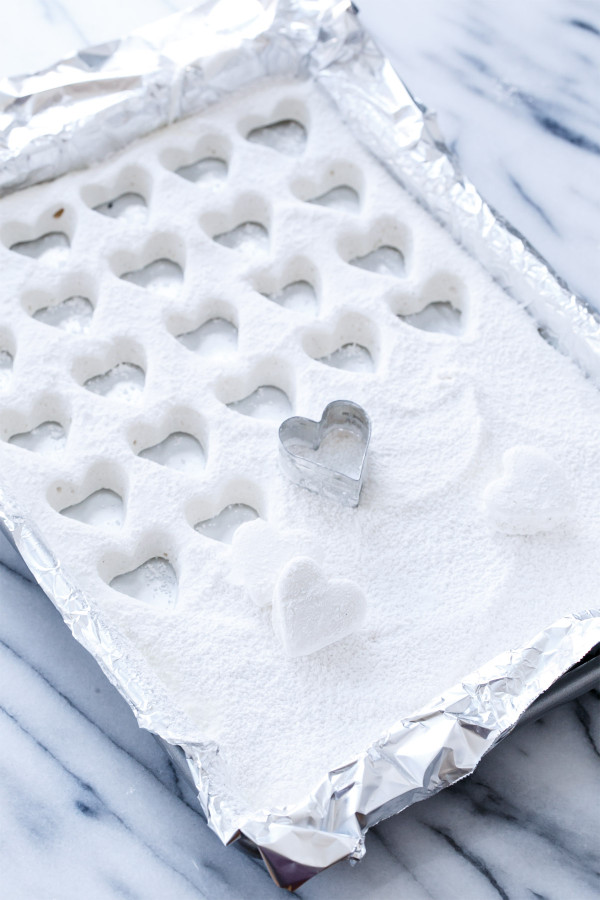
The only change I made here was instead of spreading the mallow in an 8×8 pan as is typical for square marshmallows, I used a quarter sheet pan (lined with foil and lightly sprayed with cooking spray). The slightly larger area made for a thinner layer of marshmallow that was better suited for cut out shapes.
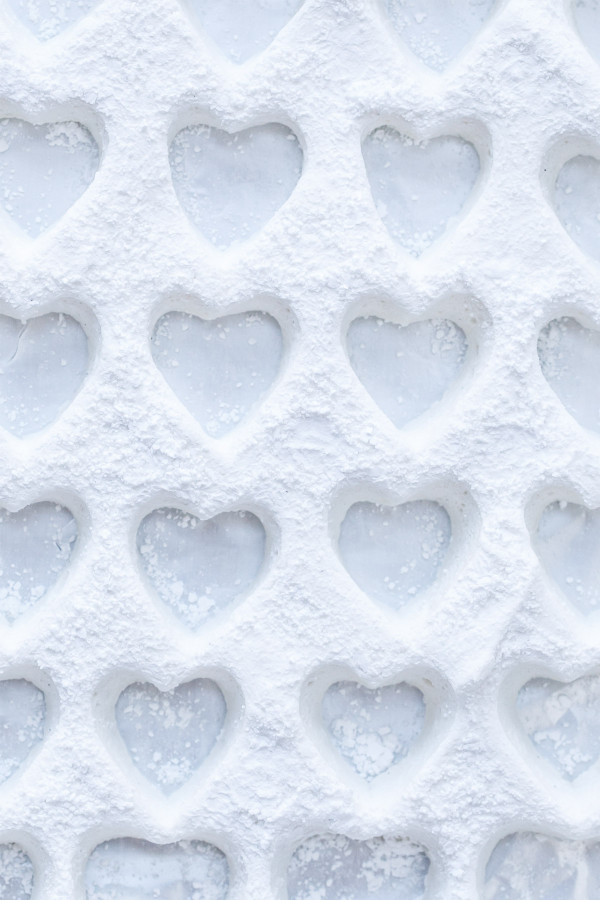
You don’t have to do hearts, of course: any cookie cutter will do, though basic shapes will come out better than something super detailed and complex, as marshmallow is a bit more resistant to being cut out than, say, cookie dough. I still haven’t figured out how to cut out a shape with perfectly smooth sides: the stretchy nature of the mallow always give them a bit of a concave appearance towards the bottom. Doesn’t make them any less cute (or delicious) though.
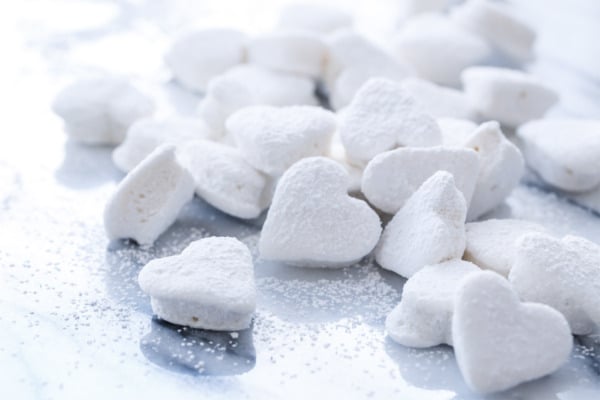
Basic Vanilla Marshmallows
Basic vanilla marshmallows are perfectly sweet and flavored simply with a double dose of vanilla.
Ingredients:
- 4 1/2 teaspoons (2 packets) unflavored powdered gelatin
- 3/4 cup granulated sugar
- 1/2 cup light corn syrup, divided
- 1/8 teaspoon salt
- 1 teaspoon vanilla extract
- 1 teaspoon vanilla bean paste (or substitute 1 more teaspoon vanilla extract)
- 1/4 cup powdered sugar mixed with 2 tablespoons corn starch, for coating
Directions:
- Line a 12-1/4 by 8-3/4-inch quarter sheet pan with aluminum foil; lightly spray with cooking spray and set aside.
- Place 1/2 cup cold water in a small bowl; sprinkle over gelatin and let soften for 5 minutes.
- Combine sugar, 1/4 cup corn syrup, 1/4 cup water, and salt in a medium saucepan and set over high heat. Bring to a boil, stirring occasionally, and cook until temperature reaches 240 degrees F.
- Meanwhile, pour remaining 1/4 cup corn syrup in the bowl of a stand mixer fitted with the whisk attachment. Microwave gelatin about 20 to 30 seconds until melted, then add to bowl with corn syrup. Turn the mixer on to low speed and keep it running as the sugar comes up to temperature.
- Pour the 240 degree sugar syrup slowly into the mixer bowl while it is running. Increase the speed to medium and beat for 5 minutes. Increase the speed to medium-high and beat for another 5 minutes. Add vanilla and vanilla paste and then beat on high for 1 to 2 minutes or until opaque white, shiny and fluffy.
- Spread marshmallow into prepared pan, using an offset spatula to smooth it into the corners. Sift half of coating evenly over top. Let sit, uncovered, for at least 6 hours in a cool, dry place.
- When marshmallow is set, invert onto a work surface that has been lightly dusted with powdered sugar. Remove foil and dust with more coating. Cut into shapes using a cookie cutter or squares using a pizza cutter, dipping the exposed edges into more coating as needed so they don’t stick together.
- Store marshmallows in a covered (but not airtight) container in a cool, dry place, dusted with powdered sugar or lined with paper towels between layers to absorb excess moisture. Marshmallows will keep for 2 to 3 days in this manner, unless it is extra humid and then they won’t keep very long at all no matter how you store them.
Recipe from Marshmallow Madness by Shauna Sever.
All images and text ©Lindsay Landis / Love & Olive OilDid you make this recipe?
Let us know what you think!
Leave a Comment below or share a photo and tag me on Instagram with the hashtag #loveandoliveoil.