Save this recipe for later!
Homemade yogurt.
What can I say?
I was unimpressed.
While it was (once I worked out a few kinks in the process) surprisingly easy to make, I didn’t find the flavor of my homemade yogurt to be anything extraordinary, nor was it life changing or revelatory like some claim it to be. If anything it tasted a bit off to me compared to store-bought. Everyone seems to rave about the superior flavor of homemade yogurt, but I didn’t have that same experience.
However, I still think it’s worthwhile to try making yourself, at least once in your life, because it is pretty amazing how a bowl of lukewarm liquid milk can become a thick and creamy yogurt after only a few hours in a warm oven.
Like magic.
My first attempt (pictured above) definitely tasted like yogurt, but it had an odd ricotta-like consistency that was less than pleasing. I think this was caused by the fact that I stirred the yogurt before it was entirely done, poking and prodding it after 4 or 5 hours to see how it was coming along.
Lesson learned? Set it and let it be.
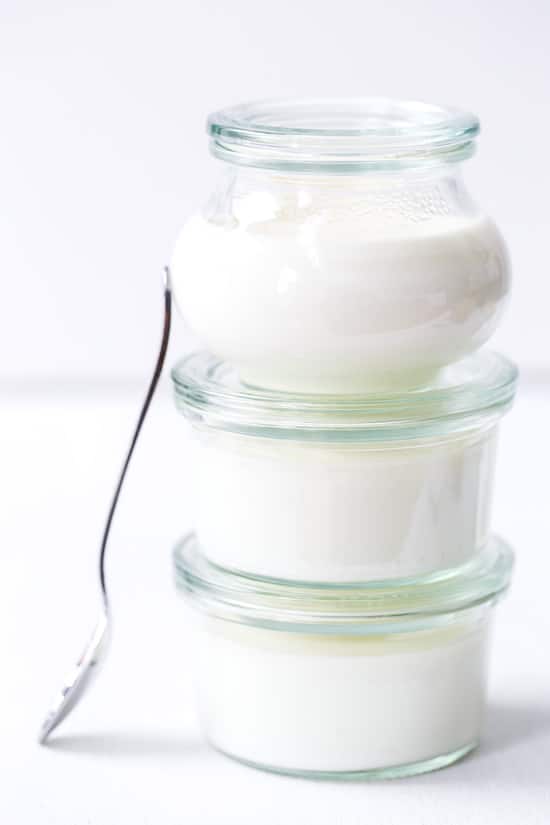
My next two batches were noticeably better once I left them alone, with little to no separation and a texture that, while definitely smoother, was not quite as luxuriously creamy that what you’re probably used to when buying yogurt at the store.
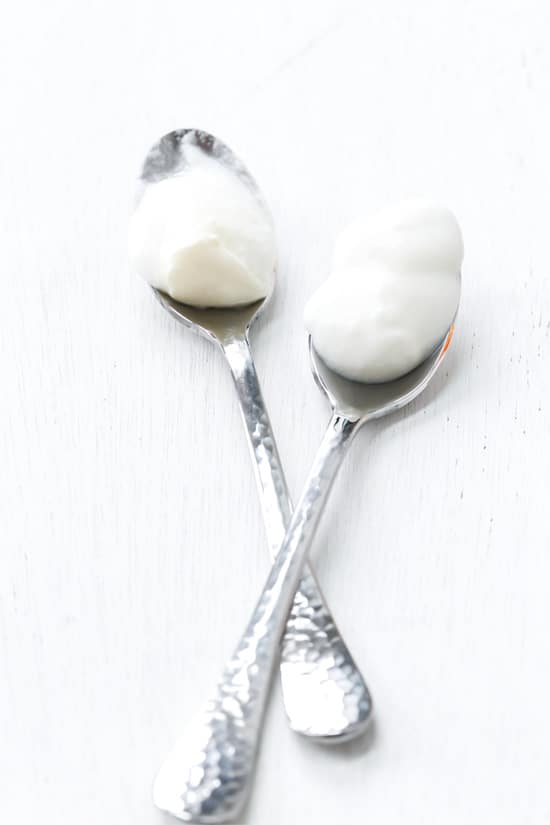
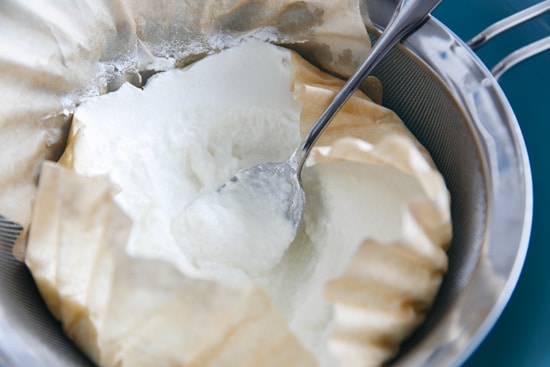
I left some of my yogurt as is, and strained the rest for about 2-3 hours for a thicker, more Greek-like consistency. The Greek version was thicker, obviously, but I also found it smoother and tangier than the unstrained one. You can sort of see the differences in texture between the unstrained (left) and the strained (right) versions above. The unstrained also has a noticeable ‘cream top’ caused by using non-homogenized milk, which I didn’t love (luckily it’s easy to scrape off).
That said, the texture of yogurt has never been something I’ve loved. Even the super smooth store-bought stuff. So the slightly grainy texture of my homemade yogurt was slightly off-putting to me, even my second and third attempts which were noticeably smoother.
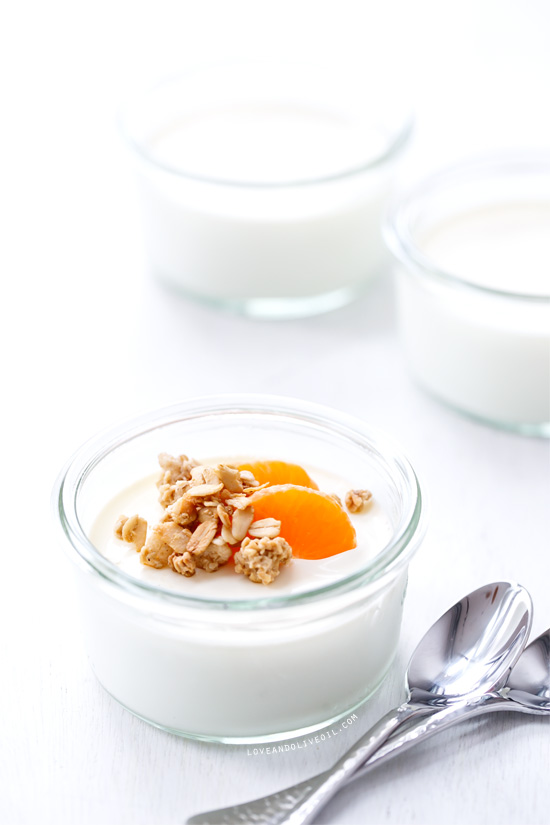
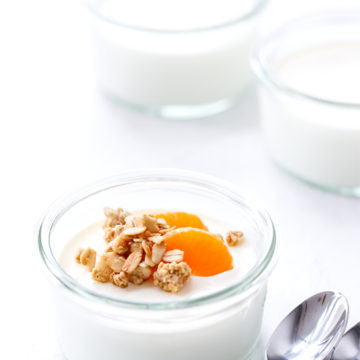
Needless to say, I can’t eat yogurt without stirring in a significant amount of stuff, be it granola, fruit, honey, nuts, or all above. The crunchy has to outnumber the creamy.

Helpful tip – make an instant ice bath by placing a large 4-cup measuring cup in an 8 or 9-inch square cake pan. Fill with ice water. This will help the milk cool more quickly, in about 15-20 minutes as opposed to 40 or 50.
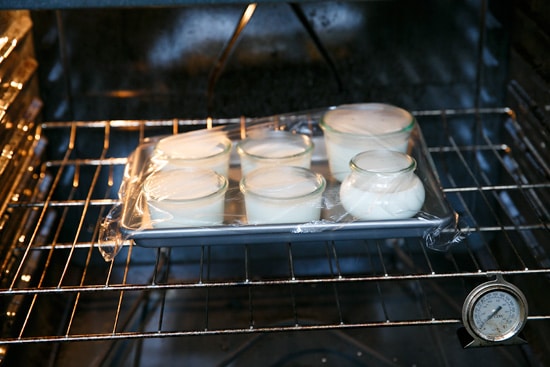
I used my oven as a ‘proofing’ room; with the light on, the oven held a steady 100 degrees, which is just about right for making yogurt. No fancy contraptions, coolers, or heating pads required.
I let this batch sit for about 10 hours, though I think 7 or 8 would have been plenty. It’s done when you can tip the jar and the yogurt stays put. There may be some whey on the top and that’s normal, just pour it off.
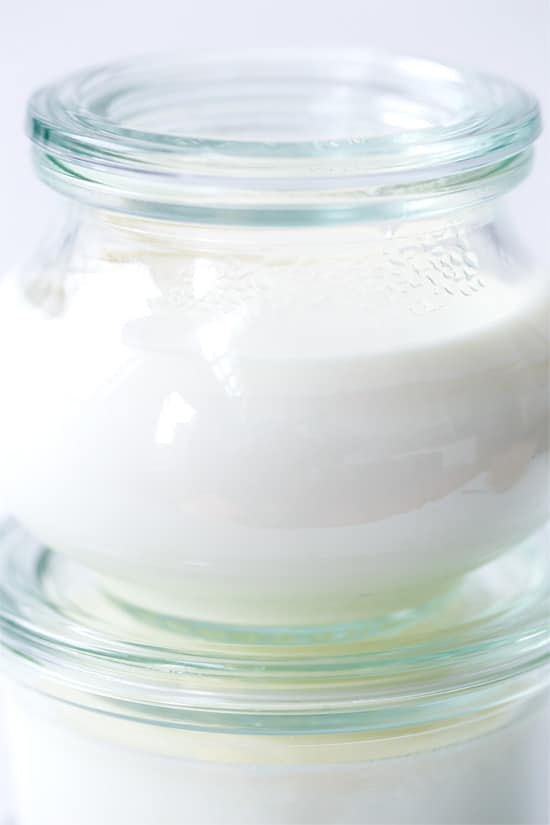
Since I used non-homogenized milk, my yogurt separated much in the way the milk itself would if let to sit. The ‘cream’ layer on top is actually kind of nice, super rich and creamy. If you use homogenized milk this separation will not occur.

 You guys seemed so excited about this challenge when I announced it, but I guess I wasn’t the only one left underwhelmed, since Dana was the only one who actually submitted a final result. Was it something I said? Or (more likely) are we all just too busy dealing with taxes and spring cleaning and the like to take 30 minutes out of our day to make something from scratch?
Ah, well, maybe next time.
Homemade Yogurt
Ingredients:
- 4 cups whole milk
- 1/4 cup good-quality plain whole milk yogurt (with live active cultures)
Directions:
- Slowly heat milk in a medium saucepan over medium-low heat until it reaches 175-180 degrees F. At this point the milk should be steaming, but not bubbling. Stir occasionally so the milk does not form a skin. Reduce heat slightly and hold milk around 180 degrees for 15 minutes. While this step is optional it will result in a thicker, more stable yogurt.
- Remove from heat and pour milk into a bowl set in an ice water bath. Let cool, stirring occasionally to prevent a skin from forming, until milk has cooled to a temperature of 110 degrees F.
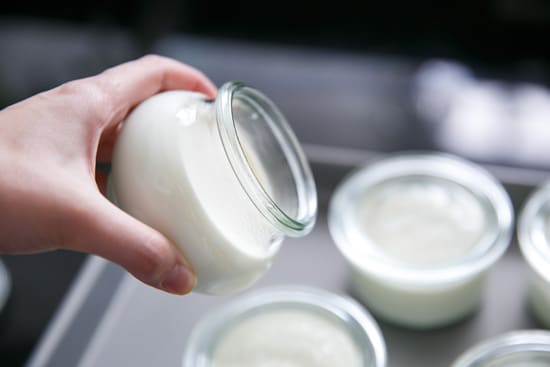
- Place yogurt in a small bowl. Spoon a cup or so of lukewarm milk into the yogurt and whisk until smooth. Pour into bowl with milk and stir until incorporated.
- Pour yogurt base into glass jars or containers. Place on a baking sheet or tray and lightly cover with plastic wrap, poking a few holes above the jar openings to let the yogurt breathe. Place in your (cool) oven with the light on. The light alone should be enough to keep the oven temperature around 100-110 degrees F.
- Let yogurt ferment without being disturbed for 7 to 10 hours (don’t stir, jiggle, or mess with it or it may separate). After 6 or 7 hours you can begin checking for doneness, by tipping the jars slightly. If the yogurt stays put, it’s done. If it’s still loose and flowing, let it ferment a while longer.
- Screw on jar lids and place yogurt in the refrigerator to firm up even more. If you prefer thicker, Greek-style yogurt, strain through a fine mesh sieve lined with a coffee filter or cheese cloth for 2-3 hours.
- Fresh yogurt will keep for about a week in the refrigerator. Be sure to set aside a small amount to use in your next batch!
Did you make this recipe?
Let us know what you think!
Leave a Comment below or share a photo and tag me on Instagram with the hashtag #loveandoliveoil.