I’d like to call this adult jello, but that sounds rather, uh… unsavory.
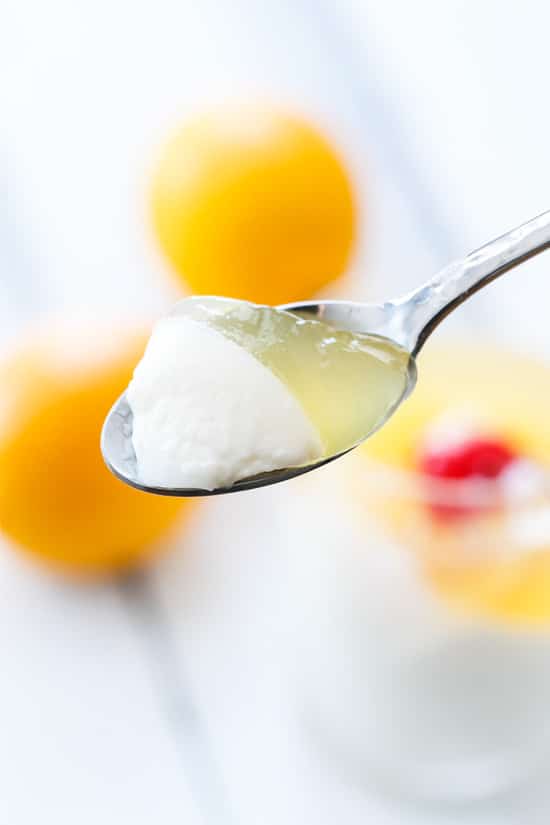
But really, isn’t that what panna cotta is, afterall? Milk jello. For grownups.
Taylor said all it needed was a bit of whiskey and then you’d have a whiskey sour panna cotta. Well, a whiskey sour passionfruit panna cotta. Which actually sounds kind of awesome.
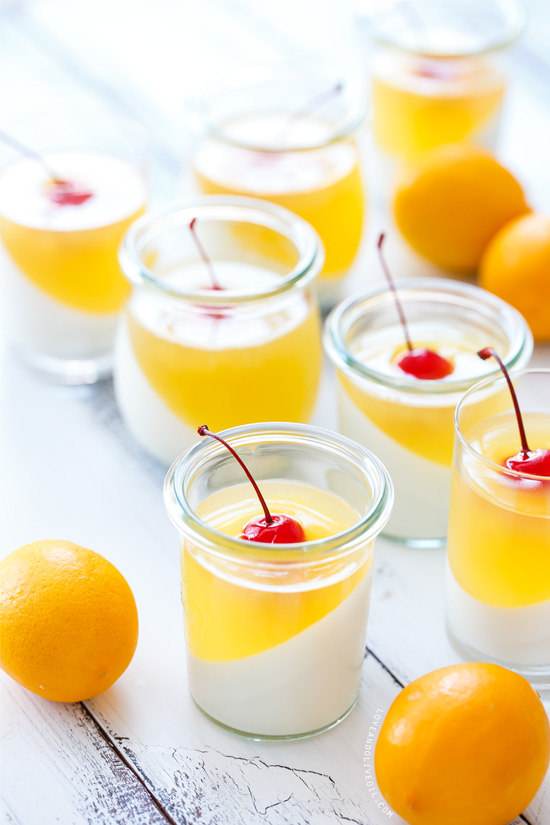
This version makes for an impressive presentation, and all it takes is a little advance planning. Really, it’s not nearly as complicated as it looks, I promise. In fact panna cotta is one of those desserts that I’d file under the looks-like-I-spent-much-longer-on-this-than-I-really-did category.
And, lucky for you, I already made the mistakes you might have made, working out the kinks in the process, so all you have to do is set your timer and wait for further instructions.
The problem with lemon in panna cotta is that you can’t actually add any lemon to the milk layer itself. Remember that homemade ricotta you love so much? Not so great when your panna cotta becomes panna cotta ricotta. The acid is what causes the curds to separate from the whey, and since lemon juice is (most definitely) an acid, well, you can see why it doesn’t exactly work.
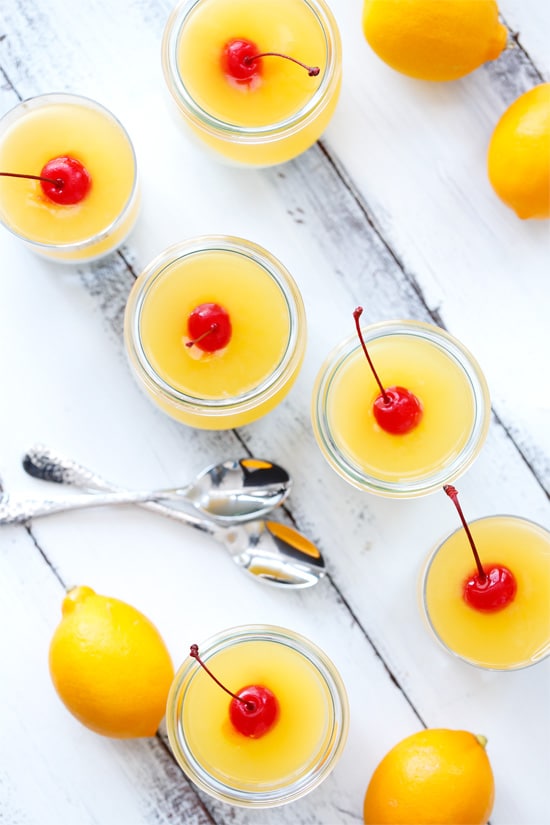
So I turned it into a layered dessert, which allowed me to still have the creamy (unseparated) panna cotta, but also a bright lemon flavor, by way of the second layer: a gorgeous yellow lemon and passionfruit gelée (code for fancy jello). While I used a sweetened passionfruit puree (made for professional bartenders), you could also use passionfruit juice or concentrate or even passionfruit soda in place of the club soda as well. Just note that if your passionfruit product is unsweetened, you may want to increase the sugar in the top layer to make up the difference. The same goes if you use regular instead of Meyer lemons: you’ll likely want to increase the sugar to make it palatable.
What does the club soda do? No, the gelatin layer isn’t actually fizzy, but I feel it gives it an effervescent brightness that you don’t get with just plain water.
This dessert is all about timing. While it’s not difficult, some of the steps require some pretty precise times that, if ignored, won’t produce the clean layers you see here. Might I suggest setting your phone alarm to remind you when it’s time for the next step? I know my memory often fails me and that thing that was supposed to cool for 2 hours ends up sitting on the counter for 5. I get it. Unfortunately, such forgetfulness is not conducive to this dessert.
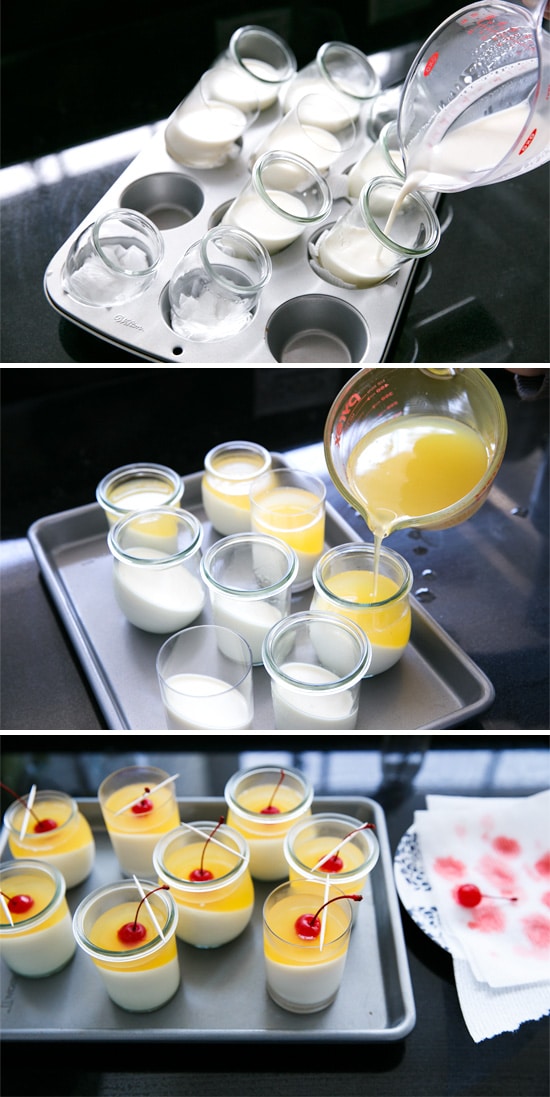
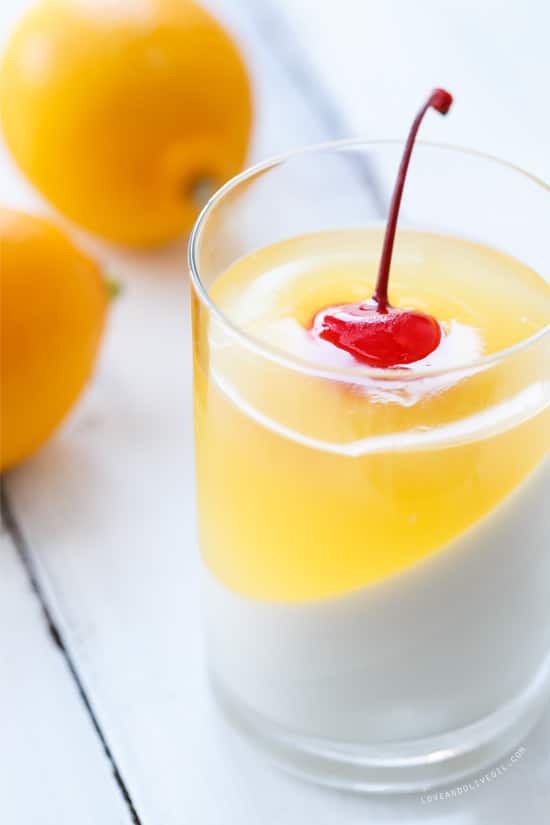
To create the layers, the white panna cotta layer is poured into glasses propped at a slight angle, allowing the mixture to set up at a dramatic diagonal angle. (Tip: use a muffin tin, filled with paper towels or aluminum foil if necessary, to hold your jars or glasses firmly at your desired angle).
Once the bottom layer is fully set, the jars are returned to their level state, and the yellow fruit layer is then poured on top. Be sure you let the warm liquid cool thoroughly, otherwise the warm gelatin will upset the layer underneath, creating some truly unappetizing white floaters. Think egg drop soup… gelatinized. Yeah, not appetizing. But by letting the liquid cool to lukewarm (you’re shooting for about 85 degrees F), the white layer stays perfectly crisp and whole underneath.
At the same time, don’t let it cool too long or it will set up before you can pour it. Mine took about an hour before it was cool enough to pour on top. Set your timer and don’t rush this step. Trust me on this one.
The cherries on top also take some precise timing. I found I had to let the top gelatin layer chill in the refrigerator for exactly 2 hours; at that point the gelatin was set enough to support the cherry but still allow it to ‘melt’ partially into the top layer. If you accidentally put them in too soon, your cherries will just sink a bit lower, no biggie. If necessary, use a few toothpicks to hold the stems in perky upright positions while the gelatin sets completely.
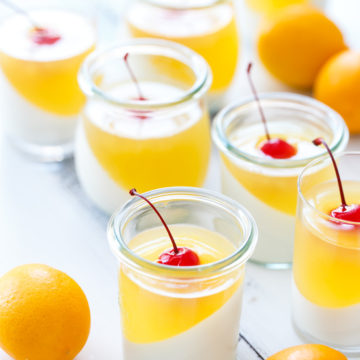
Meyer Lemon & Passionfruit Panna Cotta
Ingredients:
For Panna Cotta Layer:
- 2 teaspoons unflavored gelatin
- 1 cup whole milk
- 3/4 cup cream
- 1/3 cup granulated sugar
- 1/2 teaspoon vanilla extract
For Gelée Layer:
- 1/3 cup freshly squeezed Meyer lemon juice (from about 4 medium lemons)
- 2 tablespoons (1 ounce) passion fruit purée*
- 1 12-ounce can club soda
- 1 1/2 teaspoons unflavored gelatin
- 2 tablespoons sugar (increase if using unsweetened passion fruit)
- 8 maraschino cherries, drained on paper towels
Directions:
- Place 1/4 cup cool water in small microwave-safe dish. Sprinkle 2 teaspoons gelatin over top. Set aside and let soften for 5 minutes.
- To prepare containers, prop eight small 6-ounce jars in a muffin tin on an angle. If necessary, crumple a bit of paper towel or aluminum foil underneath the jars to support them. You can test out the angle of the jar with water, and adjust as necessary. (Alternatively, if you don’t want a fancy angled design, just set the jars on a flat plate or rimmed baking sheet).
- Combine milk, cream, and sugar in a medium saucepan set over medium-low heat. Gently warm milk, stirring occasionally, until sugar is dissolved and mixture just starts to steam. Remove from heat and stir in vanilla.
- Microwave softened gelatin for 5 to 8 seconds, then stir until smooth. Whisk in to warm milk mixture. Divide among prepared jars. Carefully transfer to the refrigerator (you don’t want the liquid sloshing up the sides) and place on a flat level surface. Let sit, undisturbed, until fully set, at least 6 hours or overnight.
- To prepare the gelée layer, again place another 1/4 cup cool water in small microwave-safe dish. Sprinkle 1 1/2 teaspoons gelatin over top. Set aside and let soften for 5 minutes.
- Combine lemon juice, passion fruit puree, 3/4 cup of club soda, and sugar in a medium saucepan (note that if your passion fruit is unsweetened you may want to increase the sugar quantity to taste). Stir over medium heat until mixture is warmed and sugar is dissolved. Remove from heat.
- Microwave softened gelatin for 5 to 8 seconds, then stir until smooth. Whisk in to warm juice mixture along with remaining club soda. Transfer to a heat-proof bowl or large measuring cup with a spout (for easy pouring) and let cool for about 45 minutes to 1 hour, until just barely warm to the touch (approximately 85 degrees). DO NOT rush this step: it is essential for the second layer to be lukewarm before pouring on top of the first layer, otherwise the warm gelatin will melt the layer under it and you’ll end up with a chunky mess. Trust me. At the same time, don’t forget about it or the gelatin might set up too much, making it impossible to pour.
- When gelatin mixture is just barely lukewarm to the touch, remove jars from fridge. Transfer to a rimmed baking sheet, they will be sitting level now. Carefully pour gelatin mixture on top. Refrigerate for 1 1/2 to 2 hours or until gelatin is partially set, then place cherries on top. They should sink ever so slightly into the partially-set gelatin. If they sink too far, let the gelatin set up a bit more and try agin. If they don’t sink at all, well, you can’t exactly ‘unset’ the gelatin so just place the cherries right on top. Refrigerate until completely set, another 4 to 6 hours, before serving.
*I used Monin passion fruit puree here, which is a sweetened syrup used for cocktails and bartending. You can also use passion fruit juice or concentrate, or even fresh passion fruit if you are lucky enough to have it. You could also swap out the passion fruit and club soda and use passion fruit soda instead. Depending on the sweetness of your passion fruit, you may need to increase the sugar, just taste and use your best judgement as far as how sweet you like it.
Did you make this recipe?
Let us know what you think!
Leave a Comment below or share a photo and tag me on Instagram with the hashtag #loveandoliveoil.