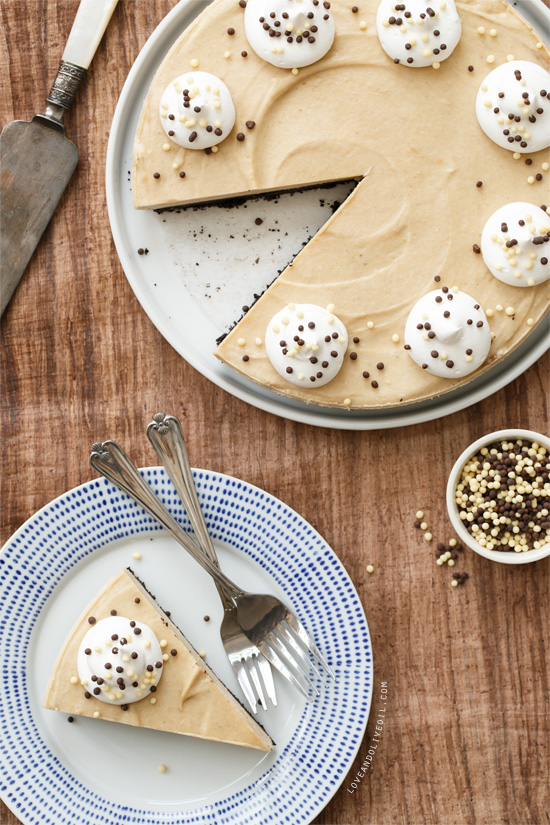
Proof that pies don’t need heat to be spectacular.
I challenged myself to create a pie—a decadent pie—highlighting the multi-talented Vitamix® blender (in fact, I’d argue that it is way more than just a blender). This recipe uses the Vitamix for each of the four mixtures that ultimately come together into one singularly fabulous pie. The Vitamix does a bang up job of crushing chocolate wafer cookies for the crust; it pulverizes whole roasted peanuts into creamy homemade peanut butter; it mashes bananas like a banana mashing champ; AND it whips cream in literally 5.7 seconds. (Impressed? You should be. And don’t fret if you don’t have one, because I’m GIVING ONE AWAY right here. For real. Don’t miss it!)
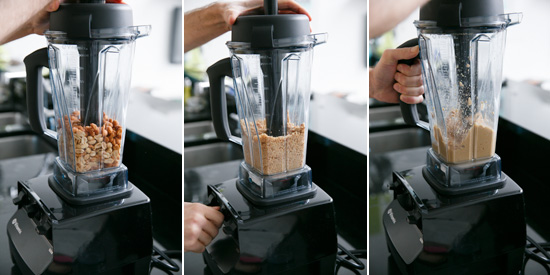
As much as I would have liked to throw everything in the blender all at once and call it the 5.7 second pie (believe me, I tried), each mixture really needs to be prepared individually and then folded together in a specific order. But luckily, the Vitamix only needs to be washed once during the process, between the other steps a quick rinse will suffice. Because that may be my least favorite part of ANY nifty gadget: the cleaning.
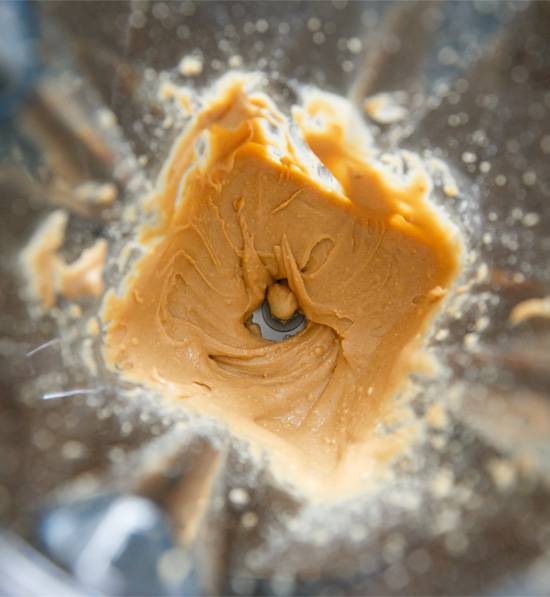
We’ve had our Vitamix for over 5 years (and it’s still going strong). It was a wedding gift, and is easily one of the most used appliances in our kitchen. But one thing I had never ventured to make with it was homemade peanut butter.
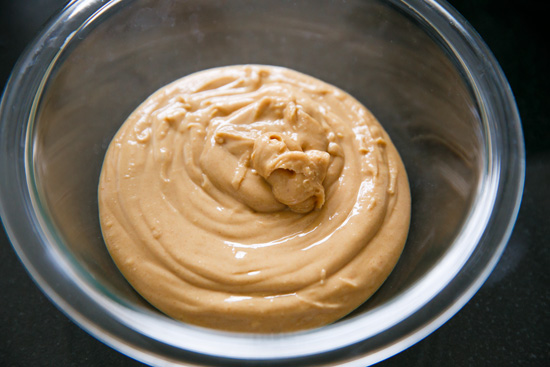
Can I say what a revelation homemade peanut butter is? Because, hello, honey-roasted OMG. Seriously, honey roasted peanut butter SHOULD be a thing. WHY isn’t it a thing? I seriously can’t believe it isn’t.
But who cares, because I now know how easy it is to make it myself. The Vitamix turns peanuts into liquid gold in under 2 minutes.
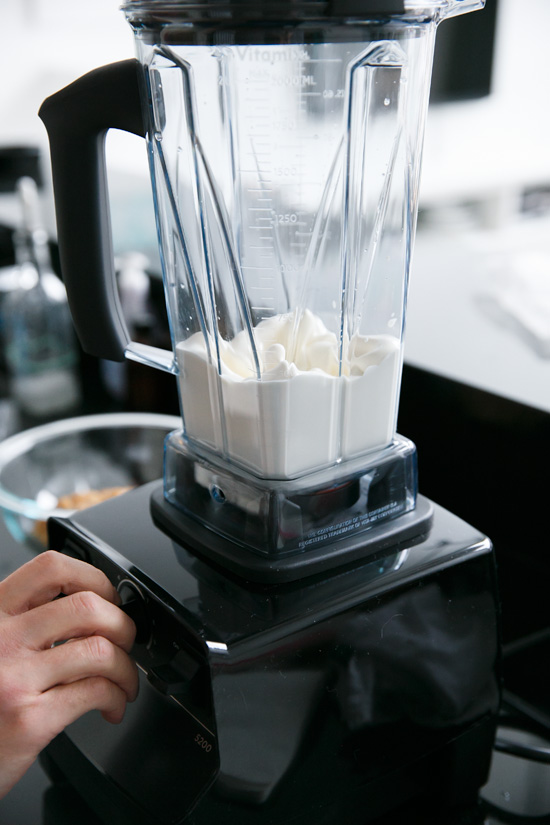
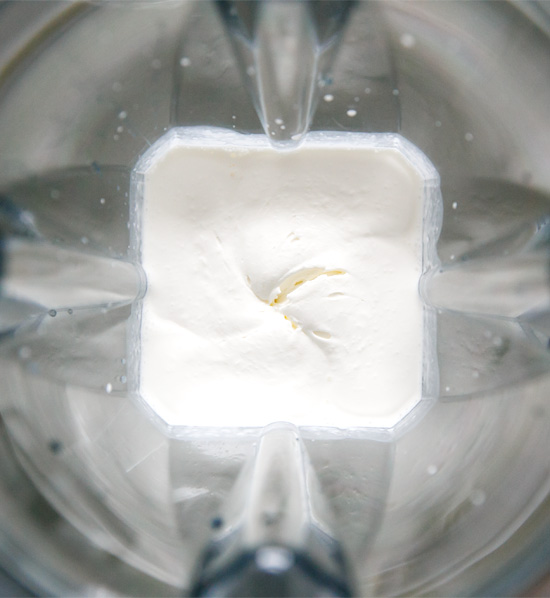
Also: whipped cream. In a blender. In under 10 seconds. BRILLIANT.
While I froze the pie, you can also just refrigerate it if you prefer a more pudding-like consistency. Either way, it’s spectacular in its simplicity.
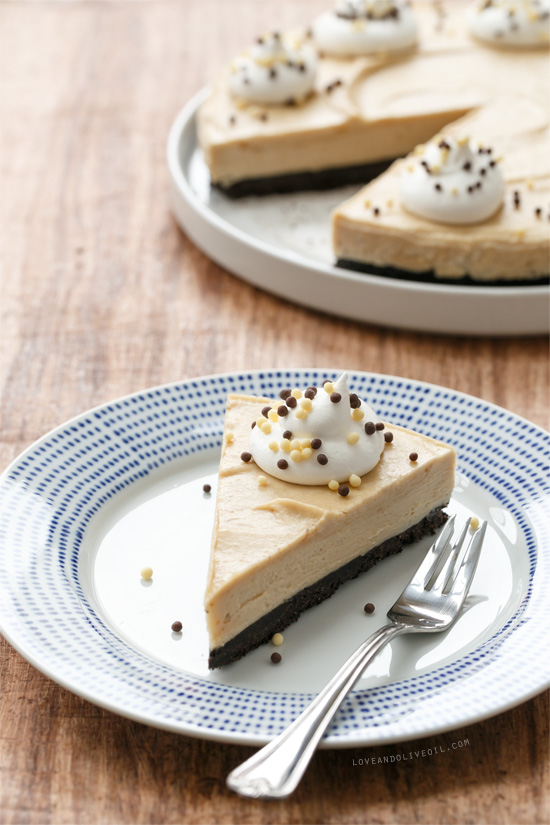
Honey Roasted Peanut Butter Banana Cream Pie
Ingredients:
For Crust:
- 8 ounces chocolate wafer cookies
- 2 tablespoons brown sugar
- 5 tablespoons unsalted butter, melted
For Filling:
- 10 ounces (2 cups) honey roasted peanuts
- 1 banana, peeled and cut into chunks
- 1 tablespoon honey
- 2 cups heavy cream
- 1/4 cup granulated sugar
- 1 teaspoon vanilla extract
Directions:
- To prepare crust, crush cookies in the Vitamix on high speed until finely ground, using the tamper as needed to redistribute cookies. You should end up with 1 1/2 cups of cookie crumbs. Transfer to a bowl and stir in brown sugar. Add butter and mix until evenly incorporated. Press into the bottom of a 9-inch spring form pan or in the bottom and up the sides of a 9-inch pie pan. Freeze crust until filling is ready. Rinse any remaining crumbs out of the canister and pat dry.
- Place peanuts in the canister and secure lid with the tamper in place. Turn machine on at the lowest speed, and gradually increase the speed to Variable 10, then to High, using the tamper to keep the nuts moving. Continue to mix for another minute or so, until the peanut butter begins to flow freely through the blades. You may notice the sound of the motor change from a high pitch chugging sound to a low laboring sound. Stop the machine and transfer the peanut butter to a large bowl, scraping as much of the peanut butter out of the canister as you can.
- Don’t worry about cleaning the canister at this point. Add banana chunks and honey. Turn to the lowest speed, then increase to Variable 5 for about 1 minute or until banana is liquefied (the slightly lower speed here will prevent too much of the banana from splattering up the sides). Pour into bowl with peanut butter and stir to combine.
- Wash and dry canister to remove any residual peanut butter. You want to be sure the canister is very clean at this point so your cream will whip up properly.
- Add cream, sugar, and vanilla to canister. Turn to the lowest speed, then increase to Variable 5 for about 10 seconds. Watch it very carefully, the second the top of the cream stops moving, turn off the mixer immediately. Over-mixing will result in butter rather than whipped cream.
- Stir the whipped cream in the canister to even out the consistency (the top might be slightly firmer than the cream on the bottom). Remove about 1 cup of cream and set aside to use as a garnish later. Add about half of the remaining whipped cream to peanut butter mixture; fold to incorporate and lighten the filling. Fold in the remaining whipped cream until smooth.
- Pour filling into prepared crust, smoothing top with an offset spatula or butter knife. Spoon or pipe remaining whipped cream in a decorative manner around the edges of the pie. If using a springform pan, you can cover the entire thing with aluminum foil without touching the cream. If using a pie pan, leave it uncovered. Refrigerate or freeze for 1 to 2 hours or until set or frozen. If frozen, let come to room temperature for 10 to 15 minutes before serving (it’ll be easier to slice that way).
Did you make this recipe?
Let us know what you think!
Leave a Comment below or share a photo and tag me on Instagram with the hashtag #loveandoliveoil.
Disclosure: This post is sponsored by Vitamix®. As always, all opinions written are purely our own. We’re incredibly grateful for opportunities like these that allow us to continue sharing delicious recipes with you, so thank you for supporting us and the brands we love.