This recipe was created in partnership with White Lily®.
Thanks for supporting us and the brands we love!
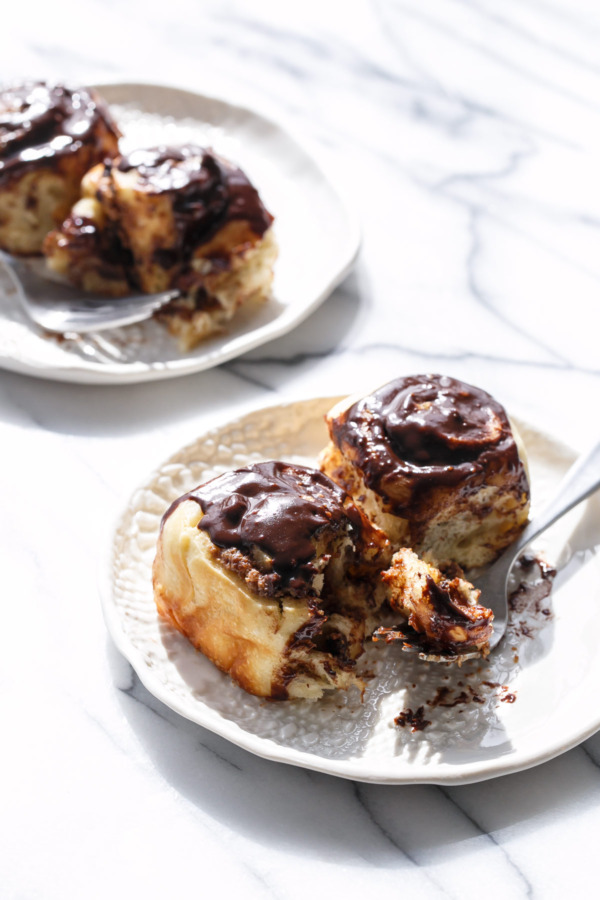
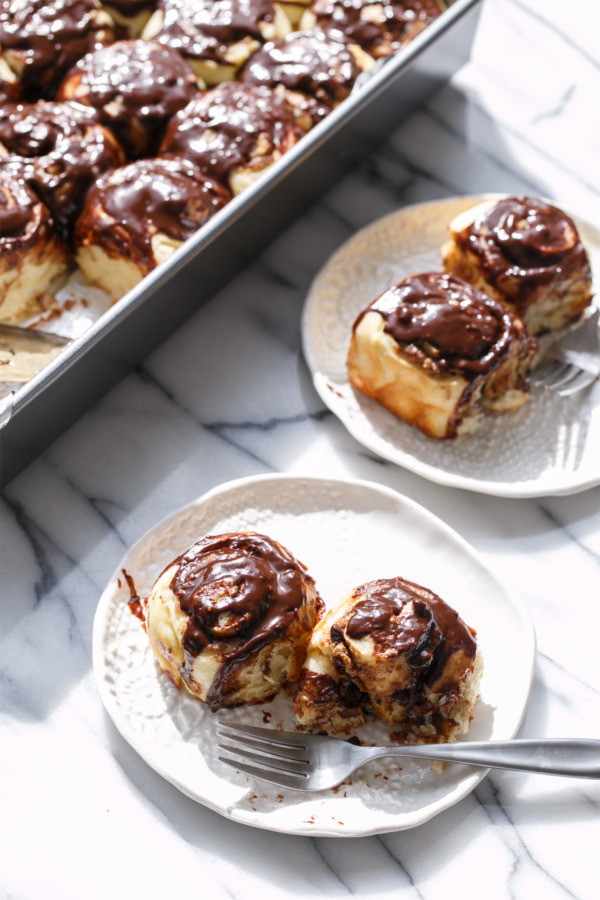
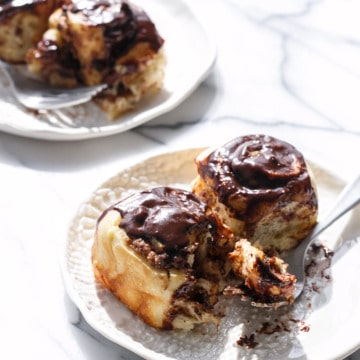
When a plain old cinnamon roll just won’t do… these chocolate peanut butter buns might be just what you’re craving. Little in size, but large on flavor, with a lightly spiced peanut butter filling studded with chocolate chips and plenty of gooey chocolate glaze (think doughnut) on top. Just for good measure.
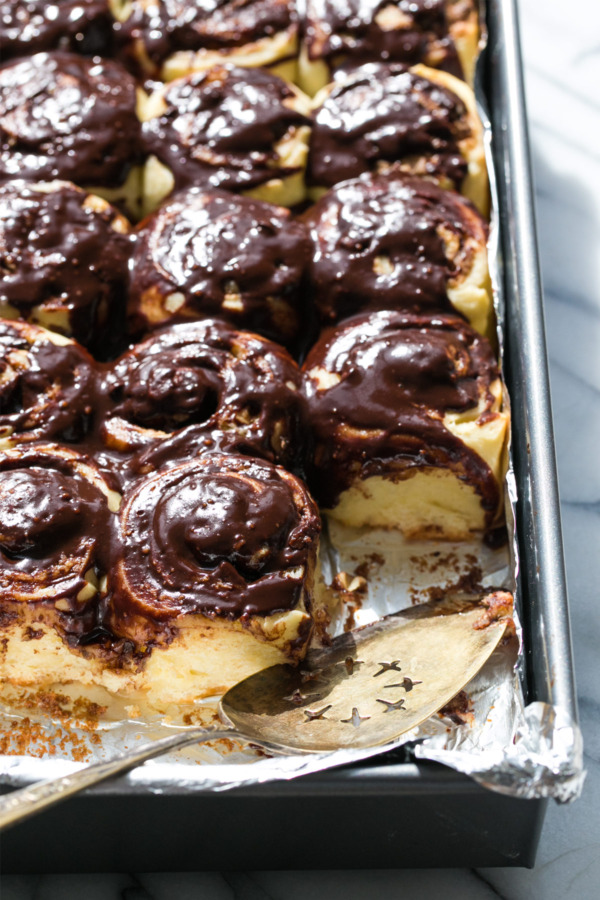
These rolls are best right out of the oven, freshly glazed and devoured while they’re still warm and gooey.

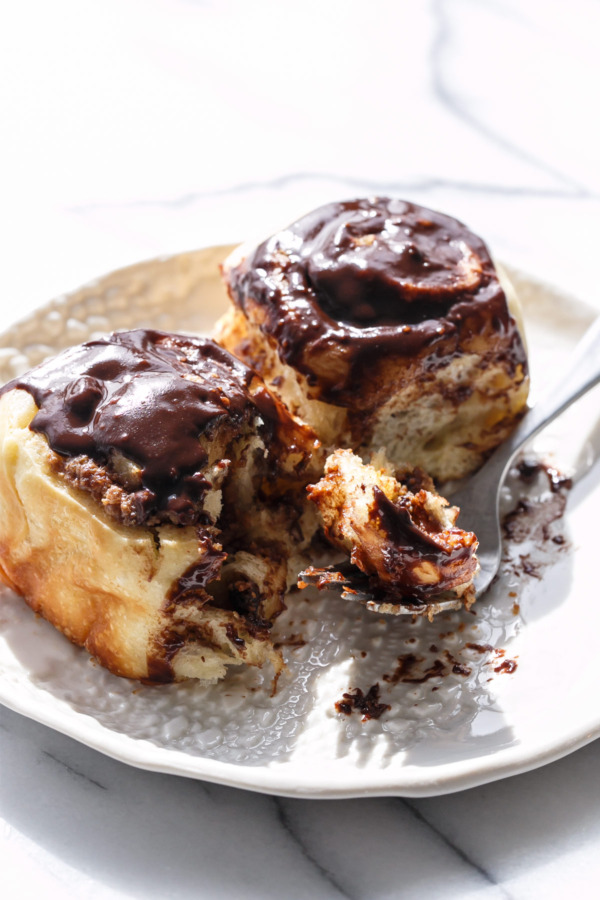
The first time I made them I daintily drizzled the glaze on top.
The second time I smothered them.
Guess which batch I liked better?
(The second batch also got a generous brush of melted butter before baking which also didn’t hurt).
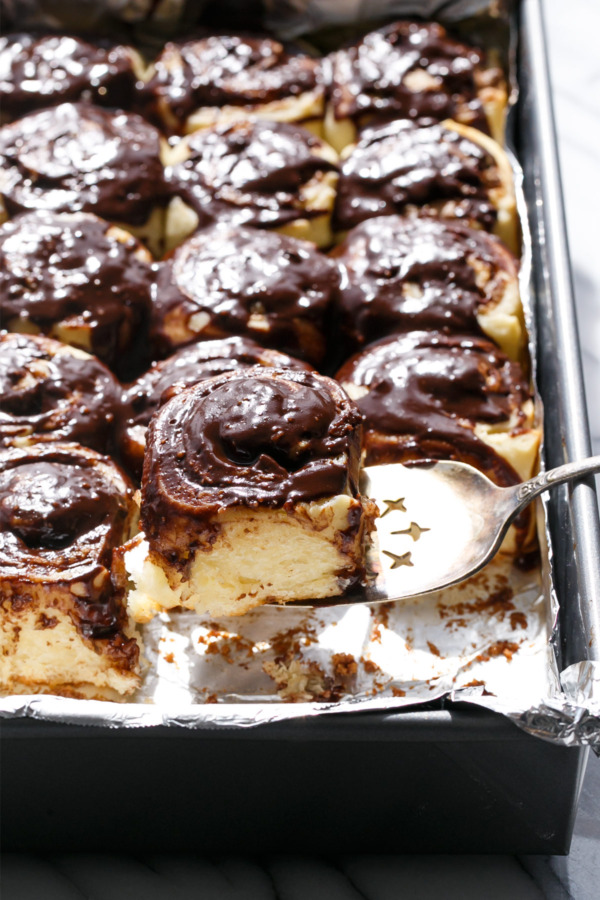
They key to soft rolls is a moist dough, plenty of butter, and less baking time than you might think. Pull them out when the buns are baked through, but still soft in the middle. The tops will not be golden brown (we’re not making biscuits here), rather the edges of the buns will have just barely started to color. Like a light brush of bronzer, not a bottle of spray tan.
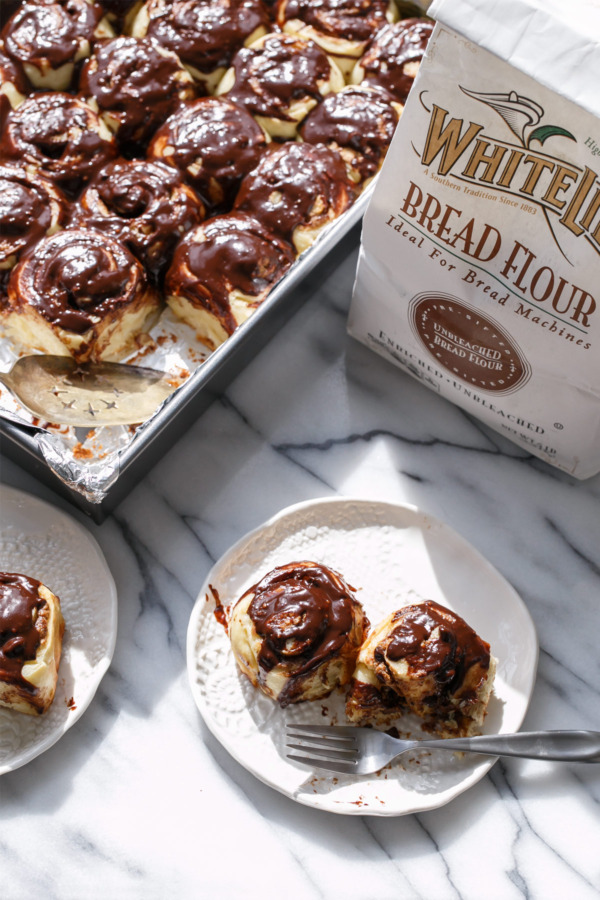
We’ve talked about flour before. Multiple times, actually, and in what situations bleached vs unbleached vs cake flour is appropriate. Here, we’re using bread flour, which has the highest protein content of all the different types of flour. That extra protein helps build gluten and allows the dough to absorb more liquid (and more liquid leads to a softer, fluffier bun). While you could use All Purpose flour here (unbleached, please, if you must), your dough will be stiffer and your rolls won’t be quite as soft. Still good, but bread flour will be so much better.
You can find White Lily® Bread Flour in a store near you or online at smucker.com or Amazon.
Cinnamon rolls might seem tedious if you quickly glance at the sheer length of the recipe down there, but if you break it out into easily manageable steps they’re really quite approachable. Especially if you plan to eat them in the morning (which I assume you will), this breakdown means you don’t have to wake up at the crack of dawn to prepare them. While the entire process, start to finish, would take about 3 to 4 hours (including rise time), I suggest breaking the process up into 3 steps, each taking no more than 30 minutes of active time, completed over a 2 or 3 day period.
2-Day cinnamon rolls:
Day 1: Make the dough, let rise 1-2 hours. Roll out, fill, and cut the rolls. Cover and chill overnight.
Day 2 AM: Take out of the fridge 1-2 hours to let rise, then bake, glaze, and serve.
3-Day cinnamon rolls:
Day 1: Make the dough. Cover and chill overnight (it’ll do a surprising amount of rising even when refrigerated).
Day 2: Roll out, fill, and cut the rolls. Cover and chill overnight.
Day 3: Take out of the fridge 1-2 hours to let rise, then bake, glaze, and serve.
When you look at it this way, it doesn’t seem so complicated, does it?
Trust me, it’s worth it in the end. All the recipes I’ve tried for 1 hour cinnamon rolls just don’t quite have the same cloud-like texture… they’re denser, more like pizza crust or breadsticks, and that’s just not the texture you want in a cinnamon roll.
Oh, and please weigh your flour. The difference between 3 cups that I measure and 3 cups that you measure might be as much as 1 ounce or more (usually on the side of more flour than necessary), which can greatly affect the texture of the rolls. A good kitchen scale is an invaluable tool in your kitchen.
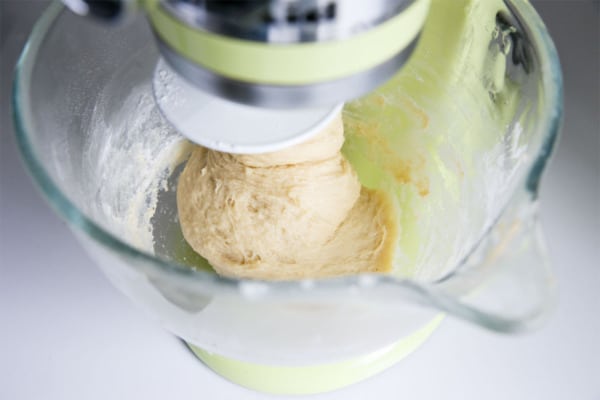
The dough itself should be sticky. A stiff dough yields a stiff roll, and we’re going for soft and fluffy here. Your dough should pull away from the sides of the bowl but still stick to the bottom (and to your hands). Don’t worry, once it rises and/or chills it’ll be workable, I promise.
If you’re making these on a particularly humid day, you can add a bit more flour if you really need it, but if you can manage without it your rolls will be better off in the end.
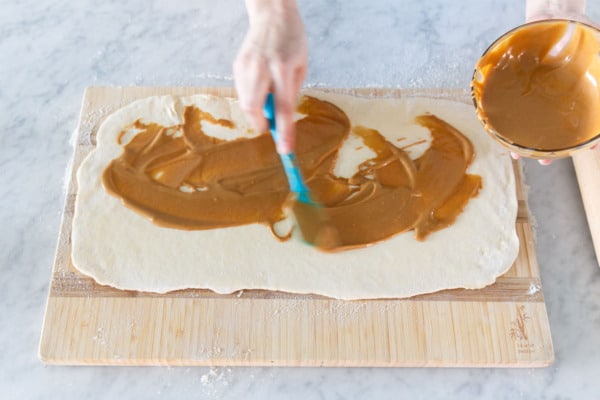
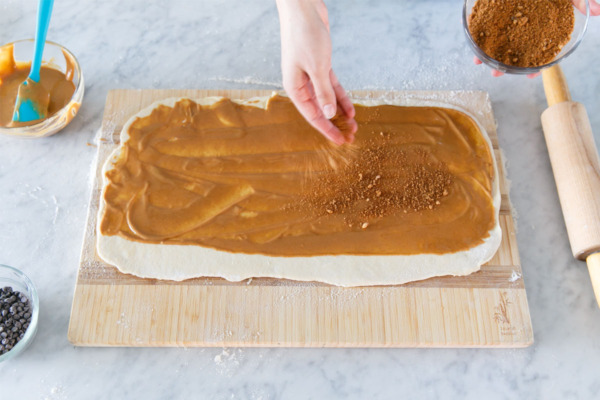
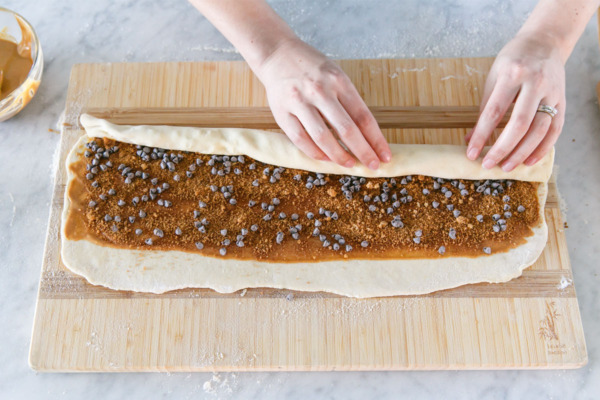
The filling is simply melted butter and peanut butter (peanut butter on its own tends to be a bit too thick when baked, the butter helps smooth it out), followed by a sprinkle of cinnamon and brown sugar like a traditional cinnamon roll.
And chocolate chips. Because why not?
If you wanted to turn these into full-size cinnamon rolls, don’t split the dough in half. Roll a rectangle about the same size, but it will be twice as thick, and spread with the full amount of filling and cinnamon sugar (or as desired). You’ll end up with 12 full size rolls this way. In my opinion, however, this size roll with this particular recipe is a bit disproportionate: I like more filling and less dough of the mini rolls.
Now, someone better take this pan away from me before I eat them all in one sitting.
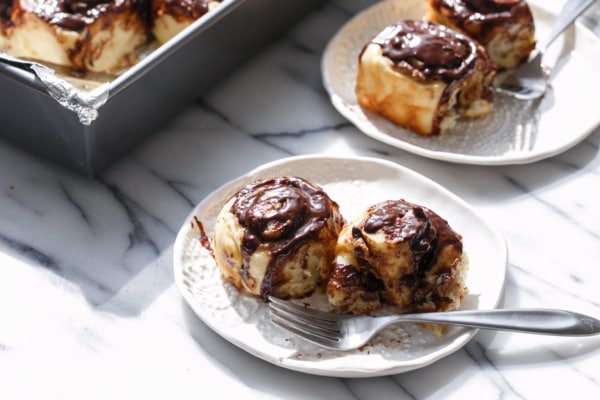
Mini Chocolate Peanut Butter Cinnamon Rolls
Soft, gooey cinnamon rolls with peanut butter filling and a warm chocolate glaze. The mini size of these rolls ensures the optimal dough-to-filling ratio.
Ingredients:
For Dough:
- 3/4 cup whole milk
- 6 tablespoons (3/4 stick) unsalted butter
- 1 packet (2 1/4 teaspoons) instant rapid rise yeast
- 2 tablespoons sugar
- 2 large eggs
- 1 teaspoon kosher salt
- 3 tablespoons whole milk powder
- 3 cups (12.75 oz) White Lily® unbleached bread flour
For Filling:
- 1/2 cup creamy peanut butter
- 2 tablespoons unsalted butter
- 1/2 cup packed light brown sugar
- 1 tablespoon cinnamon
- 1/4 cup mini semisweet chocolate chips
- 2 tablespoons unsalted butter, melted (for brushing)
For Glaze:
- 4 ounces dark or bittersweet chocolate, finely chopped
- 1/4 cup unsalted butter
- 1/4 cup heavy cream
- 1 tablespoon corn syrup
- 1/2 teaspoon vanilla extract
- pinch salt
Directions:
- Heat milk and butter in a small saucepan over low heat or in the microwave on 50% power until butter is just melted. Pour into a large mixing bowl or the bowl of a stand mixer and let cool to lukewarm (95 to 105 degrees F). Whisk in yeast, sugar, eggs, salt, and milk powder.
- Add flour, 1 cup at a time, mixing with the paddle attachment until incorporated. Switch to the dough hook and knead for 3 to 5 minutes or until smooth and elastic. The dough should pull away from the sides of the bowl but still stick to the bottom. If your dough is seriously too sticky, you can add a few more tablespoons of flour as needed (but know that stickier dough = softer buns).
- Turn dough out on a lightly floured surface and knead of 5 to 7 minutes or until smooth and elastic. Form into a ball and place in a lightly oiled bowl. Cover and set in a warm spot to rise until doubled in size, 1 to 2 hours. Punch down dough. At this point the dough can also be tightly covered and refrigerated overnight; let sit at room temperature for 30 minutes before rolling.
- To prepare filling, melt peanut butter and butter in the microwave until butter is melted and peanut butter is thin and smooth. In a separate bowl, whisk together brown sugar and cinnamon until evenly incorporated.
- Divide dough into two equal pieces. Working on a lightly floured surface, roll out one piece into a rectangle approximately 18 by 8 inches in size and 1/4-inch thick, with the long edge facing you. The dough will be thinner than you might be used to for standard cinnamon rolls, this is what makes them mini.
- Spread half of peanut butter mixture evenly over dough, leaving about an inch along the top edge naked. Sprinkle half of cinnamon sugar mixture evenly over top of peanut butter, then scatter half of mini chocolate chips over tip.
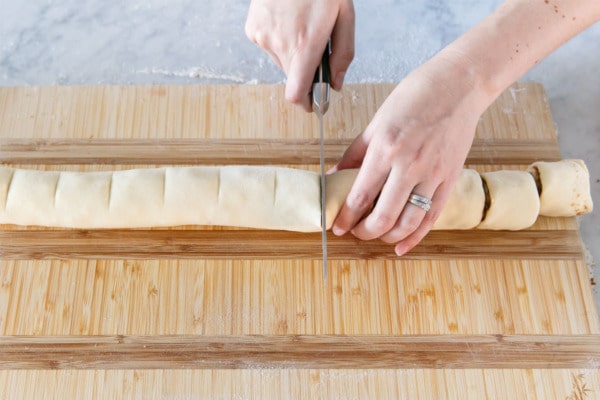
- Starting with the long edge closest to you, roll up the dough. Pinch along the outside edge to seal. With a sharp serrated knife, cut into twelve even 1 1/2-inch thick slices. Arrange slices in a foil-lined baking pan that has been sprayed lightly with cooking spray, in 3 rows of 4, leaving a little space between each roll.
- Repeat with second half of dough. You should end up with 24 rolls. At this point the cut rolls can be covered and refrigerated overnight; take out of the fridge 1-2 hours before you plan to bake them in the morning and let them rise until doubled in size. Or, if baking the same day, loosely cover with plastic wrap and let sit in a warm spot until puffed and roughly doubled in size.
- Preheat oven to 350 degrees F. Brush tops of rolls with melted butter.
- Bake for 20 to 25 minutes or until tops are just barely golden brown (don’t overbake, especially if you like gooey rolls). Remove from oven and let cool while you prepare the glaze.
- For the glaze, in a small saucepan set over low heat or a microwave safe bowl, melt chocolate along with butter, cream, and corn syrup until just melted and smooth. Add vanilla and salt and stir until smooth. Spread or drizzle glaze over warm rolls and serve immediately. Rolls will keep for a day or two (reheat in the microwave before serving) though they really are best when they’re served warm, right out of the oven.
Did you make this recipe?
Let us know what you think!
Leave a Comment below or share a photo and tag me on Instagram with the hashtag #loveandoliveoil.
 Disclosure: This post was created in partnership with White Lily. As always, all opinions written are purely our own. We’re incredibly grateful for opportunities like these that allow us to continue sharing delicious recipes with you, so thank you for supporting us and the brands we love.