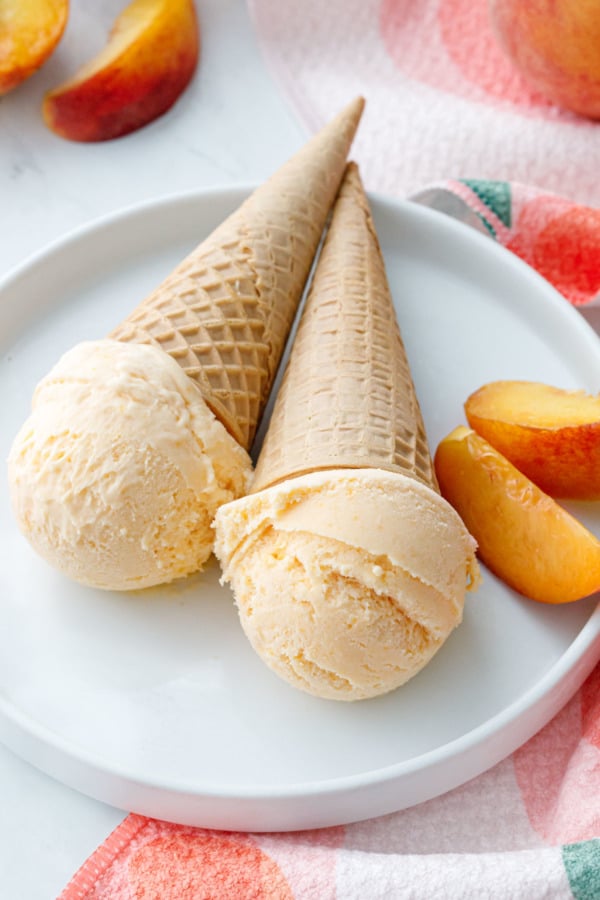
Celebrate summer with a scoop (or two) of this fresh peach and goat cheese ice cream: it’s bright and peachy with vanilla and almond extracts and just a hint of tangy goat cheese flavor.
Eggless ice creams are a breeze to make and even easier to eat: this one only requires a quick whir in the blender before churning, no heat required.
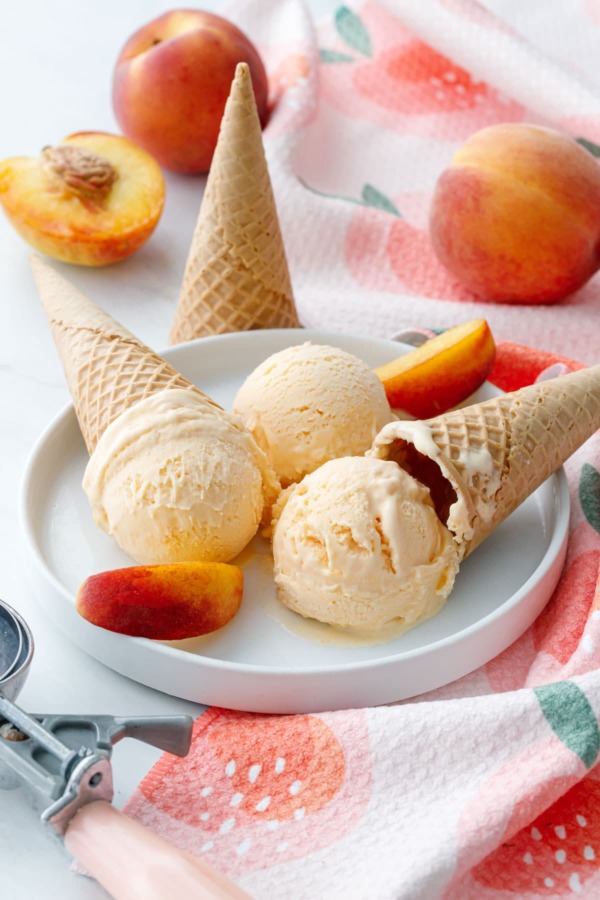
I’ve been on an ice cream kick this summer, especially now that the summer heat has hit with a vengeance. From toast & jam ice cream to strawberry funfetti ice cream cake, my ice cream machine has gotten plenty of exercise these past few months (I’ve actually got another ice cream recipe in the chute as well, one with a very interesting flavor you might raise your eyebrow at first, but trust me, it’s a good one. Alas, in an effort to spread things out and alternate some savory recipes in there too, you may have to wait a few weeks for that one).
This recipe uses a similar ice cream base as the strawberry buttermilk ice cream I used in my funfetti ice cream cake, simply swapping peaches for strawberries and goat cheese instead of the buttermilk.
Best of all, this ice cream is easy as pie (so the saying goes but honestly, pie is anything but easy, easy as eggless ice cream is much more apt). Simply blend up all the ingredients in a food processor or blender and pour it right into your ice cream maker. No eggs, no tempering, no fuss.
Sometimes I opt to chill my base a bit more before churning (colder base = faster churn time = creamier ice cream), but if all your ingredients are pretty cold to begin with, you have permission to go straight from blender to ice cream maker.
The goat cheese is not an overpowering flavor, rather just a hint, enough to give it some body and tang without veering into funky territory (Taylor was worried about this when I first posed the idea, but trust me that he’s more than come around to it after tasting the final product). I do recommend using a mild goat cheese, we picked up a tub of fresh goat cheese at our local farmers market, and it was lovely. I feel like store bought cheeses, the kind in the plastic logs, are typically more pungent in flavor.
You could also use cream cheese or mascarpone here, the later of which I think would be downright lovely and would result in a delightfully creamy final product.
Or stick with the original buttermilk iteration, using 1/2 cup whole buttermilk instead of the soft cheese (I’ve done the fruit + buttermilk combination multiple times with a variety of fruits including cherries, blackberries, and strawberries, so I have no doubt it’d work with peaches too).
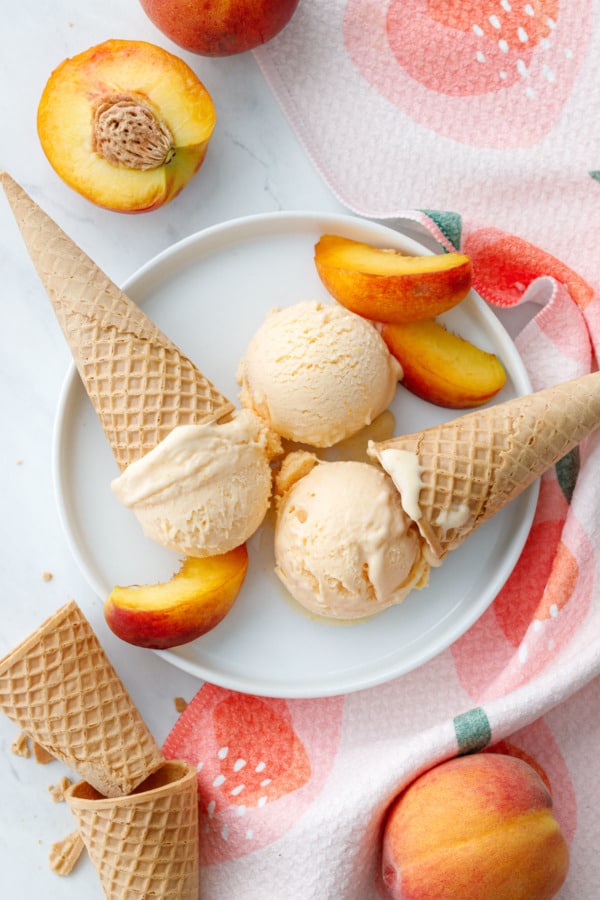
The only somewhat fussy (fuzzy?) part I guess you could say is peeling the peaches, which I recommend since little bits of fuzzy skin would ruin the smooth and creamy texture. That said, if you opt to skip the peeling step, maybe don’t puree the peaches fully so you have some chunks of fresh peach mixed in throughout.
How to Peel Peaches
To easily peel peaches, bring a pot of water to a boil. Cut a shallow X in the base of each peach, then submerge in the boiling water for 30 seconds before dunking in an ice bath. Once cooled, the skin will quite simply slide right off the peach. (Psst, this method also works for tomatoes too!)
Churn it Up
A few years back I invested in a compressor-powered ice cream machine, which, while large and not exactly cheap, has been a worthwhile purchase for me in that I can make multiple batches of ice cream subsequently without having a re-freeze a bowl for 48 hours (or try to fit two bowls in the freezer at once). Not that we eat all that much ice cream, but for recipe testing purposes, being able to test multiple batches back to back is a game-changer. That said, before that I used the KitchenAid ice cream attachment for years and it always made beautiful ice cream, you just have to remember to pre-freeze the bowl ahead of time.
The creamiest ice creams are those that freeze the fastest, resulting in smaller ice crystals and a smoother, less icy texture. I’ve actually found that with my machine, churning two smaller batches of ice cream (about a pint each) is actually quicker and produces better results than trying to churn it all at once. So that’s what I did here, and definitely worth a try if you’re using a similar machine and find it’s not producing ice cream that’s as creamy as you’d like.
I also like to add a pinch of guar gum to my ice creams to improve the consistency and shelf life of the homemade ice cream. Simply whisk it in with a little bit of sugar and add it to the blender at the end (or, if you’re making a cooked custard ice cream, whisk it in to a tablespoon or two of the warm custard and then whisk that into the rest of it before cooling).
Ice Cream Storage Tips & Tools
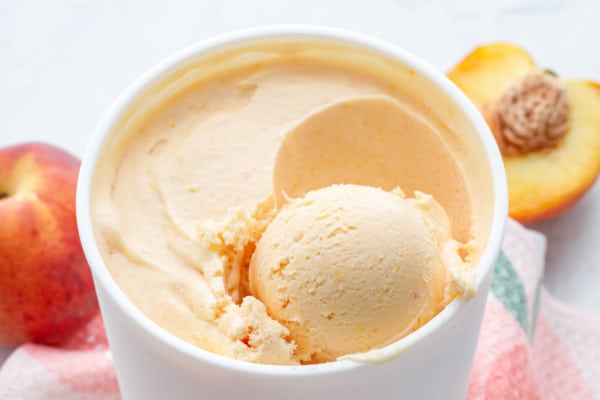
To store your ice cream, transfer the freshly churned ice cream (which should be the consistency of soft serve) to your pre-chilled container (pop it in the freezer when you start churning so it’s good and cold when you need it).
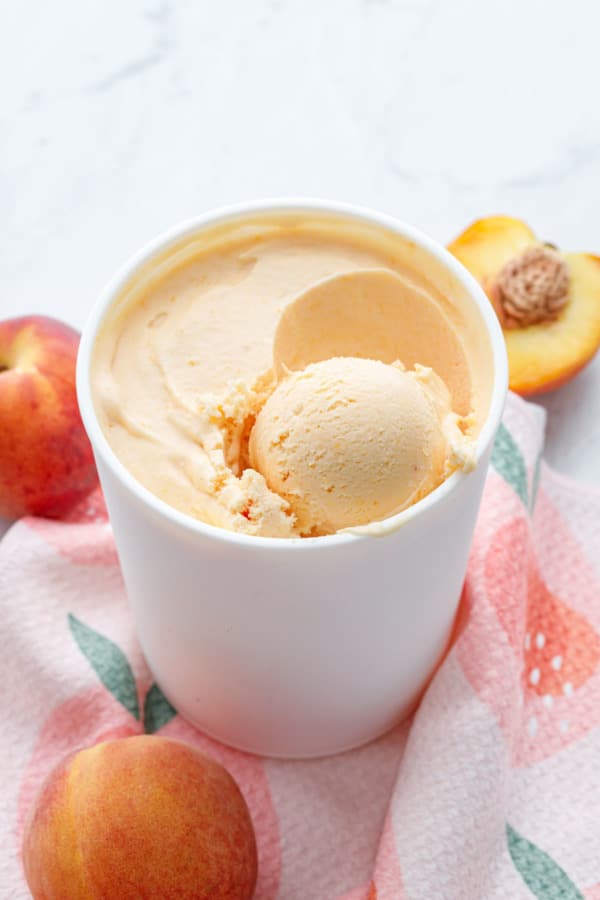
I use all a variety of different containers to store my ice cream, including insulated plastic containers both round (pictured above) and rectangular, as well as disposable paper ones that mimic the pints you’d buy in the store (assuming they’re not too bent out of shape I can usually rinse and reuse them at least 2 or 3 times).
Whatever container you use, I recommend pressing a layer of parchment down on the surface of your ice cream before putting on the lid. This will help keep out the freezer burn as well as any undesirable flavors that might be floating around your freezer.
Get the Scoop
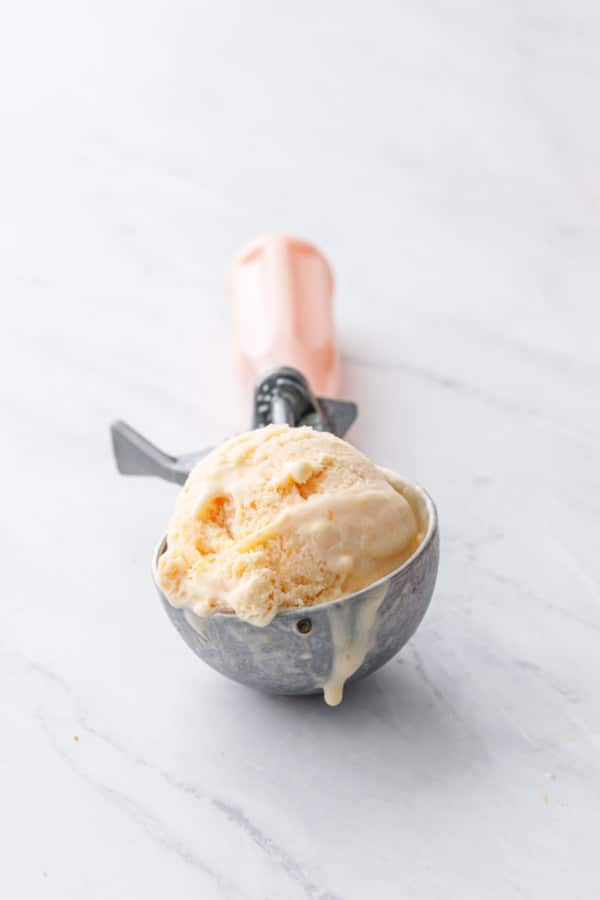
Is it strange that I have, like, 6 ice cream scoops? That’s not normal, right? Needless to say I’m ever-searching for the perfect ice cream scoop. Right now my large cookie scoop makes the best looking scoops, and for softened, smooth-textured ice creams like this it works well. For chunkier, harder-to-scoop ones, however, you definitely need something beefier (this liquid-filled one makes scooping a breeze, though not as photo-worthy which is why I don’t use it as often). The pink scoop in the photos is actually a vintage one, and while it’s damn cute it’s a bit flimsy so I fully admit it’s just a pretty prop, I don’t actually use it for scooping ice cream. 😉
Lastly… the adorable tea towel used in these photos? Well, let’s just say you may recognize the peach graphic from my Drunken Peach Jam recipe from last year. I loved how it turned out so much I turned it into a printed towel, which I’ve been selling in my merch shop ever since. The towels are super-absorbent, easily my favorite towels for the kitchen. The fact that the design worked so perfectly with this ice cream recipe made me all the more pleased. You canbuy one for yourself on Zazzle.
Fresh Peach & Goat Cheese Ice Cream
This eggless ice cream is a breeze to make and even easier to eat, with a bright peachy flavor and just a hint of tangy goat cheese.
Ingredients:
- 4 small or 3 large peaches, peeled, pitted, and coarsely chopped (about 1½ cups chopped)
- ⅔ cup granulated sugar
- 1 tablespoon freshly squeezed lemon juice
- 1 teaspoon vanilla extract
- ¼ teaspoon almond extract
- 1/8 teaspoon fine sea salt
- 1½ cups heavy cream
- 4 oz mild goat cheese
- 1/8 teaspoon guar gum (optional)
Directions:
- To peel peaches, bring a pot of water to a boil. Score a shallow X in the bottom of each peach. Lower into the boiling water and let simmer for 30 seconds, then transfer with a slotted spoon to an ice bath. When the peach is cool enough to handle, peel of the skin.
- Cut peaches in half and remove pits, then coarsely chop the rest of the peach. You should have about 2 cups of chopped peach.
- In a blender or food processor, combine peaches, sugar, lemon juice, and extracts and pulse until finely chopped. If using guar gum (which will improve the texture and longevity of the ice cream), whisk guar gum with a tablespoon of sugar and then add it to the blender with everything else.
- Add cream and goat cheese and pulse a few more times on low speed until mixture is smooth (if you mix it less you’ll have a chunkier ice cream; blend longer for a smoother, more uniform final product). Just take care not to blend it too much, or your cream may whip itself into peach-flavored butter.
- You can churn this ice cream immediately or chill for a few hours to bring the temperature of the base down which will help the ice cream freeze faster.
- Pour into ice cream machine and churn according to manufacturer’s instructions. When it reaches the consistency of soft serve, transfer to a freezer storage container. Press a layer of parchment onto the top of the ice cream, then cover and freeze overnight until firm.
Did you make this recipe?
Let us know what you think!
Leave a Comment below or share a photo and tag me on Instagram with the hashtag #loveandoliveoil.