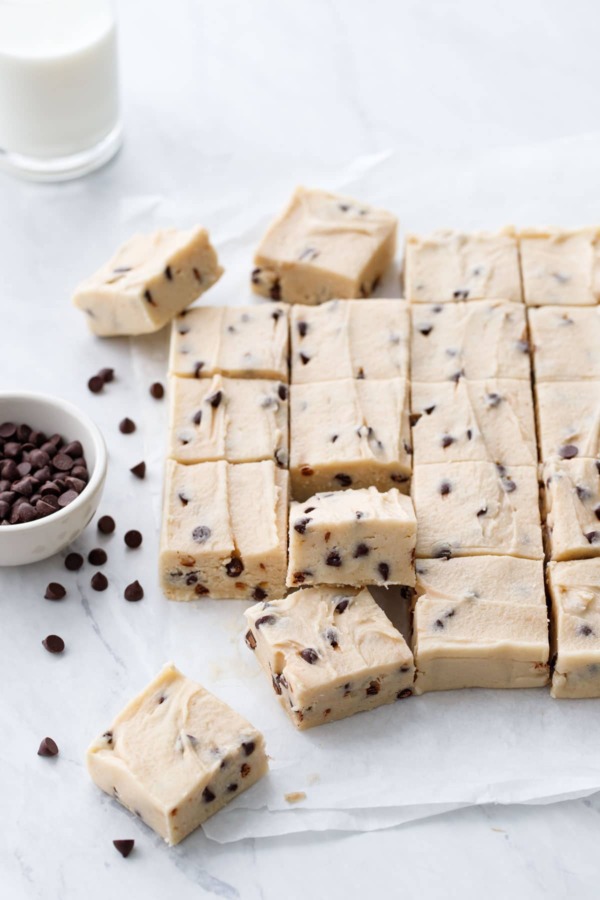
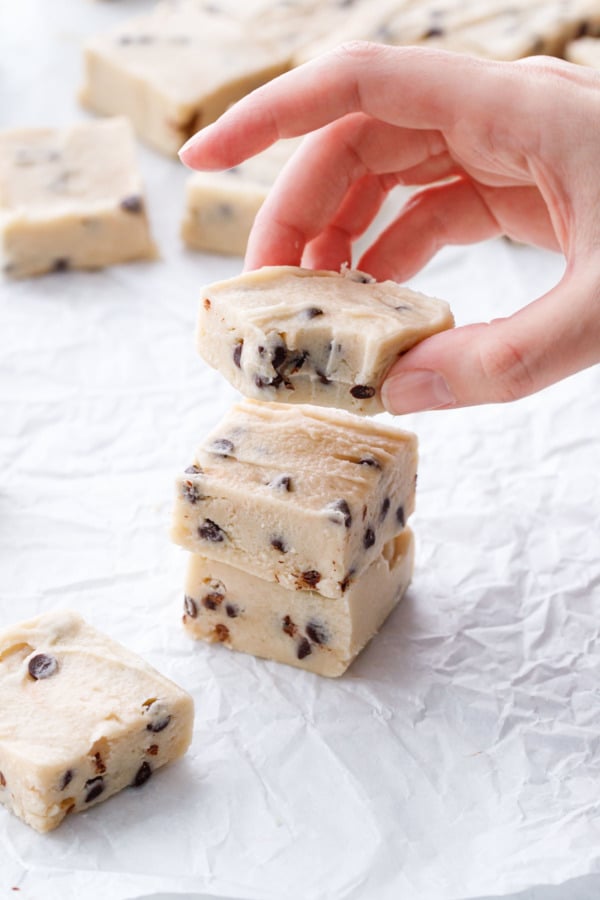
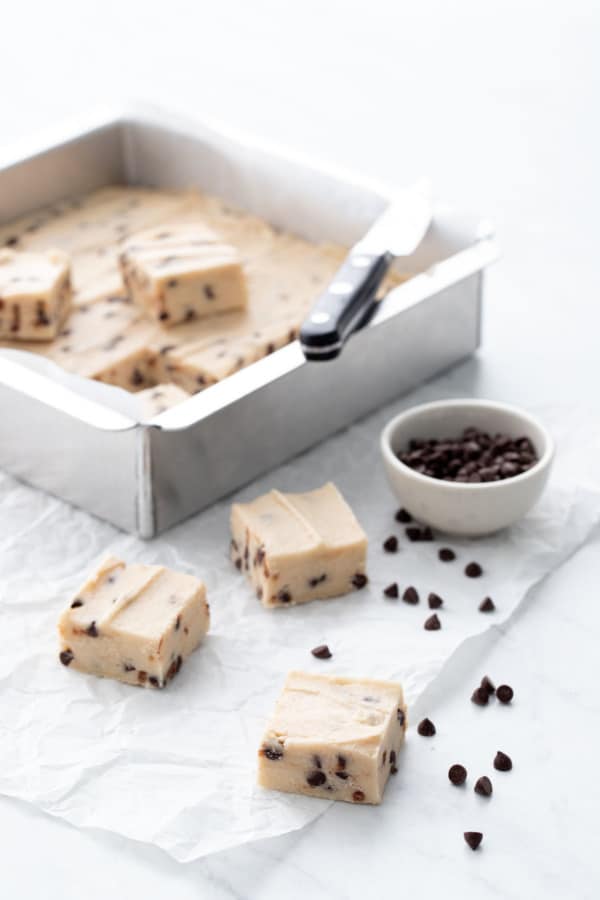
An easy, no-bake holiday treat, this cookie dough fudge is soft and creamy, with hints of vanilla and brown sugar and studded with mini chocolate chips, the same flavors that make chocolate chip cookie dough so irresistible.
If you’re obsessed with cookie dough like I am, you’re going to want to make this recipe STAT. It’s literally a slab of cookie dough flavored-fudge, but without the worry of raw cookie dough since it’s made without eggs and with heat-treated flour.
This recipe was originally published in my first cookbook over 8 years ago (Can you believe it’s been that long? I can’t!) It’s one of the handful of recipes that has really made its mark on the Internets, with dozens of bloggers having posted their versions (and that makes me so so happy). I’ll be honest I hadn’t made it myself since I made the final batch for the photo shoot, and decided it was high time I revisit this cookie dough classic. Because, y’all, I forgot just how good this ish is.
I vaguely recall the testing process for this recipe being nothing short of a disaster, having first attempted an old-fashioned brown sugar fudge somewhat like penuche I think it’s called? If I recall correctly, I threw out at least 3 or 4 full pans of too soft, too grainy, or oddly hard fudge before I finally decided to go in a different direction.
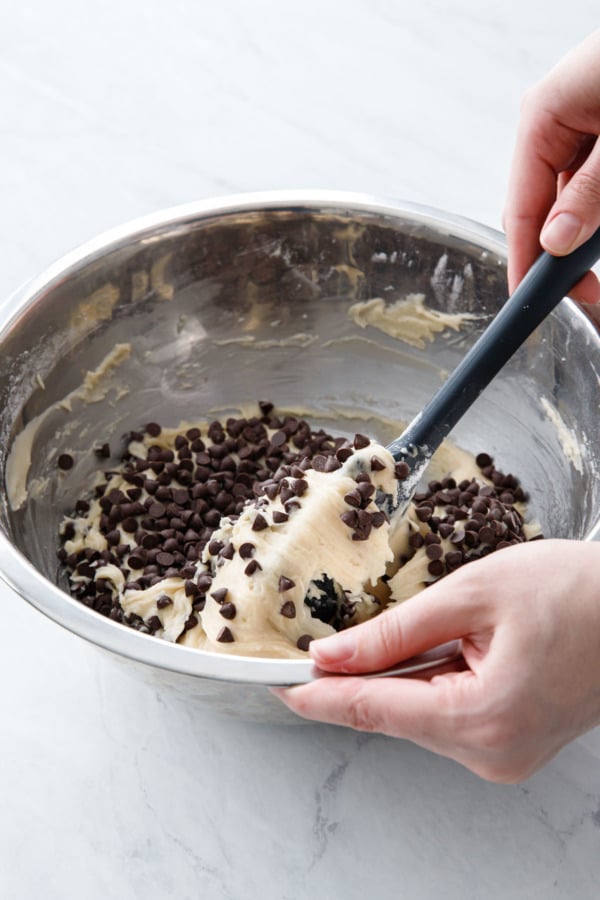
The final recipe is what I call shortcut, or cheater fudge, which uses powdered sugar rather than boiled sugar for structure. Combined with some milk, melted butter and brown sugar, and then a healthy glop of raw, eggless cookie dough and mini chocolate chips folded right in, it has the texture of your favorite holiday fudge, but the flavor of straight up chocolate chip cookie dough.
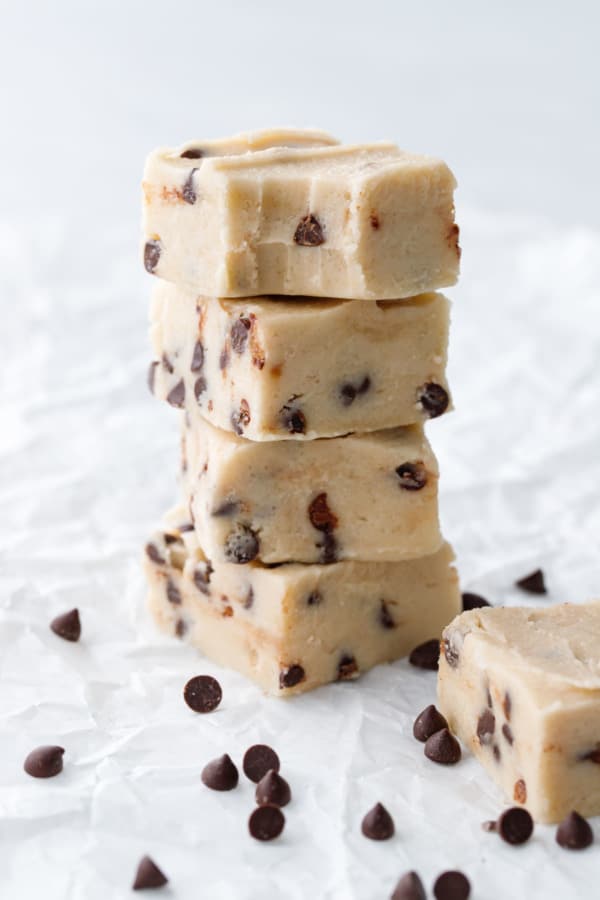
The texture is definitively fudge-like, with just a hint of graininess from the raw sugar in the cookie dough (I’d argue this texture is part of the appeal of cookie dough to begin with.) Preserving that texture is one of the reasons this is a two part recipe (folding in the raw cookie dough into the fudge base, rather than melting all the ingredients together in one pot which might taste the same, but would not have the same texture).
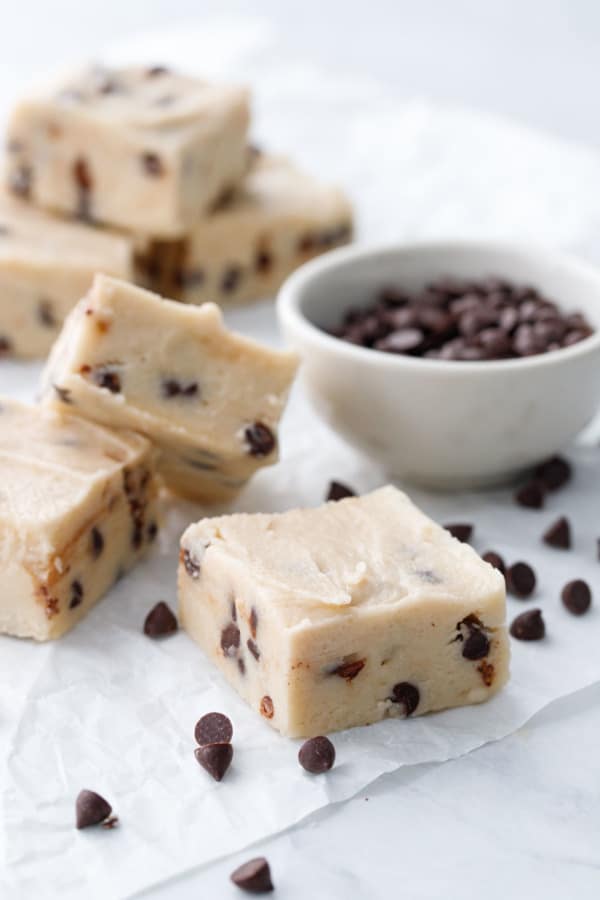
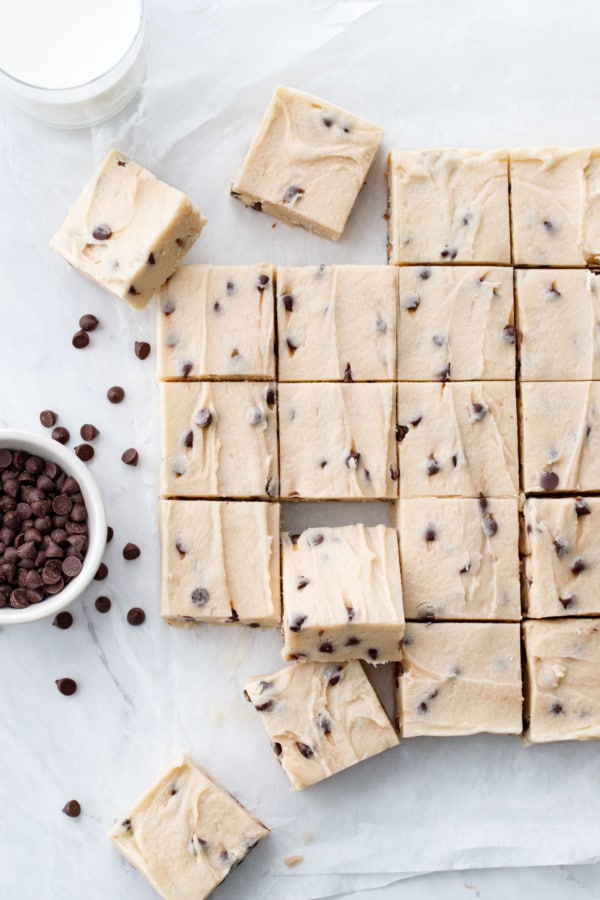
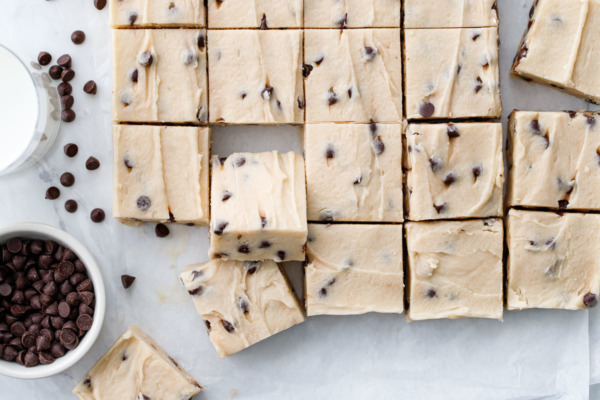
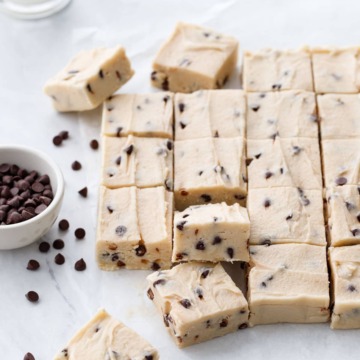
Mini chocolate chips give the chocolate a more even distribution, and a better balance of cookie dough to chocolate in each bite.
You’ll need a little over a pound of powdered sugar for this recipe (480 grams minimum), which is approximately 4 to 5 cups worth.
Why the range? I’ve included the option of slightly less sugar for more immediate consumption. That is, if you’re planning to eat squares of fudge straight out of the fridge, you can use the lower amount of sugar. But if you plan to serve the fudge sitting out for more than 30 minutes or so, you’ll want to use closer to 5 cups of sugar to give you a firmer, more sturdy fudge.
But please, do not reduce the sugar in this recipe below the minimum 4 cups. I know it’s tempting to make something less sweet, but in this case the powdered sugar is what gives the fudge its structure and stability. If you try to use less you’re just going to end up with a gloopy mess (a delicious one, I’ll give you that, but it’s not going to hold its shape like fudge should).
If you often find powdered-sugar based frostings and confections too sweet, I’ll let you in on a little secret: use organic powdered sugar. I have no idea why (must be something about how it is processed), but organic powdered sugar has a much less cloying sweetness than the conventional stuff.
That said, the organic kind is a bit stiffer and noticeably lumpy, so you have to sift it first (I always recommend sifting powdered sugar to avoid lumps, but when using organic sugar this is an absolute must). Trust me. Don’t skip the sifting.
One benefit to having your recipe made by dozens of others is undoubtedly someone will find a way to improve it. And sure enough, Heather over at Brown Buttered Blondie and added a spoonful of sour cream to her version to help cut the sweetness, which I think is a brilliant idea. I tested it myself with crème fraîche, and though it does make for a slightly softer fudge as a result (so you’ll probably want to skew more towards 5 cups of powdered sugar as a result), it really adds a lovely, slightly tangy undertone to the fudge itself.
Heat Treating Flour
Since this recipe does call for raw flour, I recommend heat-treating it first to kill any nasties that might be present. This is very easy to do, simply microwave a bowl of flour (measure out a bit more than you’ll need in your final recipe) for a minute or so, stirring every 20-30 seconds, until a digital thermometer inserted into the center of the flour reads 165 degrees F. You can also bake the flour at 350 degrees F for 3 to 5 minutes or until it reads 165 degrees F.
Heat-treated flour, either microwaved or baked, will often be a little bit clumpy, so I recommend letting it fully cool and then sifting it before using.
Scaling Down
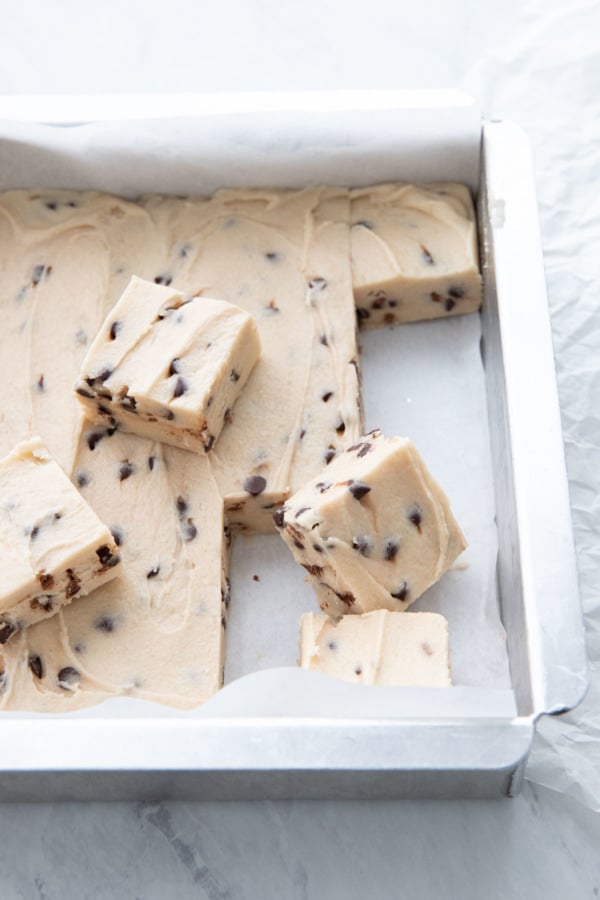
While an 8-by-8-inch pan may not seem like a lot, this fudge is very rich and intensely sweet and you don’t need more than a small square to satisfy. Which means this recipe makes A LOT of fudge (25 to 64 squares depending on how big you cut them).
If you’ve got a scale handy it is very easy to halve the recipe, use either a 6-by-6-inch square baking pan or a 9-by-5-inch loaf pan. Why a scale? Well, halving 1/3 cup measurements is… rather a mind-bender in my experience. But you do have a scale, right? ;)
This fudge does require refrigeration because of the dairy-based ingredients, so it’s not the kind of treat that is suitable for shipping (you’d want an old fashioned fudge recipe in that case).
Also: this fudge freezes fabulously. I recommend wrapping the pieces individually or in small groups tightly with plastic wrap, then putting the bundles in a zip top bag before freezing for up to 3 months.
Chocolate Chip Cookie Dough Fudge
Ingredients:
For Cookie Dough:
- ⅓ cup (76g) unsalted butter, room temperature
- ¼ cup (55g) granulated sugar
- ¼ cup (50g) light brown sugar, packed
- ½ teaspoon vanilla extract 1⁄8 teaspoon salt
- 2 tablespoons half-and-half or cream
- ½ cup (63) all-purpose flour, heat-treated and sifted*
For Fudge:
- ⅓ cup (73g) light brown sugar, packed
- ⅓ cup (76g) unsalted butter
- Pinch kosher salt
- ⅓ cup (80g) half-and-half or cream
- 4 to 5 cups (480g to 600g) sifted powdered sugar, preferably organic
- 1 teaspoon vanilla extract
- 1 tablespoon crème fraîche or sour cream (optional)
- ½ cup (100g) mini semisweet chocolate chips
Directions:
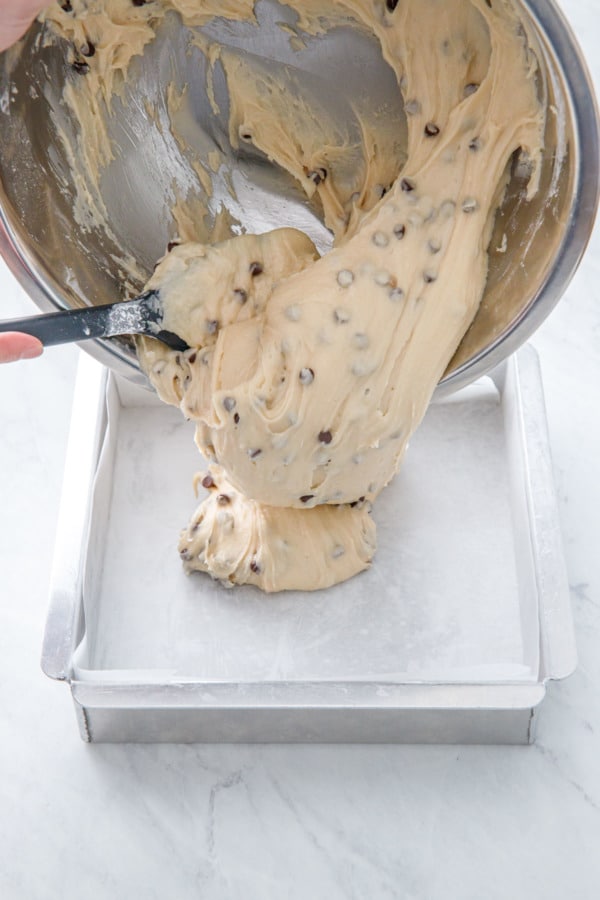
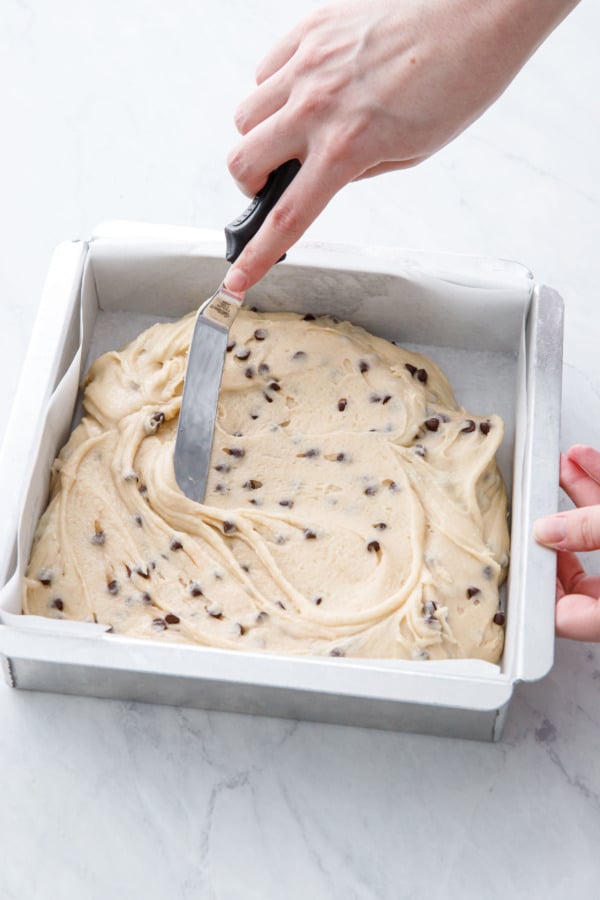
- Line an 8-by-8-inch baking pan with parchment paper or buttered aluminum foil, leaving a 1-inch overhang for easy lifting.
- Combine butter and sugars in a large bowl or the bowl of a stand mixer. Beat on medium speed until light and fluffy, 2 to 3 minutes.
- Mix in vanilla, salt, and half-and-half or cream. Add flour and mix until incorporated.
- To prepare the fudge base, combine brown sugar, butter, salt, and half-and-half in a saucepan. Stir over medium-low heat until butter is melted and brown sugar is dissolved. Remove from heat. Slowly stir in powdered sugar, 1 cup at a time, until mixture is smooth and sugar is incorporated. Stir in vanilla. At this point, the mixture should have cooled to room temperature; if not, continue stirring until it’s no longer warm to the touch.
- Add cookie dough and crème fraîche or sour cream (if using) and stir to incorporate. Fold in chocolate chips.
- Spread fudge into the prepared pan. Chill until set, at least 3 hours. Cut into squares and serve. Fudge will keep, tightly covered in the refrigerator for up to 1 week, or frozen, double wrapped in plastic and bagged, for up to 3 months.
*To heat-treat raw flour, measure out a bit more flour than you’ll actually need in your final recipe and place in a microwave safe bowl. Microwave on high for a minute or so, stirring every 20-30 seconds, until a digital thermometer inserted into the center of the flour reads 165 degrees F. You can also spread the flour in a baking dish and bake at 350 degrees F for 3 to 5 minutes or until it reads 165 degrees F. Let the flour cool completely before using, and then sift it to remove any leftover chunks.
Did you make this recipe?
Let us know what you think!
Leave a Comment below or share a photo and tag me on Instagram with the hashtag #loveandoliveoil.