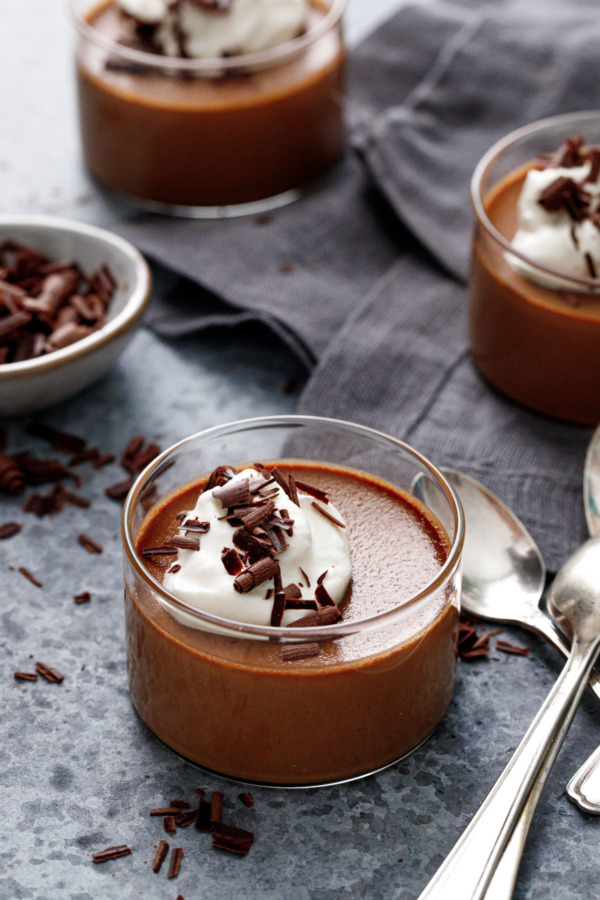
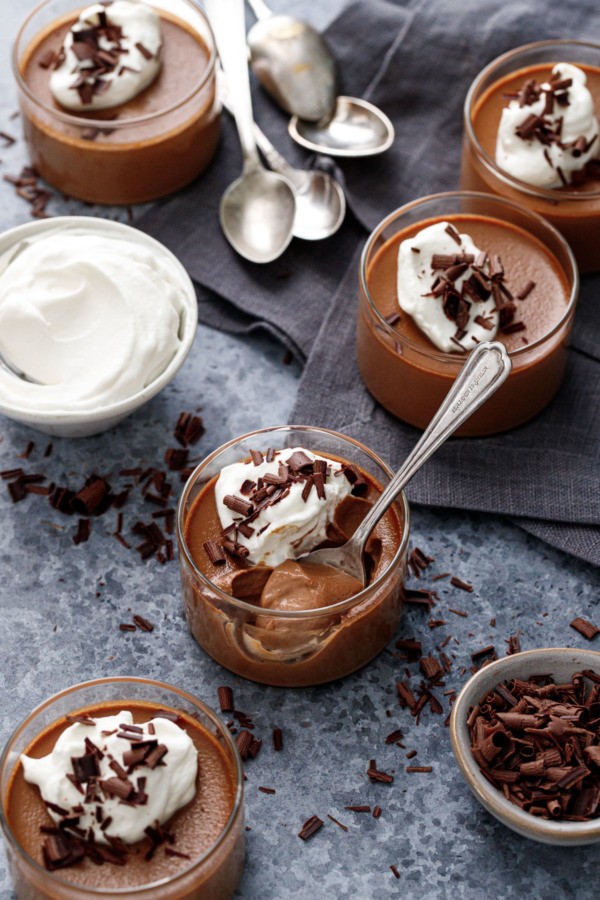
Silky smooth and surprisingly light, with a texture and flavor that’s like a cross between chocolate mousse and pumpkin pie, these chocolate pumpkin pots de creme would make the perfect alternative Thanksgiving dessert.
Chocolate and pumpkin make for a lovely combination in these pots of pure delight, with a hint of pumpkin spice and a silky smooth texture that’ll have you licking the pot clean and clamoring for more.
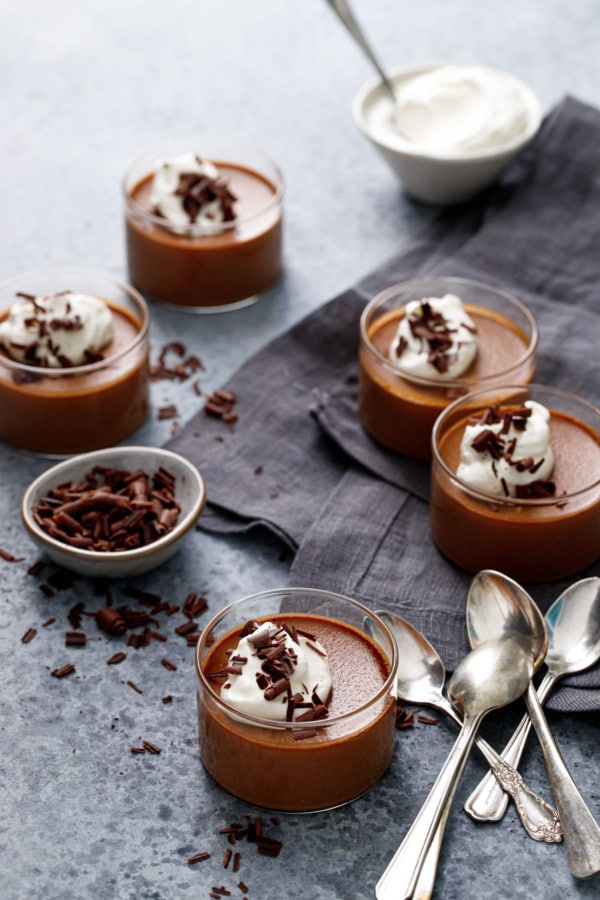
This Thanksgiving is going to look a little bit different from years past… most of us are (should be!) only cooking for a few people, in which case a full scale pumpkin pie really isn’t necessary (although I do love leftover pumpkin pie for breakfast especially… but still, a whole pie for 2 or 3 people is… a lot).
Which is why this recipe is so perfect, perfectly scaled for a small gathering. It’s almost like mini, crustless pumpkin pies. Except lighter and silkier. And with chocolate. (Honestly, it’s pretty much the perfect dessert).
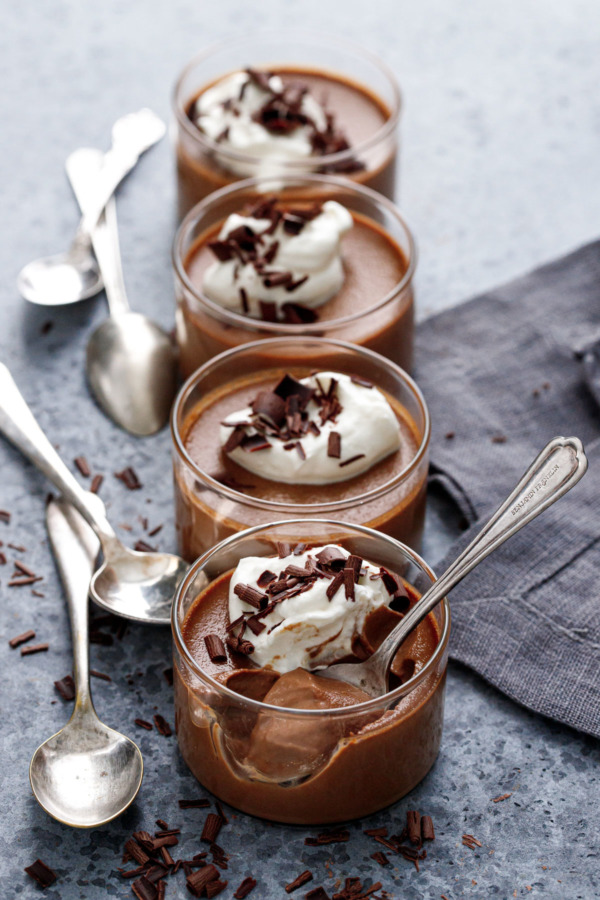
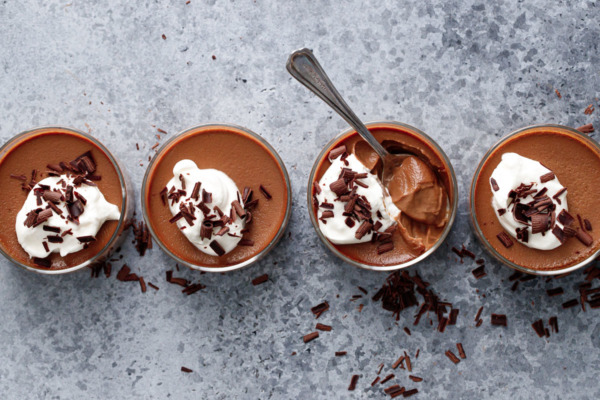
In terms of texture, the photos really don’t show just how lovely it really is. It’s silky smooth and surprisingly light, almost like a cross between pumpkin pie and chocolate mousse. The flavors of pumpkin and chocolate are perfectly balanced, neither one overpowering the other, with subtle notes of vanilla and spices that support without overwhelming.
If you’re not a fan of pumpkin pie because of its dense, somewhat pasty texture, know that these pots de creme are notably different, surprisingly light, velvety smooth and not pasty in the least.
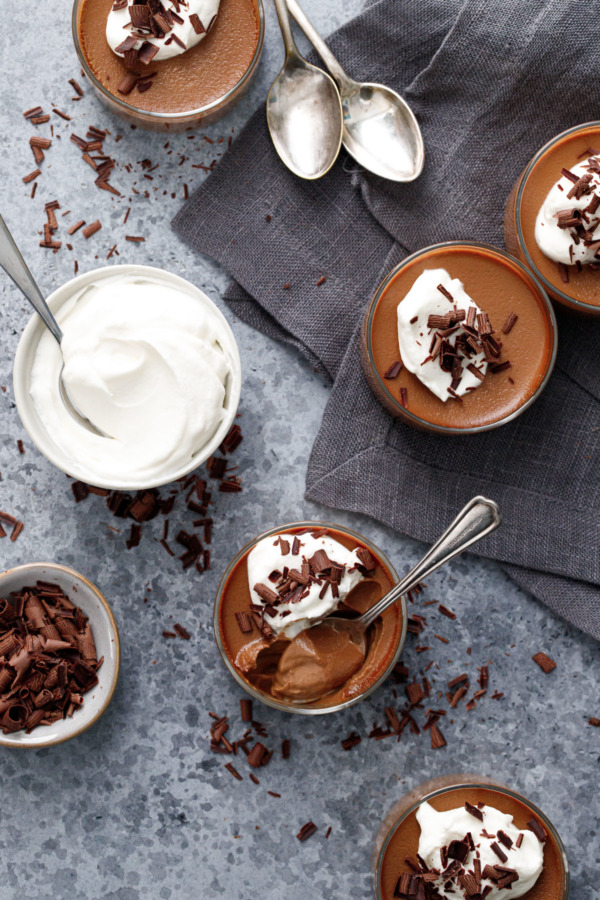
While the recipe is written for 4-5 servings (depending on the size of your ramekins), it can also be easily scaled up as needed (so it’ll be just as good for next year’s [hopefully] larger celebrations!)
It’s also a fantastic make-ahead recipe, so you can easily make and bake it the day before and it’ll keep beautifully in the fridge until you’re ready to serve it (up to 3 days).
If you find yourself with leftover pumpkin puree after making this recipe, use up the rest in a batch of pumpkin bolognese sauce, German pancakes, or even pumpkin scones. No reason to waste it! You can also very easily make your own pumpkin puree to use in this recipe, using a number of different varieties of squash and pumpkin (pink banana is probably my favorite).
As for those two leftover egg whites… the perfect amount for a batch of my favorite amaretti cookies.
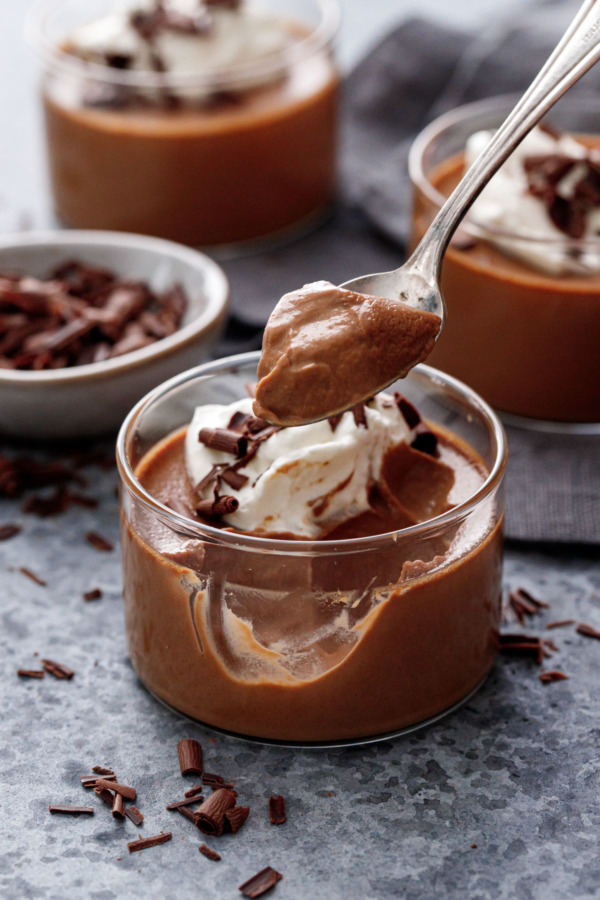
I wanted to bake these pots de creme (pot de cremes? What’s the appropriate plural?) in glasses, to really show off their beauty. I have a number of cute little tasting glasses that would have been perfect vessels had this been a panna cotta (which is set with gelatin and thus doesn’t require any time in the oven). With the water bath the glasses might have been ok, but I really didn’t want to risk exploding glass in my oven.
So instead I found these oven-safe glass ramekins, made from scientific-grade borosilicate glass (the kind used in test tubes and beakers that are often set over direct flame). Although when it arrived the box ominously said do not use in a conventional oven, for some reason, despite saying oven safe to 350º elsewhere. I used them anyway, though the lowish heat and waterbath is much gentler than sticking them into a hot 400 degree oven, which I’d probably advise against.
Glass canning jars, since they are meant to be processed at high heat, would also work well here too.
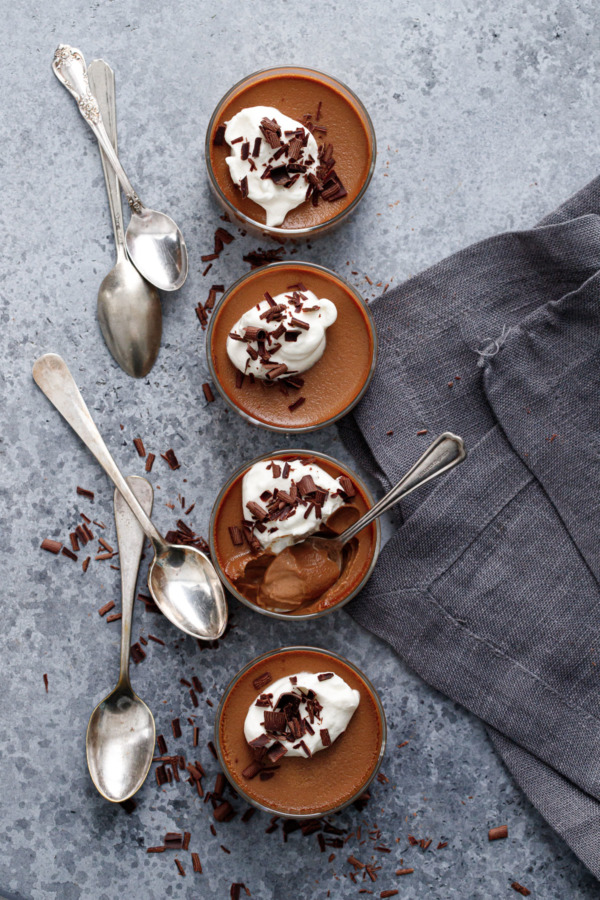
I used small 3.5 oz ramekins, filled about 3/4 full, and these were perfectly cooked in about 25 minutes. Slightly larger or deeper ramekins will take longer to bake, while smaller or shallower ramekins (like creme brûlée dishes, for example) will take less time.
You’re looking for the edges to be set and the center to still be slightly jiggly, but NOT liquidy – this distinction is a little bit ambiguous, I know, but that’s really the best way to describe it. The edges should be fully set, and the center something like firm jello. The custards will set up further as they cool.
The good news is pots de creme are still delicious even when slightly under or overbaked. So just use your best judgement when it comes to the ‘slightly jiggly’ distinction and try not to overthink it.
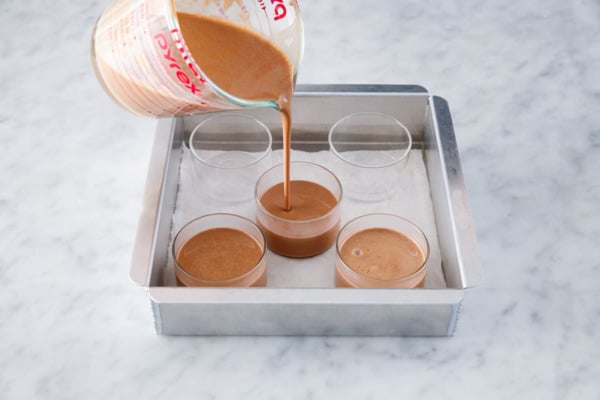
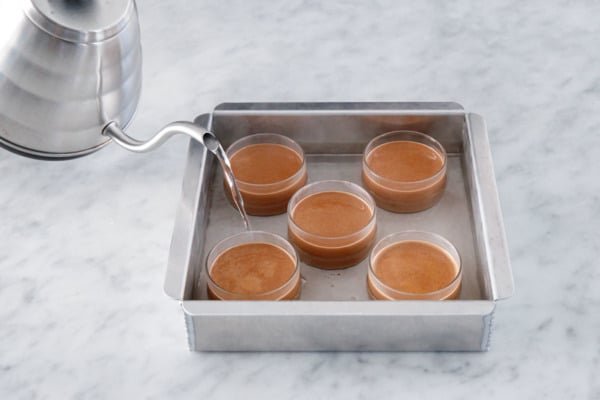
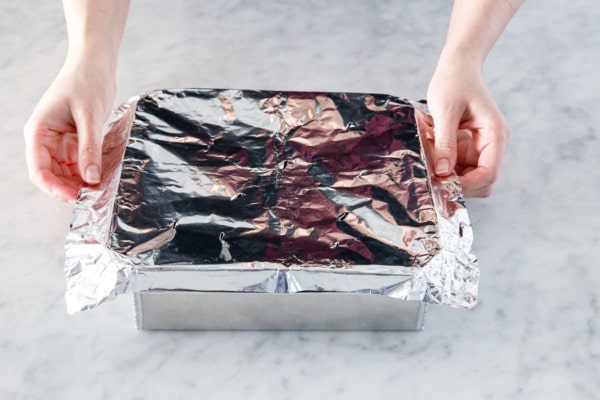
Pots de creme are baked in a water bath, which helps them bake up more evenly with a silky smooth texture.
I line my cake pan with a damp paper towel, which keeps the ramekins from sliding around the pan.
If you have a gooseneck kettle it makes it very easy to heat the water and pour it without splashing, but you can also use a spouted measuring cup to carefully pour in the hot water, about half way up the sides of the ramekins.
Also, transferring the water-filled pan to the oven is a bit precarious. You may find it easier to pull out your oven rack, and pour the water in there, then all you need to do is slide the rack back in the oven. Our oven rack is rather sticky and doesn’t slide in/out smoothly, so I just put on some potholders and very, very slowly moved the covered pan from the counter to the oven. Just please be careful. Hot water burns are no laughing matter.
Let’s talk pumpkin pie spice. In reality, what we often think of as pumpkin flavor is really just the spices that so often accompany it. Pumpkin itself is really quite mild, but since it is almost always accompanied by a specific blend of cinnamon, ginger, nutmeg and cloves, the two flavors are intertwined in our minds.
I originally tested this recipe with no spices at all: just pure pumpkin and chocolate. And it was lovely. The second time I added a small amount of pumpkin pie spice. I didn’t want to do more than that so as not to overpower the pumpkin flavor. Taylor liked this version better, as he said it tasted more like pumpkin pie. I enjoyed both versions, but the pure one stood out to me since I really do enjoy the flavor of pumpkin on its own, without all the overpowering spice.
I normally don’t use actual pumpkin pie spice in my pies, preferring to use pure spices and control the ratios myself; however, because there is such a small amount of spice here, doing so would make measuring almost impossible (how do you measure 1/32 teaspoon?) If you don’t have pumpkin pie spice, it’s easy to mix up a batch of your own, or you can also add a pinch of cinnamon and ginger, a smidgen of cloves and dash of nutmeg. You can also leave it out entirely and let the true pumpkin flavor shine.
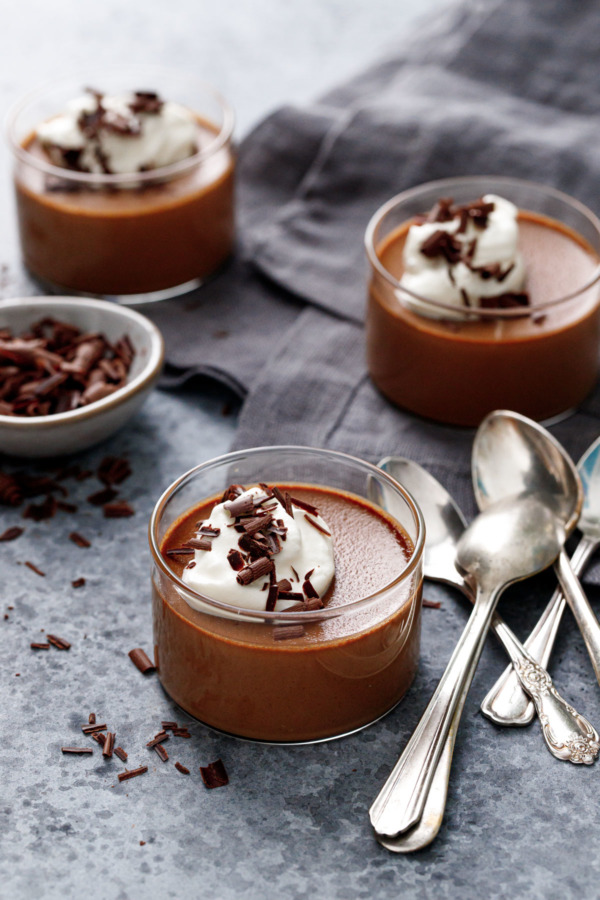
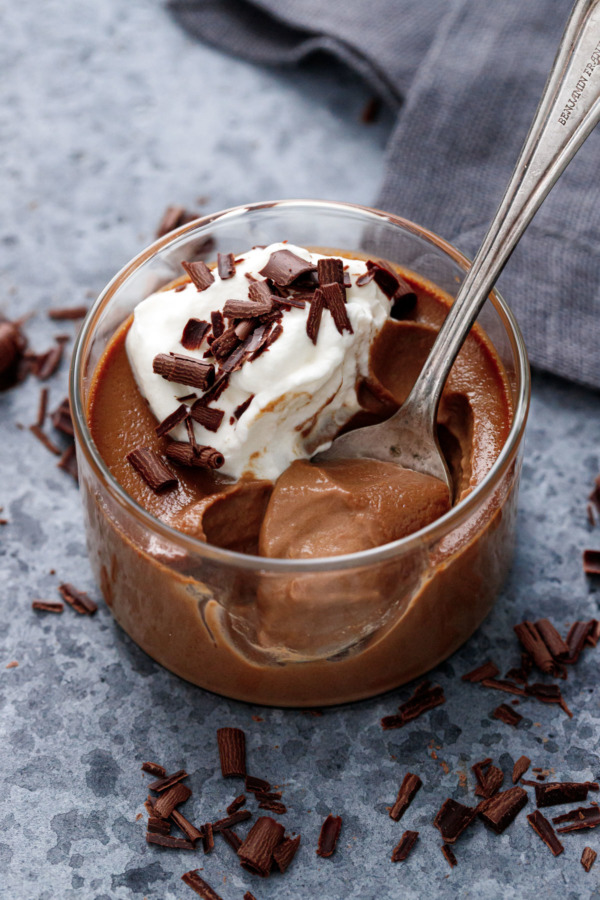
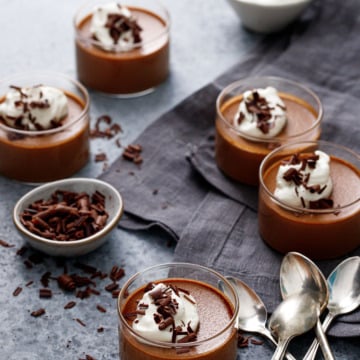
These pots de creme are pretty darn fabulous on their own, though visually they look absolutely stunning topped with a dollop of whipped cream and some shaved chocolate.
TIP: for quick chocolate curls, run a vegetable peeler along the side of a softened bar of chocolate. If the chocolate is too firm you’ll get chocolate shards, but you can soften the bar gently in a warm oven beforehand and the chocolate should curl nicely.
Chocolate Pumpkin Pot de Creme
Chocolate and pumpkin come together in one silky smooth dessert. It’s a perfect alternative recipe to the traditional Thanksgiving pumpkin pie.
Ingredients:
- 3/4 cup heavy cream
- 1/4 cup whole milk
- 1/2 cup pumpkin puree
- 2 tablespoons brown sugar
- 1/8 teaspoon pumpkin pie spice (optional)
- pinch salt
- 2 oz finely chopped dark chocolate (60-80%)
- 2 egg yolks
- 1/2 teaspoon vanilla extract
- freshly whipped cream, for serving
- chocolate curls or shavings, for topping (optional)
Directions:
- Preheat oven to 300ºF. Place a damp paper towel in the bottom of a cake pan or casserole dish, and arrange five 3.5oz, four 4oz, or three 6oz ramekins in pan so they are not touching the sides or each other (the towel will prevent the ramekins from sliding around).
- In a saucepan set over low heat, heat heavy cream, milk, pumpkin, sugar, spices and salt until very steamy but not quite boiling (take care not to scald it). Remove from heat and add chocolate; let sit 30 seconds, then whisk until smooth.
- In a separate bowl, whisk egg yolks until smooth. Drizzle in a few ladles of hot cream mixture, whisking constantly, until about half of cream has been incorporated and egg mixture is warm to the touch. Whisk in remaining cream mixture and vanilla.
- Strain through a fine mesh sieve (don’t skip this step!) into a spouted 2-cup glass measuring cup or other easily pourable vessel. Carefully pour into ramekins, filling each 3/4 of the way full.
- In a kettle or microwave bring 3-4 cups of water to a boil.
- Carefully pour boiling water into cake pan around ramekins, filling it up to about half the height of the ramekins. Cover with foil, poking a few holes in the top with a paring knife. Carefully place in oven (be very careful not to spill or slosh the hot water). You may find it easier to pull out your oven rack, place the pan on the rack, and pour the water in there, then slide the rack into the oven.
- Bake for 25 to 35 minutes (smaller/shallower ramekins may take less time, larger/deeper ramekins could take upwards of 40 to 50 minutes even), until edges are set and centers are still a little bit jiggly.
- Remove from oven and let cool; once cool enough to handle, remove ramekins from water and place on a wire rack or cutting board; let cool completely to room temperature, then loosely cover and refrigerate for 2 to 3 hours until set. Let come to room temperature for about 30 minutes before serving, topped with freshly whipped cream and chocolate shavings (if desired).
Did you make this recipe?
Let us know what you think!
Leave a Comment below or share a photo and tag me on Instagram with the hashtag #loveandoliveoil.
