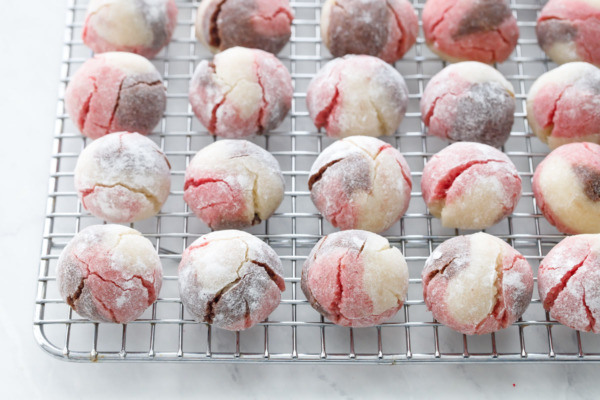
Not one, not two, but three delicious flavors swirled into one supremely soft and chewy almond cookie.
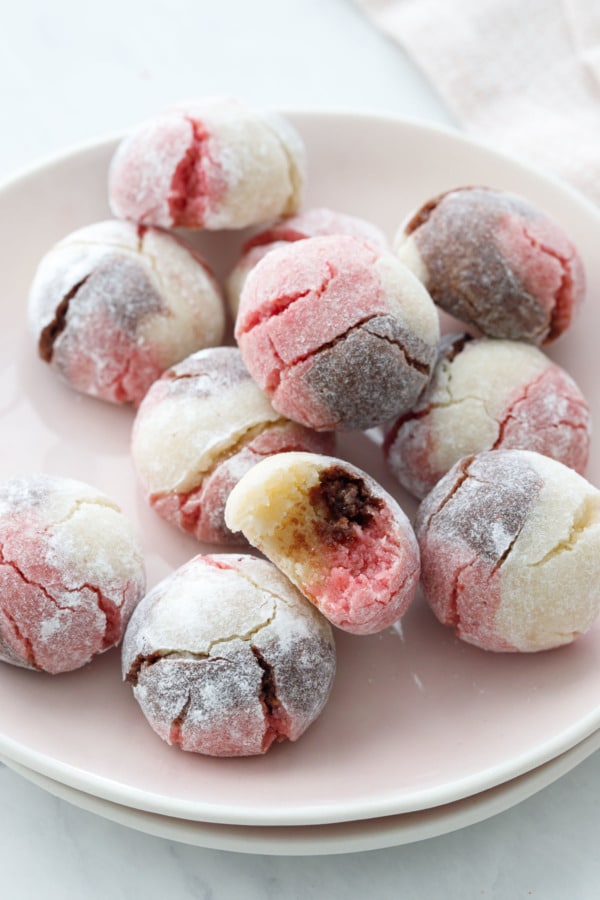
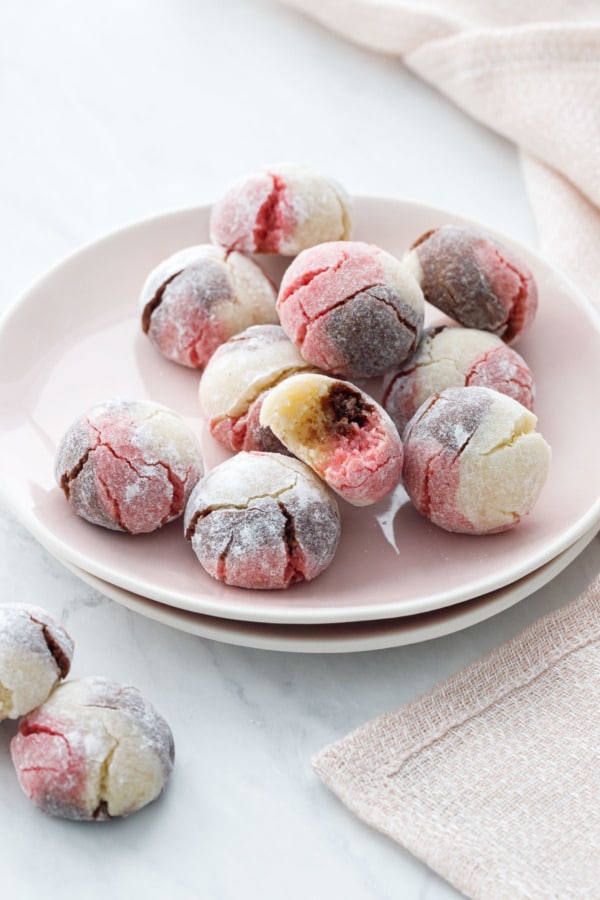
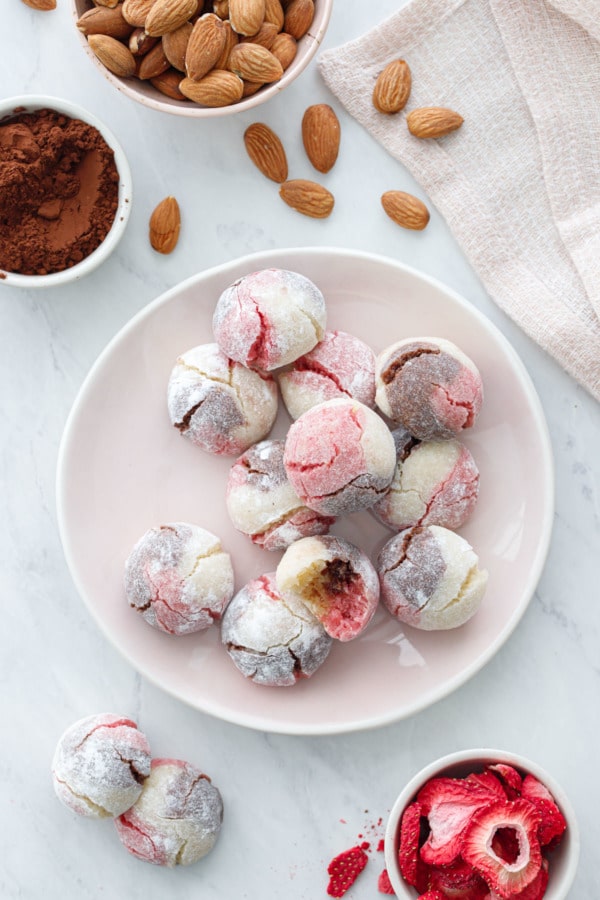
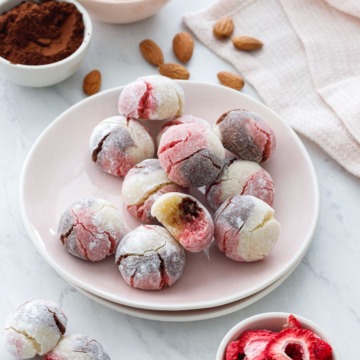
Here’s a fun Neapolitan twist (literally) on your favorite soft amaretti cookie – with swirls of almond, strawberry, and chocolate doughs in one delightful bite.
At this point I’ve made five different flavors of my popular soft amaretti cookies.
It’s about time we mash some of them together.
Or, to be more precise, elegantly marble them into a triple flavored swirl.
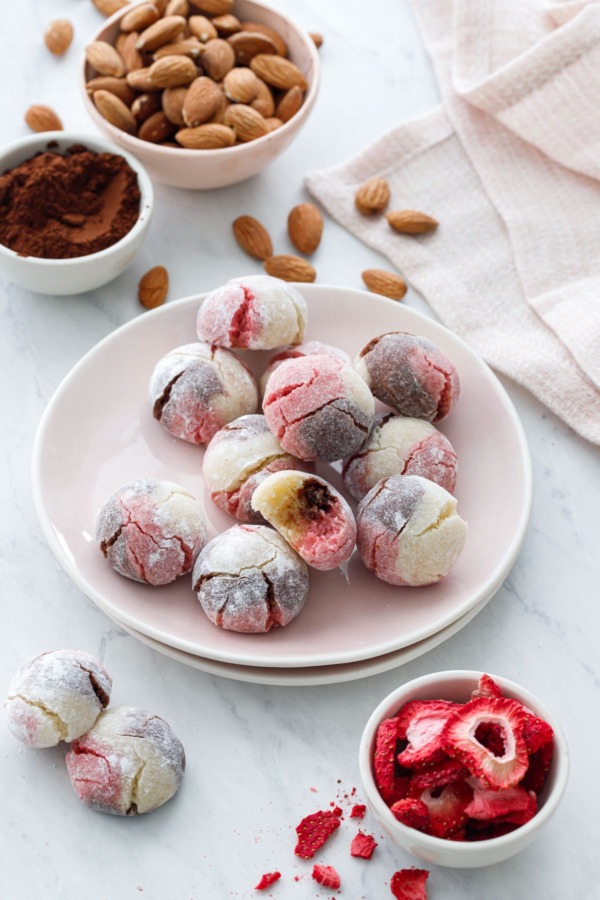
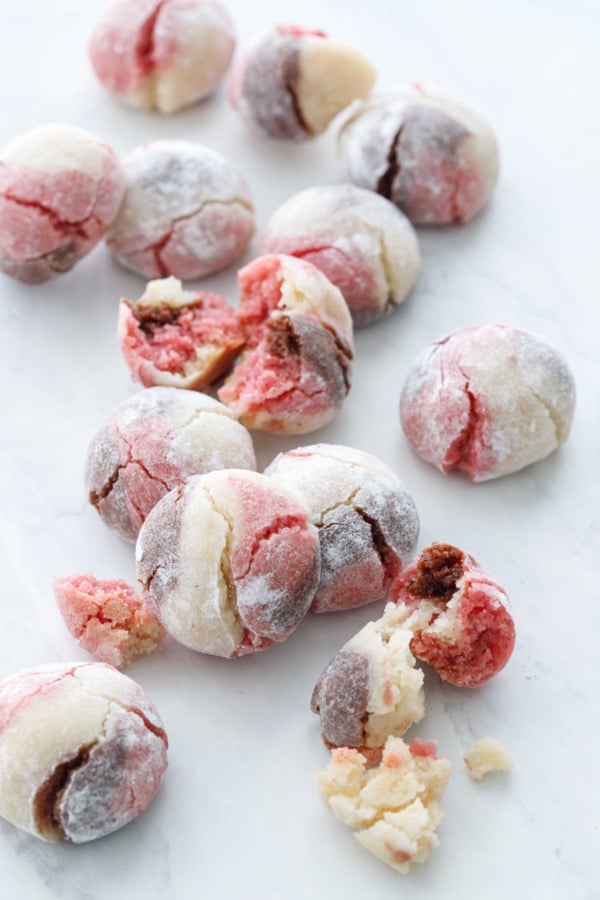
These Neapolitan amaretti cookies combine the original almond and chocolate varieties, along with a pink fruity variation (I used freeze dried strawberries instead of raspberries this time, though either would work).
The result is a sweet swirl of almondy goodness with a hint of chocolate and strawberry that would be perfect for your sweetheart.
I had to make a few modifications from the original recipe to make the marble manageable, adjusting the quantities to accommodate the 3 different flavors. As a result, this recipe will make about 30% more cookies than the other varieties.
Because of the different and sometimes quite small quantities required, it’s really not a recipe you can scale down. But do keep in mind you can freeze the baked cookies (bagged in an airtight container) for up to 3 months. Hello, amaretti on demand!
While the dough is divided into three different flavors, each one requires a slightly different amount of almond flour. Without these small adjustments, the plain almond dough would be a bit softer than the other two flavors (and for nice, even marbling you want all three flavors to be the same consistency).
I definitely suggest labeling your bowls before you start measuring things—it’ll clear up a lot of confusion when you can’t remember which bowl has slightly more almond flour and which one has less (I speak from experience here). Of course once you mix in the cocoa powder and freeze-dried strawberry you should have no issues telling them apart. ;)
I’d also highly recommend having a kitchen scale for this recipe, as it’ll make the whole process far easier, especially when it comes to dividing up the beaten egg whites between your three bowls (otherwise you’re going to have to try to eyeball one third of a bowl of fluffy, foamy egg whites… and that is not easy).
While the dough is fairly forgiving in terms of the amount of egg white (it’s not going to make much difference if it has 25g or 35g for example), it is much easier to get an even swirl when all three doughs are the same softness and consistency.
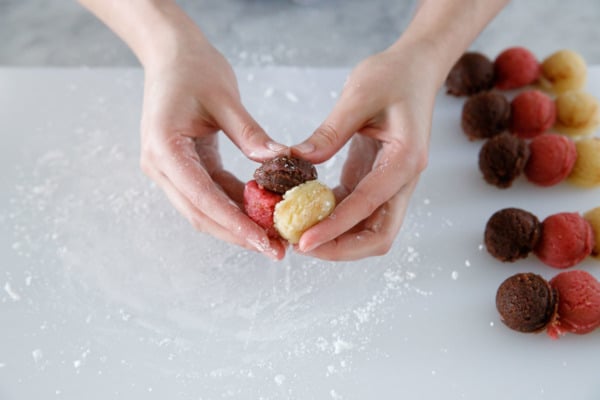
My process for marbling the dough starts with three scoops, one of each flavor. This is the same small cookie scoop I use to portion out my classic amaretti cookies.
Here we use the scoop to ensure that there are even amounts of each flavor, and no one cookie is disproportionately chocolate, for example.
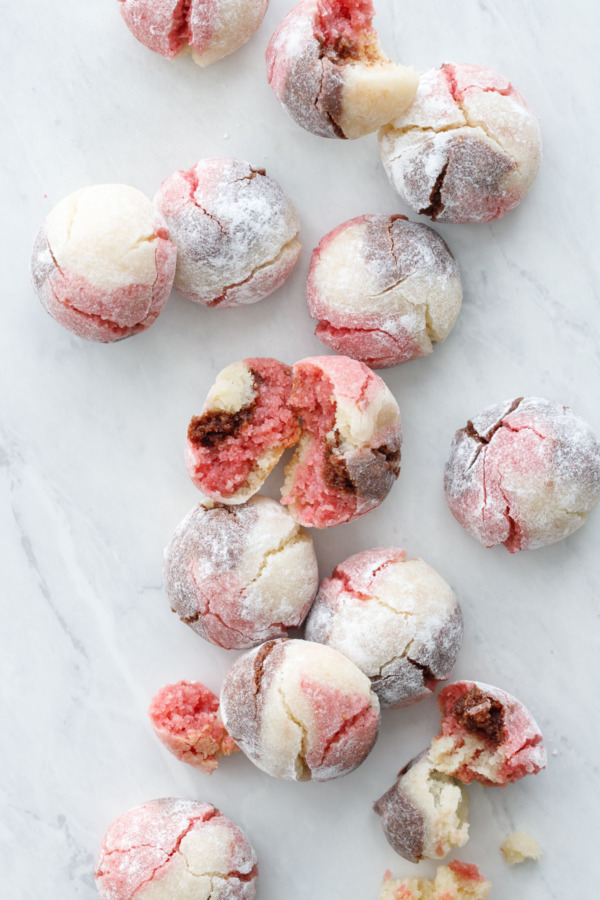
Each triple scoop will give you three marbled cookies. Three scoops in, three cookies out, essentially.
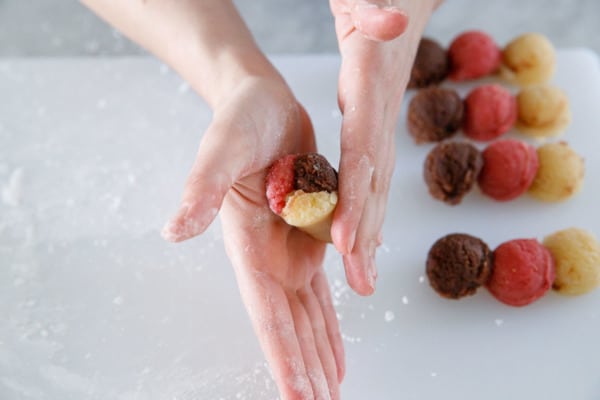
After dusting your hands with powdered sugar (the dough can be rather sticky), roll the three balls into a log, rolling so that the three colors are evenly stretched out along the length of the log.
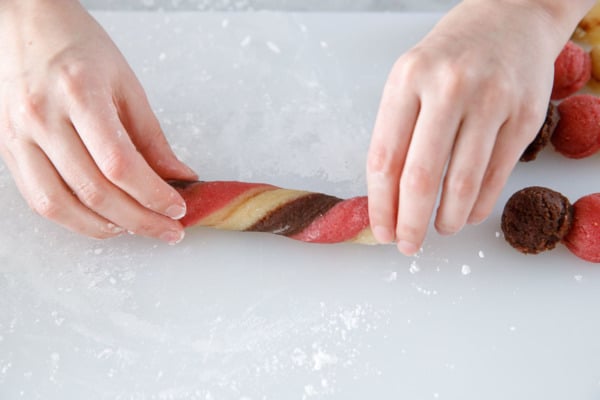
Then, I like to twist the log just a little to make the marbling a bit more interesting.
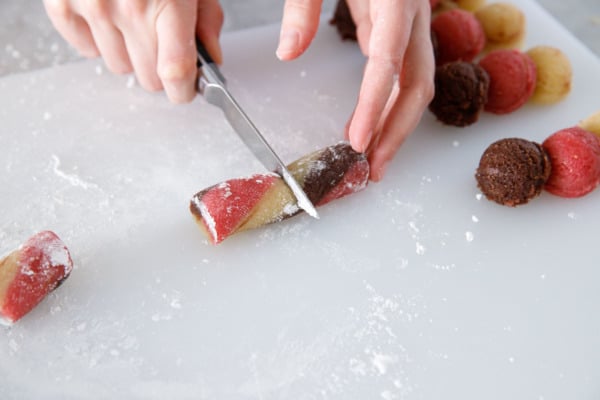
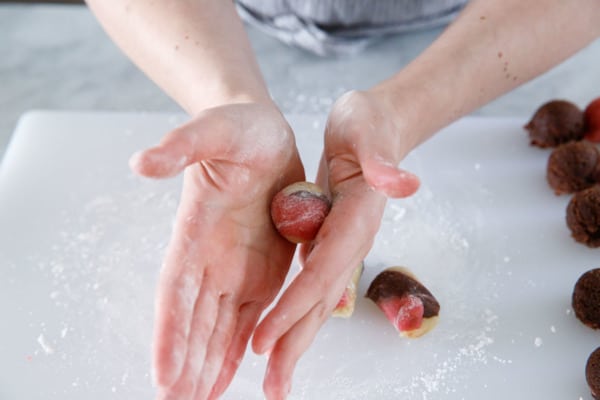
From there, cut the log into three evenly sized pieces, and roll each of those into a ball.
It helps to dip your knife in powdered sugar too to keep it from sticking.
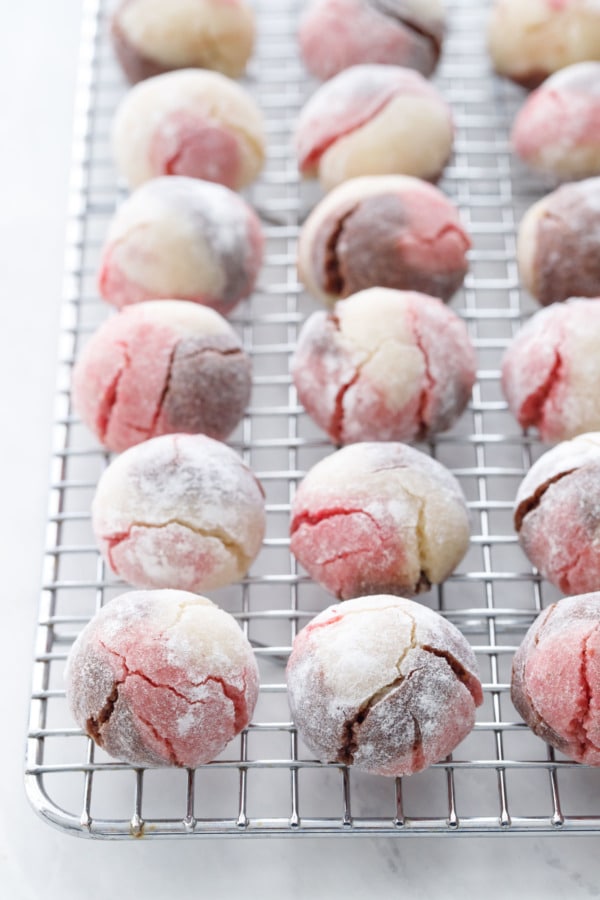
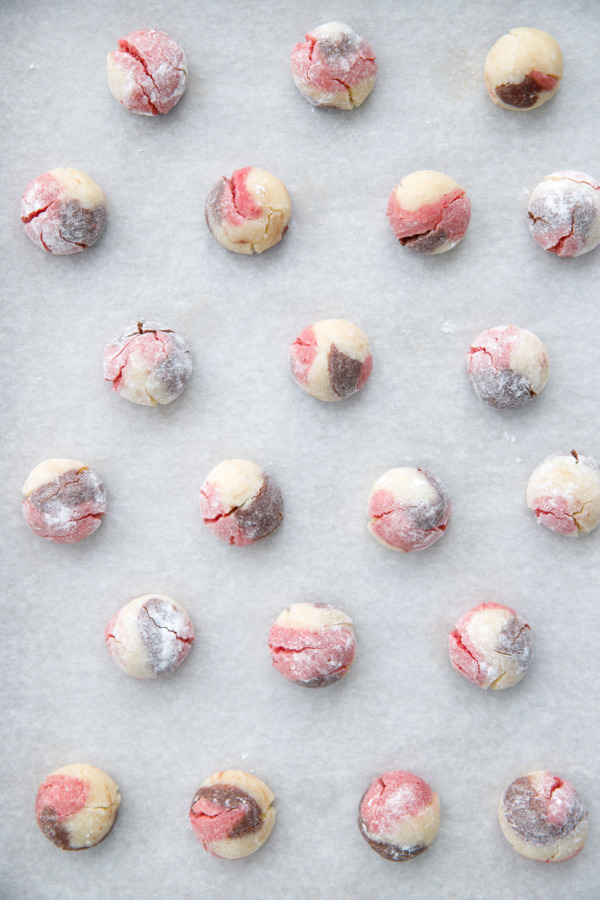
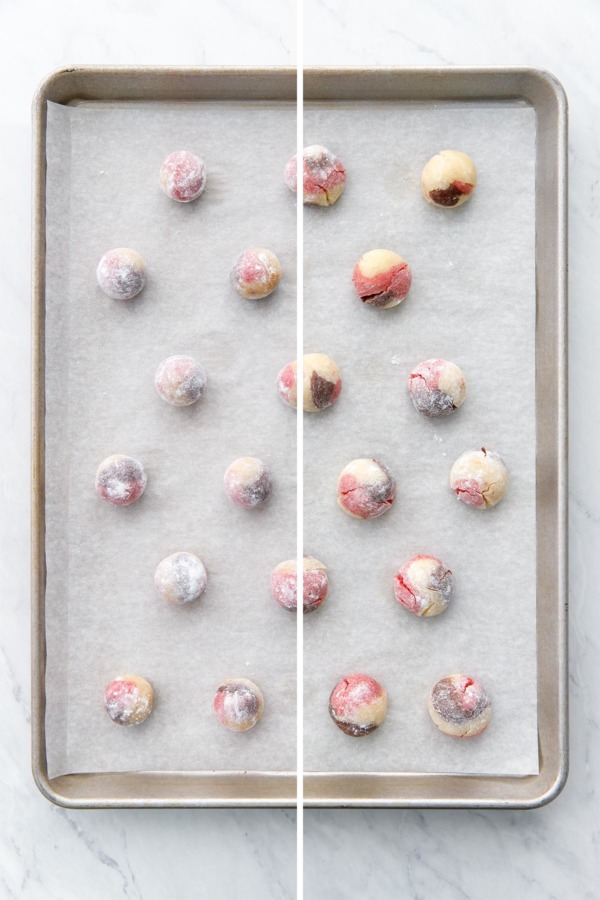
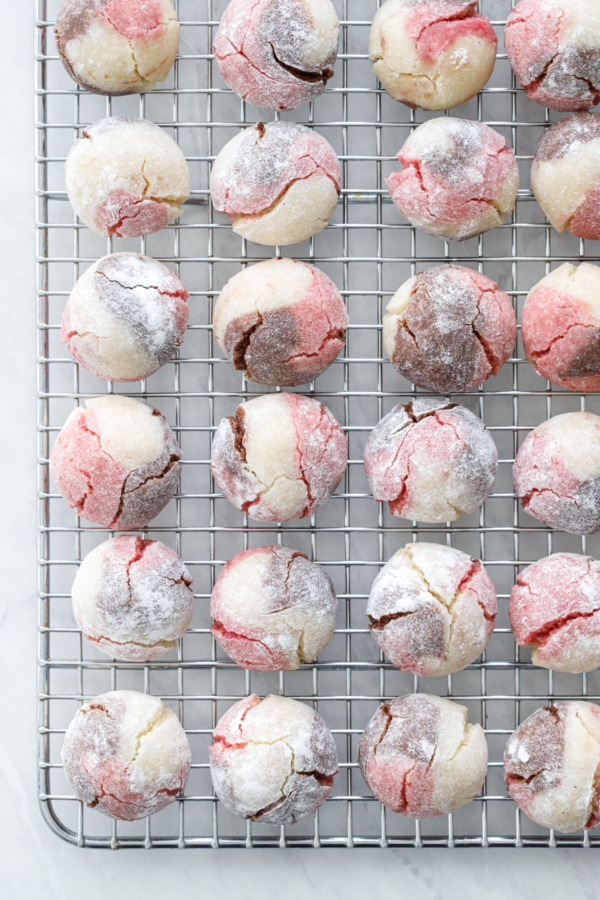
I coated these cookies with a lighter layer of powdered sugar than I did with the other varieties, mainly because I wanted the multicolored swirls to show through more prominently, and not just in the cracks.
I suggest lightly rolling the shaped ball in powdered sugar, then rolling it between your palms to distribute the excess sugar. You should still be able to see the colors underneath (if you can’t, dust off a bit more sugar).
One note about the strawberry: freeze dried fruit like raspberries and strawberries add a natural pink color to the dough, however, this color is very sensitive to heat, turning more of a brownish mauve in the oven (the longer they are baked the less pink they’ll be).
Because Neapolitan treats always have a noticeably pink stripe, in lieu of seriously under-baking the cookies to preserve the rosy hue, I oped to supplement the natural color of the strawberries with a drop or two of pink food coloring.
The food coloring is totally optional, of course, but if you want that classic Neapolitan look I’d highly recommend it.
In fact, if you wanted the same effect you could even skip the freeze dried strawberries entirely and just color one portion of the dough with food coloring (and maybe a drop of strawberry extract too).
I could also see using this same marbling method to create other unique double and triple amaretti flavor combinations. I’m thinking chocolate and pistachio, raspberry and matcha; you could even invent your own flavors (how about a triple berry with freeze dried blueberries, strawberries AND raspberries?)
I think these tri-colored treats would be perfect for Valentine’s day! With just a hint of pink, a dash of chocolate, and tons of tasty almond flavor to go around.
Happy Valentine’s Day, friends!
Neapolitan Amaretti Cookies
Here’s a fun Neapolitan twist on your favorite soft amaretti cookie – with swirls of almond, strawberry, and chocolate doughs in one delightful bite.
Ingredients:
- 3 1/3 cups (300g) almond flour or very finely ground almonds, sifted
- 1 1/3 cup (270g) granulated sugar
- 10g freeze-dried strawberries
- 1 tablespoon (7g) dutch-processed cocoa powder
- pinch salt
- 3 large egg whites (about 90g)
- 1/2 teaspoon lemon juice
- 3/4 teaspoon almond extract
- 1-2 drops of pink food coloring (optional)
- confectioners’ sugar, as needed
Directions:
- Preheat oven to 300 degrees F. Stack two matching, heavyweight, light to medium colored cookie sheets one inside the other (stacking two cookie sheets together keeps the bottoms of the cookies from getting too brown). Line with parchment paper or a silicone baking mat.
- Set out three medium mixing bowls. Mark or label the bowls so you know which one will hold each color dough (plain, strawberry, and chocolate).
- Measure out 100g of almond flour (a heaping cup) into each bowl.
- Remove 2 tablespoons (about 10g) worth from the “strawberry” bowl and put it in the “plain” bowl. So you’ll have 110g in the plain bowl, 100g in the chocolate bowl, and 90g in the strawberry bowl.
- Measure out 90g (a scant half cup) of sugar into each bowl; add a pinch of salt to each bowl as well.
- Finely grind freeze dried strawberries in a food processor or spice grinder until finely ground powder. If you want you can put a little of the sugar from the strawberry bowl into the grinder to weight down the fruit and grind it more evenly. Pour powder into strawberry bowl and whisk until evenly incorporated.
- Add cocoa powder to the chocolate bowl and whisk until evenly incorporated.
- Whisk the contents of the plain bowl until the sugar and almond flour are also evenly incorporated.
- In a mixing bowl or the bowl of a stand mixer fitted with the whisk attachment, whisk egg whites and lemon juice until they hold soft peaks. Add almond extract and mix for just a second or two to incorporate.
- Here’s where your scale will really come in handy! Place one bowl of dry ingredients on the scale and tare it to 0. Spoon in 30 grams of beaten egg whites and stir until mixture forms a soft, sticky dough, kneading with your hands if necessary. No need to be gentle here, we’re not making macarons. ;)
- Repeat with the chocolate bowl, taring the scale to 0 and adding 30 grams of egg whites, then stirring until it comes together.
- Do the same for the strawberry bowl, adding 30 grams of egg whites and, if desired, a drop or two of pink food coloring to enhance the color. Stir until color is evenly distributed throughout the dough.
- Lightly dust your hands with powdered sugar. Use a small cookie scoop to portion out three 1-inch balls, one of each flavor dough. Roll the three balls together into a log shape, rolling so that the three colors are evenly stretched along the length of the log. Twist the ends in opposite directions once or twice to further marble the dough. Dip a small knife in powdered sugar and cut log into 3 even pieces, then roll each piece into a smooth ball. Arrange on prepared baking sheet, leaving 1 inch of space between cookies. Repeat with remaining dough (you’ll likely have enough dough for two full cookie sheets, so shape half of it, then shape the remaining half while the first pan is baking).
- Bake for 25 to 30 minutes until tops are cracked and bottoms are just barely golden. Note if you are NOT using doubled cookie sheets the bottoms of your cookies will brown much quicker, so they will probably be done sooner—start checking them around 20 minutes or so. Also, if you opted not to add food coloring, your pink dough will start to brown the longer they bake.
- Remove from oven; let cool a few minutes, then transfer to wire racks to cool completely. Let the pans cool before you start placing the second half of the cookies.
- Cookies will keep at room temperature in an airtight bag or container for up to 5 days or frozen for up to 1 month.
Did you make this recipe?
Let us know what you think!
Leave a Comment below or share a photo and tag me on Instagram with the hashtag #loveandoliveoil.