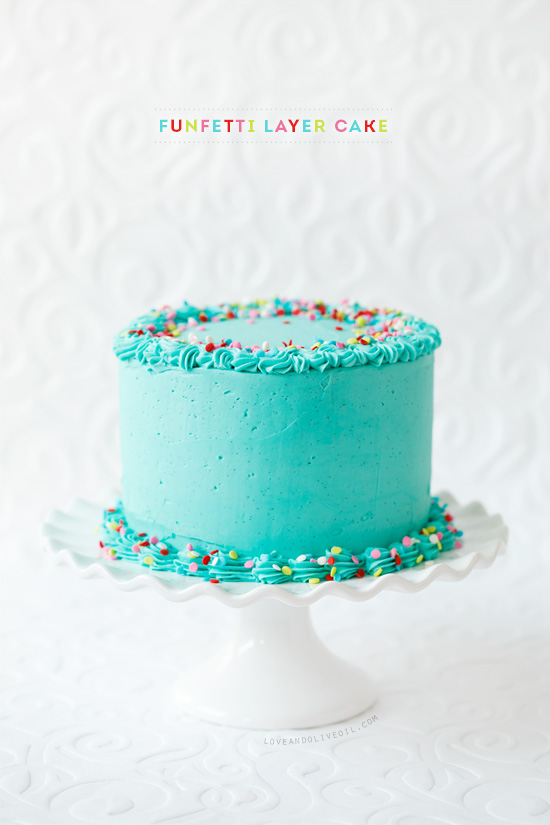
Sisters are like sprinkles. Sweet and vibrant and (yes) a little bit crunchy. And life isn’t nearly as fun without them.
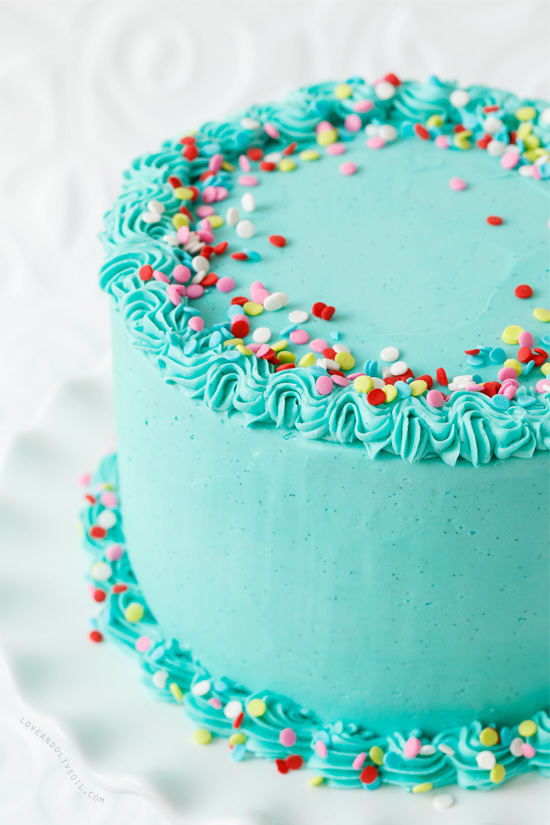
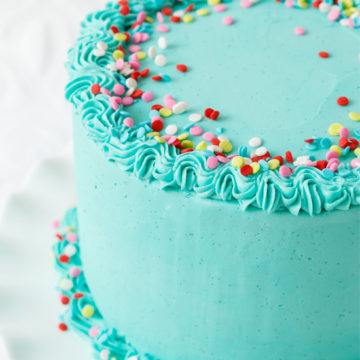
Needless to say, when your sister comes to town and adamantly requests that you make a funfetti cake together, you don’t waste any time seeking out the most fabulous sprinkles you can find for your equally fabulous sis. Not settling for ordinary rainbow, I found these charming lollipop quins with a bright retro color scheme that I knew would be perfect for her cake. With matching turquoise frosting, this cake is as colorful as my sister’s vocabulary during an Avalanche game.
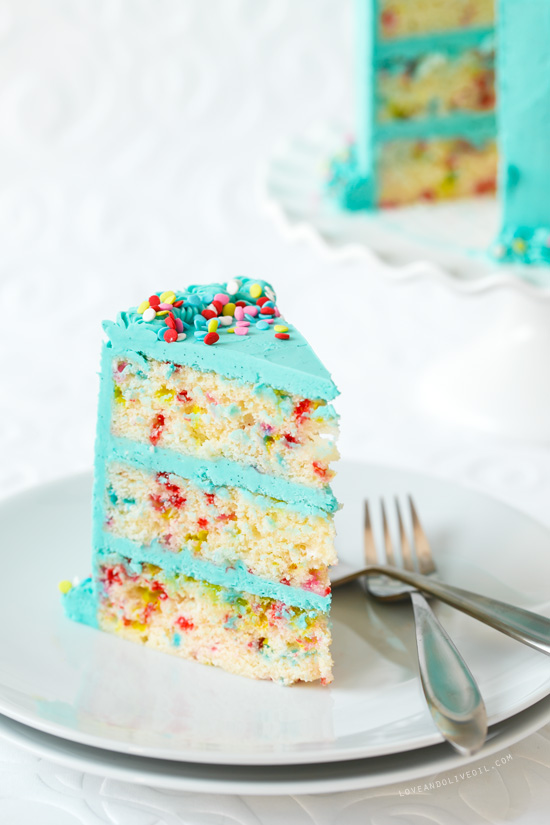
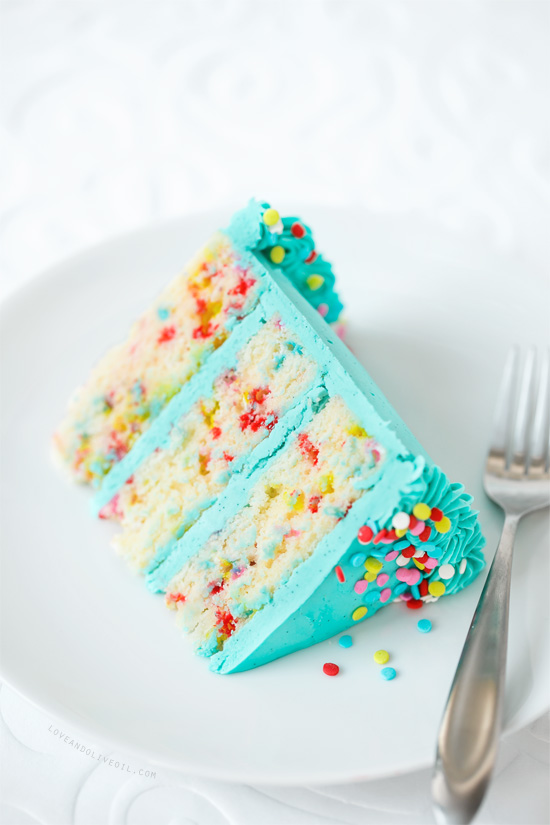
The sprinkles transform an ordinary yellow cake into a kaleidoscope of color, like a miniature paintball gun took aim at the batter, spattering the layers with pockets of vibrant color.
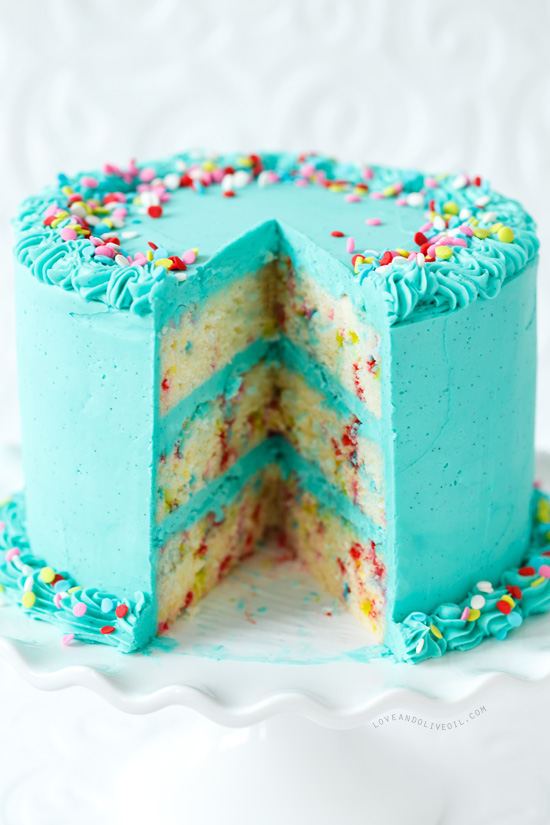
There’s no denying that this cake is downright charming, and yes, I am implying that you won’t be able to stop smiling.
Behind all the color is a basic yellow cake base, with a tender, buttery crumb and fragrant vanilla flavor. It’s almost identical to the base I used for this Lemon Cake with Fudge Frosting, with no lemon juice (obviously) and buttermilk instead of milk to account for the resulting loss of acidity.
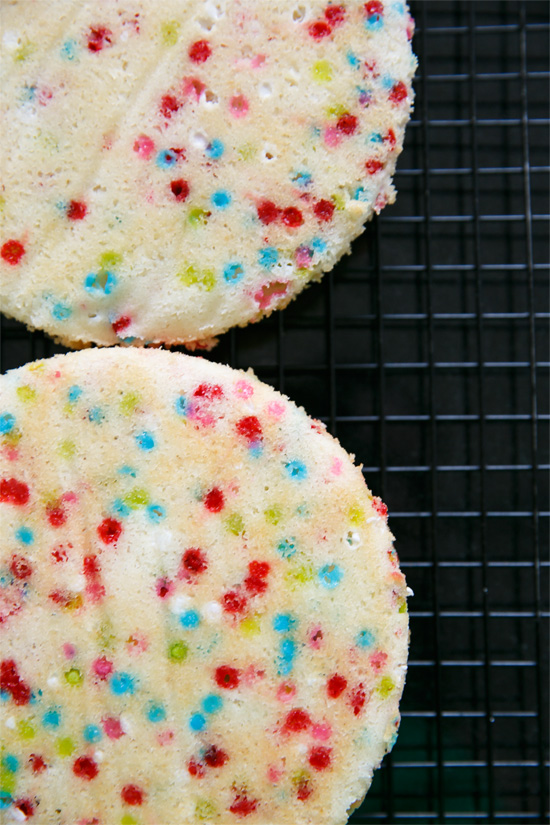
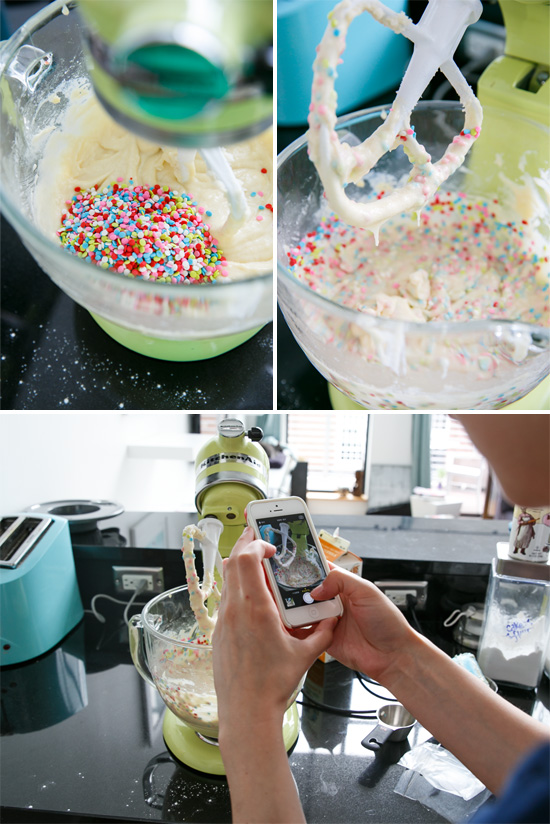
Much like the Funfetti Blondies, the confetti or quin-type sprinkles are your best bet. When baked in the yellow cake batter, they melt into perfect pockets of pure color. Even the white sprinkles left their mark.
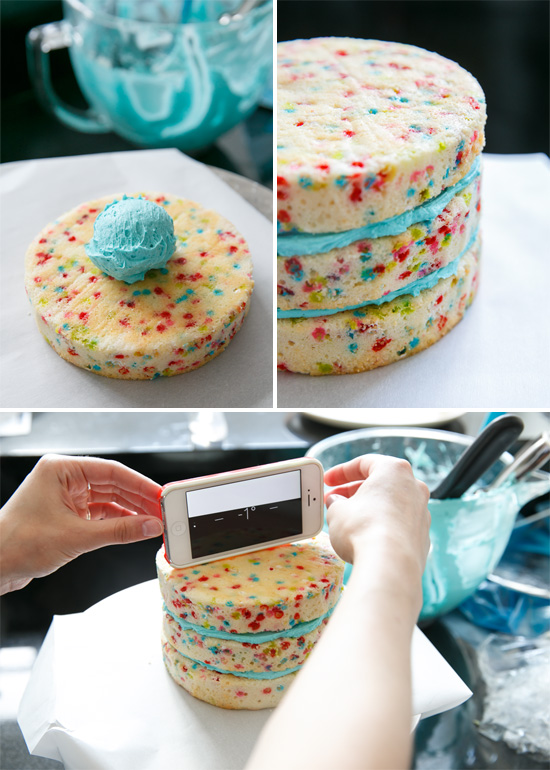
Engineers (like my sister) are serious about leveling, even when it comes to cake. I kept waiting for her to break out her protractor and calculator, but, luckily, she wanted to eat the cake as much as I did and we continued with the frosting despite our almost-but-not-quite-level trim work.
Sisters. Sprinkles. And cake. I can’t think of a better combination.
Funfetti Layer Cake
Ingredients:
For Cake:
- 3 cups cake flour
- 2 1/2 cups granulated sugar
- 1 tablespoon baking powder
- 1 teaspoon salt
- 1 1/2 cups (3 sticks) unsalted butter, softened and cut into cubes
- 1 1/4 cup whole buttermilk, divided
- 5 large eggs
- 2 teaspoons vanilla extract
- 1 cup confetti quin sprinkles
For Frosting:
- 2 cups (4 sticks) unsalted butter, room temperature
- 3 3/4 cups powdered sugar
- 1/4 cup heavy cream, more or less as needed
- 1 vanilla bean, seeded
- food coloring (optional)
Directions:
- Preheat oven to 350 degrees F. Butter the bottoms and sides of three 9-inch round cake pans. Line with parchment paper; butter parchment.
- In a large mixing bowl or the bowl of a stand mixer, combine flour, sugar, baking powder, and salt. Mix to combine. Add butter and 1 cup of buttermilk. Mix on low speed until flour is evenly moistened, then increase speed to medium-high and beat until light and fluffy, 1 to 2 minutes, scraping down the sides of the bowl as needed.
- In a small bowl, beat remaining 1/4 cup buttermilk with eggs and vanilla. Add to the batter mixture one-third at a time, mixing well after each addition. Stir in sprinkles. Divide batter evenly among prepared pans.
- Bake for 35 to 45 minutes (about 25 to 30 minutes for 6? pans), rotating pans halfway through baking, until tops are lightly golden on the edges and a toothpick inserted near the center comes out clean. Transfer pans to a wire cooling rack to cool completely, about 1 hour. Run a knife or thin spatula around the edge of the pan, then invert the cake onto wire rack. It should come out easily and cleanly. Remove parchment from the bottom. At this point the cakes can be wrapped tightly in a double layer of plastic wrap and frozen until ready to use (in fact, I recommend you freeze the cakes overnight, as the frozen cakes will be easier to level and frost later.)
- To prepare frosting, in a large mixing bowl, beat butter on medium-high speed until smooth and fluffy, 2 to 3 minutes. Add powdered sugar, 1/2 cup at a time, mixing well after each addition. As frosting thickens, add a few tablespoons of cream as needed. Depending on the temperature and consistency of your frosting, continue alternating additions of cream and powdered sugar, until frosting is light and fluffy. Add vanilla bean seeds and food coloring and beat until evenly incorporated.
- To assemble, level each cake layer by cutting of the domed top with a long serrated knife. Place one layer, flat side down, on a cake stand or serving platter. Spread on about 1/2 cup of frosting onto cake using an offset spatula. Position second layer on top and press to adhere. Repeat with another 1/2 cup of frosting, and then position final cake layer, flat side up.
- Cover the entire cake with a thin layer of frosting. This “crumb coat” will keep the stray crumbs in place and make frosting the cake easier. Refrigerate for about 15 minutes to allow this crumb coat to set, then spread with remaining frosting, reserving some frosting for piping decorative details and borders if desired.
Did you make this recipe?
Let us know what you think!
Leave a Comment below or share a photo and tag me on Instagram with the hashtag #loveandoliveoil.
also… i have two sisters… love them both dearly… so sweet! :)
omg. i never thought about using my PHONE as a leveller! that is brilliant!! this cake is so gorgeously PERFECT! love the colours and it just screams “party time!” xo
What a beautiful cake!! And sisters are the best :)
Cake looks like a fairy tale for children, and so probably tastes :)
Gorgeous cake! I want to try making this cake for my daughter’s birthday party. I want to make so that it will make about 50 small servings. Rectangular shaped with two layers. Can you please help me with how I can change the quantities of main ingredients?
Thanks so much!!
This recipe will yield three 9-inch round layers. For other cake pan sizes and volume conversions this is a helpful resource: http://allrecipes.com/howto/cake-pan-size-conversions/. For figuring out volume I find it can help to use water! Fill up your 9-inch round pans with water to the same depth as you would cake batter, then you can move that water around to different size pans and see what seems equivalent. Note that different sized pans will also likely require adjusted cooking time.
Thanks!!
Yea I seriously need to get my hands on those sprinkles. I had a small bottle of it but I have a feeling I am going to need an industrial sized one soon with all these sprinkled treats you’ve been making.
Beautiful cake (also that color is kind of my wedding color)! Is it weird to say it’s inspirational, because the confetti makes it UBER happy :)
Love this cake! It screams HAPPY (and birthday!).
PS: is that a leveling ap?? Please do tell :)
It’s the built-in level, part of the Compass app that comes with your phone. Just swipe to the second page of the compass and there it is!
Ohhh! I wish I had known this before. All of my cakes (and photo frames) would have been much straighter hahaha Thanks for letting me know.
Your FUN is contagious! Thanks for spreading the JOY and the super colorful frosting. Great idea!
It looks like the two of you had a great time. I’m kind of digging the iPhone level. The cake is stunning!
This looks absolutely gorgeous!! Very well leveled… :D
Such a beautiful cake! Gorgeous colour!
This is one absolutely stunning cake!
How stunning! I adore the vibrant colours, sure to bring a smile to anyone’s face. :)
Hi Lindsay
This is a beautiful cake, but I’m going to make this cake without the sprinkles, I do not like sprinkles, to me I think the texture of the sprinkles takes away from the cake.
Wow, this cake is just too pretty!
Wow love this cake. I live in Australia. Not sure if your cup size is the same as ours? I think our 1 cup is 250ml of liquid and 1/2 a cup is 125ml. Can you let me know? Would love to make this cake!!
You know, I had no idea American and Australian cups were different. But I found this which might help:
http://allrecipes.com/howto/conversions-us-standard-to-australian/
If you want to go by weight, reference this page (http://allrecipes.com/howto/baking-ingredient-conversions/) and convert to grams (oy, math!!) So 3 cups of cake flour should weigh about 332 grams.
Hope that helps!
This cake is seriously STUNNING! I mean–seriously. I am blown away.
How absolutely beautiful!!! I also love how you made the watermark all squiggley under the cake stand!!
Beautiful cake, Lindsay! I love the shade of blue and colorful sprinkles. Your sister and you are lucky to have each other. Thanks for sharing! Pinning (of course)!
Beautiful cake, I absolutely love the color of the icing! If you don’t mind, where did you get that cake stand? I have been looking for one like that for ages!
What a great cake Lindsay and even better because you get to share it with your sister.
this is beautiful and looks absolutely perfect! LOVE!
Hi Lindsay and Taylor!
I was looking for beautiful foodblogs and found yours.
This cake looks fantastic and photos are awesome.
Regrats, Leili
You are speaking my language! Beautiful, beautiful cake Lindsay!
This looks and sounds amazing and I love that you used the iPhone level app!
Absolutely LOVE the colour! Just gorgeous :)
how do you make the color for the iceing
Gorgeous! I love everything about it!
What a beautiful cake! Love that Tiffany blue frosting!
It’s like going to Kindergarten once again :-) That looks sooooo funny and delicious!
Perfect!
This cake is a big layered flipping masterpiece!! Like childhood in a cake. Love it.
You’re right. I can’t help but smile when I look at this cake! It’s perfect!
oh my god Lindsay this cake is STUNNING!!!! so springy and happy and beautiful, I am pinning to the moon & back!
I LOVE that blue. Seriously gorgeous and the perfect shade!!
This cake is absolutely gorgeous!! Funfetti is one of my favorites, and I love the sprinkles you choose for this cake. So fun with the turquoise frosting too! :)
The colour of that cake is just amazing! Love the funfetti too – so cute!
This cake is absolutely stunning!! And I totally have a level in my cake decorating supplies!! Ain’t nobody got time for a lopsided cake ;)
What a beautiful cake Lindsay, well done! The colour is Soo pretty !
Beautiful cake and so much fun! I want this for my next cake for sure :)
So pretty, love it! Those sprinkles just make the cake even better : )
Soooo much fun! Gotta make this asap :)
the turquoise frosting looks awesome!
I absolutely love your cake, possibly the most beautiful color ever! You have one lucky sister!
That cake looks amazing! I love the blue frosting :-)
This might be the prettiest cake I have ever seen! Absolute perfection!!
Holy gorgeous cake alert! I am TOTALLY obsessed with funfetti and I am definitely wishing I was your sister so I could be eating this right now, instead of going to the gym. Worst. Ever.
But this cake? It’s happening. Pinned!
Such a fun cake!! I wish people came to visit me and requested a baking time. This cake is lovely. Pinning!!
What an adorable cake! I loooove the color. I’ve never used those confetti sprinkles before, but it looks like I’ll definitely have to give them a try!!
It’s the most awesome Funfetti anything I’ve ever seen! You have one lucky sister! What a drop-dead gorgeous cake! Pinned!
That cake looks absolutely stunning! Maybe I should make one for my sister as well…