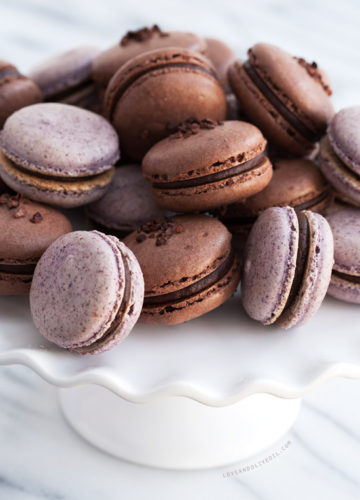
Chocolate & Hibiscus Macarons with Hibiscus-Infused Ganache
You guys. I was seriously worried I was going to fail my own challenge. Is that even allowed? I’ve made 6 batches since I first...
You guys. I was seriously worried I was going to fail my own challenge. Is that even allowed? I’ve made 6 batches since I first...
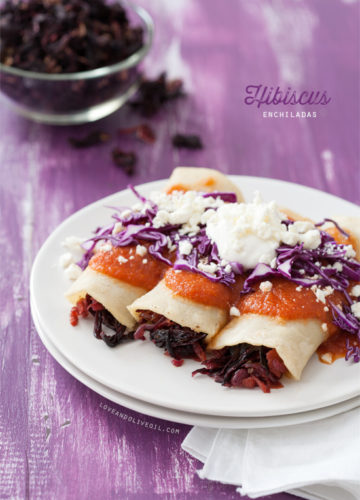
Let’s just go ahead and call this what it is, ok? Hibiscus week. Seriously, though, I didn’t realize a pound of dried hibiscus would be...
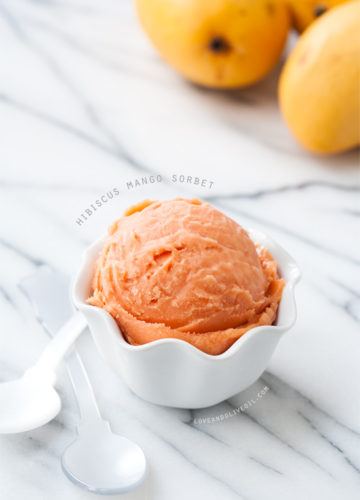
When life gives you mangoes… Lots of gorgeously golden, sweet and juicy mangoes… Make sorbet. Clearly. In what could only be described as kismet, I...
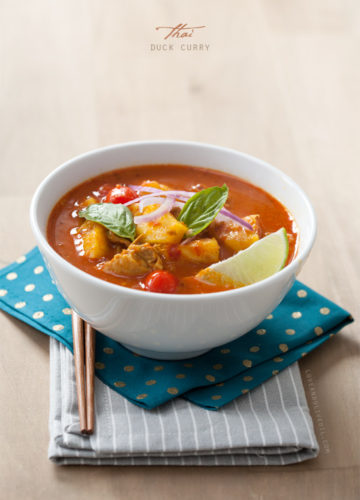
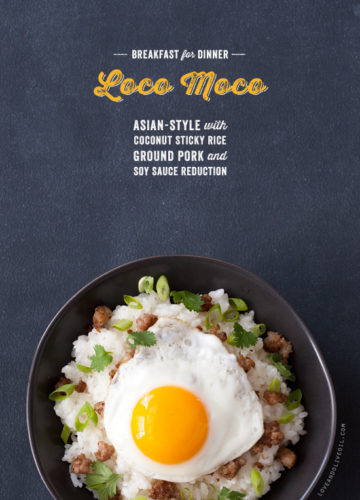
A long, long time ago in a place far, far away (a.k.a. back when we were in college), there was a Thai restaurant that we...
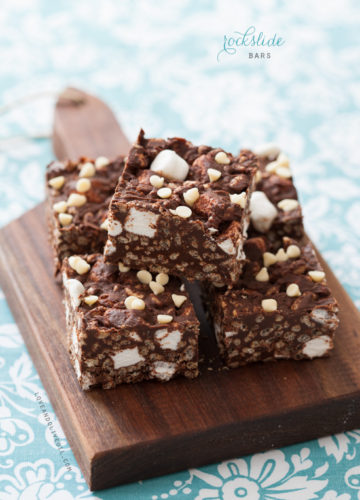
You might remember the avalanche bars I made a while back… I certainly haven’t forgotten them. And I’ve always thought a chocolate & Nutella version...
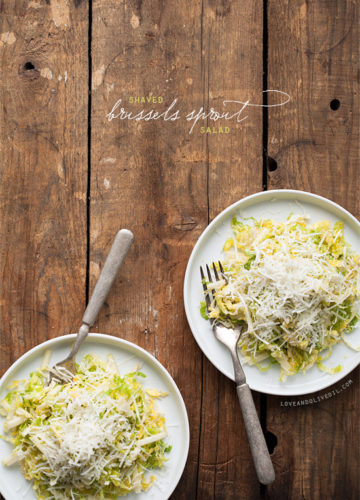
Brussels sprouts are the new kale. Pecorino is the new Parmesan. And this is quickly going to become your new favorite salad. This salad was...
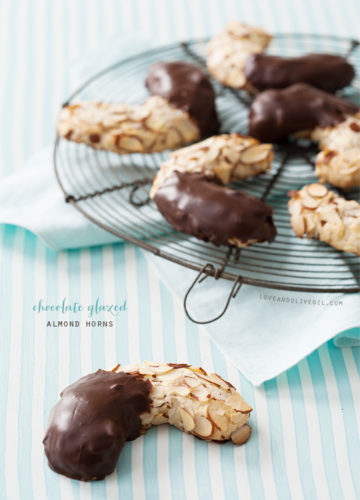
Back in college, I had my between-class routine down pat. After spending 3 hours in an art studio class, I needed a recharger (aka sugar...
You had to know it was coming. With a series called “Kitchen Challenge,” macarons were bound to be the subject sooner or later. So let’s...
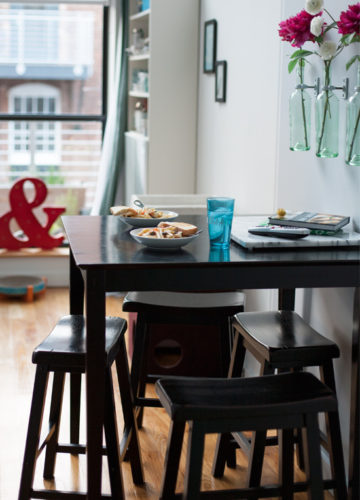
What does a normal day here in the Love & Olive Oil household look like? Working from home, we do have an ample amount of...
“So, if you had to pick, what’s your favorite recipe in the book?” Throughout this entire process, that question comes up over and over. And...
Mother Nature is having a good laugh, that’s for sure. One weekend it’ll be beautiful, a perfect 70 degrees and a periwinkle sky. Then, in...
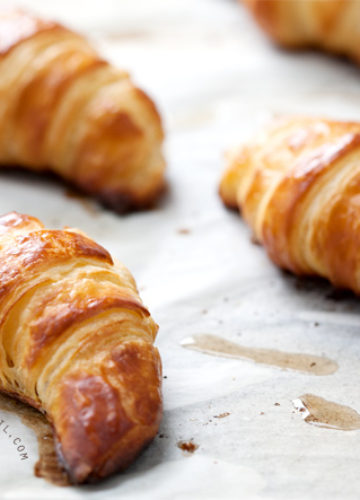
Mission, Croissants: Accomplished. What fun! And not nearly as difficult as I expected! Time consuming, yes, but actual level of difficulty was surprising in its...


©2007-2024 All Rights Reserved.
Love & Olive Oil® is a registered trademark of Purr Design, LLC.
Privacy Policy