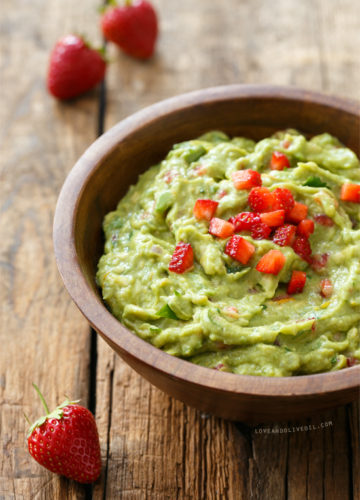
Strawberry Guacamole
It started as a discussion trying to decide what kind of jam I wanted to make with all those strawberries. My friend Michelle asked if...
It started as a discussion trying to decide what kind of jam I wanted to make with all those strawberries. My friend Michelle asked if...
Strawberry season snuck up on me this year. In a good way. We’ve been so busy that I feel like my mind is a few...
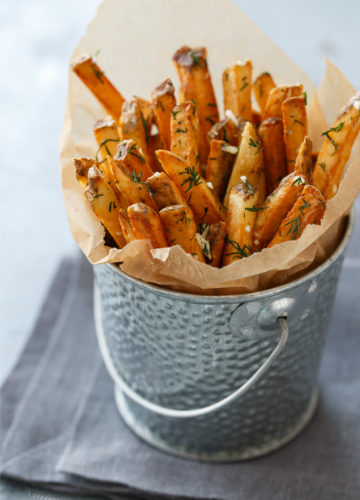
You can’t have a proper hot dog without a proper french fry. And much like last week’s potato chips, I’ve never made proper fried fries...
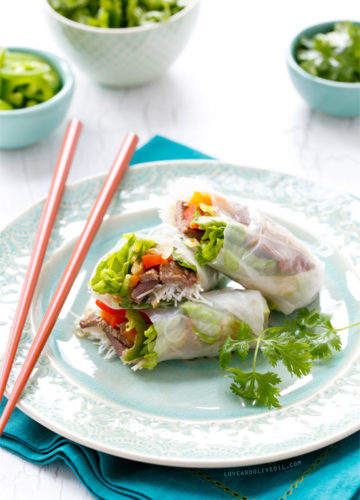
Some recipes are better with company. The first time I had these Viet Fajitas, Taylor and I were staying with our friends Julie & Curtis...

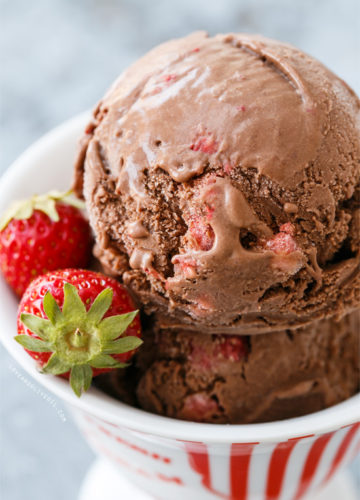
The very definition of an epic mess is when you’re left cleaning chocolate from between your toes. And yes, I probably should have expected that...

It’s surprising, really, that I’ve never made homemade potato chips before. Sure, I’ve tried lame baked ones (spoiler alert: they are not the same) but...
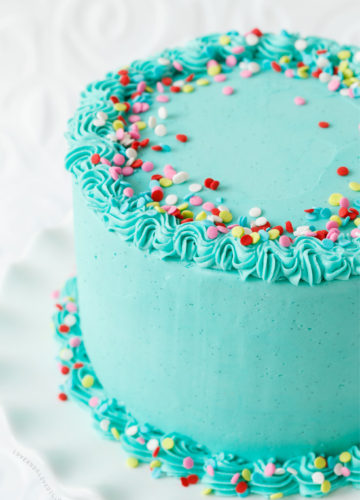
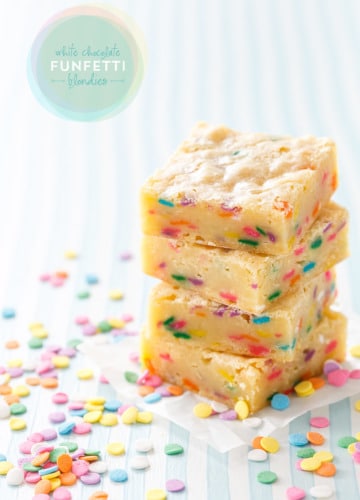
Sisters are like sprinkles. Sweet and vibrant and (yes) a little bit crunchy. And life isn’t nearly as fun without them. Needless to say, when...
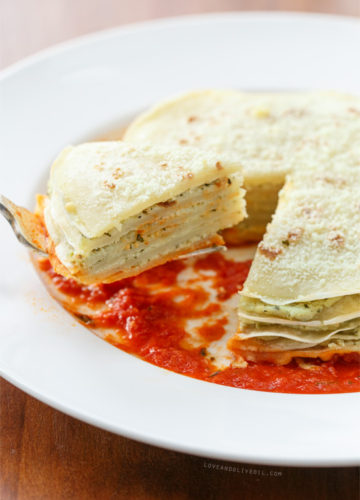
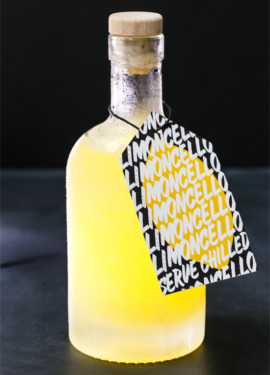
Today I’m excited to share this recipe as part of an ongoing partnership with DeLallo Foods. As always, all opinions written are purely our own....
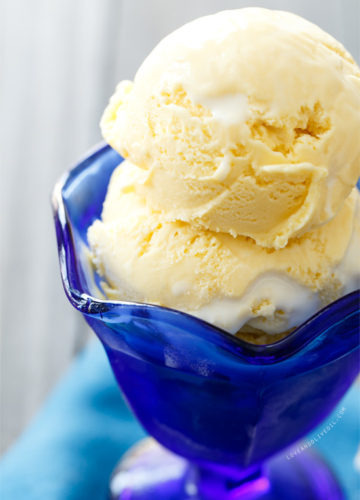
There’s marshmallow, and then there’s toasted marshmallow. Two entirely different beasts. Toasting brings out the best in an otherwise bland puff, caramelizing the sugars and...
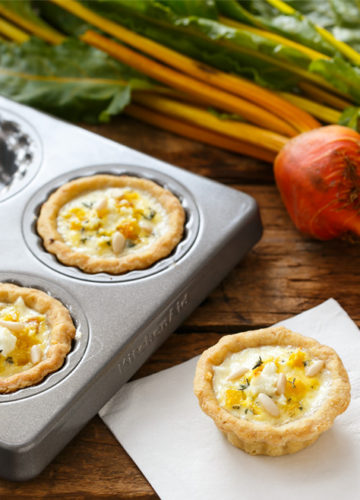
This mini pie pan from KitchenAid® is maybe my new favorite thing. I’m just envisioning all the fancy miniature pies that I can make with...
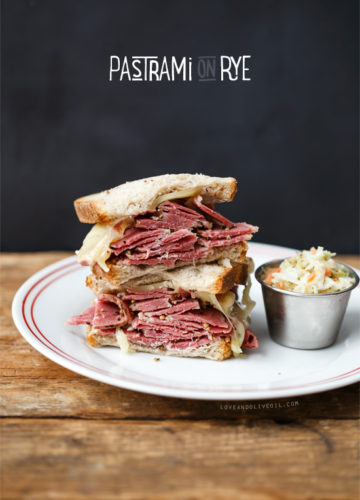
If Taylor were to start his own food blog, it would most definitely, without a doubt, be about sandwiches. Or, maybe beer and sandwiches. But...
If springtime doesn’t make you want to run outside, dig in the dirt, and dye your hair blonde, I don’t know what will. Ok, maybe...


©2007-2024 All Rights Reserved.
Love & Olive Oil® is a registered trademark of Purr Design, LLC.
Privacy Policy