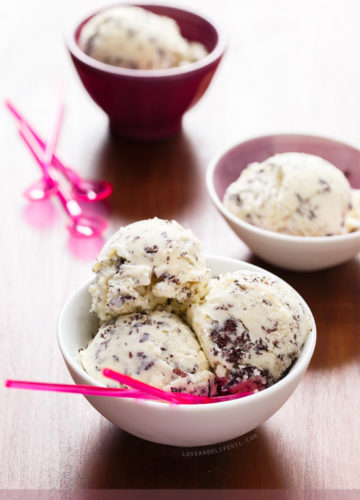
Stracciatella Gelato
There’s chocolate chip ice cream. And then there is stracciatella gelato. Don’t you dare think one is a direct translation of the other because that...
There’s chocolate chip ice cream. And then there is stracciatella gelato. Don’t you dare think one is a direct translation of the other because that...
Today I’m excited to share this recipe created in collaboration with Cobblestone Bread Co. via AOL Media. As always, all opinions written are purely our...

Fruit and summer go together like the Chuck and Sarah. The Doctor and Amy Pond. Castle and Beckett. Bright flavors and cheerful colors to match...
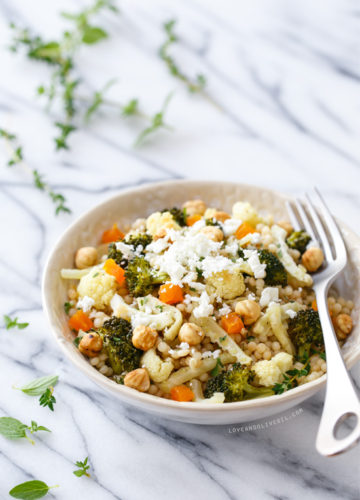
You want real life? This is it. This is how we eat on nights when we haven’t specifically planned to make something else. On nights...
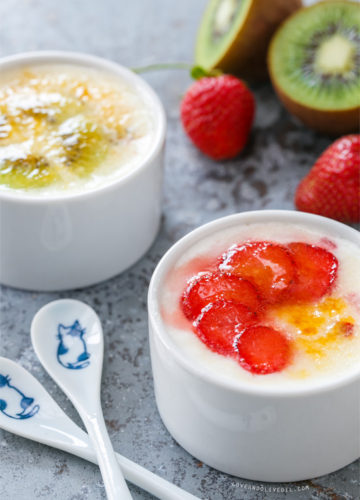
Mornings are boring. Cereal is boring. Yogurt is boring. Unfortunately I rarely have, or want to devote, enough time to make something for breakfast that...

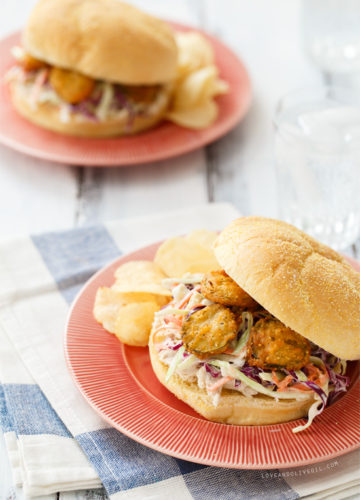
Today I’m excited to share this recipe as part of an ongoing partnership with DeLallo Foods. All opinions expressed are purely our own. Thank you...
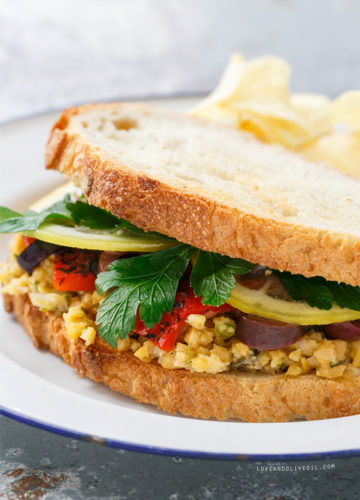
Taylor has been talking about a marinated chickpea sandwich for months now. I don’t know where the idea came from but I finally told him...
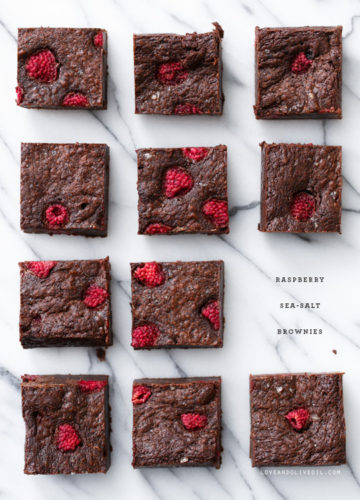
There are some things you expect in a good brownie. A rich, chocolate flavor. A chewy, fudgy texture. A crispy, crinkly top. With that in...
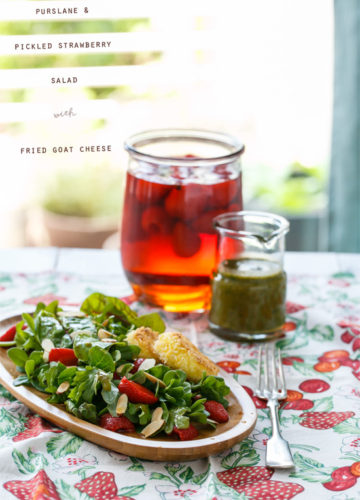
Pickled fruit is not a new concept, but I don’t see it utilized nearly often enough. Heck, it’s not something I utilize often enough. Because...
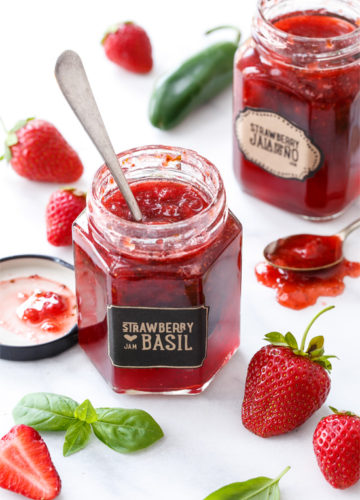
In the past four weeks I’ve picked over 15 pounds of strawberries, nearly three gallons of ruby red goodness. From two different farms on two...

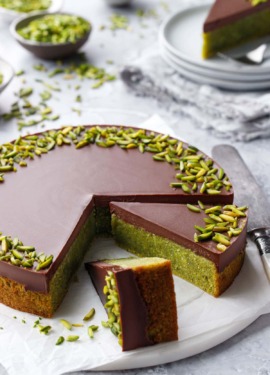
I’ve lamented before on the lack of good quality marzipan here in the US. Usually I end up buying almond paste and thickening it as...
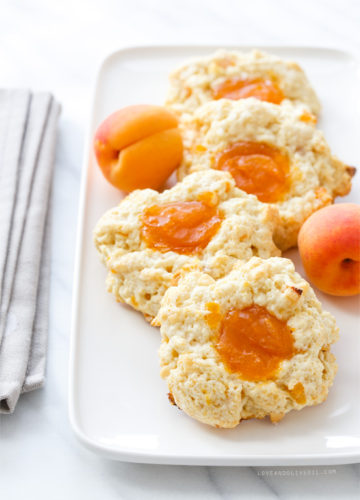
Scones are often, for lack of a better term, boring. And, unfortunately, there are a lot of bad scones out there. Dry, flavorless, chalky things...


©2007-2024 All Rights Reserved.
Love & Olive Oil® is a registered trademark of Purr Design, LLC.
Privacy Policy