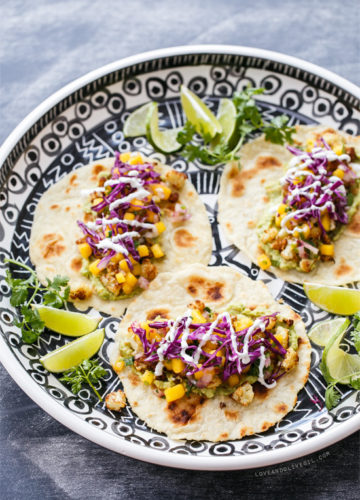
Crispy Cauliflower Tacos with Mango Salsa
Hello there, my new favorite taco. Also known as vegetarian fish tacos, if you’d rather. The crispy, white fleshed-cauliflower is a perfect replacement for the...
Hello there, my new favorite taco. Also known as vegetarian fish tacos, if you’d rather. The crispy, white fleshed-cauliflower is a perfect replacement for the...
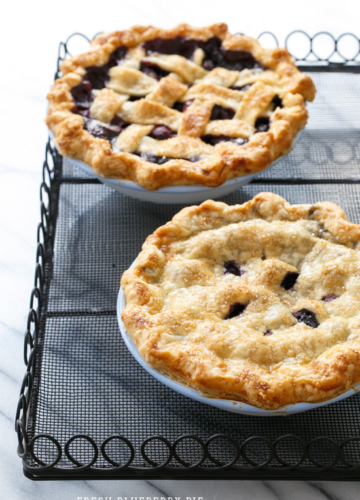
YOU GUYS. I’m not even kidding when I say this is the best pie I’ve ever made. That’s not me bragging, I’m as surprised as...

In an effort to be more healthy, I’m sure we’ve all tried swapping out whole wheat pasta, and chances are you were disappointed with the...

What is the difference between a cupcake and a fairy cake? Or a tea cake for that matter? Actually, I think tea cakes are actually...
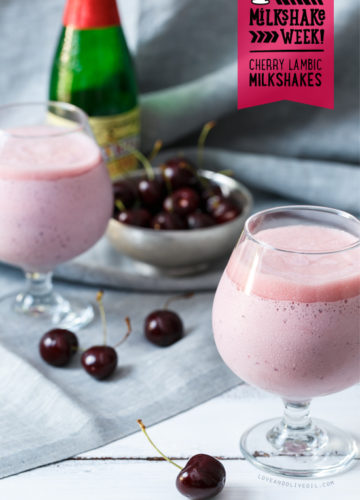
I bought these cherries with the intention of making a Cherry Garcia inspired milkshake, with chunks of fresh sweet cherries and flecks of chocolate chips....
This milkshake, and its name, was inspired by a uniquely memorable cup of gelato I had in Italy back in 2011. I swear, that trip...
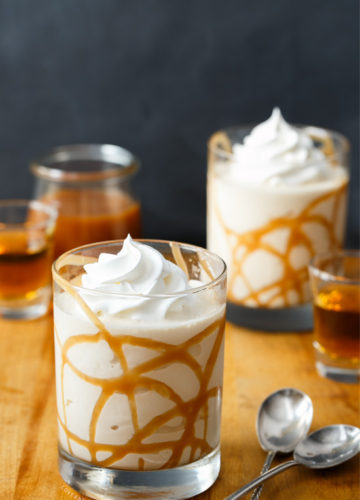
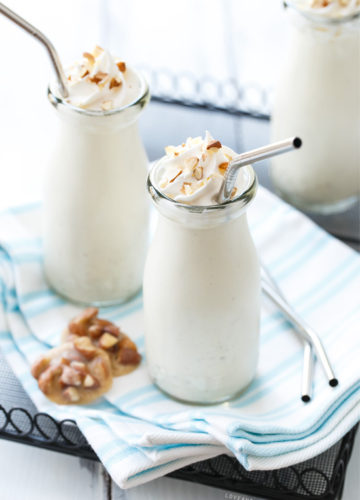
Kicking off Milkshake Week with a bang, spiked and salted and deliciously drizzled with a boozy caramel sauce that’s utterly divine. Are you surprised that...
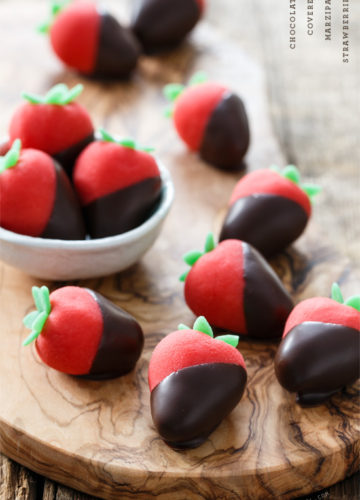
Mthp mowpheth ahh finthgs thorfth marthiparwn. Oh, excuse me. My mouth is full of marzipan. As will be yours when you realize how easy (and...

Remember way back when I shared that awesome Toasted Marshmallow Ice Cream? And I said I had ‘grand plans’ for it? Well, it may have...

It should come at no surprise that I have a bit of an obsession with ginger. I’ve made it my personal mission to become well-versed...

When I get on a kick, my thoughts and behavior border on compulsive, the topic of my current obsession permeating the far corners of my...

As I sit here sweating even with the AC on full blast, there’s no denying that summer is here. And despite the oppressive heat, my...


©2007-2024 All Rights Reserved.
Love & Olive Oil® is a registered trademark of Purr Design, LLC.
Privacy Policy